
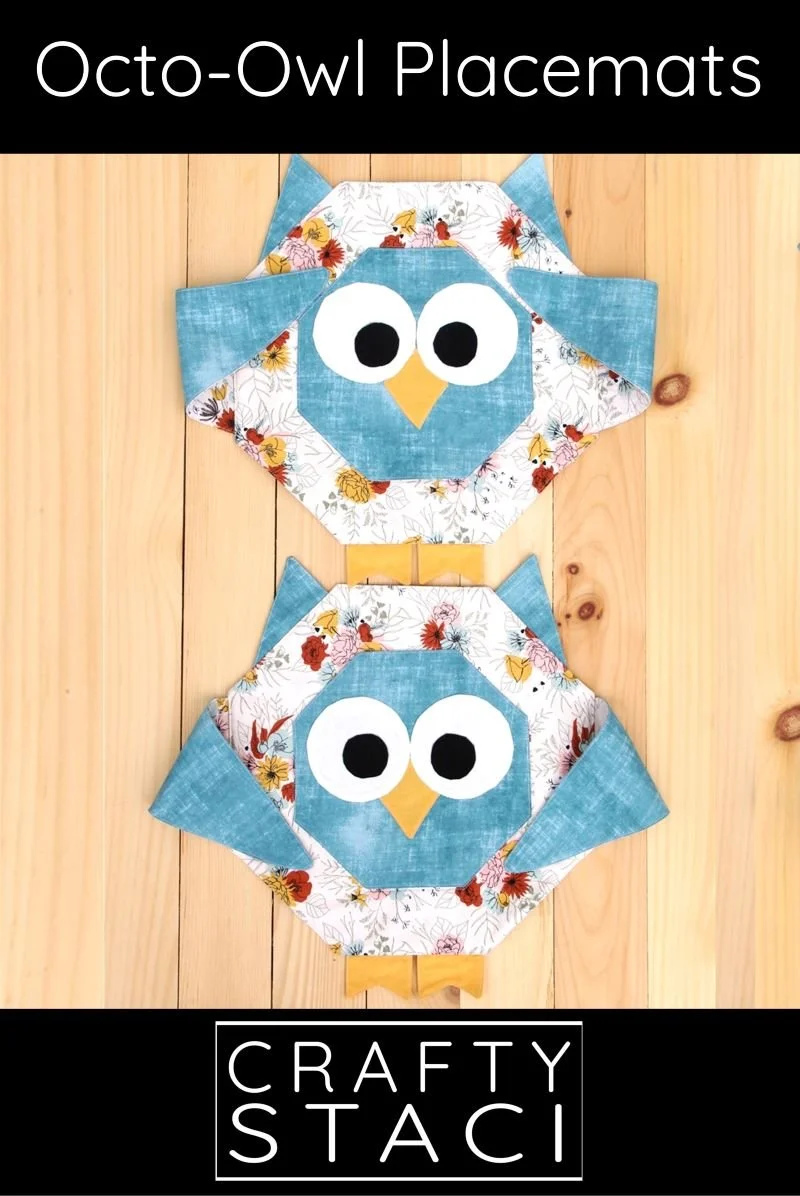
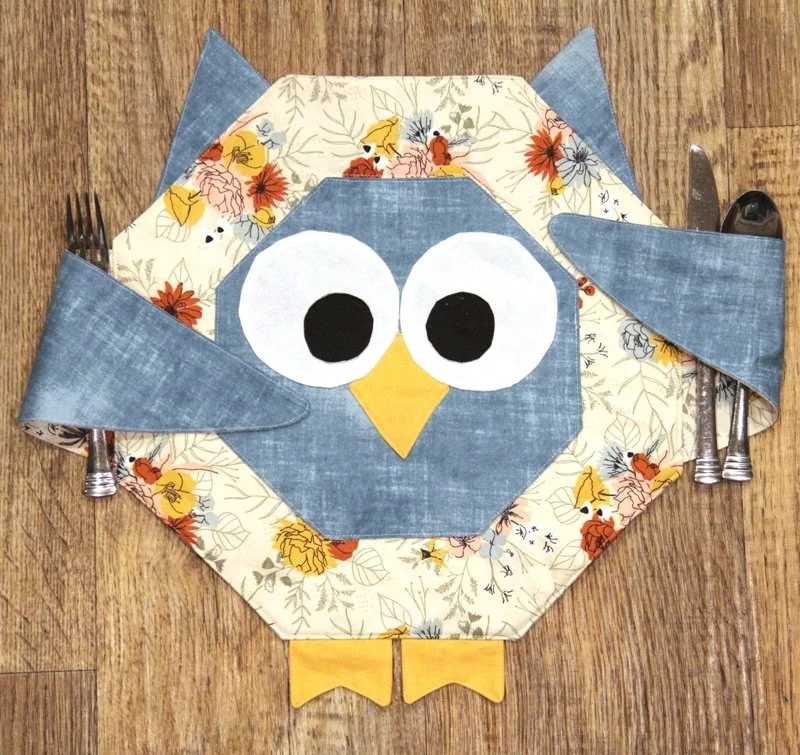
This owl placemat is another of my octagon projects that inspired this whole series. Whooo looks at an octagon and sees an owl? Apparently I do, and now you will too!
This post contains affiliate links. For my full disclosure policy, click here.
This is a pretty easy project. I did try a new-to-me method for applique to add the face, with slightly mixed results. I’ll let you know how it went for me, but if you have a favorite method you’d rather use, go for it.
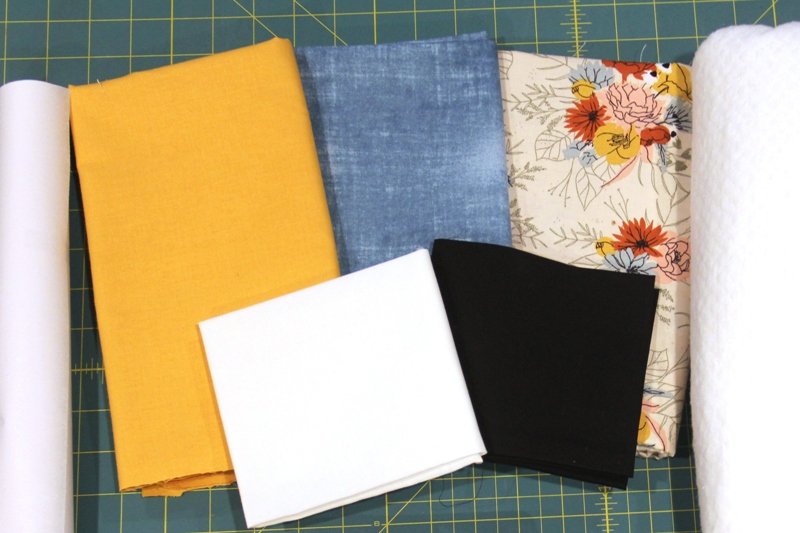
To make this owl placemat you’ll need:
cotton fabric (prints or solids for the octagons, wings, and ears; yellow for the beak; and black and white for the eyes)
fusible web (I used a medium weight, but I’d go with heavy-duty next time)
Print out the pattern templates and tape them together, overlapping as needed to match up lines and printed words. Cut out.
I keep a rotary cutter with a blade that’s too dull for fabric to use specifically for cutting out paper patterns. I sure wish I knew which box that is in right now!

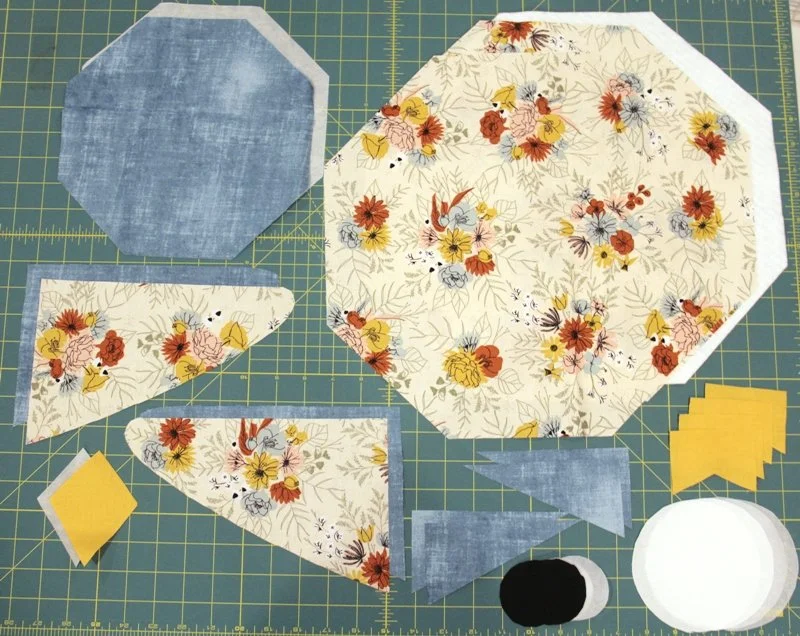
Cut:
large octagon
2 fabric
1 batting
small octagon
1 fabric
1 fusible web
wing
4 fabric, flip template for 2 (I cut one, flipped the template for the second, then cut the remaining pair from a different print to get the contrast when the wing is flipped over)
ear
4 fabric, flip template for 2
beak
1 fabric
1 fusible web
foot
4 fabric, flip template for 2
eye, white
2 fabric
2 fusible web
eye, black
2 fabric
2 fusible web
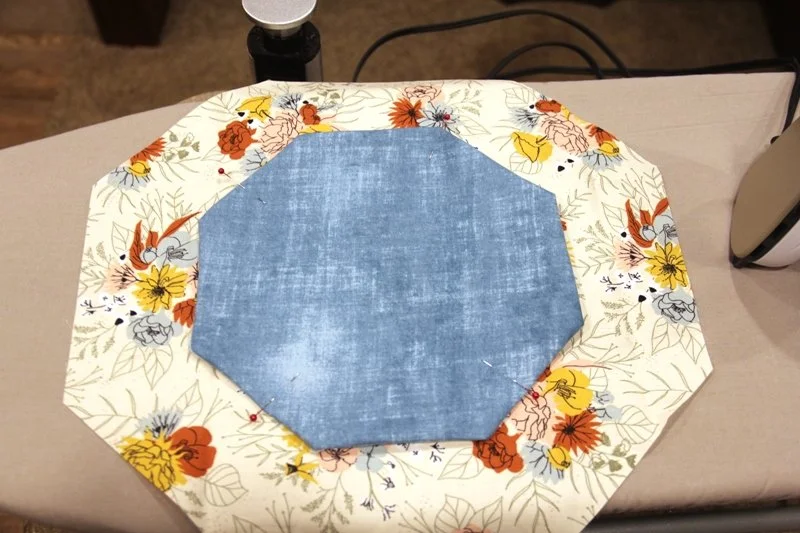
Lay out the small octagon, right side up. Pin the fusible web on top with the paper side up. Stitch all the way around the shape, 1/4” from the edge.
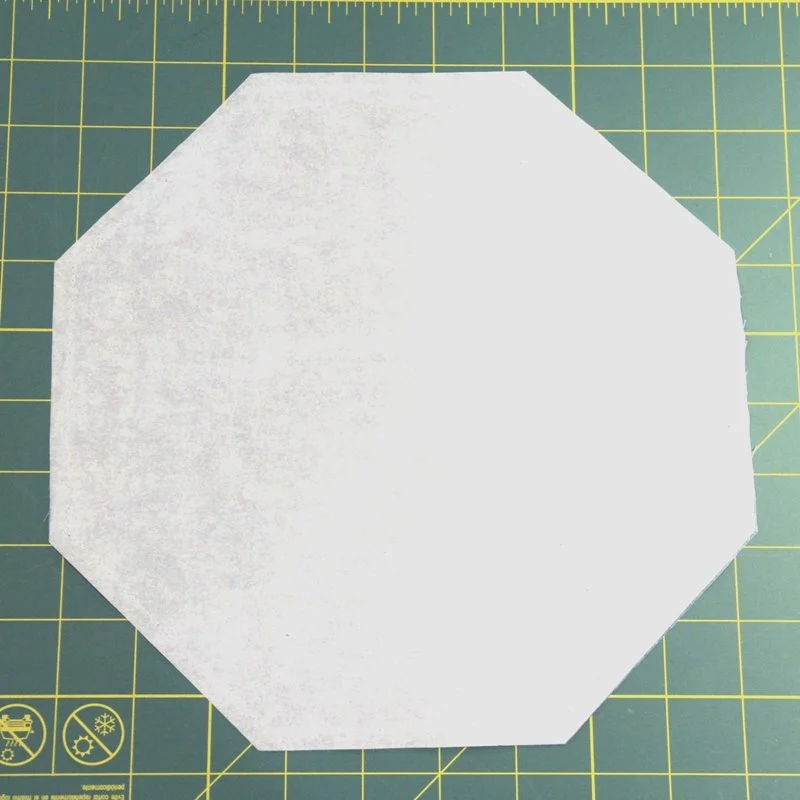
Peel away the paper. The easiest way to do that is make a small tear away from the edge and tear from there. Be sure not to tear the web.

Cut a slit in the middle of the fusible web that’s about 3-4” long. Very gently turn the small octagon right side out through the slit. Carefully push the corners out with a pointy tool.

You want to complete this step with as little tearing as possible. That said, a small amount of tearing isn’t going to hurt anything. We just want the stitching line to provide a folded edge and the web to hold this piece to the next. This is what it should look like from the back.

What you want to try to avoid is allowing it to tear all the way to the seam, which mine did. As I mentioned above, I used medium weight fusible web, but I think a heavier weight would help. Even this problem is manageable though, it just requires a little more tucking as you press. My botched corner is shown below near the upper left, and I was able to roll it under.

Pin the small octagon in the center of the large octagon. Press to fuse in place. If you ended up with wild bits of web from tearing, either trim those away with some small, sharp scissors, or tuck them under the fabric as you press. Stitch close to the outer edge of the small octagon.
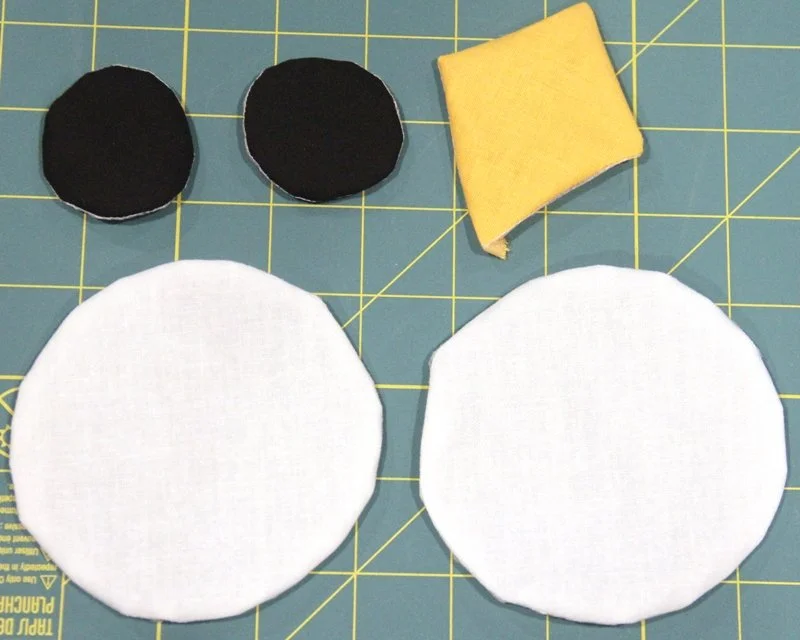
Lay out the white eyes, black eyes, and beak, all right side up. Pin the web on top, paper side up. Stitch around each piece, 1/4” from the edge.

Tear away the paper. Trim away about 1/16” of the seam to make the curves smoother. It doesn’t seem like much, but it really does help. Clip a slit in the web only and turn each right side out through it.
You can see in the photo below, my web tore at the bottom of the beak, allowing the corner to pop out. I simply tucked that under in the next step while pressing it down.
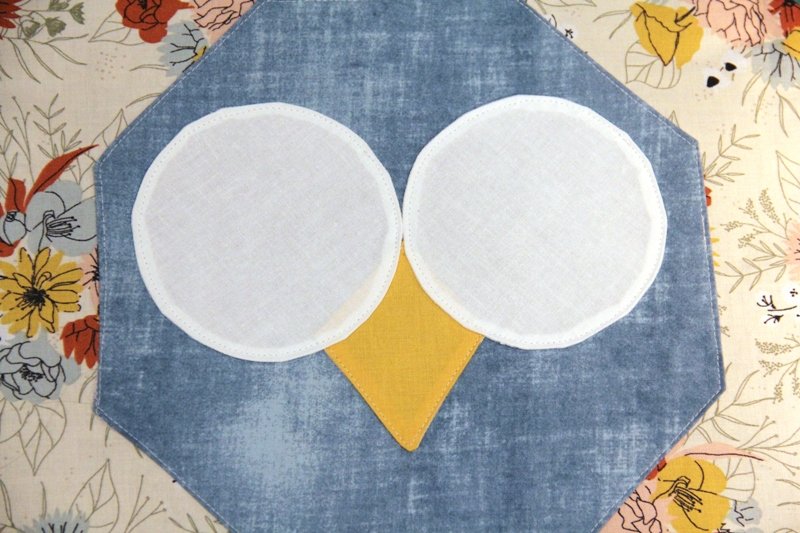
Place the beak on the small octagon. I recommend placing the white eyes in place temporarily as well, so you can make sure the facial features are placed as you’d like them, and away from the edge a bit. Set the white eyes aside and press the beak in place.

Stitch around close to the edge of the beak.

Place the white eyes, press, and stitch around the edges.
Repeat the process with the black eyes on top of the white.

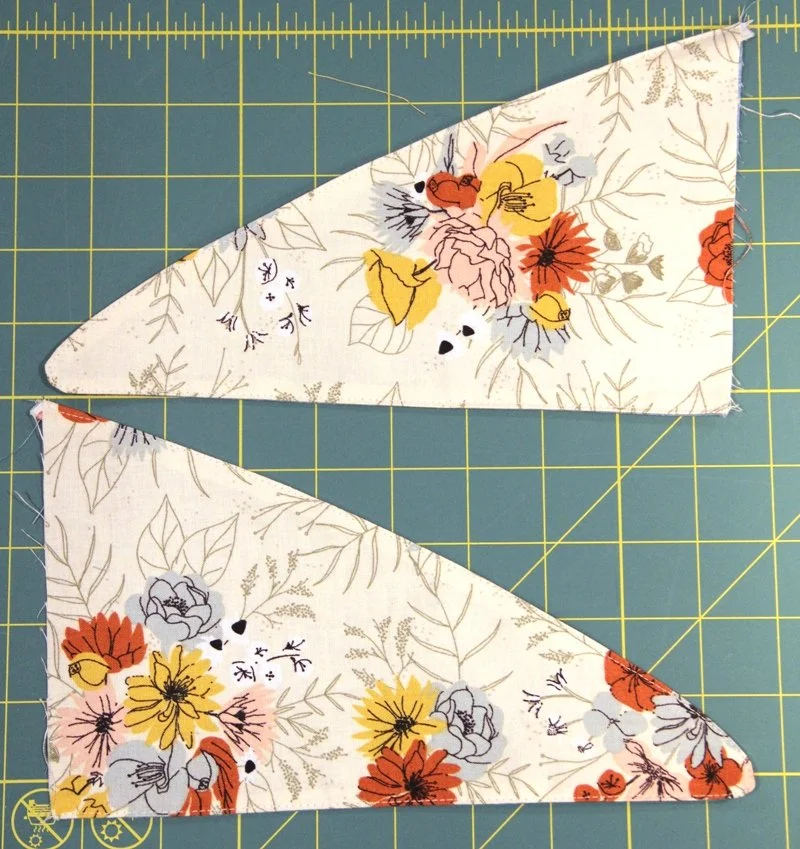
Pin each set of wings with right sides together. If you’re making them the same way I did, each set should include two fabrics. Stitch together with a 1/4” seam, leaving the short, straight end open.
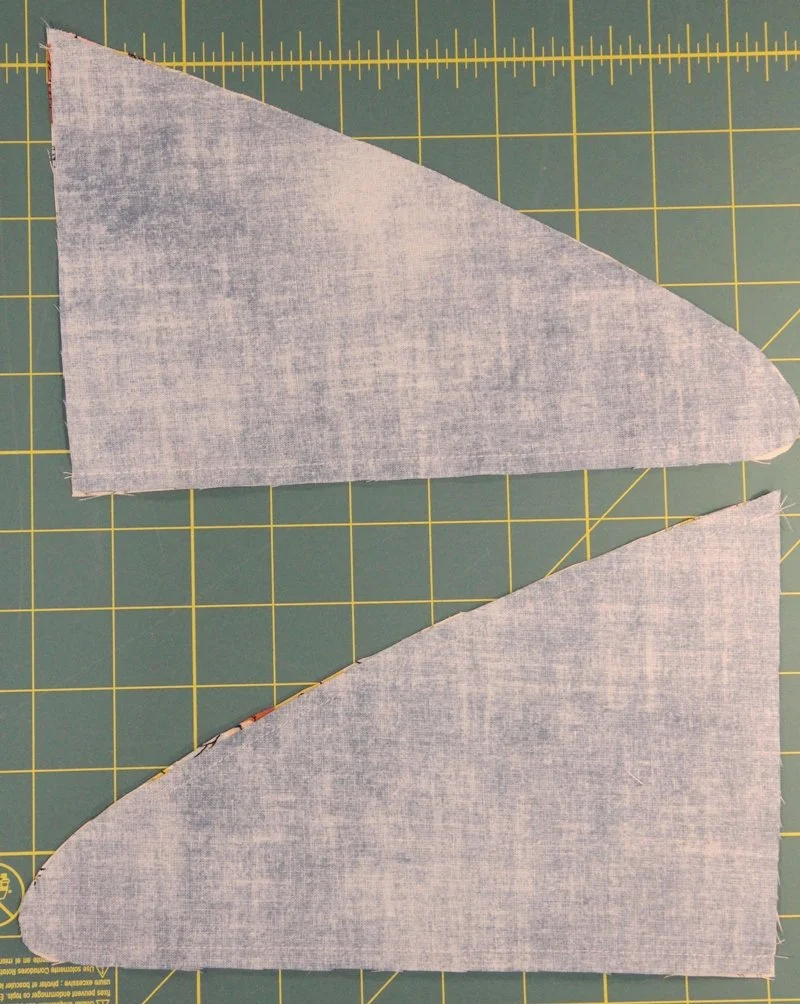
Trim away about 1/16” of the seam allowance near the rounded tip. Turn right side out. Press. Top stitch close to the seams.
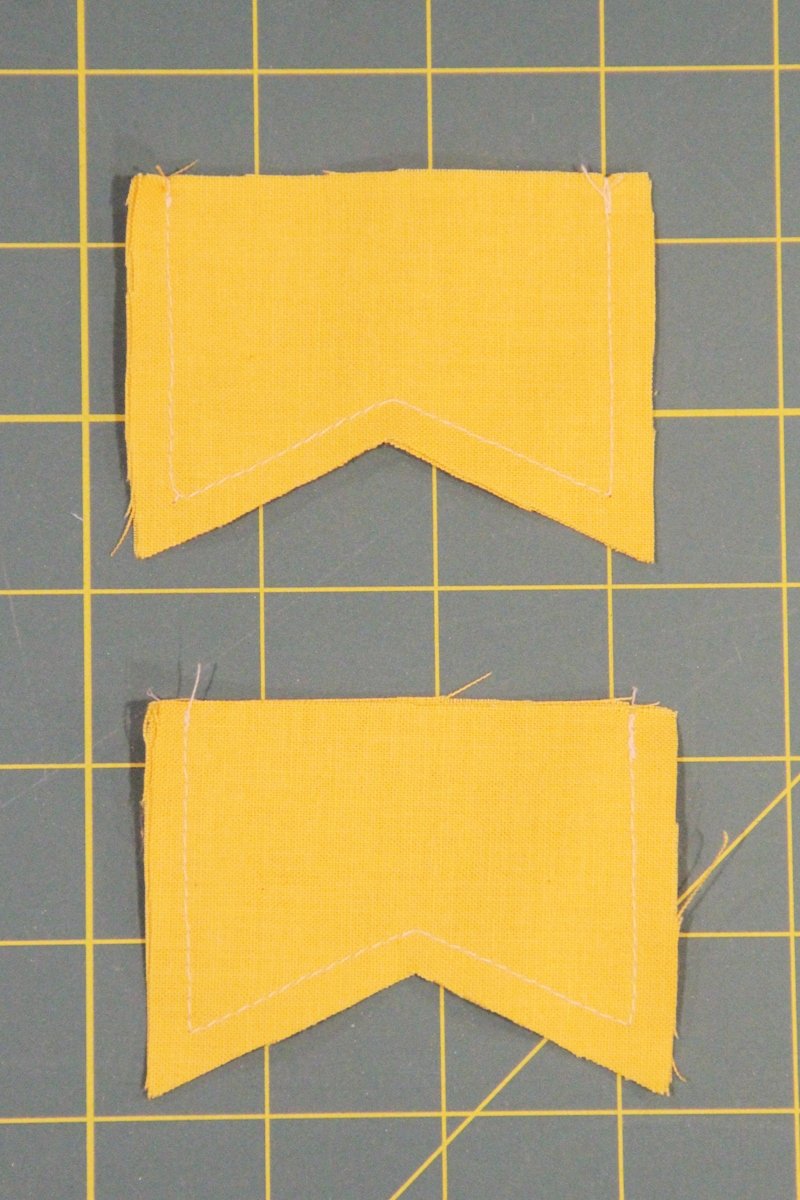
Pin pairs of the feet with right sides together. Stitch with a 1/4” seam, leaving the long, straight edges open (opposite the V).
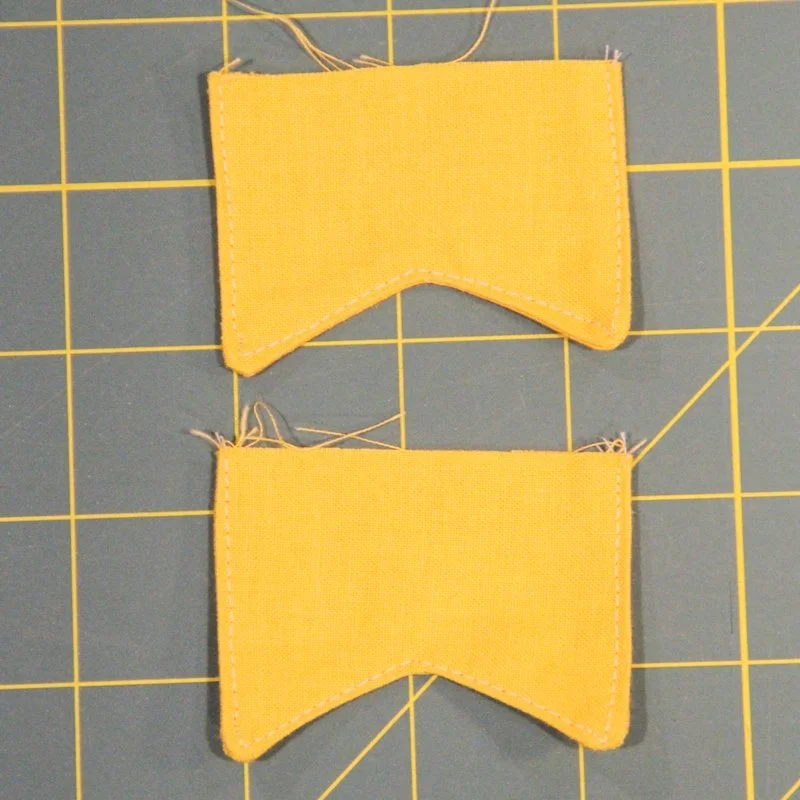
Clip off the points and clip in the seam allowance at the V. Turn right side out. Press. Top stitch close to the seams.
Pin pairs of ears with right sides together. Stitch 1/4” seam, leaving the long edge from point to right angle open.
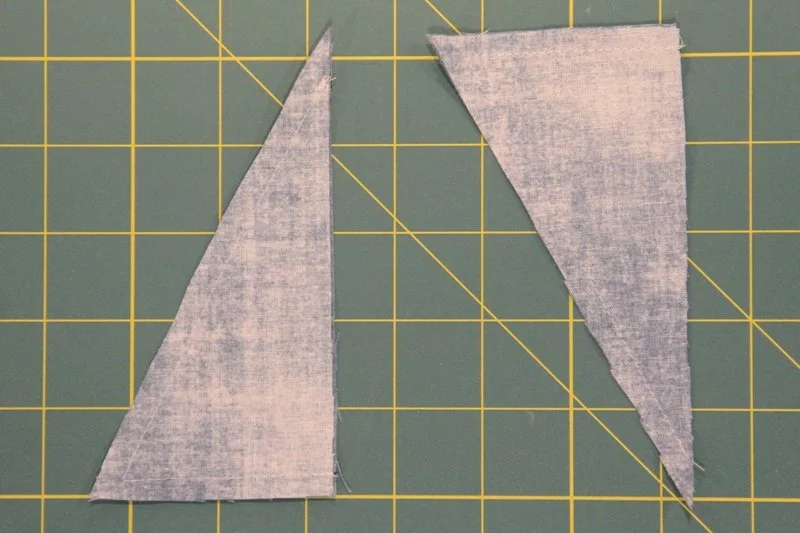
Clip the corner. Turn the ears right side out. Press. Top stitch close to the seams. You can trim off the bit sticking out past the edge at the tip.

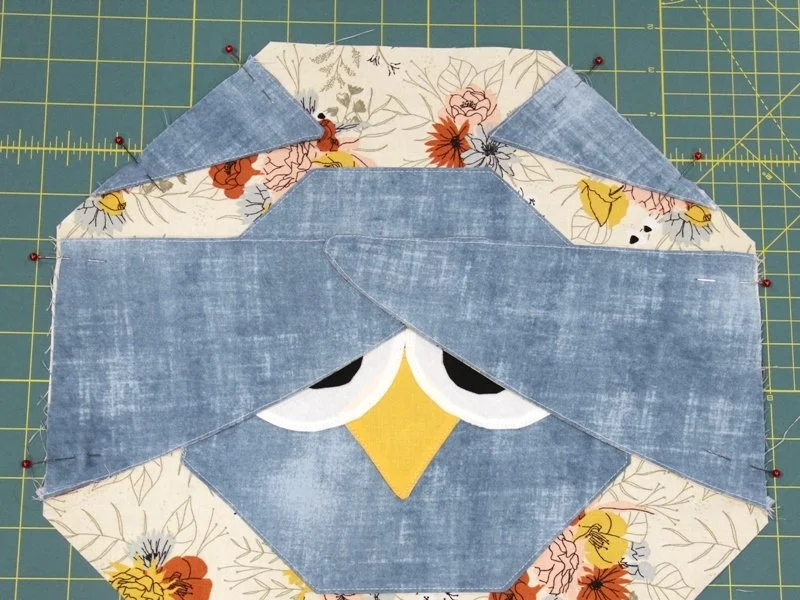
Lay out the batting. Add the face on top with the right side up. Center the raw edge of the wings on the straight edges of the octagon at the left and right. The side of the wings you want facing toward the back should be up. Pin in place.
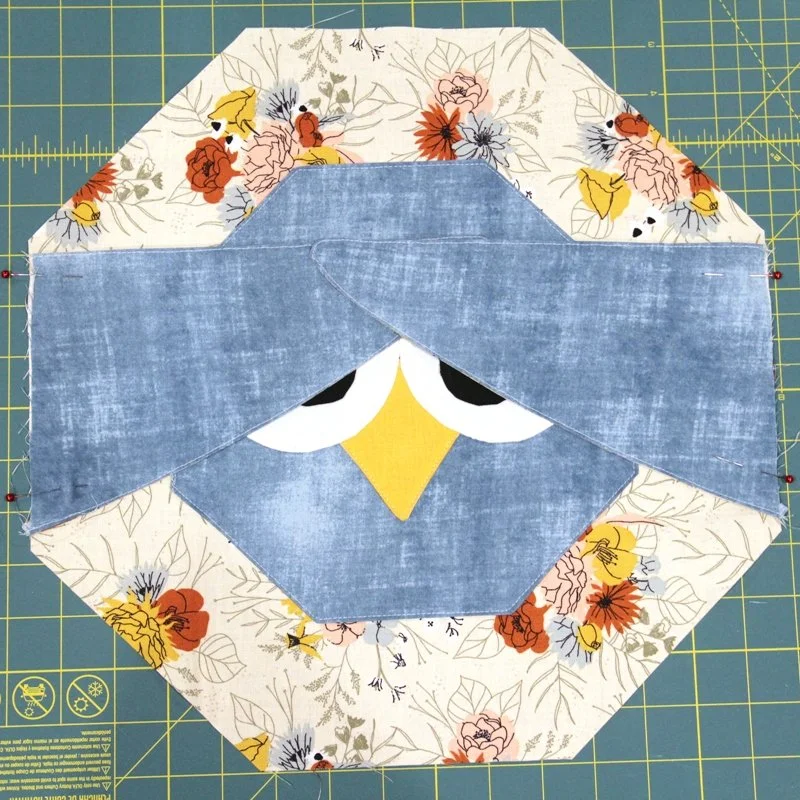
Pin the ears as shown with the raw edges even and the point 1/2” from the octagon point.
Pin the feet at the bottom edge with the raw edges even and 3/8” from the point on each side, leaving about 1/4” between the two feet. Make sure all of your pin heads are to the outside of the face so they can be removed easily as you sew.

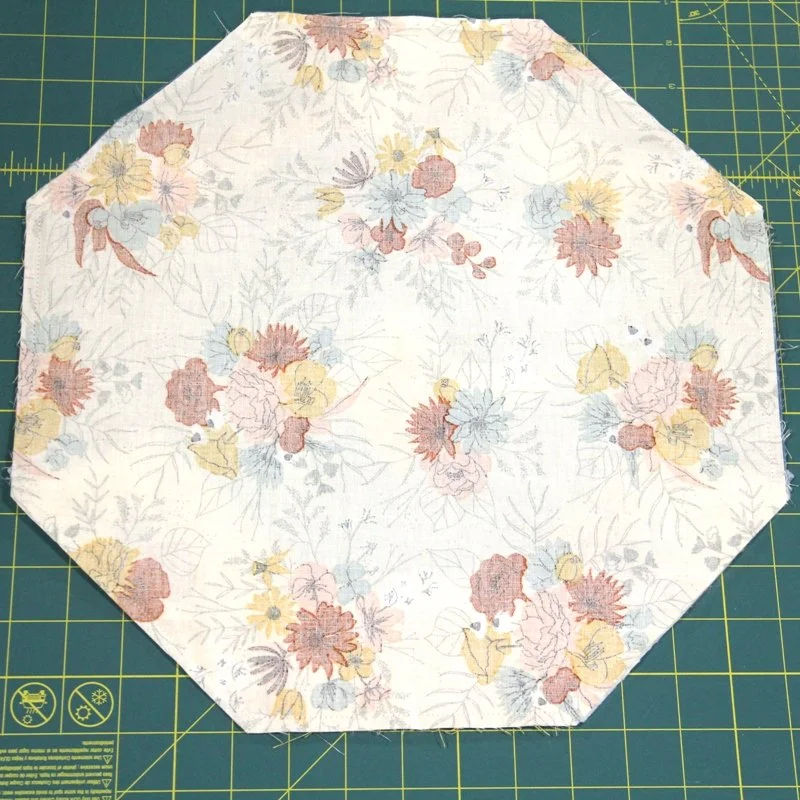
Lay the remaining octagon right side down over the top of the face. Pin in place. Stitch 1/4” from the edge, leaving 3” open on one empty, straight edge.
Clip the corners. Turn right side out through the opening. Press. Top stitch close to the edge of the large octagon.

Stitch again through all layers just outside the edge of the small octagon.

I originally planned to add Kam snaps to the tips of the wings and the face so they could wrap around silver wear or a napkin. When I got to this point, I realized the snaps weren’t really necessary. It still wraps just fine, and I’m not tied to putting them in the same position every time!
I should say, my daughter’s not. She whisked these off to her house before I even had this post written!
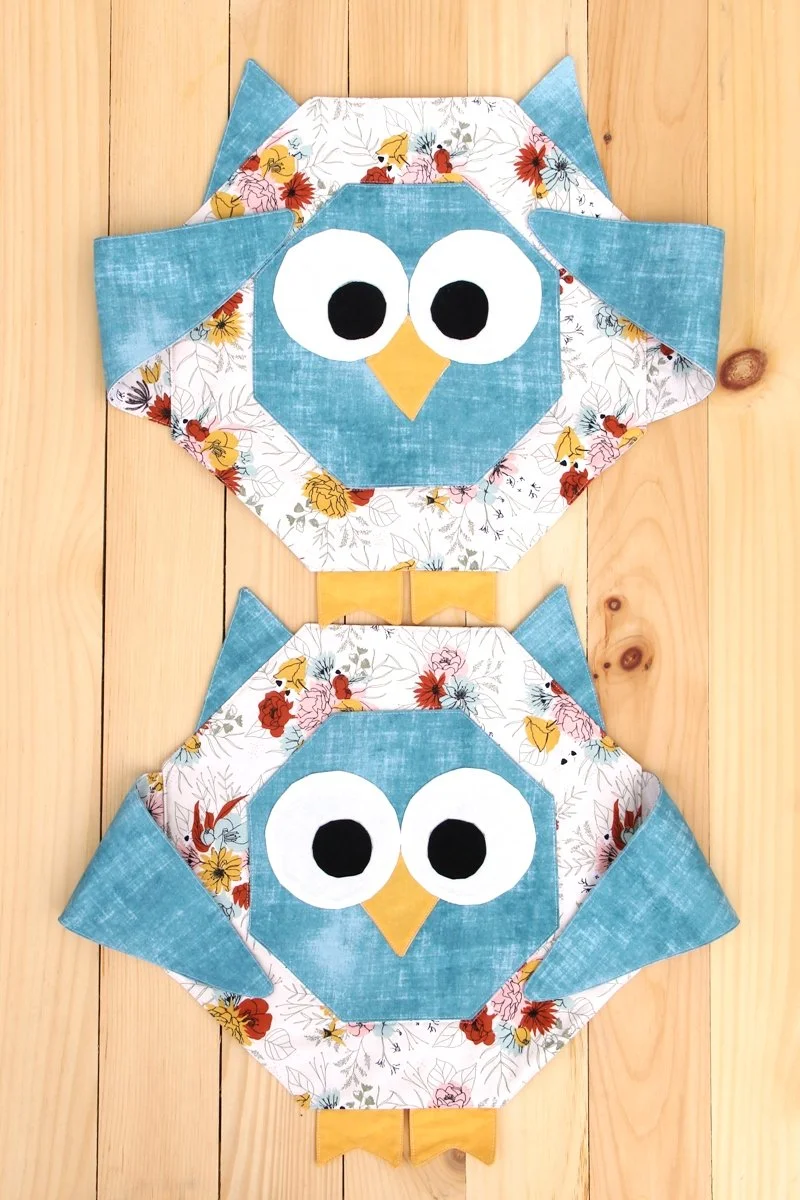
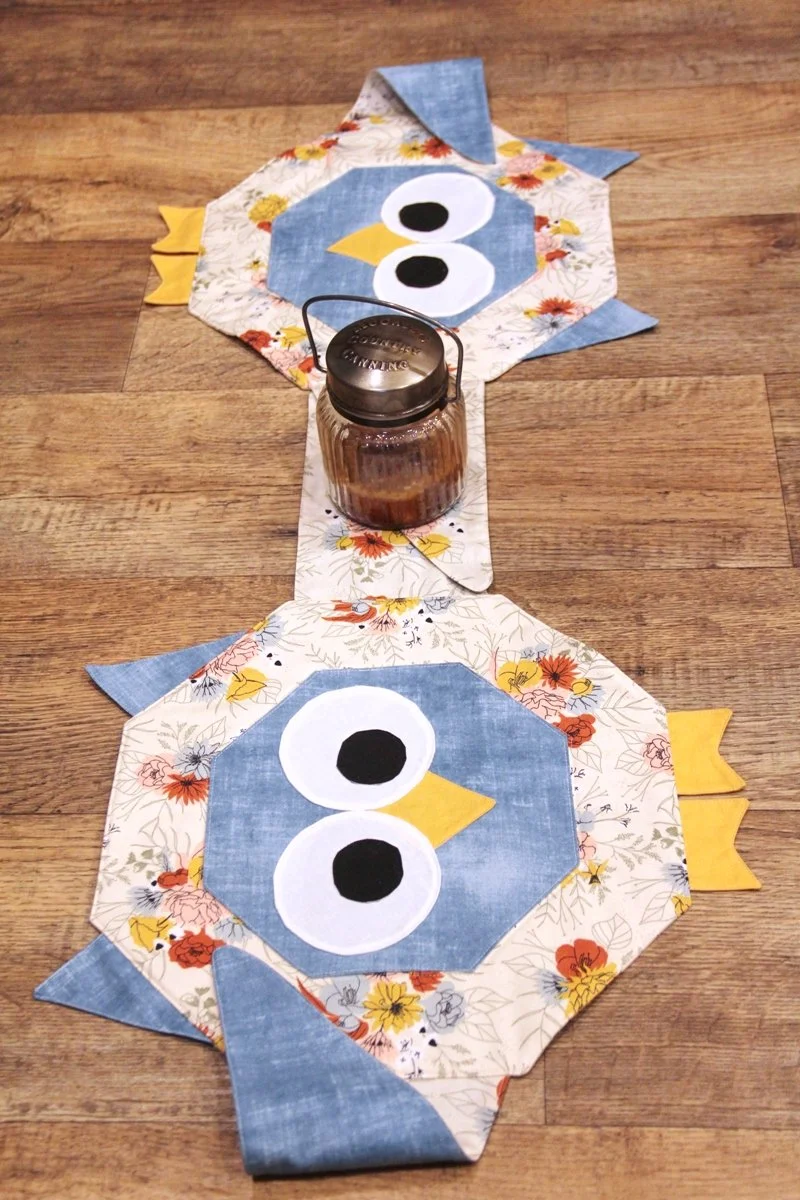
While I think these are adorable placemats, they would make an equally cute table runner, simply laid out next to each other.
Another octagon project in the books! If you missed any of the previous projects you can see those here. Join me again in June for number six!
