


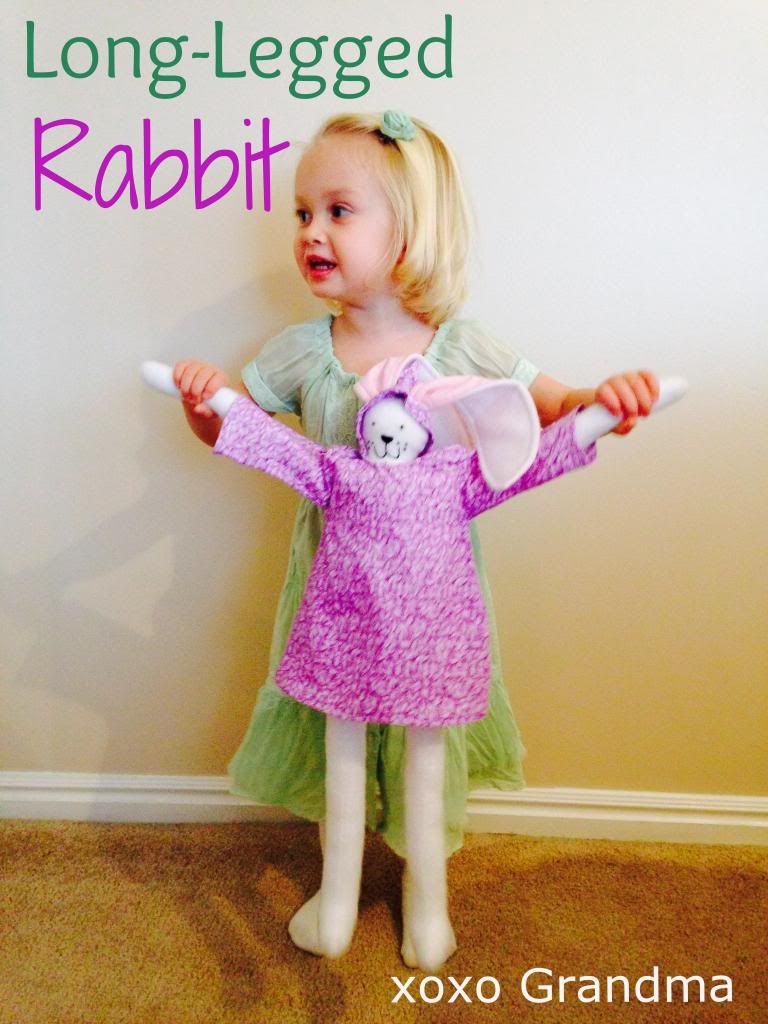
After I made my long-legged Santa, I started thinking that this same pattern could be tweaked a little to make a long-legged rabbit. It turned out pretty cute! If you think so too, here's what you'll need: go to this post to download the free pattern for the long-legged Santa. Now, download and print this free pattern for your long-legged rabbit's ears HERE. Make sure you print these patterns full size - do not print "to fit."
Easter is about a month away-- just the right amount of time to make one or more of these long-legged rabbits. In reality, this project should take a few hours using the instructions below:
- Cut out the pattern pieces omitting the gloves from this project. I used white fleece for the body and a thin pink cotton for the ear lining.
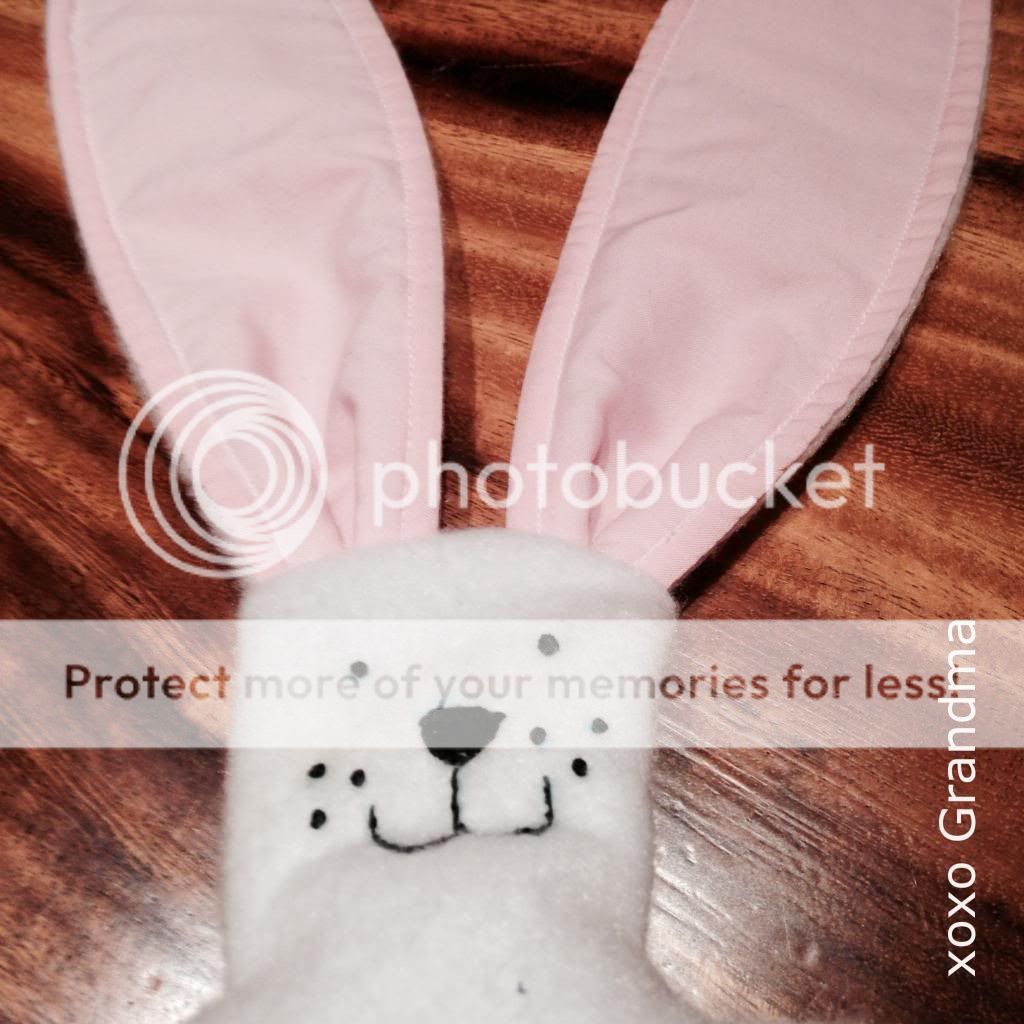
- Embroider the rabbit's face onto one body pattern.
- Sew the long ears together with a 1/4" seam.

- Turn the ears right side out and iron them.
- Top stitch at 1/4" around the edge of the ears.
- Pinch the ears together and make a 1/2" tuck in them.
- Baste the ears in place along the top of the head.
- Stitch around your rabbit making sure you tuck those ears in so they are not caught in the seams.
- Stuff the body except the head.
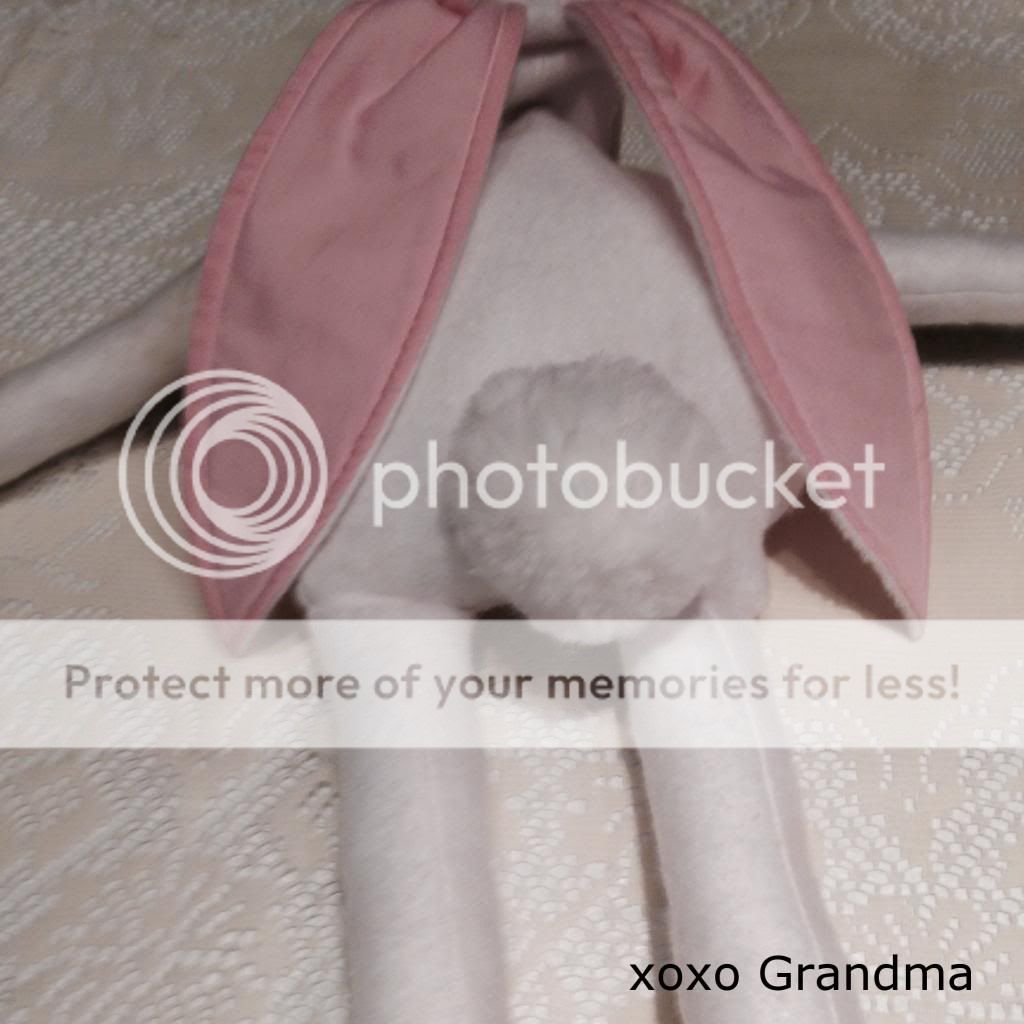
- Pin the large cotton ball so the cotton ball is at the bottom of his bum & between his legs.
- Once you like where the cotton ball is located, hand sew that tail in place.
- Make his coat. (I made two hoods and used one to line the other since my coat was made out of a cotton fabric. If you use fleece, you do not need to do this step.)
- Once the coat is sewn, try it on your rabbit.
- On the back of the jacket, mark the tail buttonhole about 2 1/2" up from center of the bottom hem. This button hole needs to be 2" long.
- About 3/4" from the edge of the hood and 1/2" from the center, mark both sides for the buttonholes for the ears to go through. These buttonholes need to be 1 1/4" long.
- Take the jacket off your rabbit and sew all three of these buttonholes. I hand stitched mine with two strands of embroidery floss.

- Now add the jacket back onto your rabbit and stuff it's head.
- Sew the side opening on your rabbit closed.


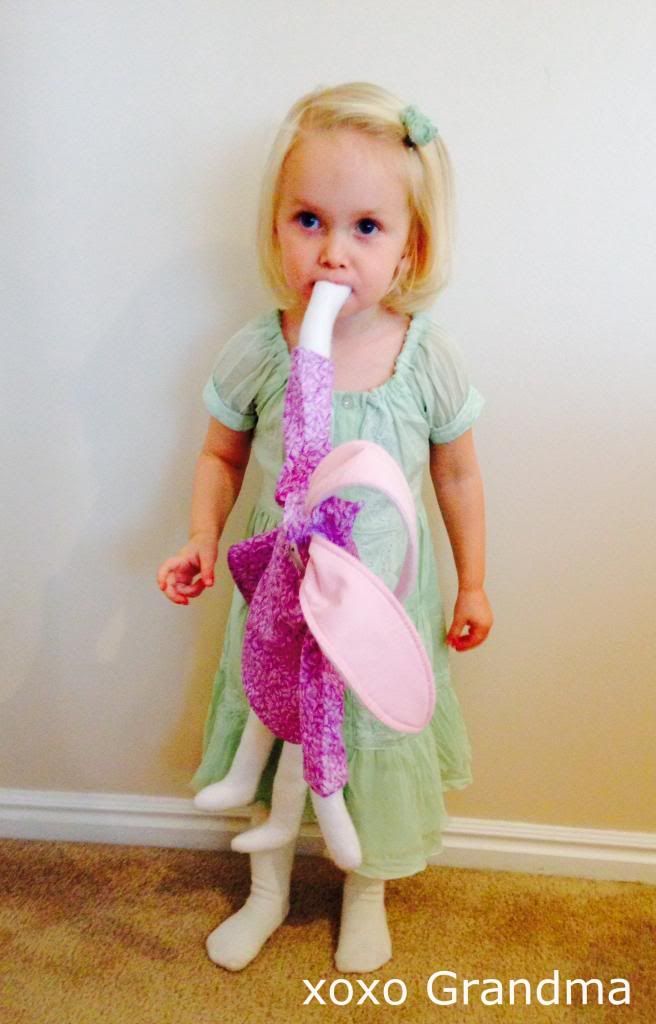 |
| Lastly, give this rabbit to a child and see how much fun they have with it. Apparently, this rabbit is fun to nibble on. |
xoxo Grandma
See this link: All Free Sewing Shared at these parties: The Dedicated House, Threading My Way, The Life of Jennifer Dawn, Sparkles and a Stoves, I Gotta Create!, Diana Rambles
No comments:
Post a Comment