
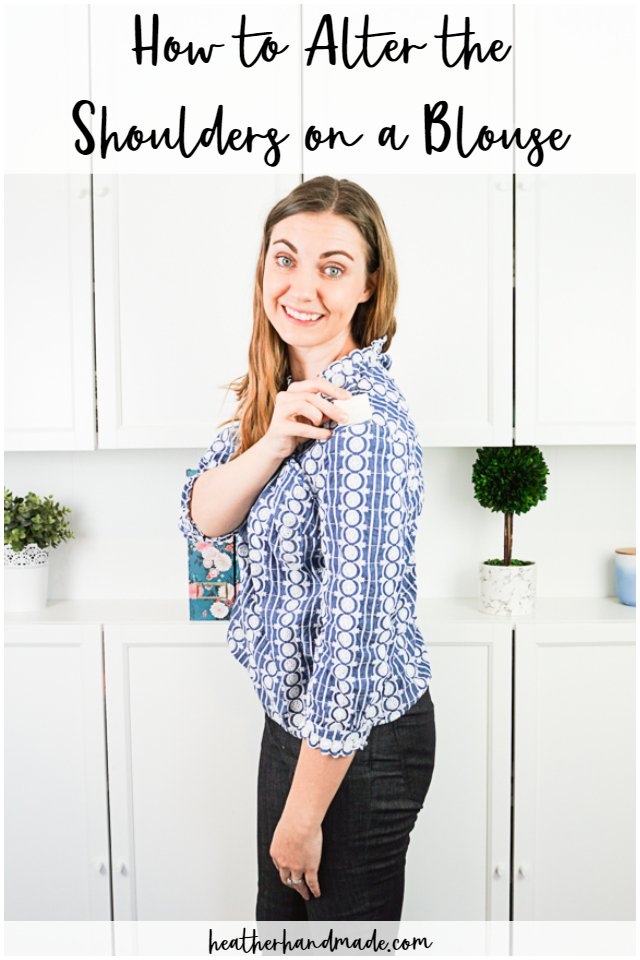
How to Alter Shoulders on a Blouse

This post may contain affiliate links.
If a blouse fits in the bust or hips, but it’s too large in the shoulders use this the alteration. Learn to alter shoulders on a blouse for a custom fit.
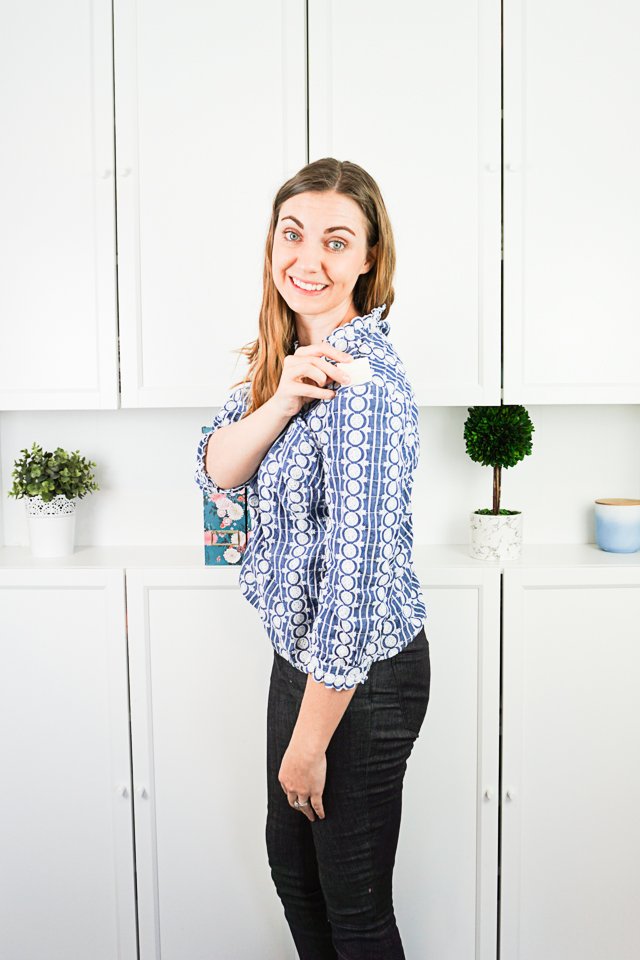
Sometimes when you buy a blouse it fits really well in the bust or it fits really well in the hips, but the shoulders are too big. This is a common fit issue with certain clothing styles and certain body types.
If your shoulders are more narrow than the blouse or jacket, then you can alter shoulders on a blouse to fit better by bringing the shoulders or sleeves in. This is one of the sewing and alterations you can do yourself!
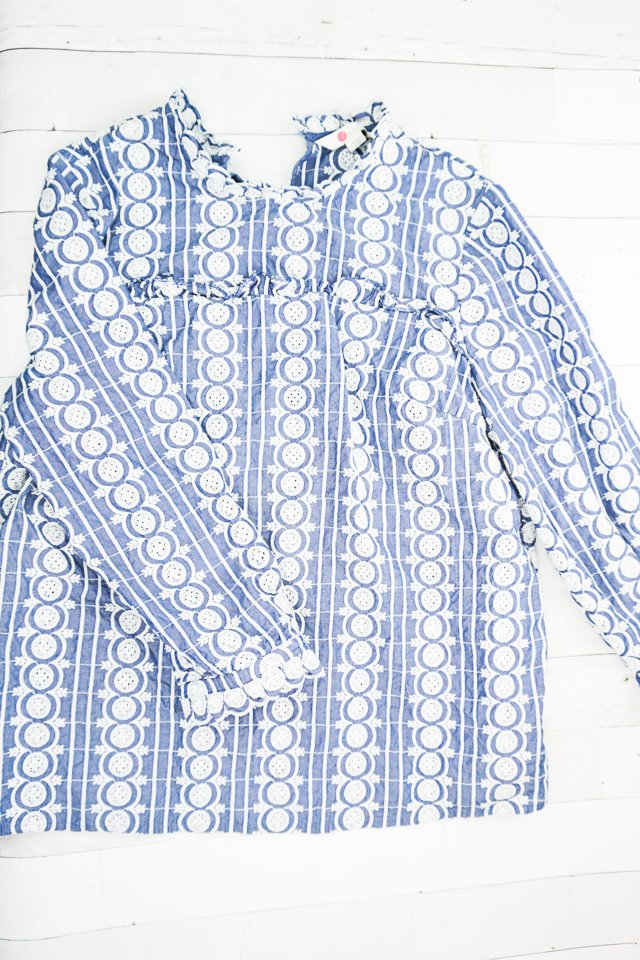
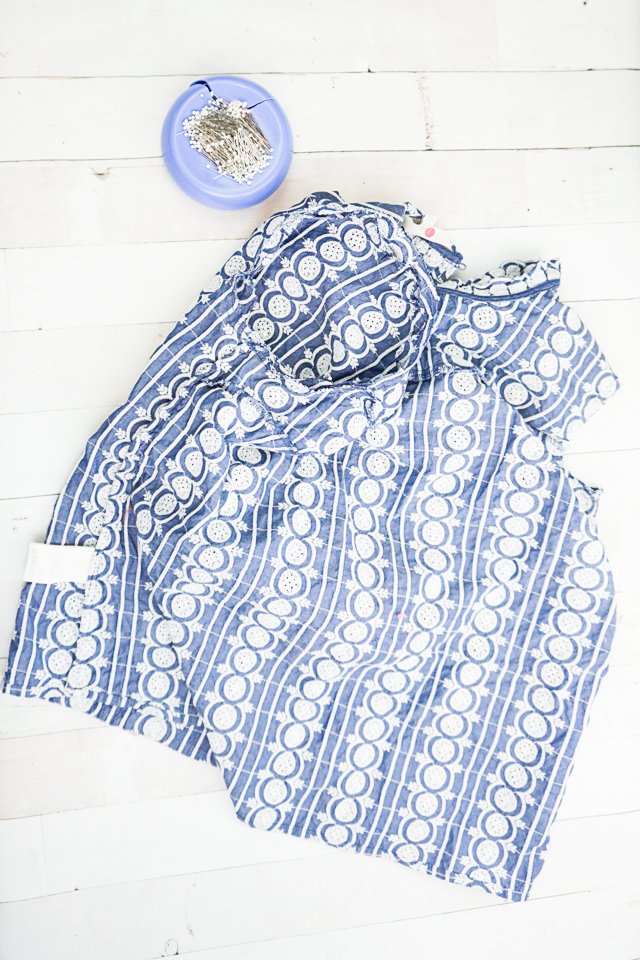
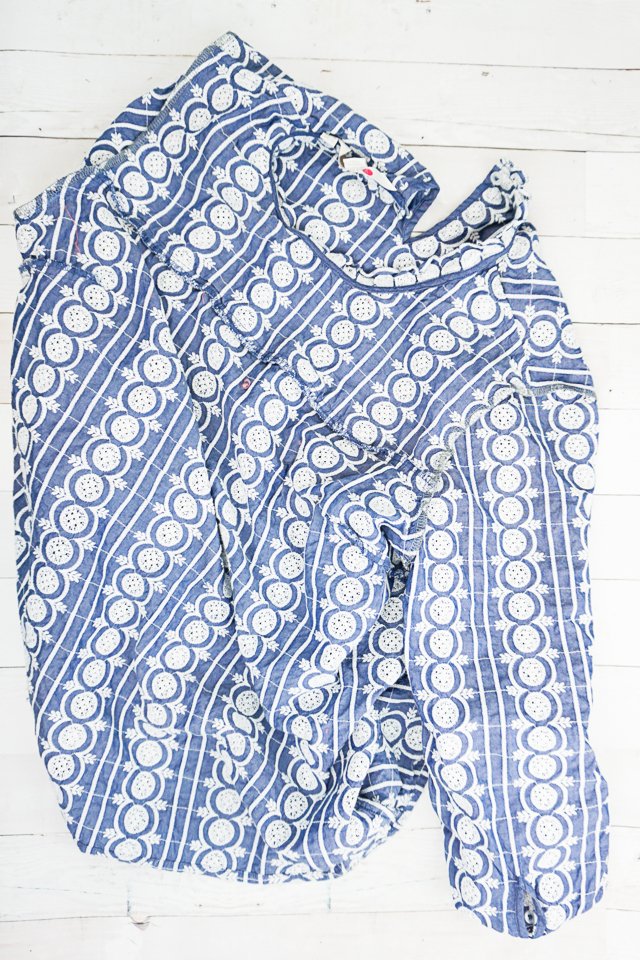
I found this beautiful embroidered blouse at the thrift store, and I fell in love with it. I put it on, and I liked the looser fit of the bust and the hips. Unfortunately, it was just a bit too wide for my shoulders, and I needed to fix it.
This tutorial is for a blouse or jacket that fits your bust, waist, or hips well with only fit issues in the shoulder area.
I do not recommend this tutorial for a blouse or jacket that is multiple sizes larger than your body. There are too many other details on the blouse that would have to be fixed or altered to make it look like it fits you.

Set-In Sleeve vs Dropped Sleeve
This tutorial is for a set-in sleeve and not for a dropped sleeve. A set-in sleeve requires a good fit around the shoulder for the arm to be able to have a full range of movement.
A set-in sleeve curves under the sleeve and up over the top of the shoulder kind of in an oval. A dropped sleeve starts off of the shoulder, and it looks a little more like a straight line.

How to Alter Shoulders on a Blouse
supplies
- Blouse that fits in the bust and the hips, but not in the shoulders
- Sewing tools
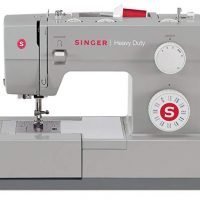
- Sewing machine
- How to sew sleeves
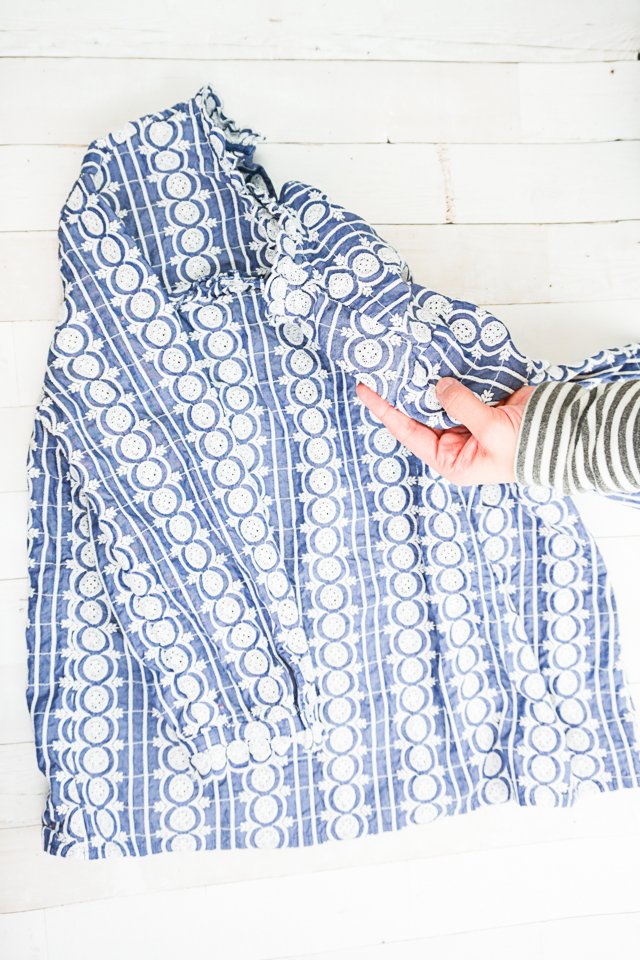
Put the blouse on with the correct underwear. (The underwear makes a big difference in how the clothing will fit.) Mark the new shoulder seam line. The classic place for the seam line is on the knobby bone that pokes up on your shoulder before it curves down to the arm.
Transfer the mark from one shoulder to the other shoulder. Mine is about 1/2 inch away from the sleeve.
Use a seam ripper and remove both of the sleeves from the blouse.
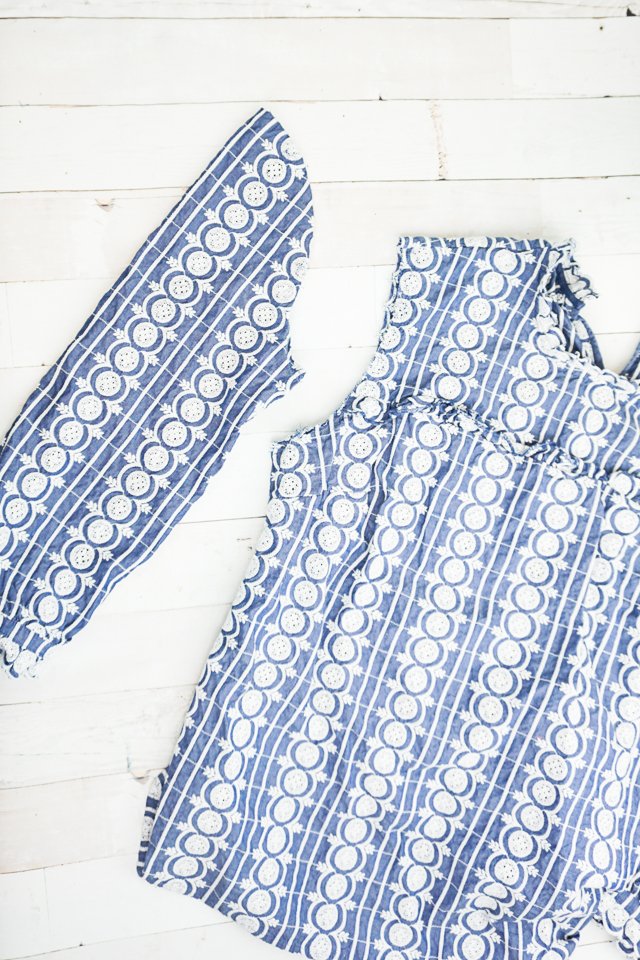
Pin the sleeve at the new seam line at the shoulder. Pin the sleeve into the new curve. Make the seam smooth between the original seam line under the sleeve and the new seam line on top of the sleeve.
If the sleeve still fits into the hole you can move on to the next step.
If the sleeve is too small to fit into the hole you can take in the side seam from the bottom of the armhole and tapering out to the hem.
Once the sleeve is pinned in, sew the sleeve in on the original seam on the sleeve which will translate to a new seam on the blouse.
Cut off the larger seam allowance on the blouse to match the sleeve and finish the edges with a serger or a zigzag.
Press the seam allowances towards the sleeve.
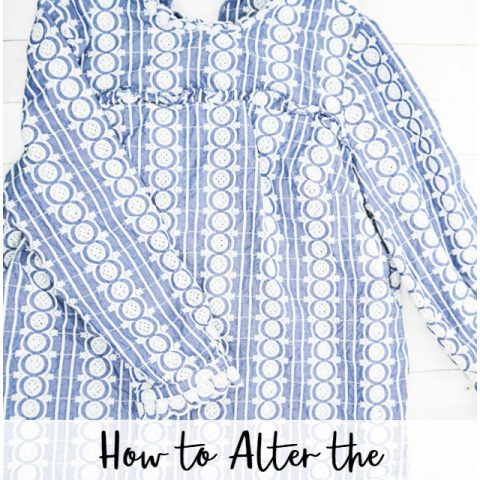
How to Alter Shoulders on a Blouse
If a blouse fits in the bust or hips, but it's too large in the shoulders use this the alteration. Learn to alter shoulders on a blouse for a custom fit.
Materials
- Blouse that fits in the bust and the hips, but not in the shoulders
Tools
- Sewing tools
- Sewing machine
Instructions
- Put the blouse on with the correct underwear. (The underwear makes a big difference in how the clothing will fit.) Mark the new shoulder seam line. The classic place for the seam line is on the knobby bone that pokes up on your shoulder before it curves down to the arm.
- Transfer the mark from one shoulder to the other shoulder. Mine is about 1/2 inch away from the sleeve.
- Use a seam ripper and remove both of the sleeves from the blouse.
- Pin the sleeve at the new seam line at the shoulder. Pin the sleeve into the new curve. Make the seam smooth between the original seam line under the sleeve and the new seam line on top of the sleeve.
- If the sleeve still fits into the hole you can move on to the next step.
- If the sleeve is too small to fit into the hole you can take in the side seam from the bottom of the armhole and tapering out to the hem.
- Once the sleeve is pinned in, sew the sleeve in on the original seam on the sleeve which will translate to a new seam on the blouse.
- Cut off the larger seam allowance on the blouse to match the sleeve and finish the edges with a serger or a zigzag.
- Press the seam allowances towards the sleeve.
Notes
Learn How to sew sleeves
Recommended Products
As an Amazon Associate and member of other affiliate programs, I earn from qualifying purchases.
If you alter the shoulders on a blouse using this tutorial, I’d love to see! Please share it on social media with the hashtag #heatherhandmade and tag me!

I believe small sewing moments can create great joy. Find your own “right” way to sew. -Heather
Thank you for the tutorial but agree with others as to the business of the shirt pattern. I’m so excited I e found you!
I was excited to learn how to alter shoulders but was not able to see what was being accomplished. Please use a plain medium colored material for demonstration.
I need help adjusting the length of my shirt from the bust to the shoulders. I’m a short girl and I always want to grasp the top of the shoulders and pull the neckline up an inch or more. I’m guessing I’d have to reset the sleeves? How do I do this?
Yes, I’ve done this alteration before. You take the sleeves completely off, resew the shoulders to remove the excess, cut the armhole lower (usually the same amount you bring up), and then sew the sleeve back on. I hope that makes sense!
Thank-you for the post. I need this help, but just couldn’t visualize it because of the coloring and fabric pattern. Would love to see you do one with a solid fabric and contrasting thread for those of us who need a strong visual picture.
love your tutorial, but found it difficult to see the markings for the adjustments on the fabric as the markings are very light against the busy fabric