
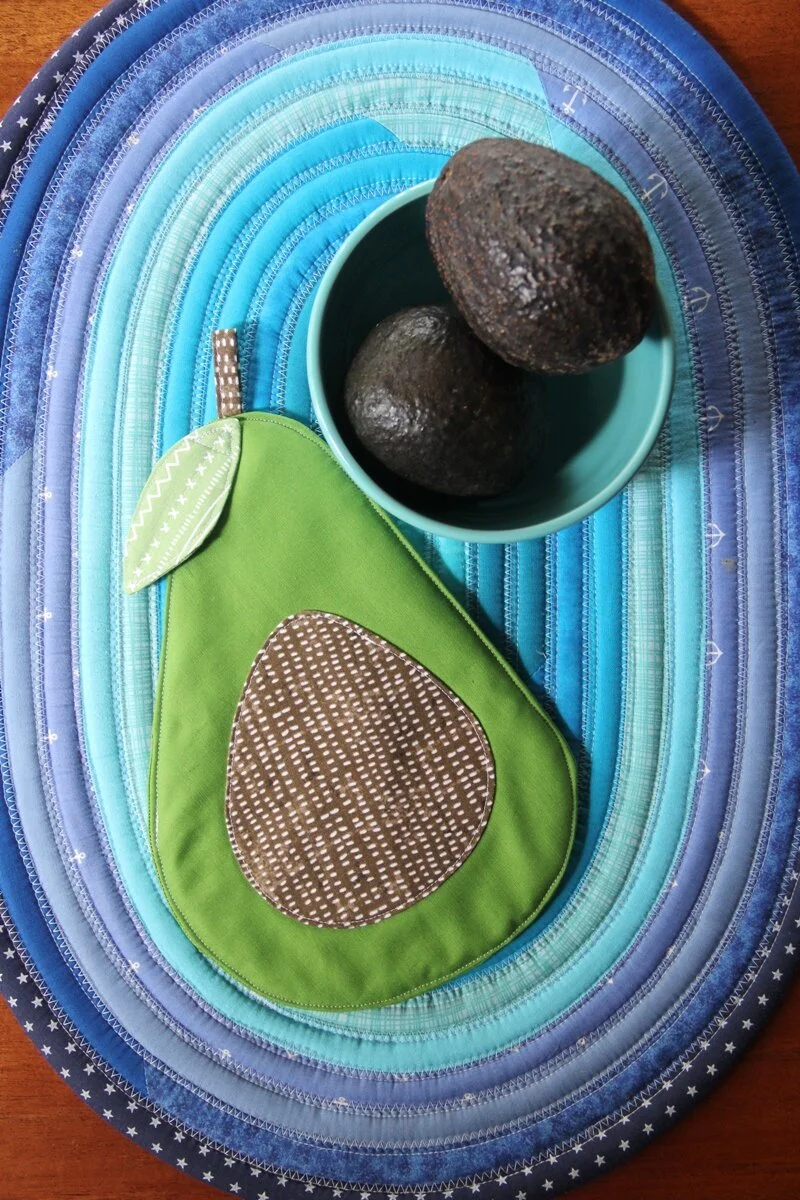
Do you like avocados (and avocado hot pads)? I think everyone around here would eat them every day if we could. I’m sure it’s mostly the taste, but it’s a little bit of a challenge too. How many foods sit there looking at you saying “Too green…too green…too green…oops, you blinked and now too brown”???

I’m here today with an avocado that will never tip over into that too ripe zone. Not into avocados? I realized as I was making this that if you left off the pit you’d have yourself a cute pear instead!
This post contains affiliate links. For my full disclosure policy, click here.
To make this you’ll need:
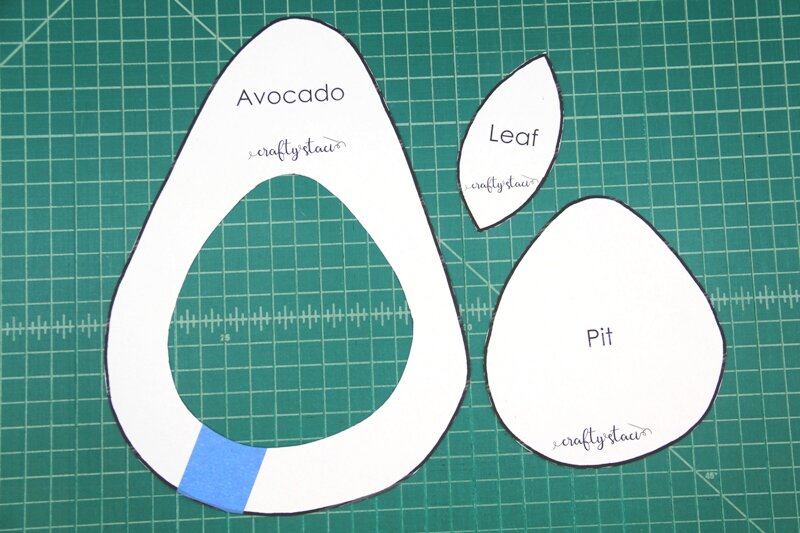
this pattern template, printed
green cotton fabric (avocado)
green cotton fabric (leaf)
brown cotton fabric (pit and stem)
thin batting

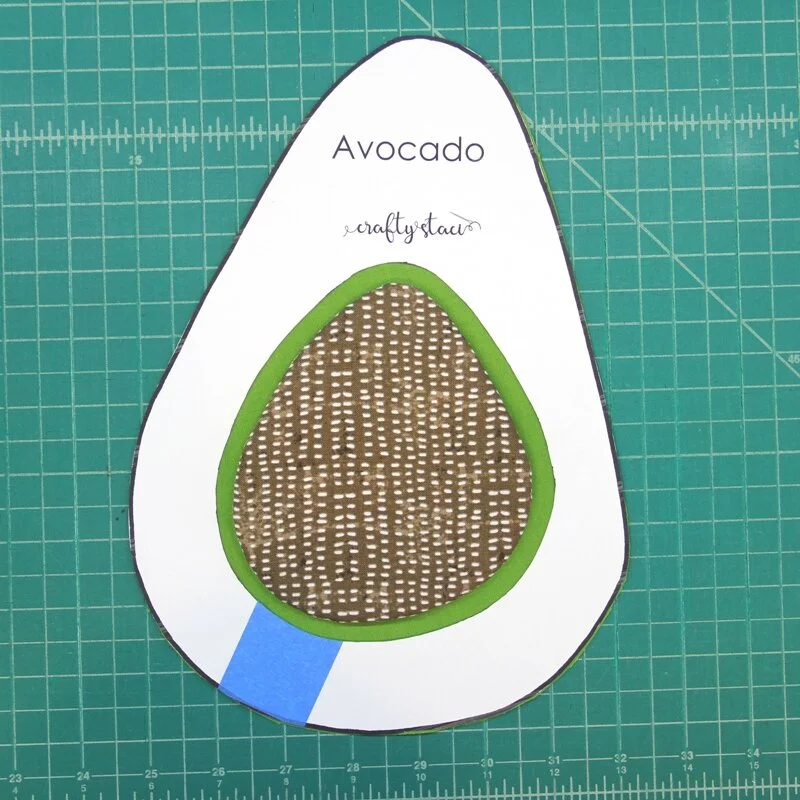
Cut out the paper templates. To get to the pit at the center of the avocado, just cut in from the edge, cut around the pit, then tape the slit back together. You won’t cut the center out when cutting around the template on the materials.
All seams are 1/4”, unless otherwise noted, and that seam allowance is included on the templates.
Cut:
green fabric (avocado)
2 avocados from template (flip the second so they’re opposites)
green fabric (leaf)
2 leaves from template (flip the second)
brown fabric
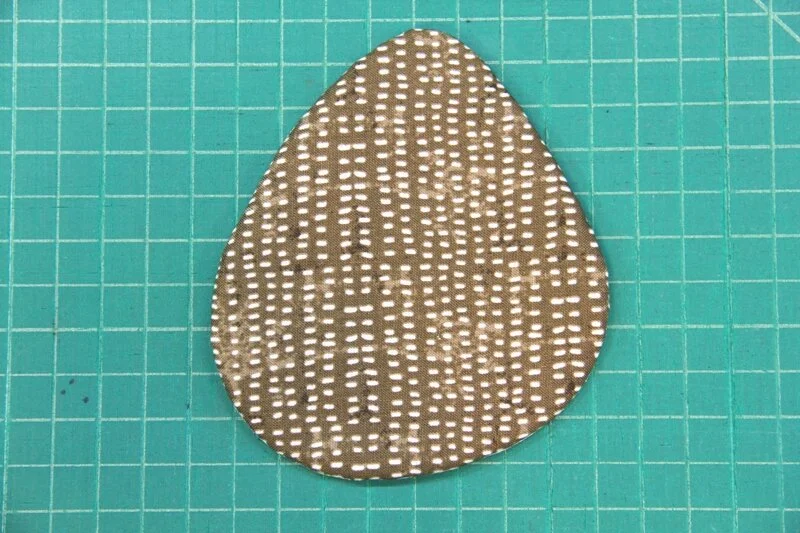
1 pit from template
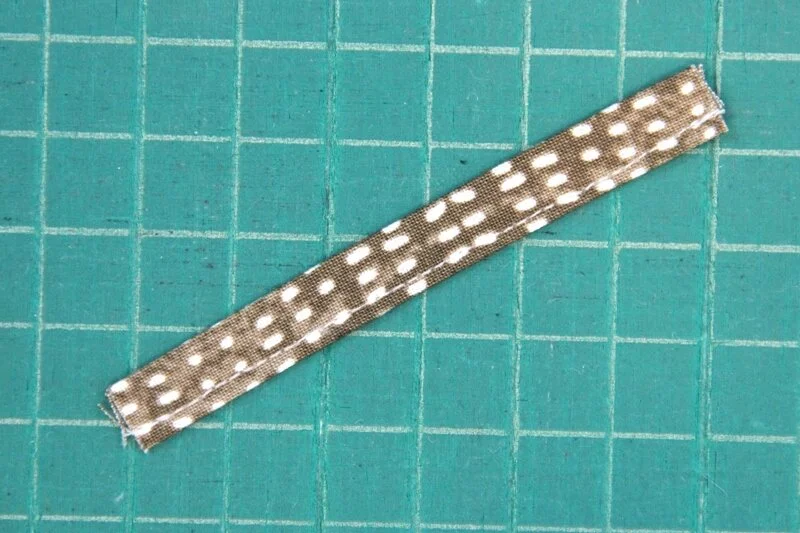
1 1/2 x 3 1/2” for stem
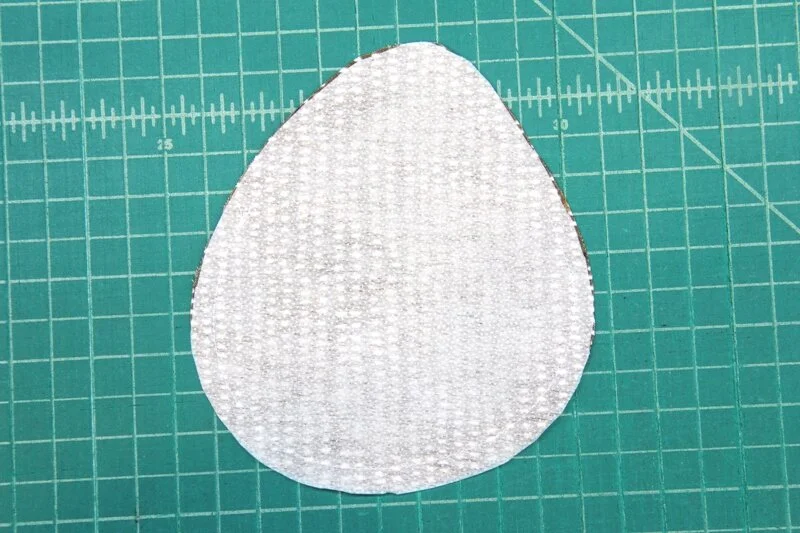
thin batting and insulated batting
1 avocado from each
fusible interfacing
1 pit from template (with fusible side of interfacing down)
2 leaves from template (flip second)

Fold the 1 1/2 x 3 1/2” stem lengthwise with wrong sides together and press. Fold the edges in to the center and press again.
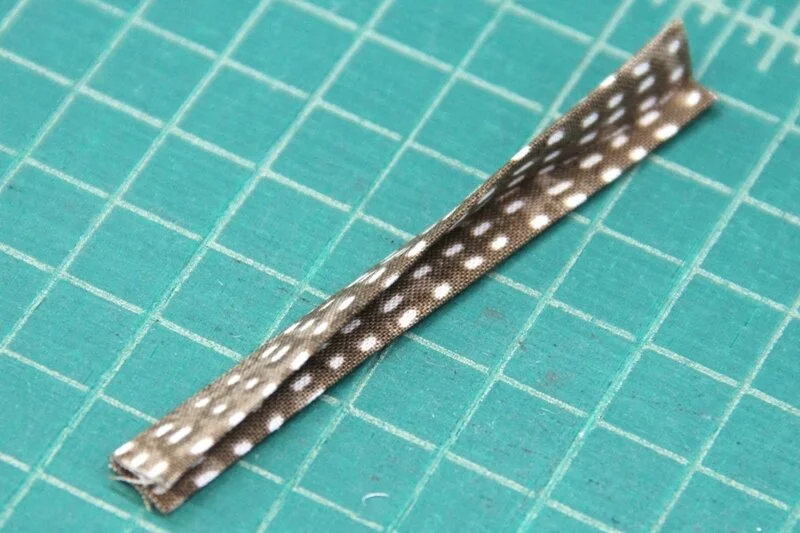
Stitch close to the double-fold edge. Set aside.
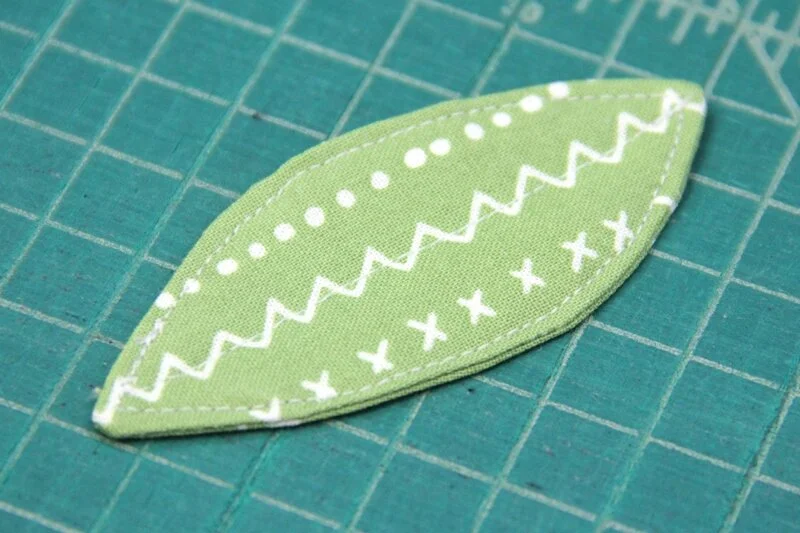
Apply the fusible interfacing to the wrong side of each leaf. Pin the leaves with right sides together. Stitch around 1/4” from the edge, leaving 1 1/2” unsewn on one side for turning. Trim the corners and turn right side out.
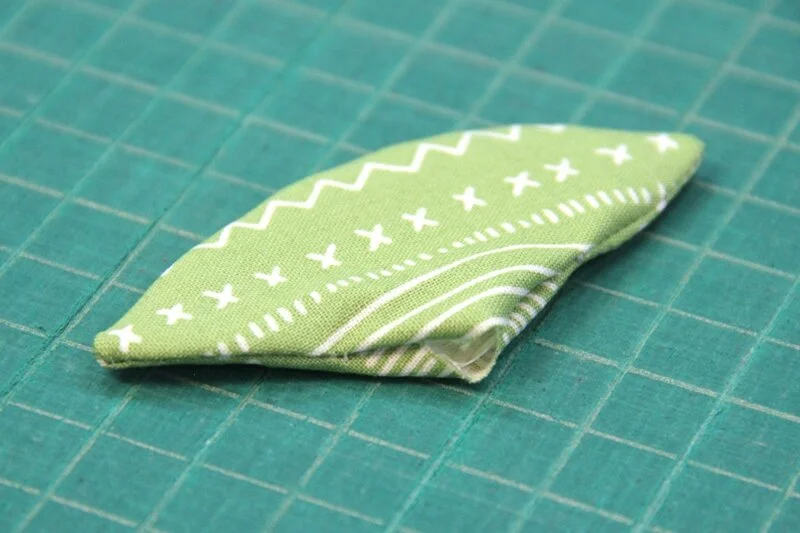
Press, turning in the opening. Stitch around the leaf, close to the edge and down the center. Set that aside as well.
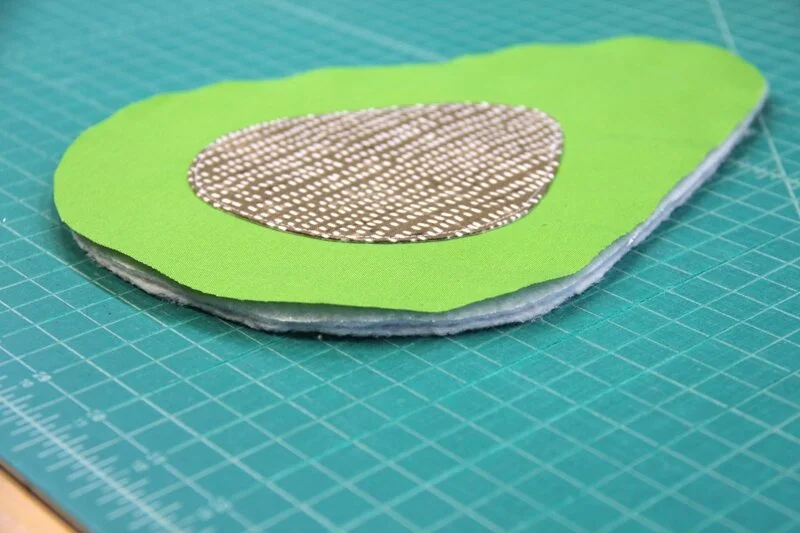
Pin the interfacing to the fabric pit with the fusible side facing the right side of the fabric. Stitch 1/4” from the edge.
Carefully cut a 2 - 3” slit through the interfacing only, not the fabric.
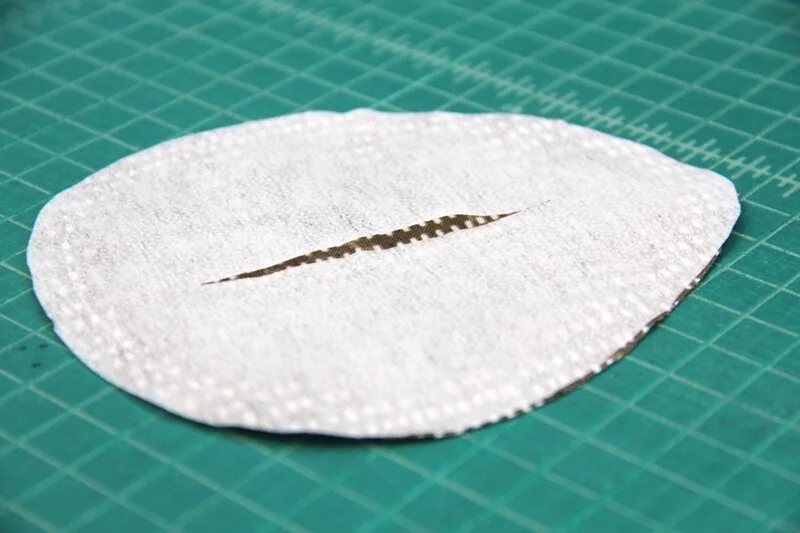
Trim the seam around the edge to 1/8”. Carefully turn the pit right side out through the slit. Do not press yet, unless you want the pit adhered to your ironing board.
Lay the paper template over the front avocado and use the cutout to center the pit on top.
Press the pit to adhere it to the avocado. Stitch around the pit close to the edge. If you’re only going to actually use this as a hot pad, I recommend sewing it on with the machine, however if it will be decorative, you could do some fun stitching around the edge with pearl cotton.

Lay out the thin batting, the insulated batting, and the avocado front with the pit side up.
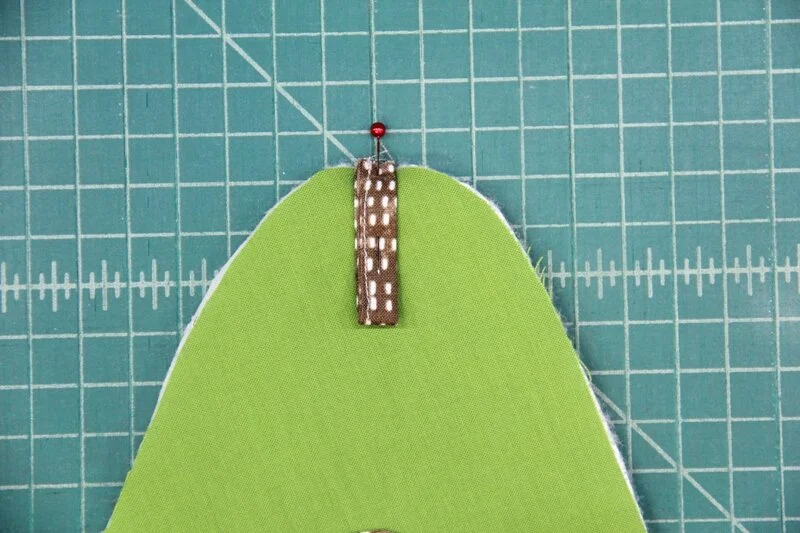
Fold the stem in half and pin it the the top center of the avocado. The edges should be even, with the stem to the inside. Made sure the pin head is to the outside so it can be easily removed while sewing.
Pin the avocado back on top with right side down.
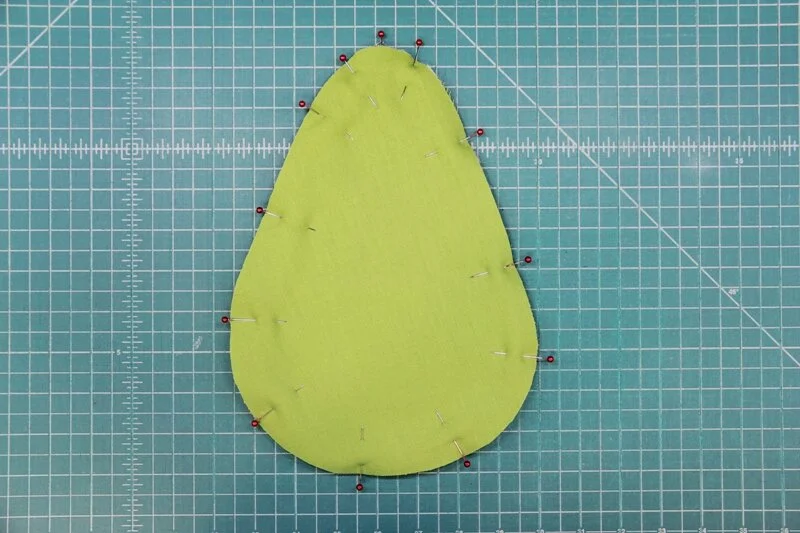
Stitch around 1/4” from the edge, leaving 3” unsewn on one straight edge for turning. Backstitch over the stem for extra strength as you sew over it.

Trim or clip the curves. I like to trim them. Turn the avocado right side out. Press, turning in the opening.
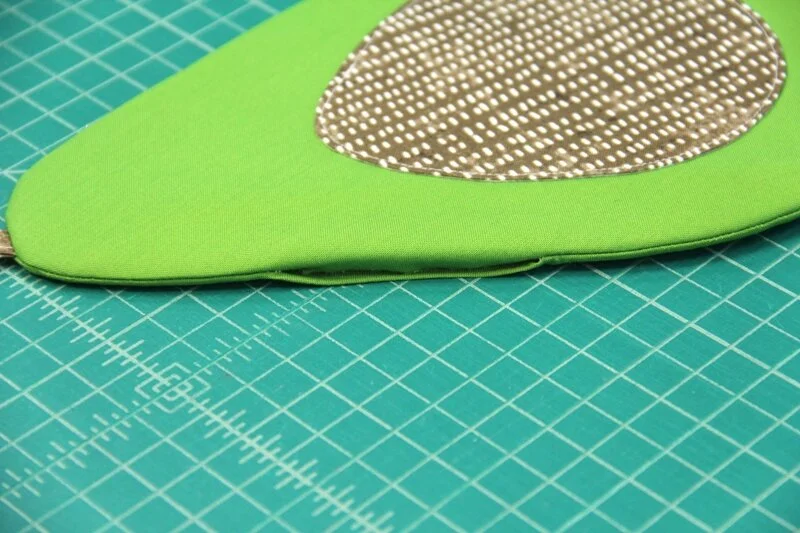
Top stitch close to the edge, all the way around the avocado.

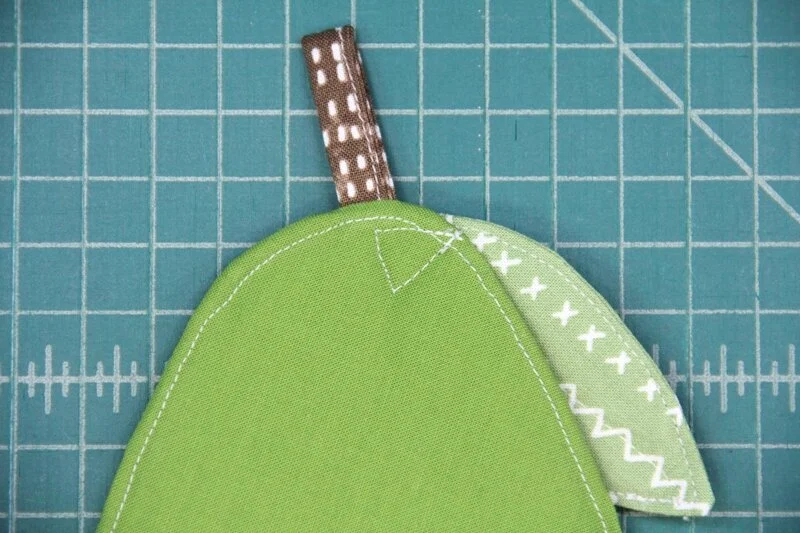
Stitch the leaf to the top by sewing a triangle through all layers near the tip.

Here is what that looks like from the back. Again, if you’re using this decoratively, you could sew a cute button at the tip of the leaf on the front.
Now, the big question is, do I use this in the kitchen inside the house?
Or in the outdoor kitchen? I think I’m going to need a couple of these!

