In case you missed my guest post on Kojo Designs “Gifts for Guys” series, here is my tutorial for a men’s toiletry kit (aka Dopp Kit or Shaving Kit).
I find guys to be the hardest people to buy for when it comes to gifts. I made a commitment this year to only give handmade gifts so coming up with gifts for guys has been taken to a whole new level.
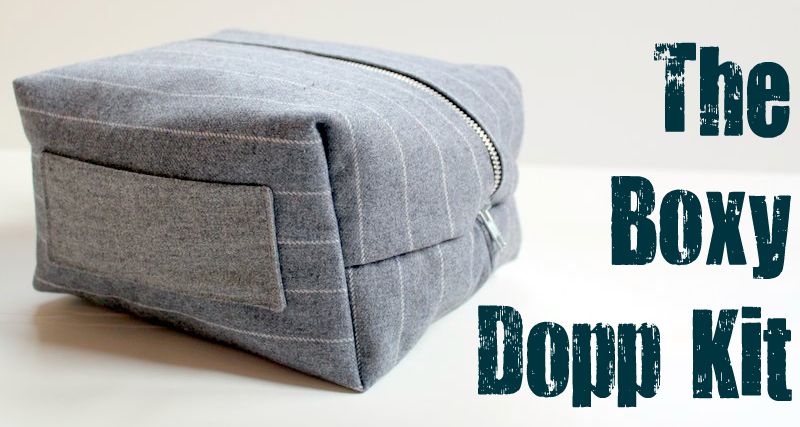
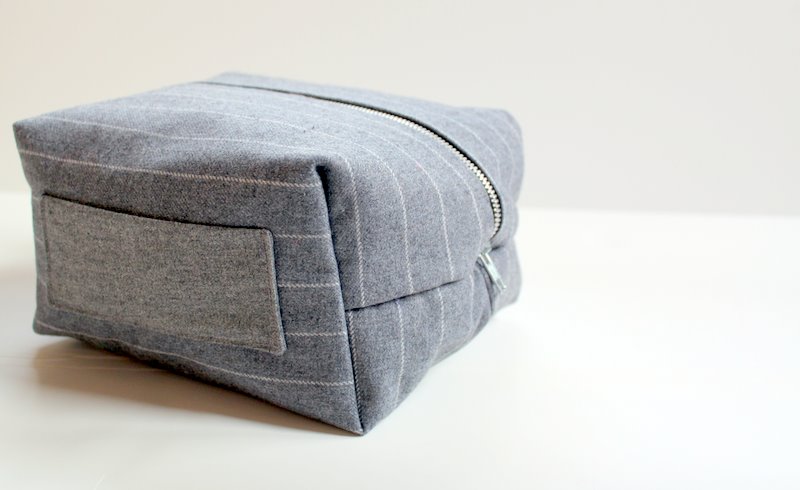
My husband has had his Dopp Kit since he was 13 years old, yes that’s right, 13!!! It is definitely in a sad state right now, so I decided it was time to make him a new one. A Dopp kit is also known as a shaving kit, a man’s toiletry kit……….but I like the sound of “Dopp”…….sounds pretty manly, right? And that’s what my Dad always called it.

Apply light-weight interfacing to all four pieces of fabric (follow manufacturers instructions). This is just inexpensive one-sided interfacing. The interfacing is going to help the Dopp kit keep its shape.

Fold the 5″ x 6″ piece of coordinating fabric in half length-wise. This will be used for the handle on the kit.
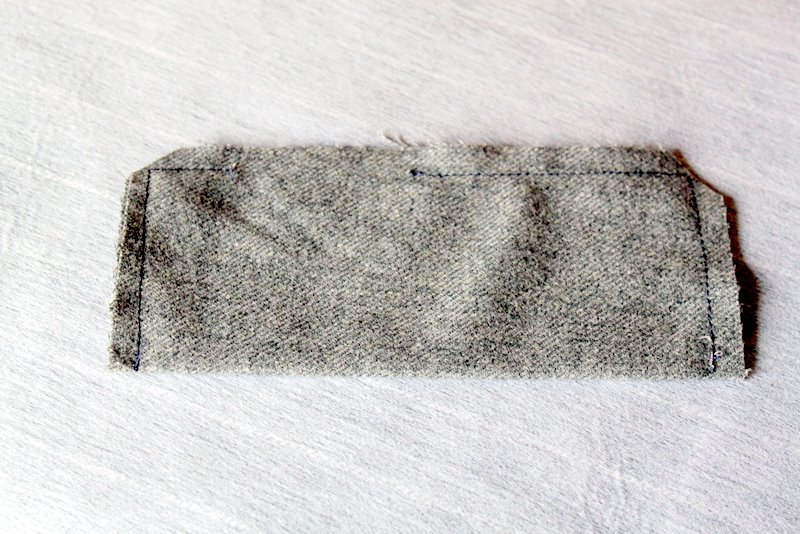
Stitch around the handle fabric, but leave a small opening on the straight, long edge. Clip the corners.
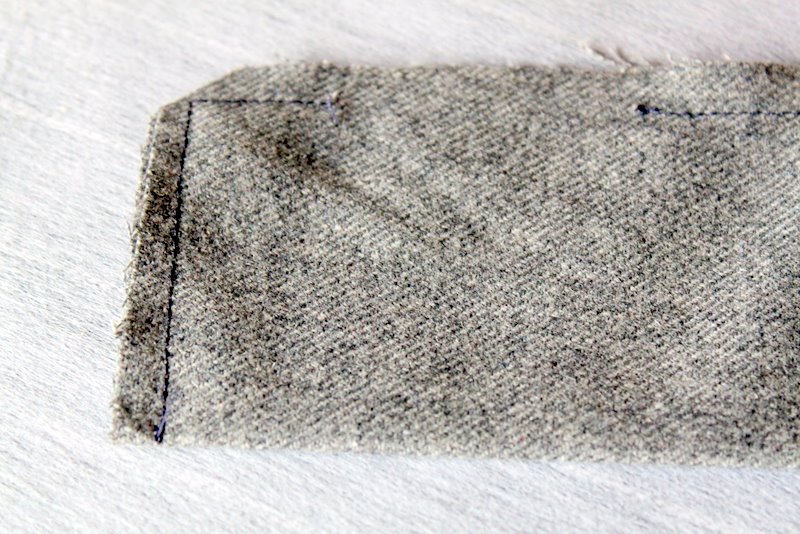

Turn handle fabric right-side out and hand-sew the opening closed. Press with your iron.
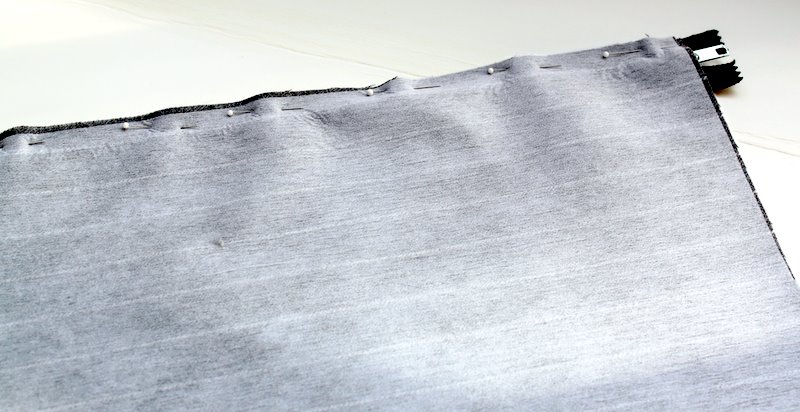
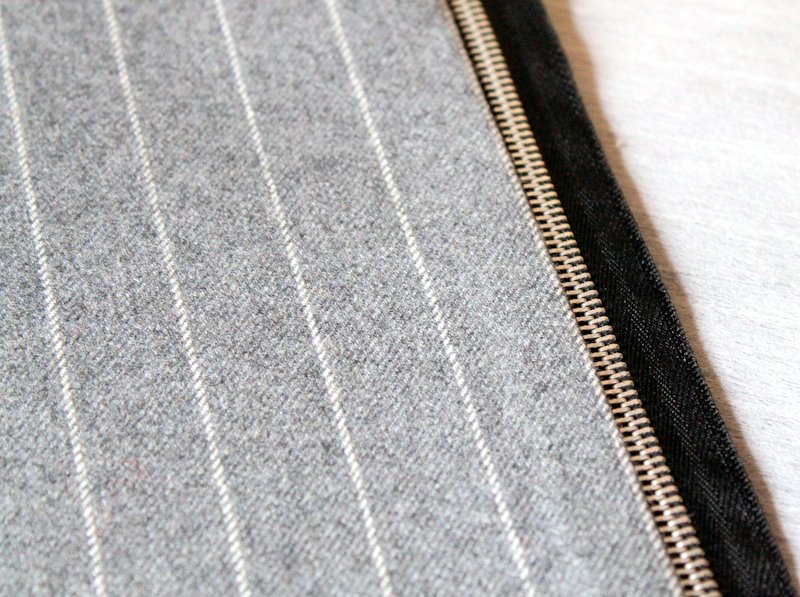
Now to insert the zipper. Make a “zipper sandwich”. Place the right-sides of two of the fabric pieces together and place the zipper in between. Line up the raw edges of the fabric and the raw edge of the zipper. Pin in place.

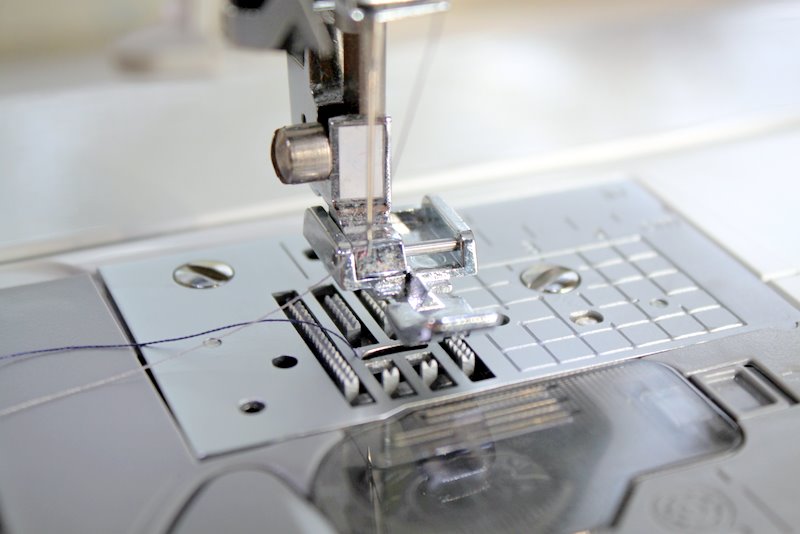
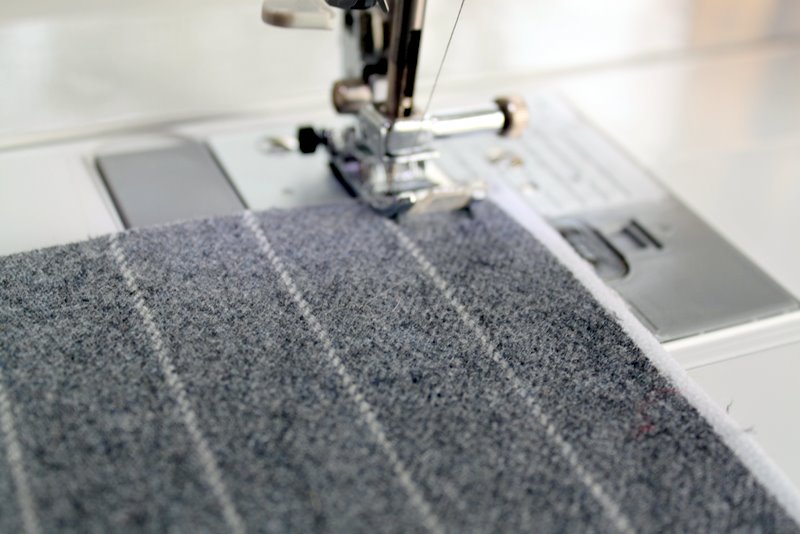
Attach your zipper foot to your sewing machine for the following step.
Stitch zipper in between the two layers of fabric.
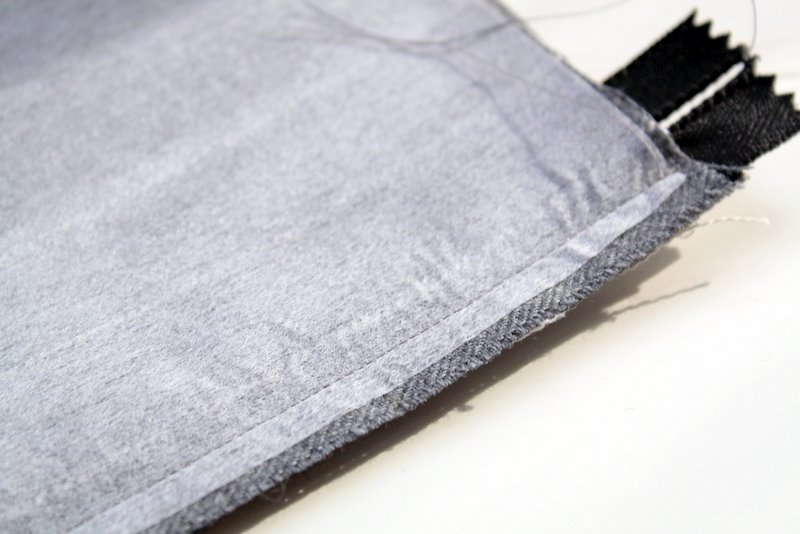

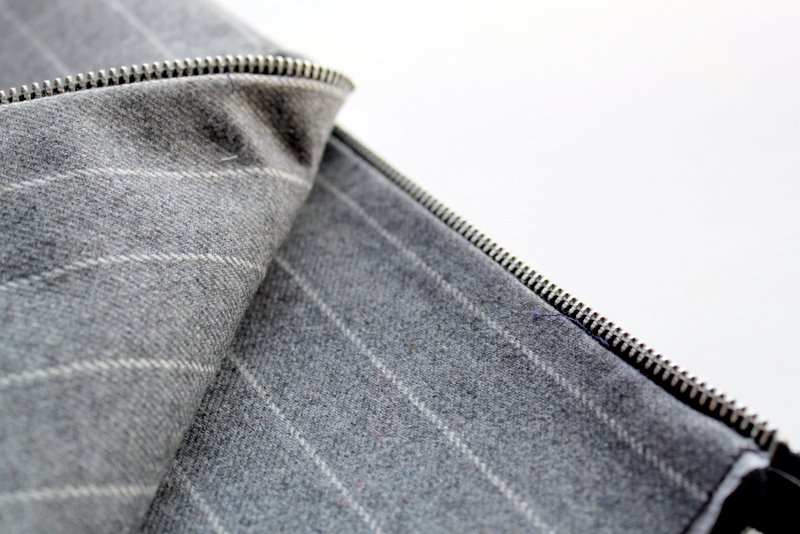
Turn fabric pieces right-side out and press seams open. Now do the exact same thing with the other two pieces of fabric on the other side of the zipper.


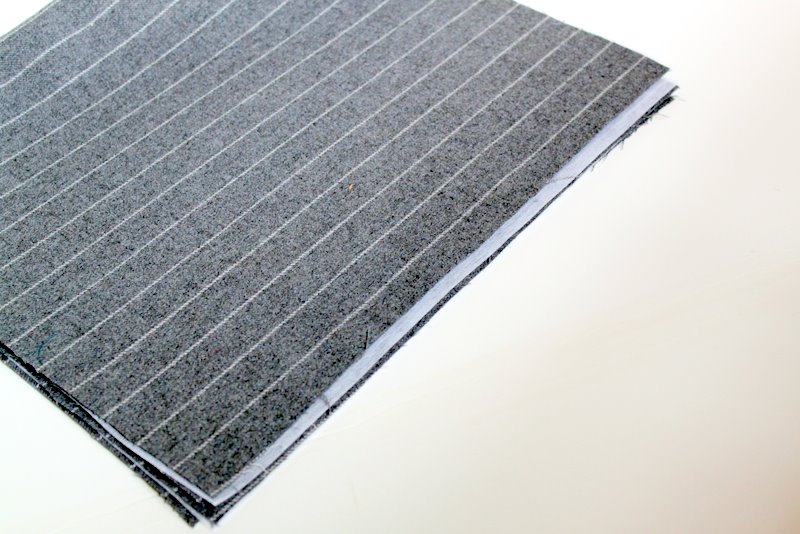
Press all seams for exterior fabric and lining.
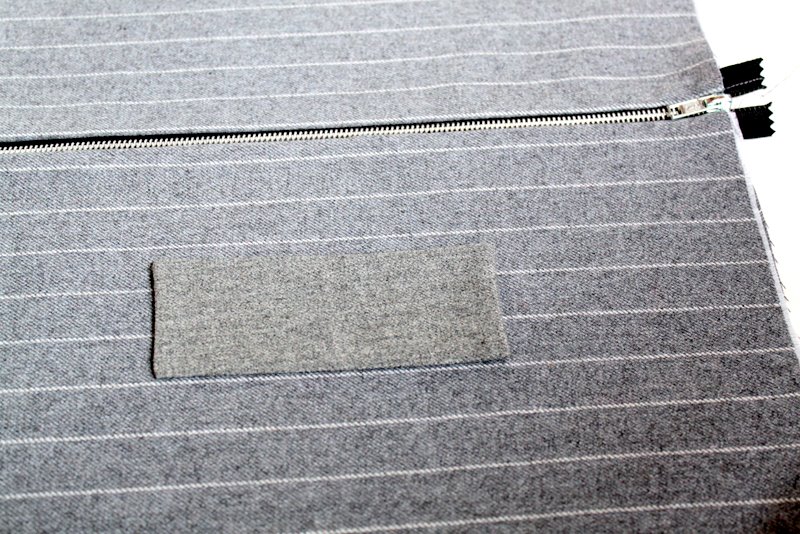
Place the fabric handle piece half-way down one of the exterior fabric pieces. This should be in the very middle of the rectangle. Stitch in place on both short sides. Make sure to only stitch this to the exterior piece of fabric. If you would prefer this to be a pocket, instead of a handle, stitch on both short sides and one long side.
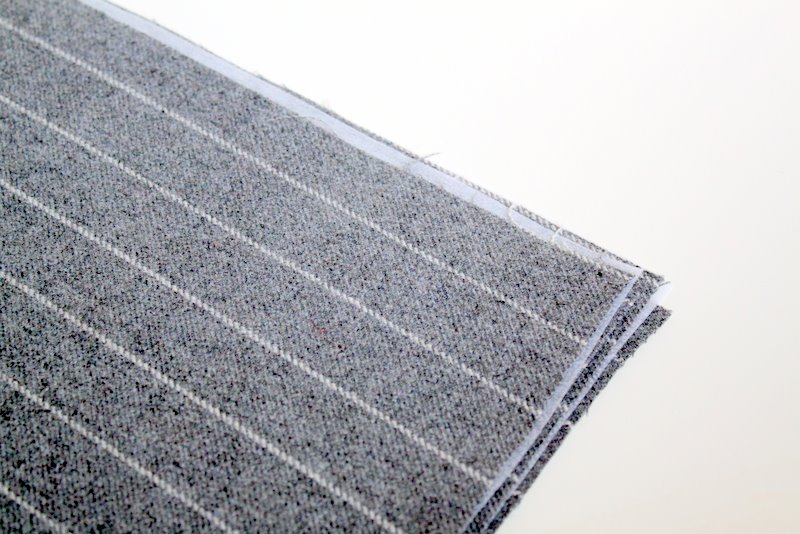
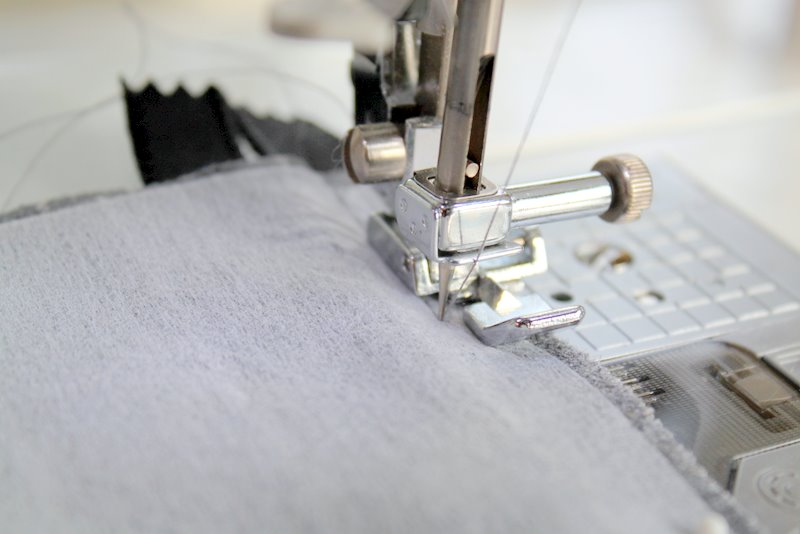
Turn your fabric now so that the lining is on the outside. Line up the bottom four fabric pieces and stitch all the way along the bottom. 5/8″ seam allowance.
After you have stitched the bottom closed, open up your zipper part way.

Now fold your fabric out so that the zipper is running down the middle and stitch both side seams closed. 5/8″ seam allowance.

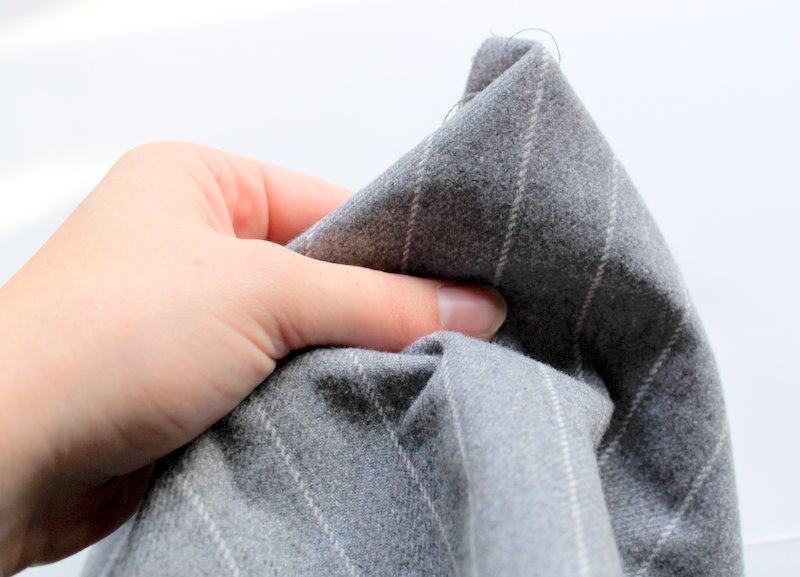
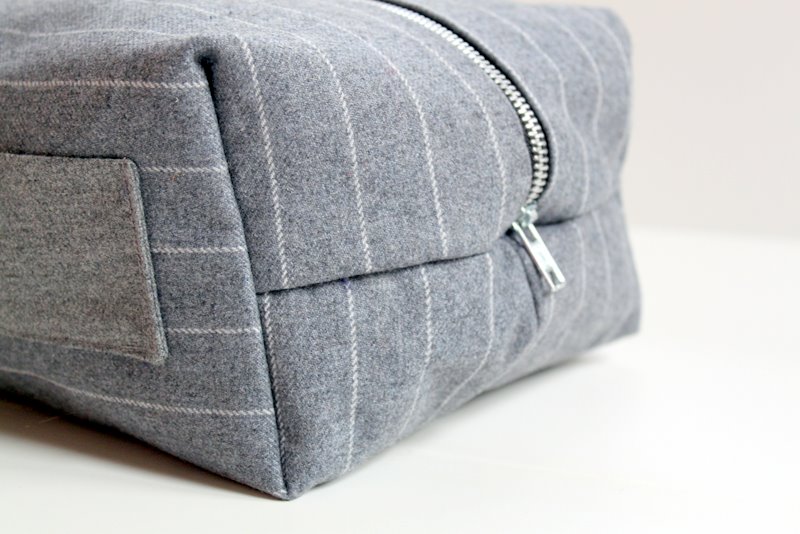
Now pinch your corners. This is going to give your bag its height. I originally pinched my corners 4″, but then went back and pinched them to 7″. I would recommend 7″ for the sizing I have listed.
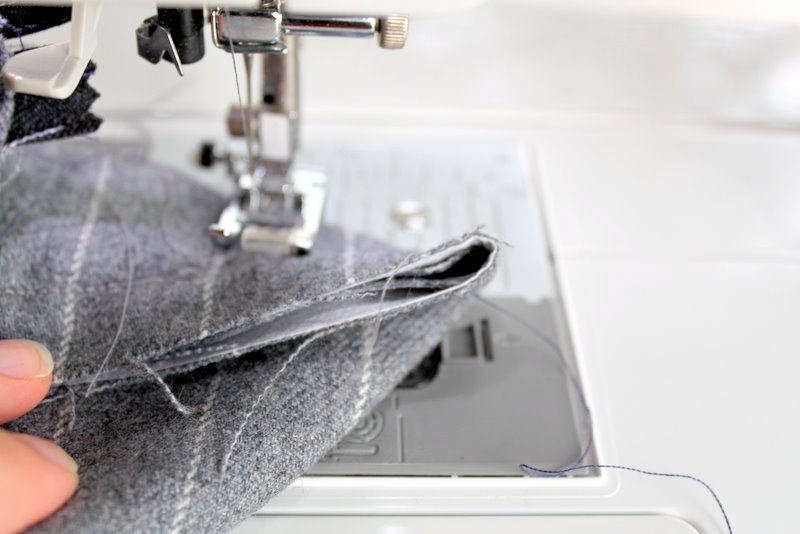
Stitch the corners in place by using a straight-stitch.

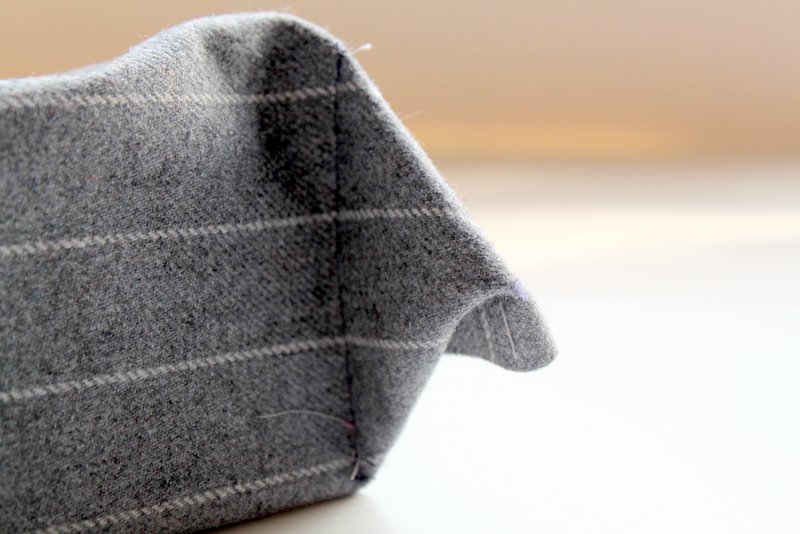
Cut off the excess material from each corner. I used my serger to finish the edge since the wool suiting tends to fray. Use a zig-zag stitch, if you prefer, or just cut away with pinking shears. In retrospect, I probably would have serged all my edges before starting this project. Just something to think about if you plan to use wool suiting.


This Dopp kit could be made in many different fabrics. If you decide to use a more basic cotton, then I would recommend using a heavier interfacing to make sure the bag holds its shape well.


 Lindsay Wilkes is the owner and designer behind The Cottage Mama. She creates timeless, vintage inspired sewing patterns for children’s clothes. She is also a fabric designer for Riley Black Designers / Penny Rose Fabrics, author of the book ‘Sew Classic Clothes for Girls’ and can be seen teaching nationwide and online in her video series ‘Lessons with Lindsay’ sponsored by Baby Lock Sewing and Embroidery machines.


This is waaaaayyyyy cool Lindsay! I’d love to make one for my man as a birthday present. Thank you so much for sharing!
We are dedicated to bringing you the very latest range of stylish and modern gifts, Vintage jewelry gadgets and home wares from all around the world
thanks for reposting, i totally missed it the first time around. i have to laugh my hubby has had his for upteen years too! You know one of those pleather ones:) this one is completely adorable. love the fabric you used, now i just wish i had a searger.
I found this tutorial via Pinterest and I am so glad I did! My husband has had the same travel bag since before I met him and it’s time for a new one! I’m going to be making this for him for Christmas. Thanks for sharing!
This is a wonderful idea. I have several wool suits of my dad’s that no longer fit him, and have been looking for a dopp kit for my 16 year old son – what a great gift, to use his Grandan’s old suit! I’m lining mine with a waterproof laminated cotton for easier wipe down inside. Thanks for the marvelous idea!! (now one more project to finish in the next 11 days – YIKES!)
Loved this! I have a couple guys in my family that are so hard to get gifts for. This is perfect and I can put little goodies inside for snacking. Thanks
Such a great idea! Can’t wait to try this one myself!
Thank you for sharing!
-Anna
shinelikeglitter.blogspot.com
These make great small project knitting bags too.
Fabulous! I want to make my husband a bag for his shaver, so he doesnt keep mixing it in with his regular travel bits and end up with little whisker bits all over his toiletries!
Hi Lindsay, we love your tutorial and want to share a link to your project for our readers at WeAllSew.com this Friday. Please let me know if you have any questions about being featured at Bernina’s WeAllSew.com blog. – Erika
What a great project to repurpose and old suit or slack pants. I love the idea of using a loved ones’ items and the waterproof inside is a super tip. I saw that they now make iron on vinyl and would be good to apply to a contrasting inside…I just want to say thanks for the idea
Would you please tell me the finished height of the Kit? This is a great idea.
[email protected]
Hi all,
nice ideas for gifts: if anyone need more ideas check gifts for him
Thanks
A nice tutorial, I will try this and give my finish product to my father.
Hi, I am going to make this but much smaller. Could I please get the dimensions of the final product? Thanks so much for this tutorial!
Hi!! Great idea and tutorial, I´m definitely sewing this for my boy!
Thank you so much!
Thanks for the marvelous idea!
Pawnbroking
Do you have a way to make this tutorial printer friendly?
That would help save on paper and ink if you could. Thank you.
OK thank you.
trés trés sympa et
merci pour les explications
Oh this is great for Father’s day coming up! Thanks for a great tutorial! I copied and pasted into WORD and it still was 27 pages to print, but I like Pictures so it didn’t bother me to have lots of pages! To me, pictures can say what words can’t in sewing especially. Great job!! Thanks again for sharing!
Excellent tutorial. Men are always notoriously difficult to buy for and this is a perfect solution. Mahalo.
I made this and something went terribly wrong. Mine turned out cube shaped instead of a rectangle. I “pinched” the corners seven inches and that seems to be where things went bad. I’m thinking I shouldn’t have done 7 inches. Any thoughts?
I think it’s meant to be a cube!
Just in the middle of making this and not sure if I attach the zipper to the 13 or 14 inch side of the fabric? Thank you!
Thanks for you fantastic tutorial. I made one as a gift for Christmas and it turned out great 🙂
Check it out here if you like: https://afterdarksewing.wordpress.com/2015/01/13/a-mens-dopp-kit/
I like it! This dopp kit will make a very nice birthday gift for my Pastor.
I just hope I can make it just as good as the tutorial have it.
And have it ready by Saturday too. Thank you.
I like this dopp kit and, it will make a very nice birthday gift for my Pastor.
I am going to get on this right away. I need to have it readyby Saturday.
Thank you.
Just finished this. Very nice idea. I pinched the corners at 7″ and it came out a completely different shape than yours though. It’s like a tall box that stands on it’s side. I will be giving this to my grandpa so thank you for the tutorial.
My Father always called it a Dopp kit too. Wonderful memories 🙂
If i want to do the inside with a different fabric, would it work to cut (2) 13″ x 14″ out of one fabric for the inside, then (2) 13″ x 14″ for the outside?