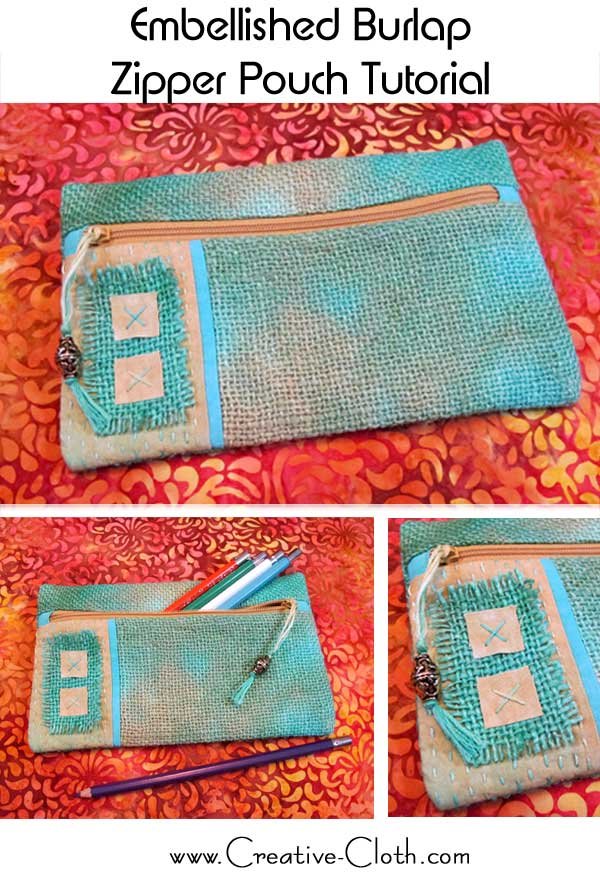
I just love zippered pouches! They are quick and easy to make, and can easily be resized and made in small sizes for keeping small items organized, and in larger sizes to use for storage of larger items or even as a clutch purse. They’re the perfect sewing project to make for yourself or to give as gifts.
I’ve previously shown how to make a zippered makeup bag using laminated fabric which has a zipper on the top, and in this tutorial I’ll show you another easy way to insert a zipper by placing it on the front. I’ll also show you a very easy method for making faux piping.
This pouch also has a small embellished section on the front that is the perfect way to dress up a plain zipper pouch. These embellishing techniques are so simple even beginner sewers will find them easy.
For this project I’ve chosen the work with burlap which has a lovely visual texture and I’m using some of my hand-dyed fabrics. Burlap is a great fabric for making bags and purses because it’s thick and sturdy, although it does have a tendency to fray very easily which can be a problem when you’re sewing. It’s easy to prevent burlap from fraying and you can find some of my favorite tips for working with burlap here – Burlap: How to cut it straight and prevent it from fraying.
Finished size of bag: 8″ wide x 5″ high
Supplies
- Fabric – Main Front
. Burlap – one piece 6-1/4″ x 4″
. Coordinating fabric – one piece 2-3/4″ x 4″
. Faux piping – one piece 1″ x 4″ - Fabric – Main Back and Top
. Burlap – one piece 8-1/2″ x 6-1/2″ - Lining – one piece 8-1/2″ x 4″ and one piece 8-1/2″ x 6-1/2″
- Zipper Tabs – 2 pieces 1-1/2″ square
- Nylon zipper – 9″ or longer
- Medium-weight fusible interfacing – one piece 8-1/2″ x 4″ and one piece 8-1/2″ x 6-1/2″
- Fabric scraps
- Hand embroidery needle and thread, large bead
Resources
Directions
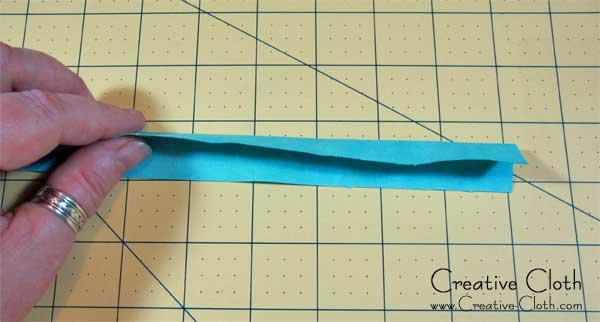
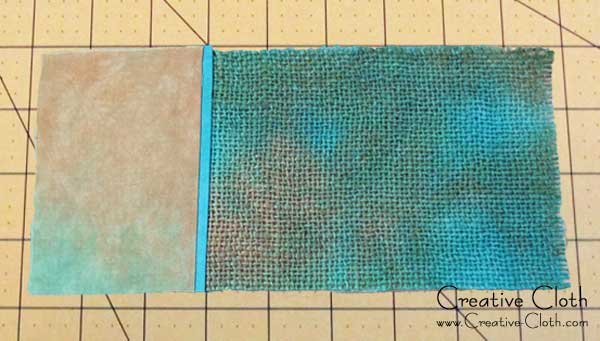
Fold the faux piping strip of fabric in half lengthways and press with an iron.
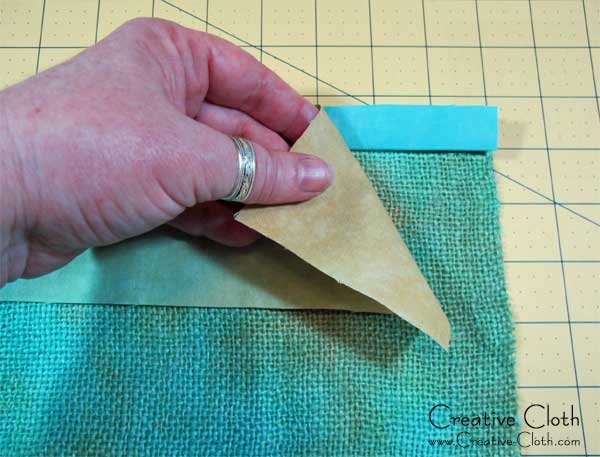
Place the 6-1/4″ x 4″ piece of burlap fabric on a flat surface. Place the faux piping fabric strip on top of the burlap. Place the 2-3/4″ x 4″ coordinating fabric on top of the fabric strip. Align the raw edges along the top and pin in place.
Sew a 1/4″ seam, fold the fabric open and press.
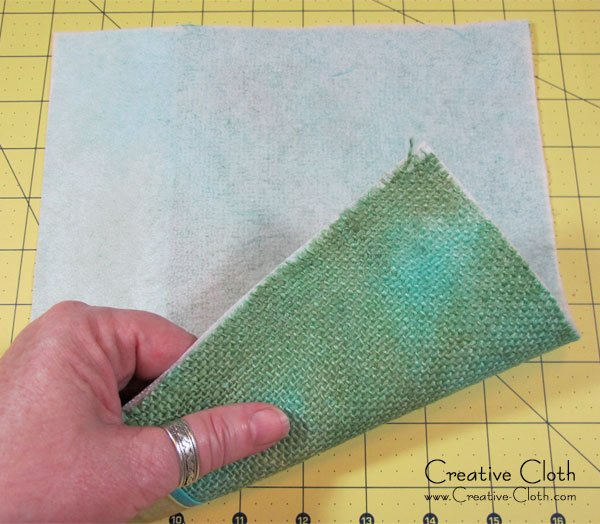
Iron the interfacing to the underside of the Main Front and Main Back pieces of fabric. This will help to support the burlap and prevent it from stretching out of shape.
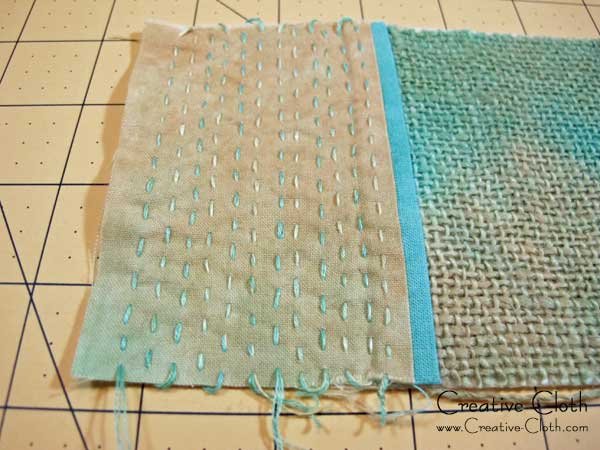
Using an embroidery needle and embroidery thread, sew rows of running stitch along the left side of the front piece. If you’re not sure how to sew a running stitch, refer to Sharon b’s Dictionary of Stitches for Hand Embroidery and Needlework. These stitches don’t have to be perfect to look good.
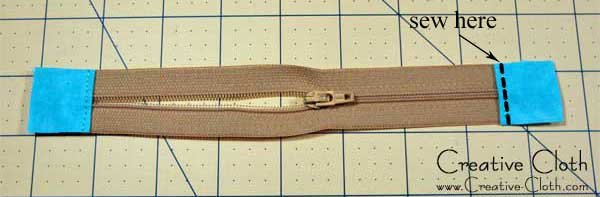
Open the zipper and cut off the ends so that the zipper measures 8-1/2″. On each of the zipper tab fabric pieces, fold under 1/2″ at one end and press.
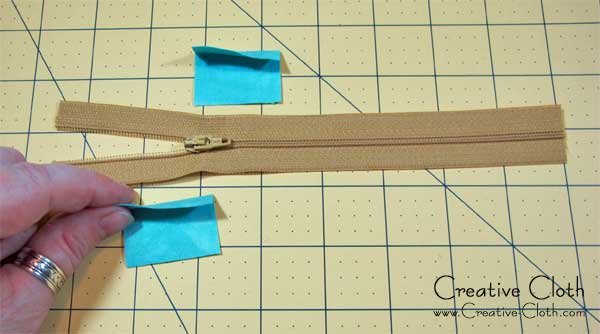
Position the zipper tabs on each end of the zipper with the folded edge facing along the inside. Align the raw edges with the ends of the zipper, and pin in place. Topstitch close to the edge on the folded side of the tab. Trim away the excess fabric from the side edges.
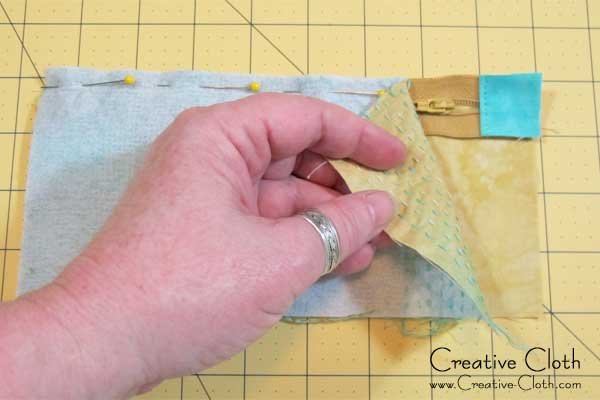
Place the 8-1/2″ x 4″ piece of front lining fabric right side facing up on a flat surface. Align the zipper, right side facing up, along the top edge. Place the Main Front section, right side facing down, on top of the zipper. The burlap section should be on the left side and the hand-stitched section should be on the right side. Align the raw edges along the top, pin in place and sew a 1/4″ seam. Reach between the layers of fabric and move the zipper slider out of the way as you sew – don’t sew over it.
Open the fabric pieces right sides facing out and press.
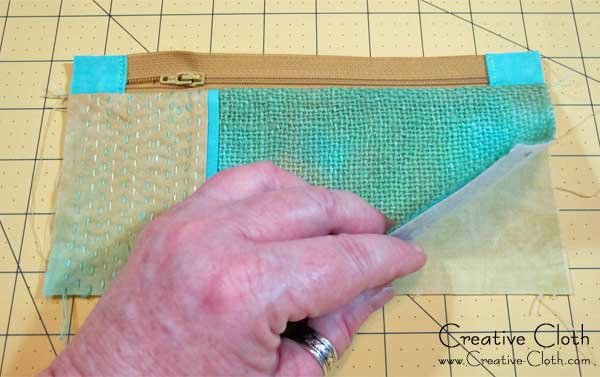
Place the 8-1/2″ x 6-1/2″ piece of lining fabric right side facing up on a flat surface. Align the zipper, right side facing up, along the top edge. Place the 8-1/2″ x 6-1/2″ Main Back fabric, right side facing down on top of the zipper. Align the raw edges along the top, pin in place and sew a 1/4″ seam. Once again, reach between the layers of fabric and move the zipper slider out of the way as you sew.

Open the fabric pieces right sides facing out and press.
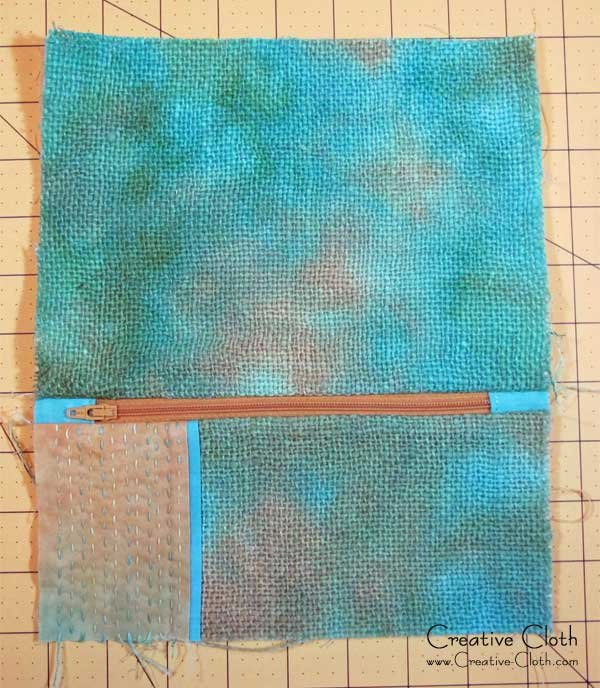
Open the zipper. With right sides of the fabric facing align the bottom edges of the main fabric and pin together. Do the same with the lining. Sew a 1/4″ seam along both bottom edges. You should now have something that looks like two tubes of fabric joined in the middle by the zipper. Press the seams open.
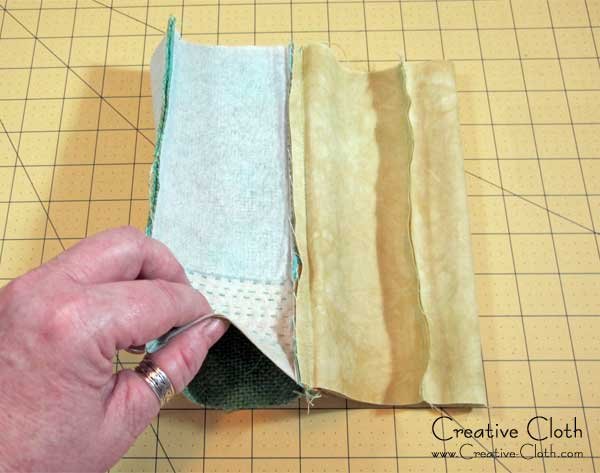
Put your left hand into the outside fabric tube. Push the outside fabric tube into the lining tube so that the lining folds over and wraps around the outside fabric.
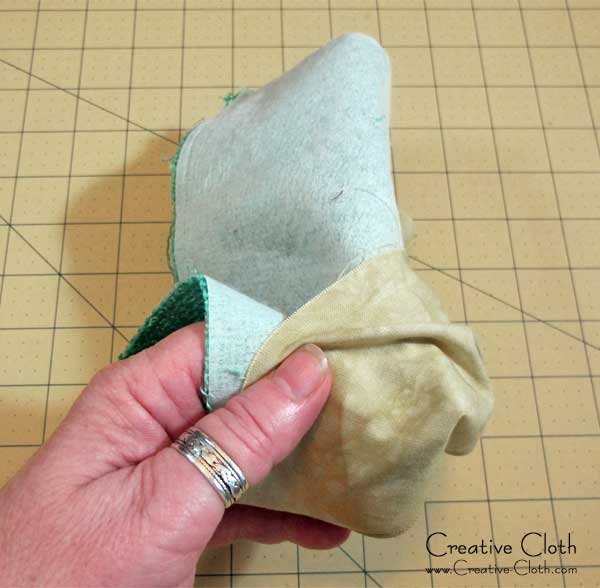
Arrange and align the seams so that they are at the bottom of the pouch, then pin the side seams. Sew 1/4″ seams down both sides. Finish the seams with an overcast or zig-zag stitch.
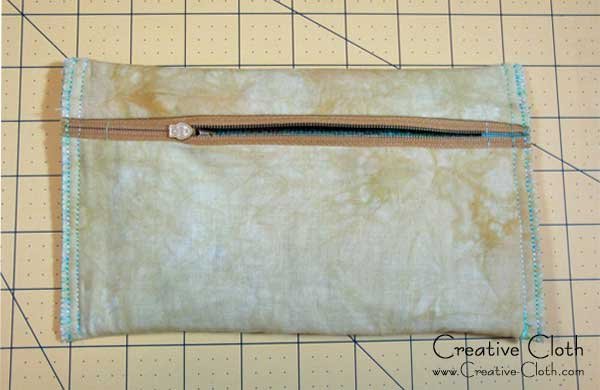
Turn the pouch right side facing out, carefully poke out the corners, and press.
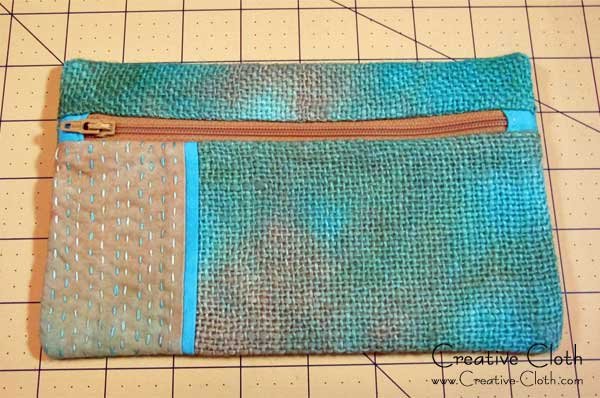
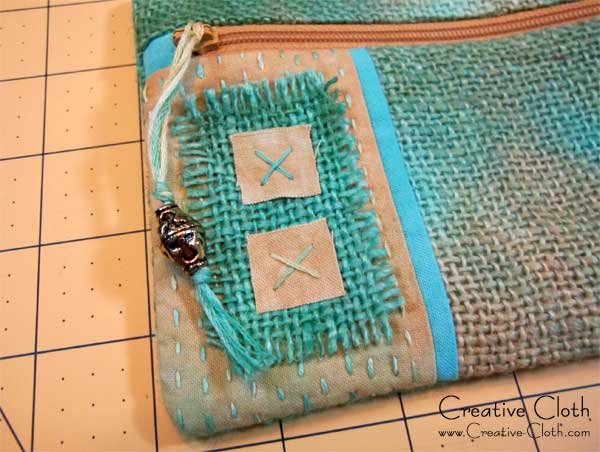
Add the embellishment
Cut two pieces of fabric 3/4″ square. Cut one piece of burlap 2-1/2″ x 1-1/2″ and fray the edges by removing two strands from each side. Apply some fray check to the edges to prevent further fraying. Position the burlap on top of the hand stitched section of the pouch. Position the small fabric pieces on top of the burlap. Pin in place. Using embroidery floss, hand-sew a cross-stitch in the center of each fabric square. Make a zipper pull by threading a length of embroidery floss through the metal zipper slide. Thread a large bead onto the other end and tie a knot.