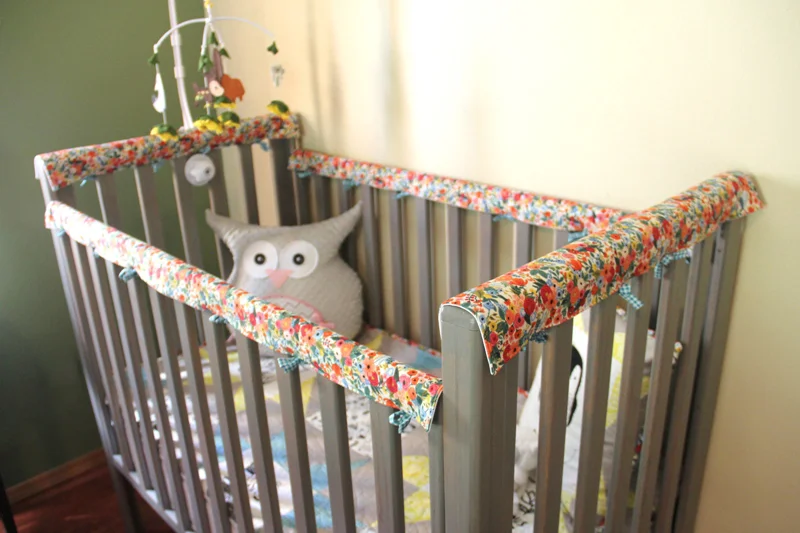
Crib rail covers aren’t hard to make, and they keep those little teeth marks from turning up on that wood!

First off, let me ease your minds a bit. I know this is my second baby post in a row. That’s because she’s new and I’ve been waiting until she was actually here to show you what I’ve made for her.
There will be more, but it will be mixed in with all the usual sewing and crafts you see here. I’m not converting this blog into “Crafty Gigi” and going all baby, all the time. That’s only in my house. 😉
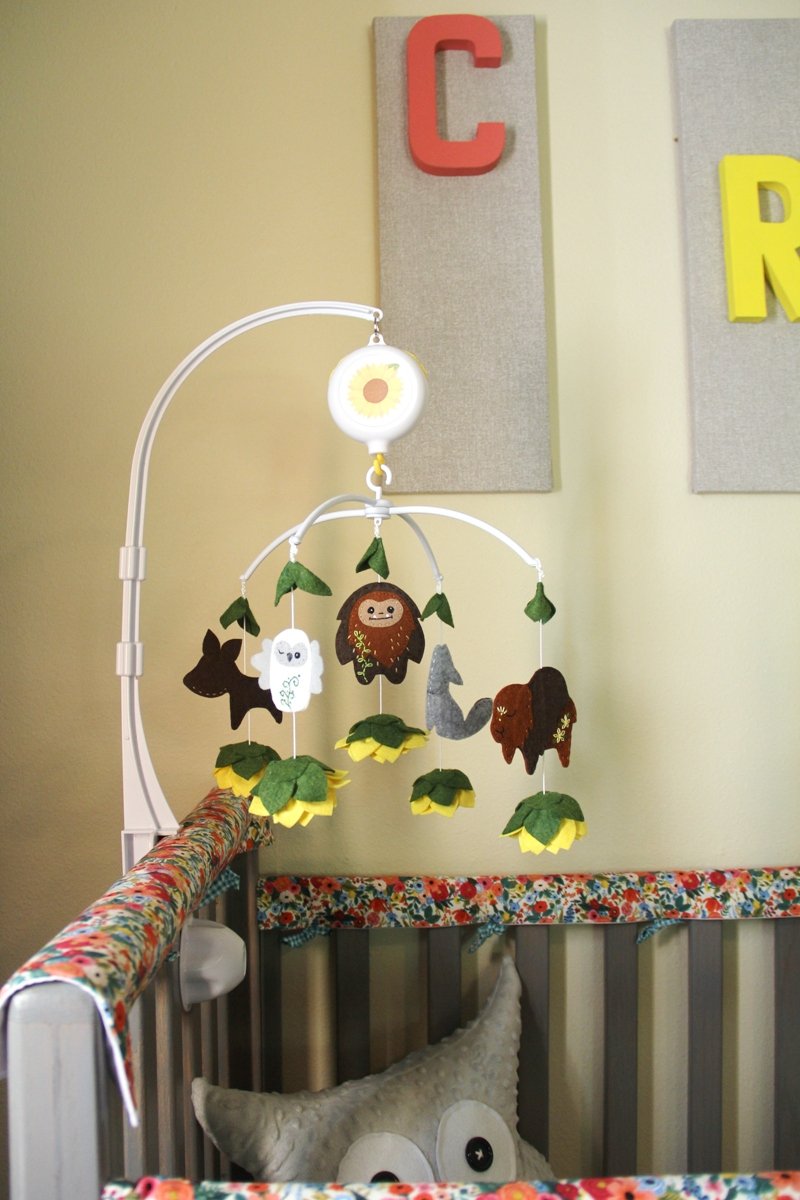
Did you notice the crib rail covers and quilt in the crib mobile post last week?
There’s a story behind this project, and it goes back 26 years (tomorrow, in fact. Happy birthday to the new mama!). When I was pregnant with our girl, my husband decided he wanted to build a crib for her.
He gathered the wood and built the frame, but couldn’t find the hardware anywhere. This was back in the days before the internet, so tracking something like that down turned out to be impossible.
We’ve been storing it ever since, while our babies slept in a borrowed crib. When we found out little Charli was coming, I asked my husband if he was going to finish it, now that he should be able to find the hardware.
The irony is, crib style and safety has changed a lot in the last 26 years. The slide-down side that was popular when he originally built it is no longer recommended.
With no special hardware needed, he got it finished and into the nursery before she arrived. After all that time, I’m glad she’ll get to use it.
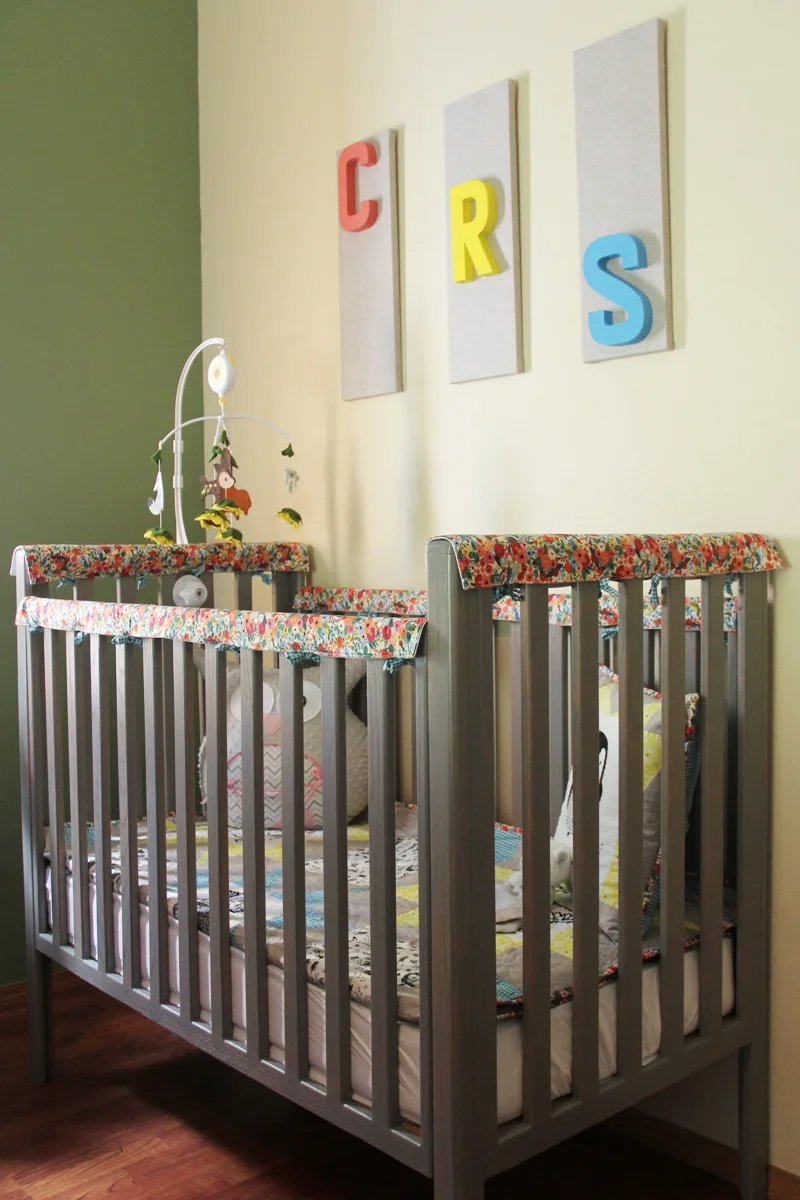
I wanted to make her something for the crib besides the quilt (which I’ll show you at the end). Since crib bumpers have also been deemed unsafe (reasonably), crib rail covers are the thing.
They’re simple fabric covers to protect the edges from tiny baby teeth gnawing on them. They’re also the perfect opportunity to bring a little color to the crib.
This post contains affiliate links. For my full disclosure policy and point of view, click here.
To make these, you’ll need:
cotton fabric
PUL (polyurethane laminate) - often used on the back of bibs

To determine the size of your pieces, you’ll need to measure the crib rails. This is the formula I used to decide what sizes to cut the pieces:
length = rail length + 3/4”
height = (rail height x 2) + (rail thickness x 2) + 1”
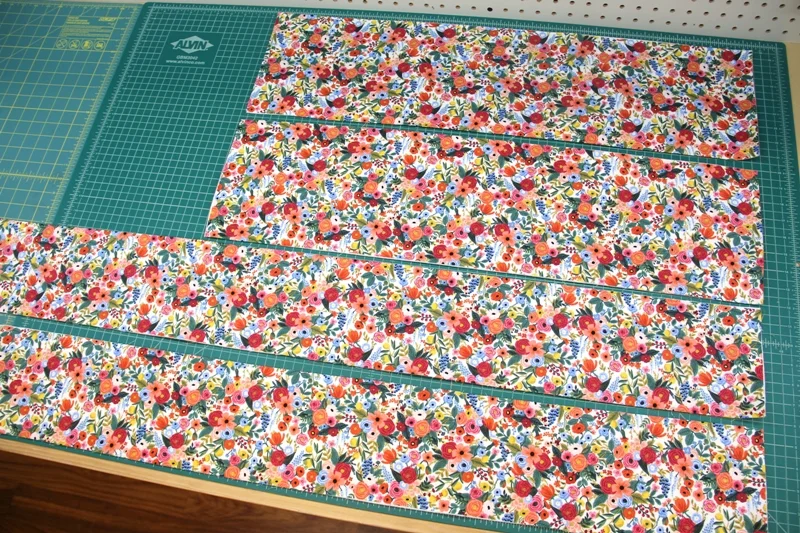
This is what I ended up cutting, two of each from fabric, fleece, and PUL:
sides - 51 x 5 3/4”
ends - 30 x 8”
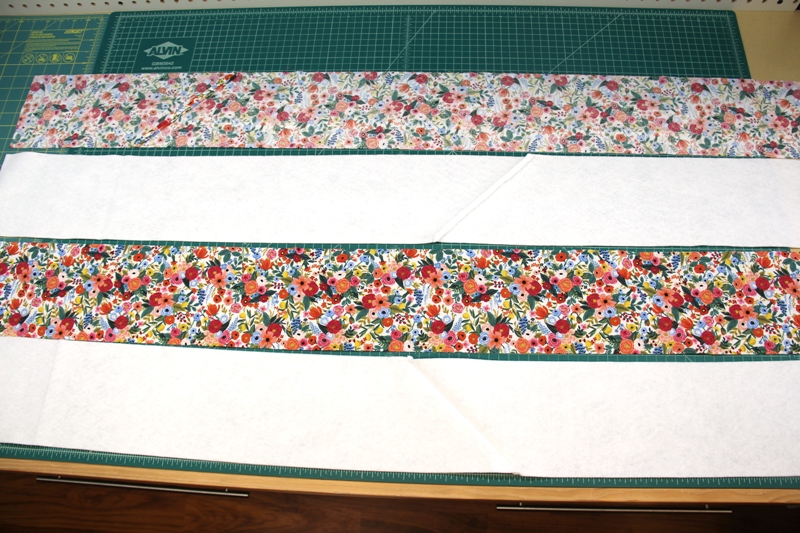
Since those side pieces are longer than the width of the fabric, piece two strips together using an angled seam, like you would for binding, for fabric, fleece, and PUL.

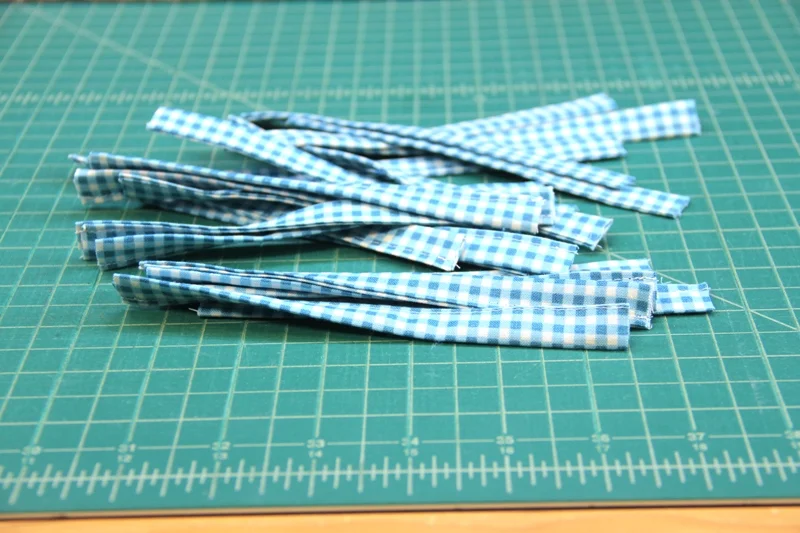
You’ll also need ties. Cut seven 2” strips by the width of fabric.
We’ll start by making the ties. Trim the selvages from the strips. Pull through a bias tape maker, or fold both edges to the center and press.
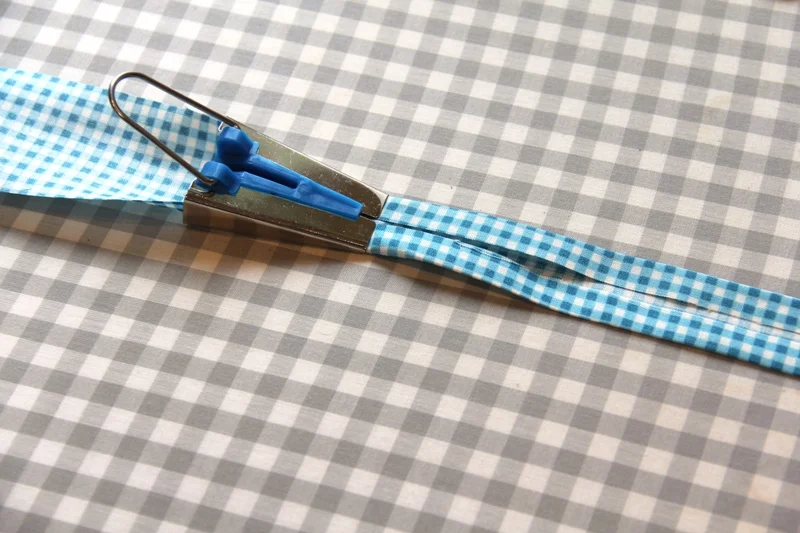
Fold the strips in half with the edges to the inside and press.
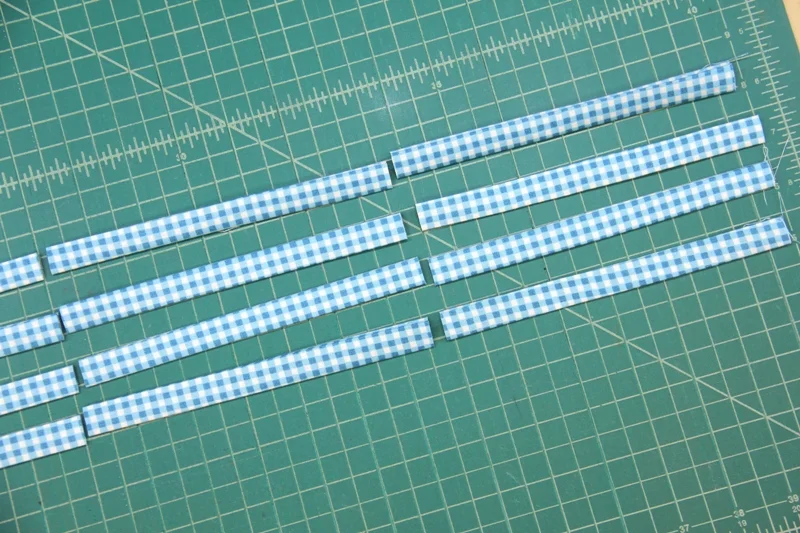
Cut the strips into 6 1/2” pieces until you have 40 of them.
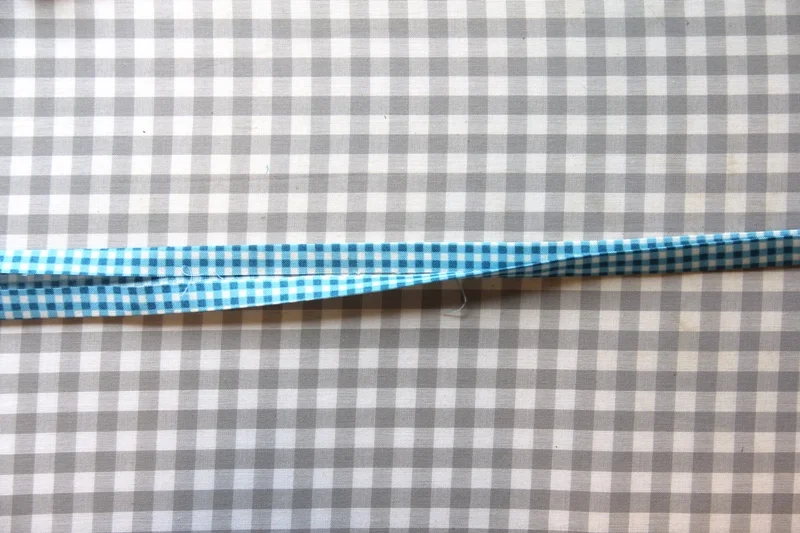
Unfold a strip. Fold one short end 1/4” to the inside and press. Refold the rest of the strip and stitch along the double fold edge. I actually didn’t even press during this step, I just folded them as I sewed. Repeat with the remaining ties.
Fuse the fleece to the wrong side of the corresponding fabric pieces.
Lay out one side section, right side up. Pin ties at 2 3/4”, 11”, and 19” from the right and left sides, on both the upper and lower edge, for a total of 12 ties for each side section.
You can adjust the spacing as needed for your crib slats. The raw edges should be even, with the tie to the inside and the pin head to the outside.
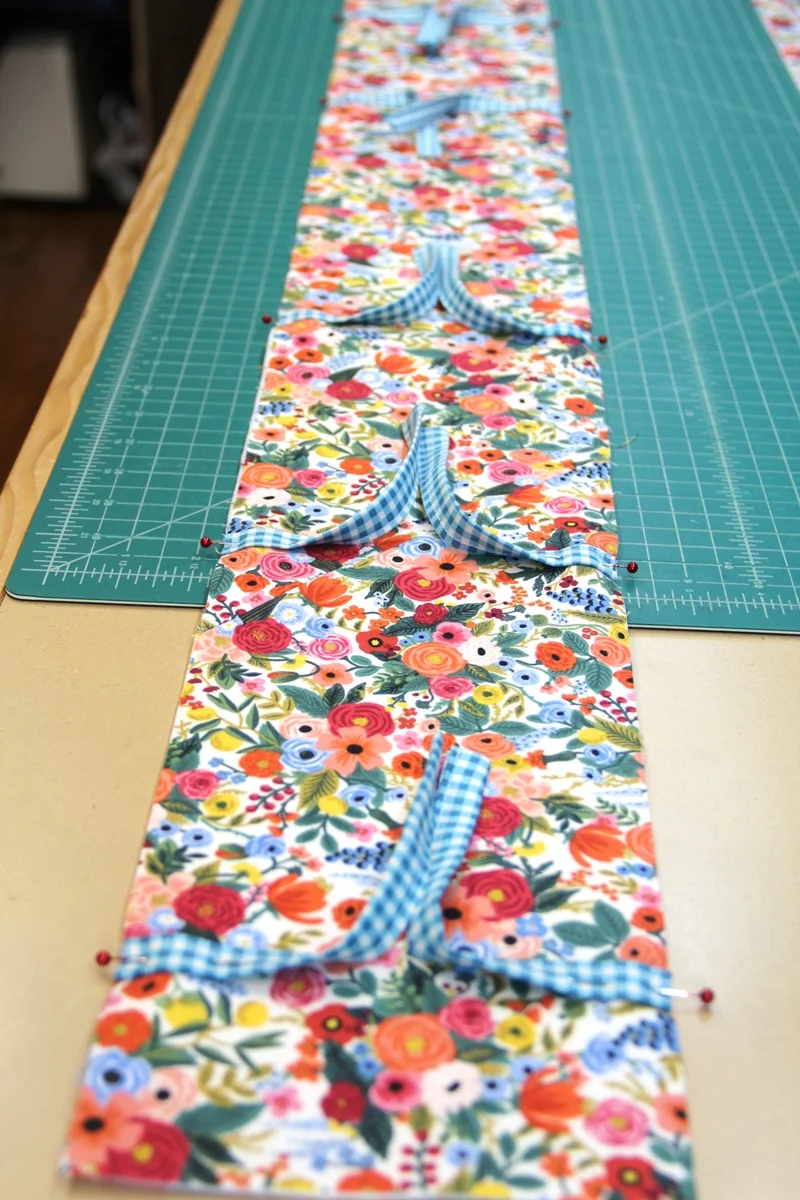
Lay the soft side of the PUL down over the top. Use quilt clips to hold the layers, rather than pins that will leave holes in the PUL.
Stitch 1/4” from the edges, leaving 3 1/2” open on one short end. Make sure to remove the pins as you go, and keep the ties from getting caught in the seams.
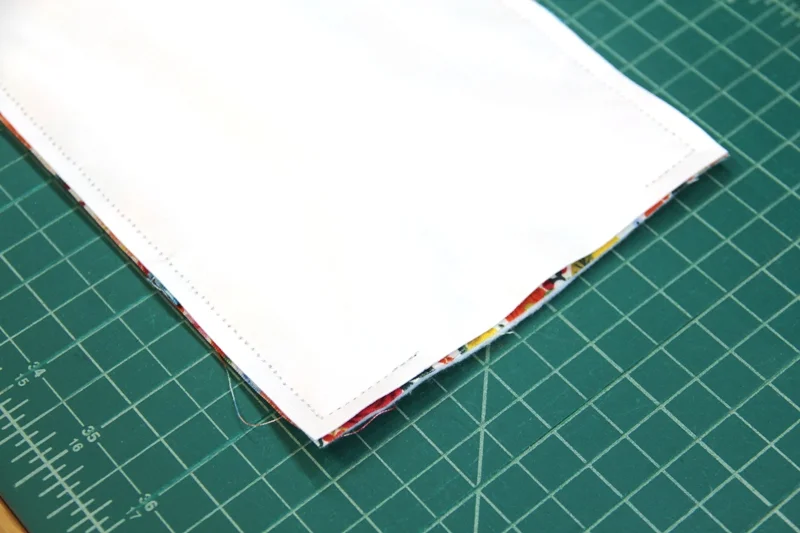
Clip the corners and turn right side out. Press, turning in the opening. Topstitch close to the edge, all the way around. Do the same with the remaining side section.

Repeat with the end sections, placing the ties at 4 3/4” and 12 1/4” from the left and right sides, for a total of 8 ties for each end.
Tie them securely to the crib rails and you’re done!
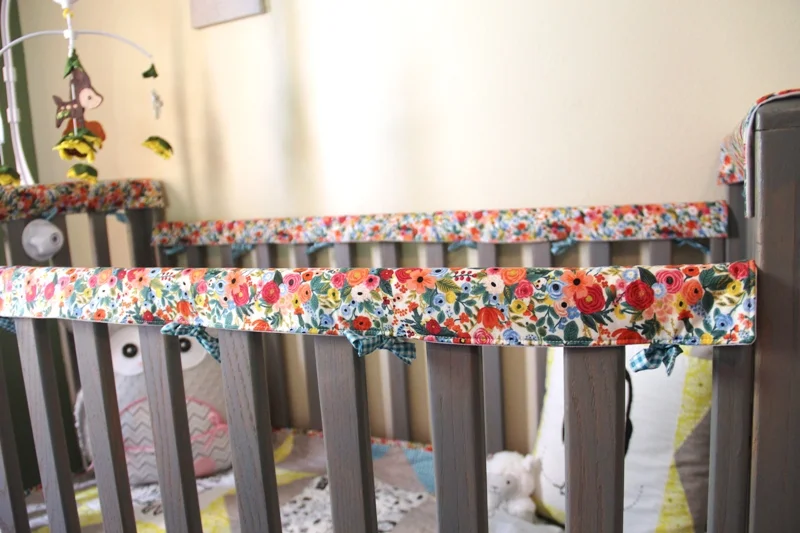
The fabric for the crib rail covers is the same Rifle Paper Company print that I used to bind her quilt.
I bought the Dear Stella Forest Dreaming panels months before my daughter was pregnant because I loved them so much, along with a companion print, then let her pick the fabrics to go with them.
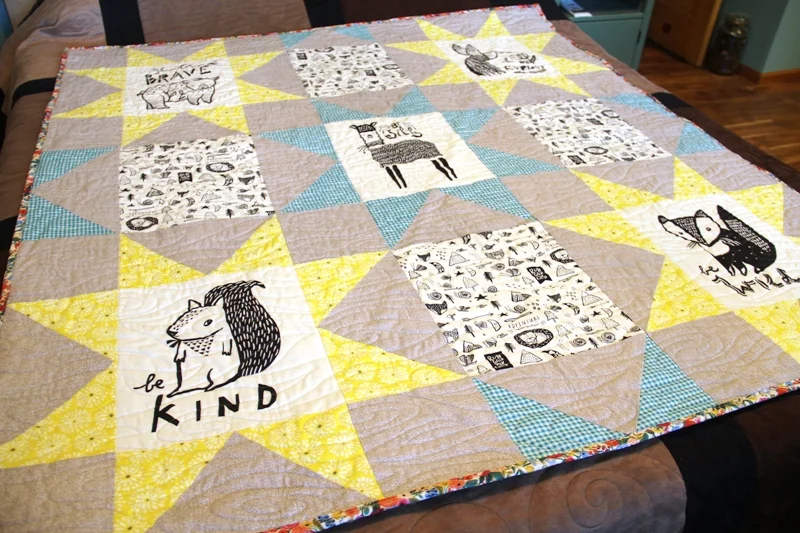
I even used a pattern from Dear Stella to put it all together, because it was just perfect for the odd-sized panels. I’m glad I grabbed it when I did, because the panels and pattern are no where to be found now!
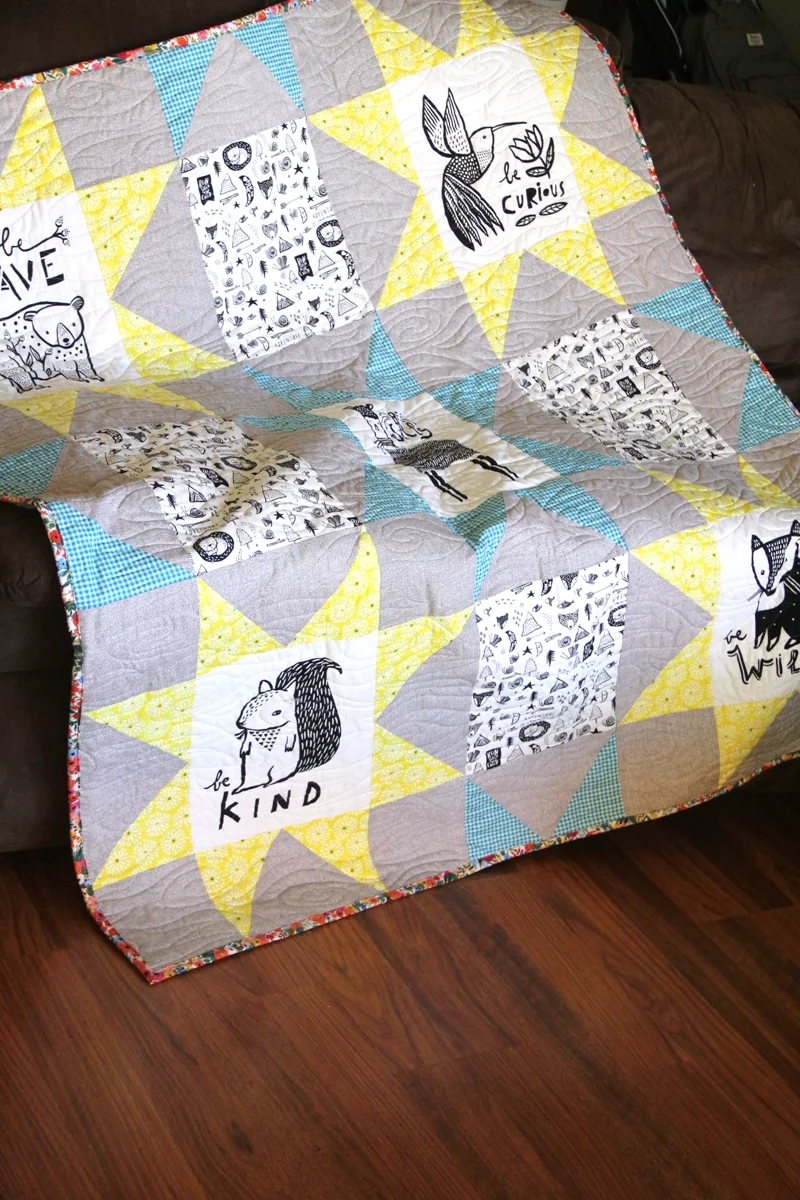
The quilt is about twice as big as the crib, but she’ll be able to grow into it.

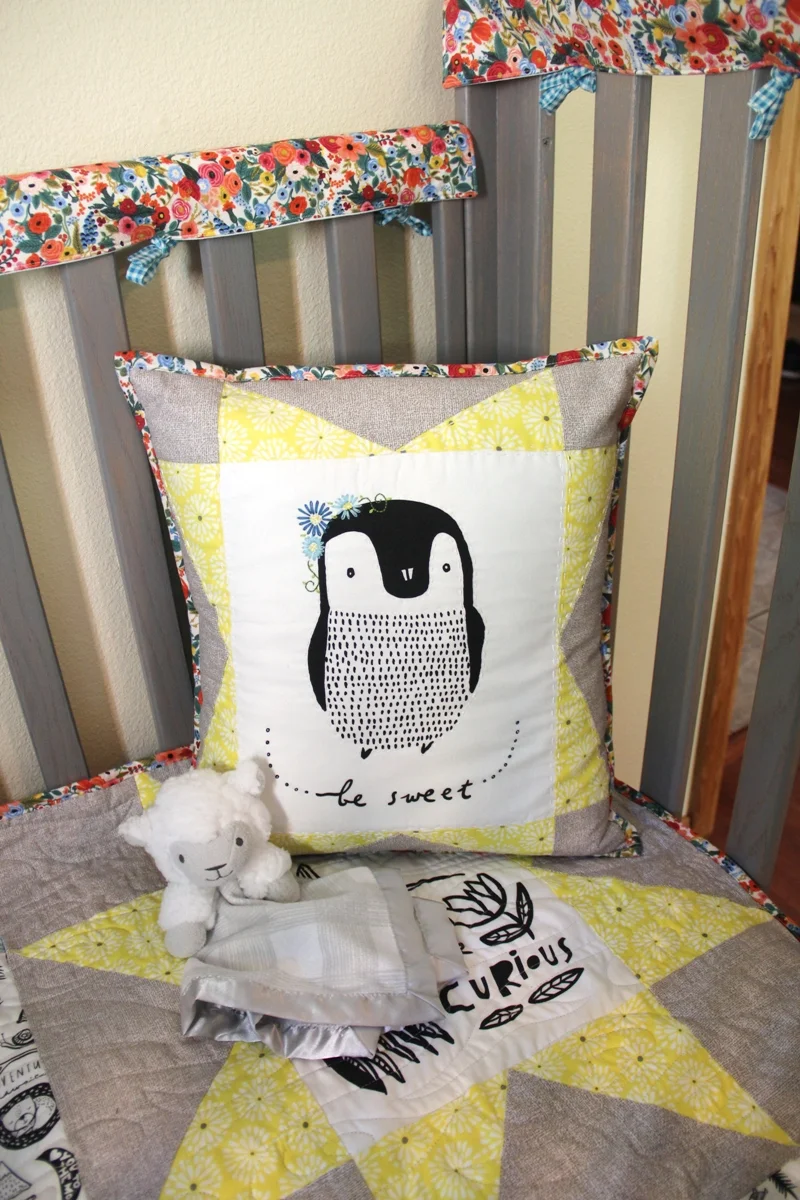
There were an odd number of panels, so I also made this pillow, adding a little embroidery first. I love it so much!
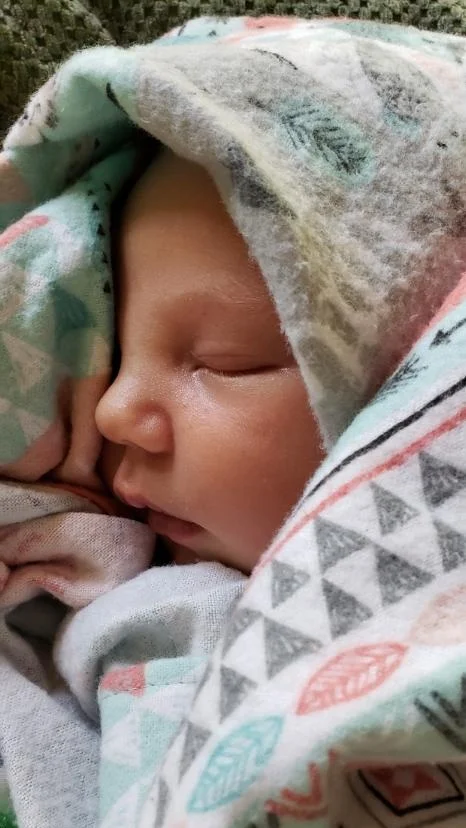
All right, I’ll give you a break from Babyvision for a while now…right after this gratuitous pic of my new little love!