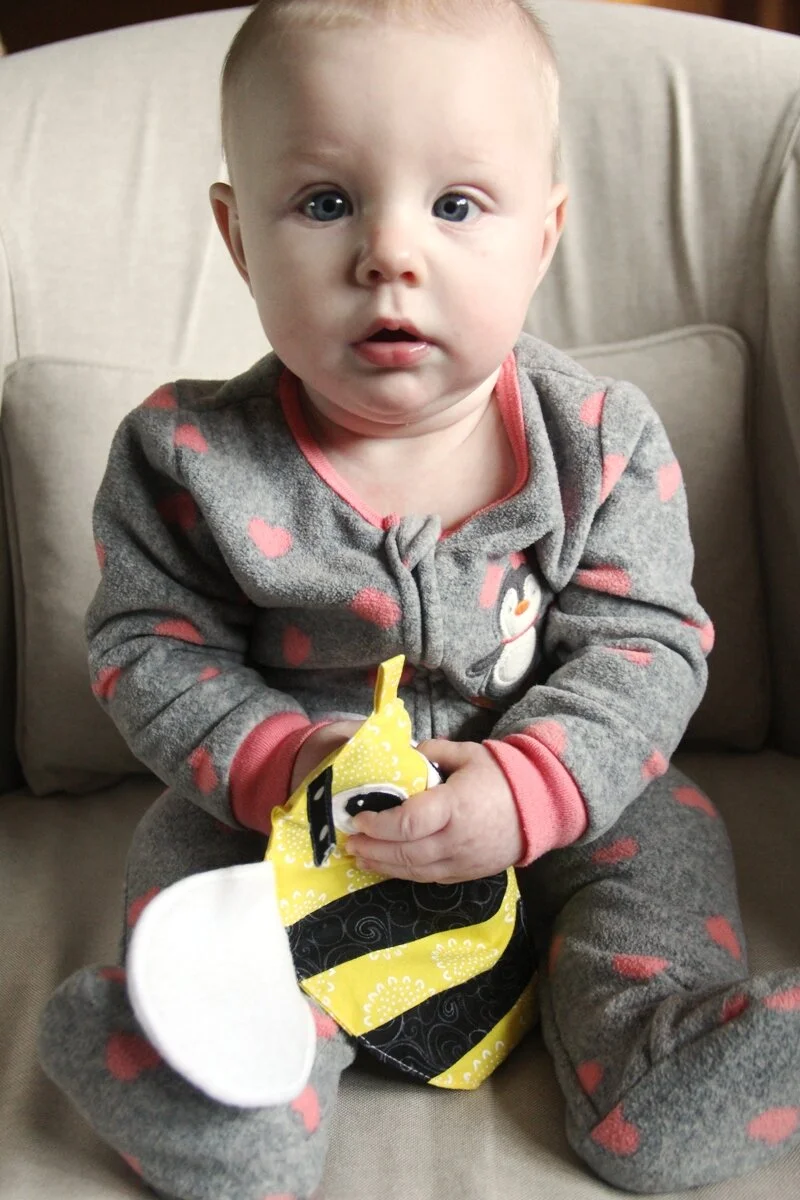
Baby toys are so fun to make, and this crinkle bee is easier than you might think!

My granddaughter, at six months old, has an obsession with all things that make a funny noise. Crinkly sounds are a particular favorite.
She’s also developing her ability to grab things, and in an effort to make that something besides my hair, I decided she needed a bee buddy. It was definitely a hit.
This post contains affiliate links. For my full disclosure policy and point of view, click here.
To make this crinkle bee baby toy you’ll need:
crinkle material or washed food packaging (cereal bag, chocolate chips, etc.)
yellow cotton fabric
black-on-black cotton fabric
white or grey Cuddle or flannel fabric
white cotton fabric
solid black cotton fabric
black and white cotton print fabric
black embroidery thread
white embroidery thread
fusible interfacing
pattern templates, printed and cut out
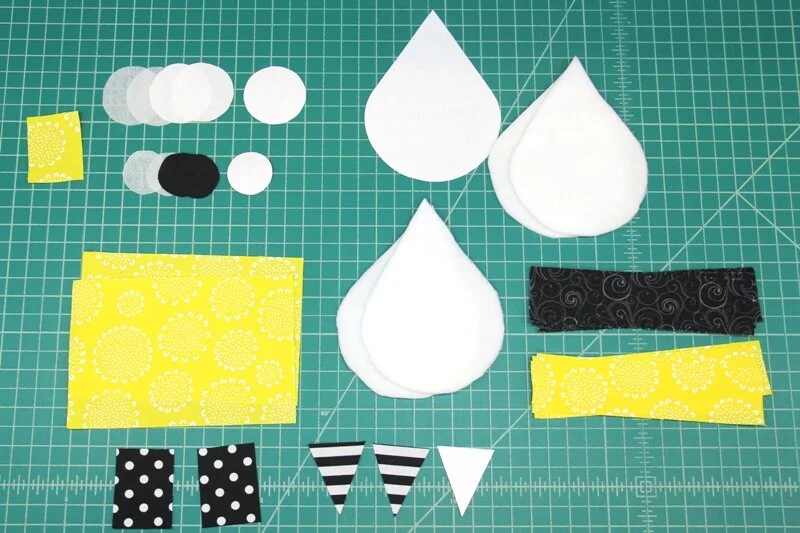
To start, cut:
2 - white fabric eyes
2 - interfacing eyes
2 - solid black fabric irises
2 - interfacing irises
4 - Cuddle or flannel wings
2 - black and white fabric stingers
2 - 2 x 2” black and white fabric antennae
4 - 1 1/2 x 6” yellow fabric stripes
4 - 1 1/2 x 6” black-on-black fabric stripes
2 - 4 x 6” yellow fabric stripes
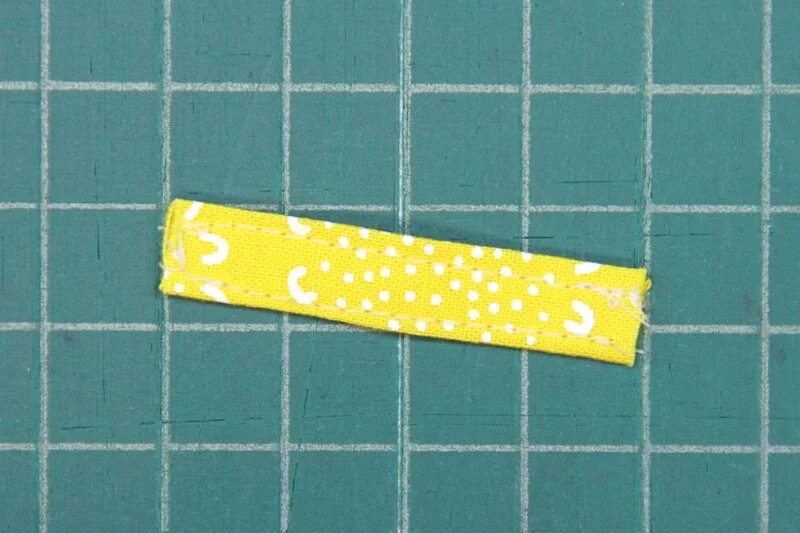
1 - 1 1/2 x 2” yellow fabric loop
All seams are 1/4” unless noted otherwise.
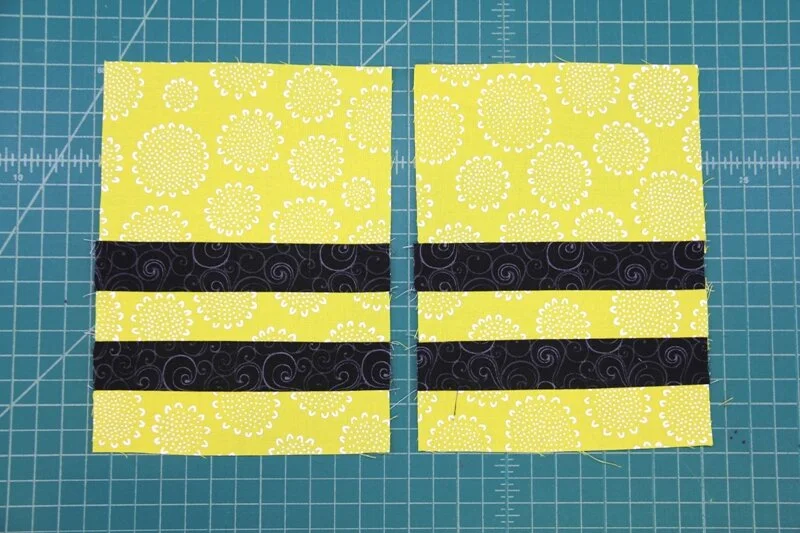
Beginning with the largest yellow piece at the top, sew the yellow and black stripes into two sets as shown. Press the seams toward the black.
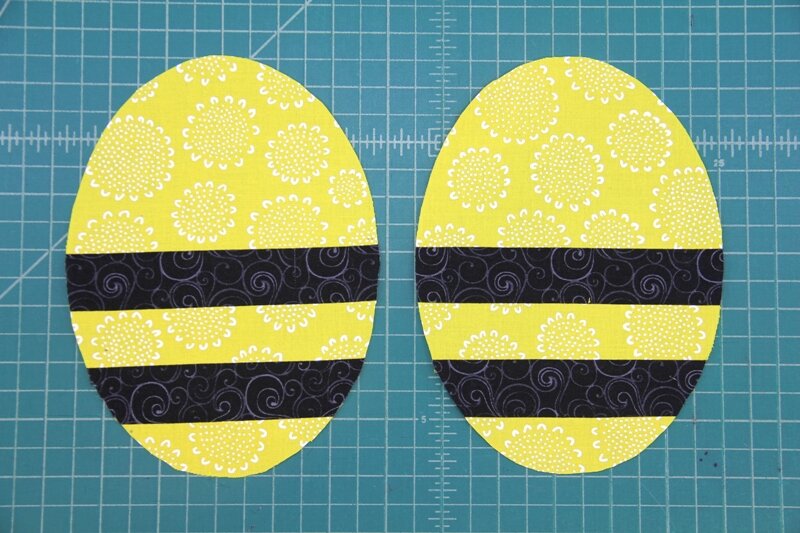
Use the oval pattern template to cut two bee bodies.
Use the same pattern to cut the crinkle material. When I was selecting this material, I walked through my kitchen crinkling plastic bags like a crazy person.
The one that had the best sound was a bag from Pirate Booty. The thing I didn’t consider was that it was easily torn. When I sewed it into the bee, the needle puncturing it was enough to just shred it.
Select something that you can’t easily tear with your fingers, like a cereal bag. I also altered the way it’s inserted into the bee. Crisis averted.
They also sell crinkle film specifically for this purpose, if you want to avoid the whole kitchen adventure.
Stitch the two wings with right sides together, leaving about 1 1/2” open on one side. Turn right side out. Push out the seams with something pointy. Topstitch near the edge.

Stitch the two stinger pieces with right sides together, leaving the top edge open. Turn right side out. Press.
Before you decide the stinger is too small, know that my granddaughter noticed it right away on the finished product, and spent lots of time tugging on it.

Fold one of the antenna with wrong sides together. Press. Fold both edges into the center and press again. Unfold everything and hold with the folds vertical. Fold the upper edge to the inside 1/4” and press. Refold the previous folds and press one more time.
Stitch close to the long sides. Repeat with the second antenna.

Follow the same process to fold the yellow loop, but don’t fold the one edge under 1/4”. Stitch long sides.
Stitch the interfacing eyes and irises to their matching fabric pieces with the fusible side facing the right side of the fabric.
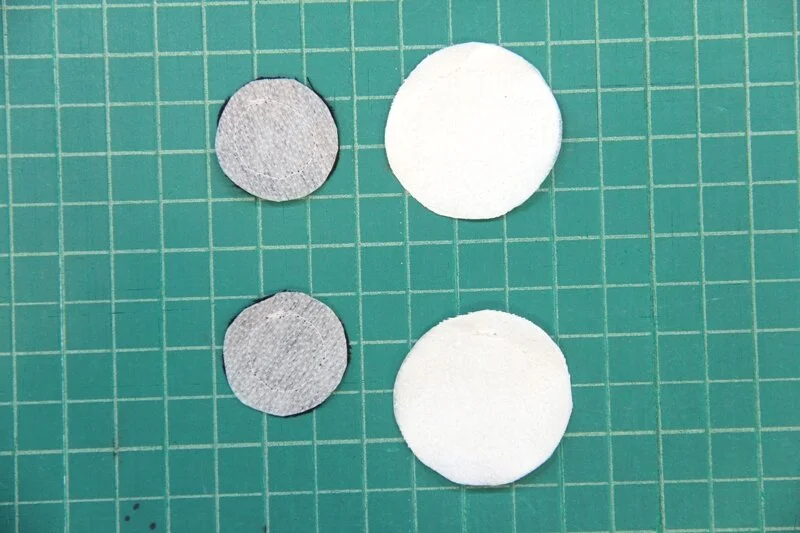
Trim the seam to just over 1/8”. Carefully cut a slit in the center of the interfacing only. Turn right side out through that opening.
I’ll be honest here, those little irises are a pain in the neck to turn, but I had two things in mind here: babies love faces and this toy needs to be safe. I wanted to be able to sew them down securely. If you’d rather use a different method, I wouldn’t blame you, just make sure it’s baby-friendly.
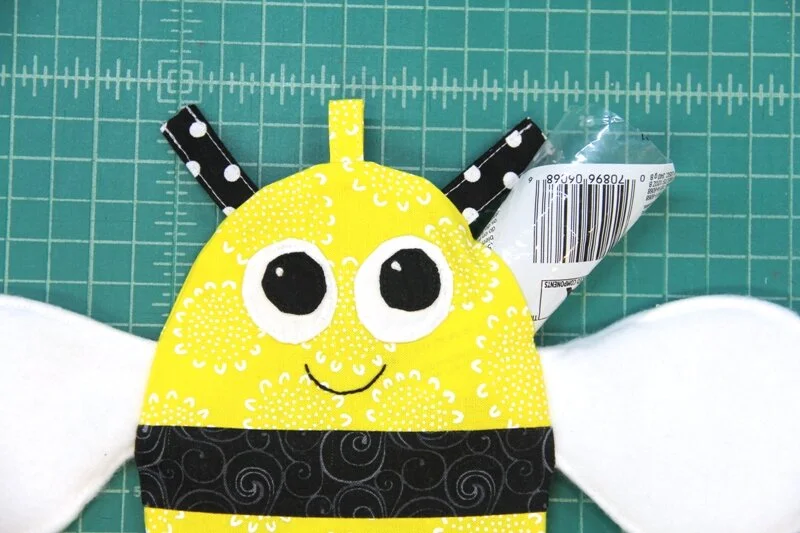
Transfer the mouth embroidery design to the bee face. These pens are my favorite way to do that. Stitch the mouth using the black embroidery thread and a back stitch.

Place the white eyes on the face (remember you’ll still need to sew a 1/4” seam around the edge later) and press in place. Stitch around close to the edge.

Place the black irises where you’d like on top of the white eyes. I auditioned them in every possible position before deciding. Press in place. Stitch around close to the edge. Add a knot using the white embroidery thread to each iris to give the eyes a little reflection and life.
You can see how wonky the edges of these eyes are, especially the irises, but the baby doesn’t care, so neither do I.

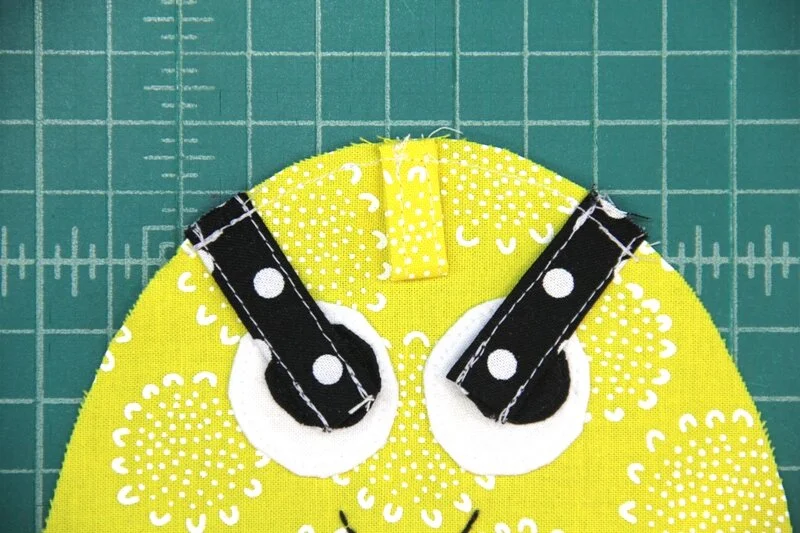
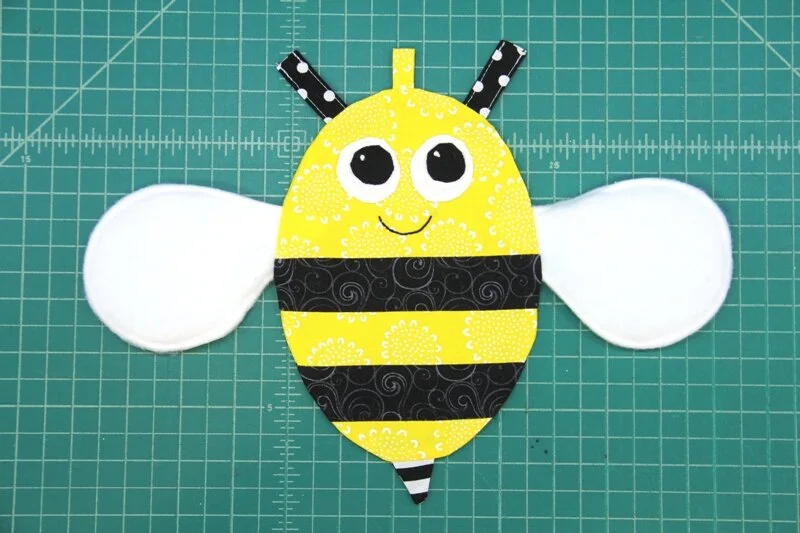
Lay out the bee, face up. Fold the yellow loop in half. Pin it at the center top of the head with the loop to the inside. Pin the antennae about 1” down on each side with raw edges even.
Stitch over each about 1/8” from the edge.
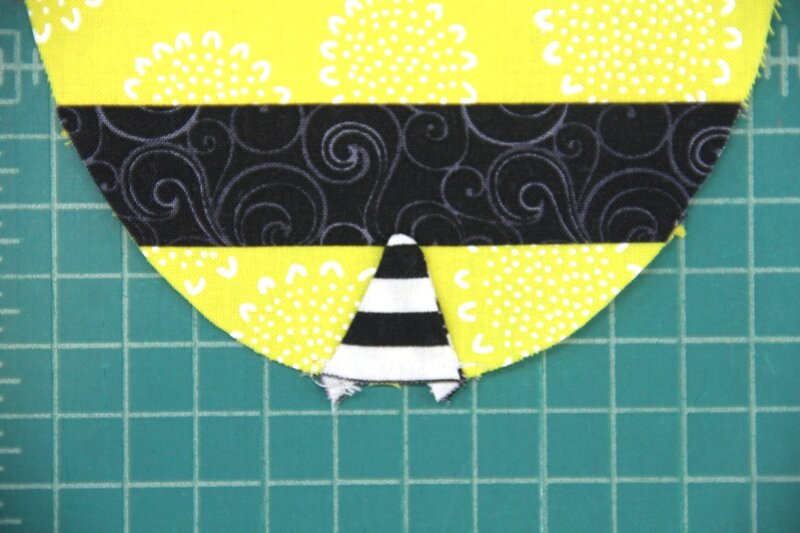
Place the stinger at the center on the bottom, with the stinger to the inside. Stitch 1/8” from the edge.
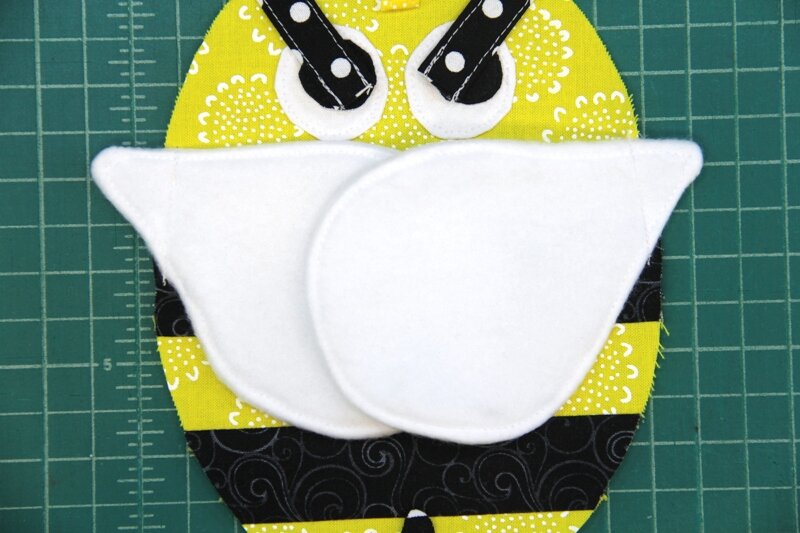
Place the wings on both sides, about 2 1/2” down from the top with the wings to the inside. Stitch 1/8” from the edge. The points will stick out as shown below.
Ordinarily I would have pinned all of these pieces along with the back and sew everything at once, but this adds an additional row of stitching, making this even more safe.
Lay the bee back over the face with right sides together. Pin or hold together with clips. With the thickness of the wings inside, I found the clips easier.
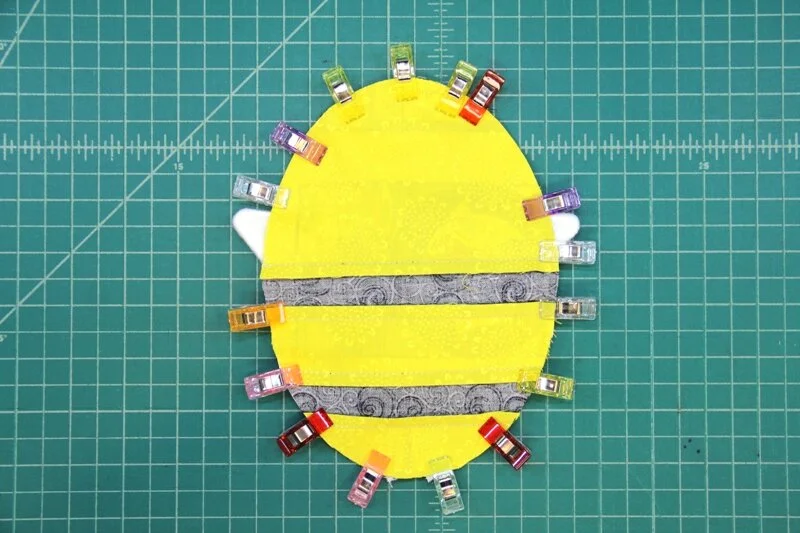
Stitch 1/4” from the edge, leaving about 3” open on one side.
Turn right side out. Press, turning in the open edge 1/4”.
Slide the crinkle layer in through the opening.
Flatten the plastic as much as possible inside. It doesn’t need to be perfect. It’s larger than the space inside at this point, but that’s fine.
Stitch around near the outer edge of the bee. If you’re concerned that enough of the plastic wasn’t caught in that stitching, sew a couple of horizontal rows within the yellow strips.
You can machine wash your bee, but I’d hang it to dry, and don’t iron it. Her dad was glad to see the loop at the top, because they’ll be able to hang it from some of her floor-time toys.
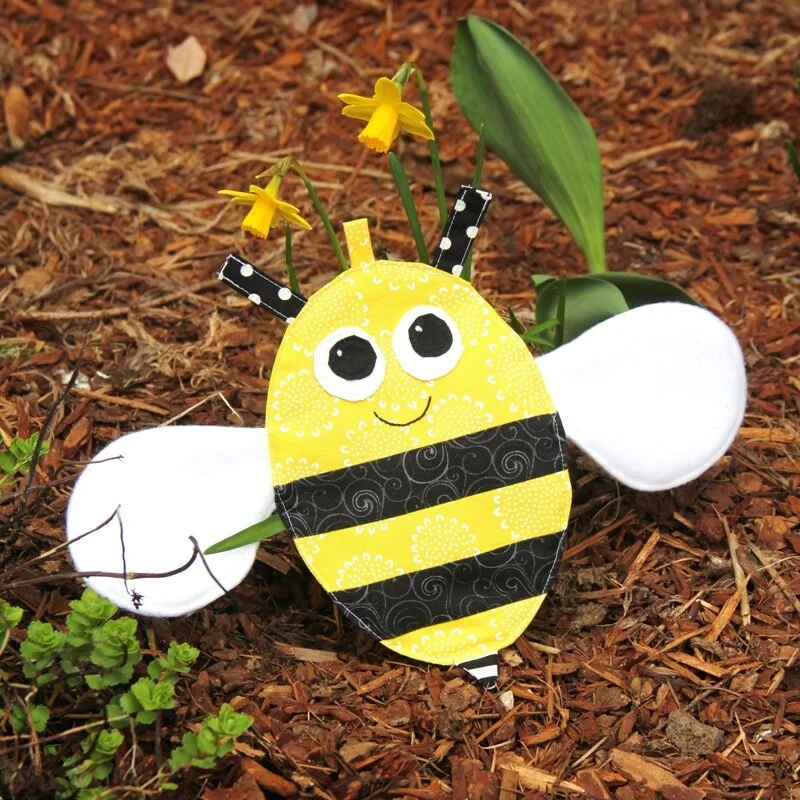
Handing this to my grandbaby was extremely satisfying. She grabbed the antennae, rubbed the soft wings, and pulled on the stinger. She loves the eyes, and the crinkly noise.
Her dad covered her face with it, and she giggled hard when he pulled it away. It was worth it all for that! 😍