
Carry around your dog poo bags in style with this super cute bag , practical and fashionable. A great accessory to bring with you on your dog walks. Clip onto jeans, your bag, or your dogs lead, you'll never be caught without bags again!

This tutorial and pattern is completely free! If you have enjoyed this tutorial you can leave a donation to Blue Cross here.
Click the Zip file below to download the pattern
What You Need
Overlocker (optional)
Main Fabric
Fabric for the lining
Pattern or Ruler
Zip approx 6" (can be trimmed if longer)
Scissors/ Snips
Iron
Key ring hook
Machine Parts:
Zip foot
Button foot
Regular foot

Step 1
Depending on the thickness of your fabric, you can add some iron on fusing to make it a bit sturdier. Lay on the fusing with the shiny side facing the wrong side of the fabric, iron slowly from one side to the other until the fusing has bonded to the fabric.


Step 2
Cut and trace the pattern onto the fabric or measure directly onto the fabric:
Main Fabric + Lining : 14cm by 17cm for the main part of the bag and 3cm by 17cm for the key ring loop
Cut out all the pieces, and put the key ring loop pieces to the side for now.
(this is for a standard size dog poo bag roll, you can increase the size of bag if you like, just make sure to increase the zip size too)


Step 3
Start with the larger fabric pieces, these will make up the actual bag. To make it easier you can sew together both fabric pieces before you put in your zip. And to help stop fraying, you can either use an overlocker, or a zig-zag stitch to go round the edges (which is what I have done in the picture)


Step 4
Using your pattern / or measuring directly onto the fabric, draw on your button hole. (We need some sort of hole in the bag so we can pull through the dog poo bags when we need one!)
We have done a 3cm button hole, in the centre of the fabric as shown below, but you can make yours bigger or smaller depending on the size of your bags.
If you are unable to do a button hold don't worry, you could use a large eyelet, or simply cut a small rectangular opening in the fabric and go around the edges with fabric glue to stop any fraying.


Step 5
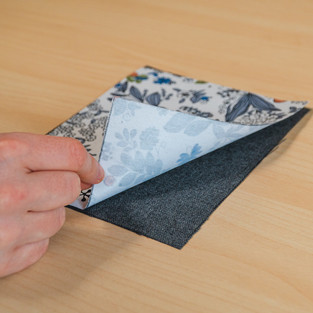
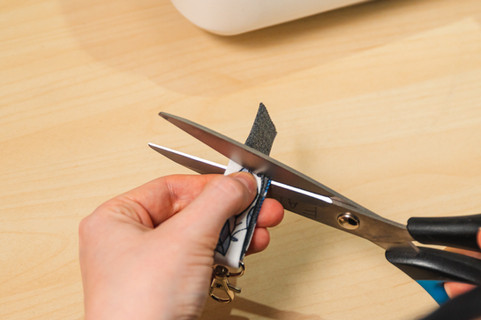
Lay the outside fabric face up, and place the zip face down over the shorter edge of the fabric. Pin to hold in place and sew on the zip using a one sided foot. - It doesn't matter if your zip is longer because you can trim it afterwards.


Step 6
After sewing in one side of the zip, fold back the zip so it is facing the right way round, and iron flat.
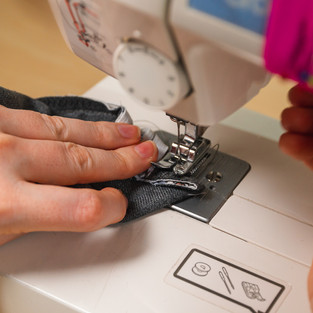
To sew the other side of the zip in place, fold up the fabric so the right side of the fabric is facing the right side of the zip - as shown in the picture.


Step 7
Pin the zip to the fabric, and sew the other side of the zip.


Step 8
Turn the whole bag to the right way round and carefully iron the other side of the zip. Put this to the side for now.


Step 9
Grab your other fabric pieces, now we will make the loop that will hold the keyring. Place wrong sides of the fabric together, and sew 2 lines (half a foot width) down the long ends leaving both short ends open.


Step 10
Using your loop turner, thread it through the tunnel that we have just made, and make a tiny hole at the end of the fabric. Hook it through slowly pulling and guiding the fabric over itself, this will bring the fabric the right way round. (If you don't have a loop tuner you can make bias binding, or use a ribbon for the keyring)


Step 11
Once turned the right way round, iron really well to make it flat. Thread through your keyring and decide how long you want the loop to be, pin in place.

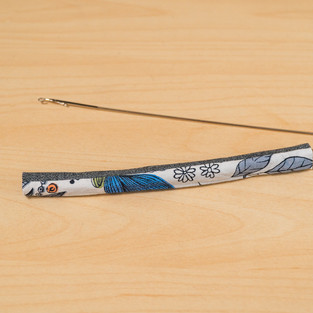


Step 12
Stitch a line at the end, and trim the edges. Now this is ready to attach to the bag. Put it to the side for now.


Step 13
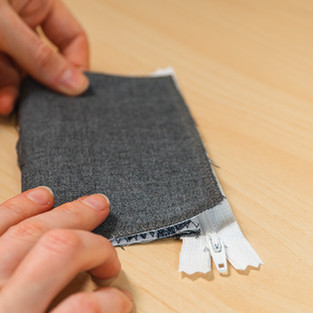
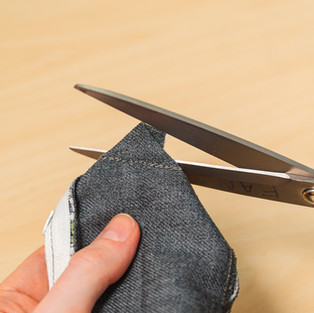
Grab your bag, and turn it back inside out. Starting with the bottom end of the zip, sew a line to close the bag. Go over the zip lots of times to make sure it is really secure. Trim the edge and again you can zig-zag over the edges or overlock them.


Step 14
Flip over your bag and open up the zip - important! Place the keyring loop inside the seam at the open end and lay the zip over the top of it. Stitch a line and again trim the zip and overlock or zip-zag the edges.


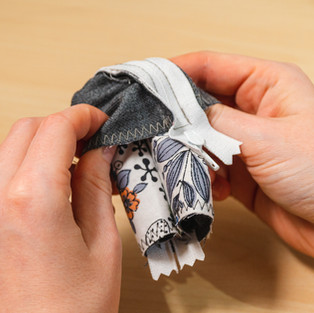
step 15
You can stop after step 14 if you want. Or you can give the bag a more 3D shape, by pinching each of the 4 corners of the bag and sewing a line across the corners. Do this on all 4 sides, trim the corners and overlock/ zig-zag. (It's a good idea to turn the bag the right way round before you trim the corners to make sure you are happy with the shape)


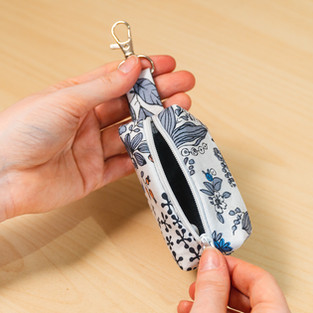
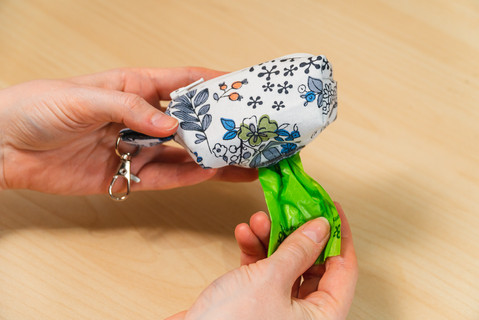
Step 16
Once you are happy with the shape, turn the bag the right way round and put your poo bag roll inside. Pull through the end of the roll through the button hole and close the zip. You are ready to go!
Check out these pawsome eco poop bags from our friends at EPaw Pet!


Have you made your own? Make sure to take a picture and tag us on social media! @TheCanineStory
You may find links to supplies to help you with this tutorial. As an Amazon Associate I earn from qualifying purchases.