


Recently, I received an email from a reader based in Australia, she asked me how come her bags were not selling well at her local markets. In truth, it is a question that's almost impossible to answer, especially since I don't live in Australia anymore and I have not been keeping up with their trends.
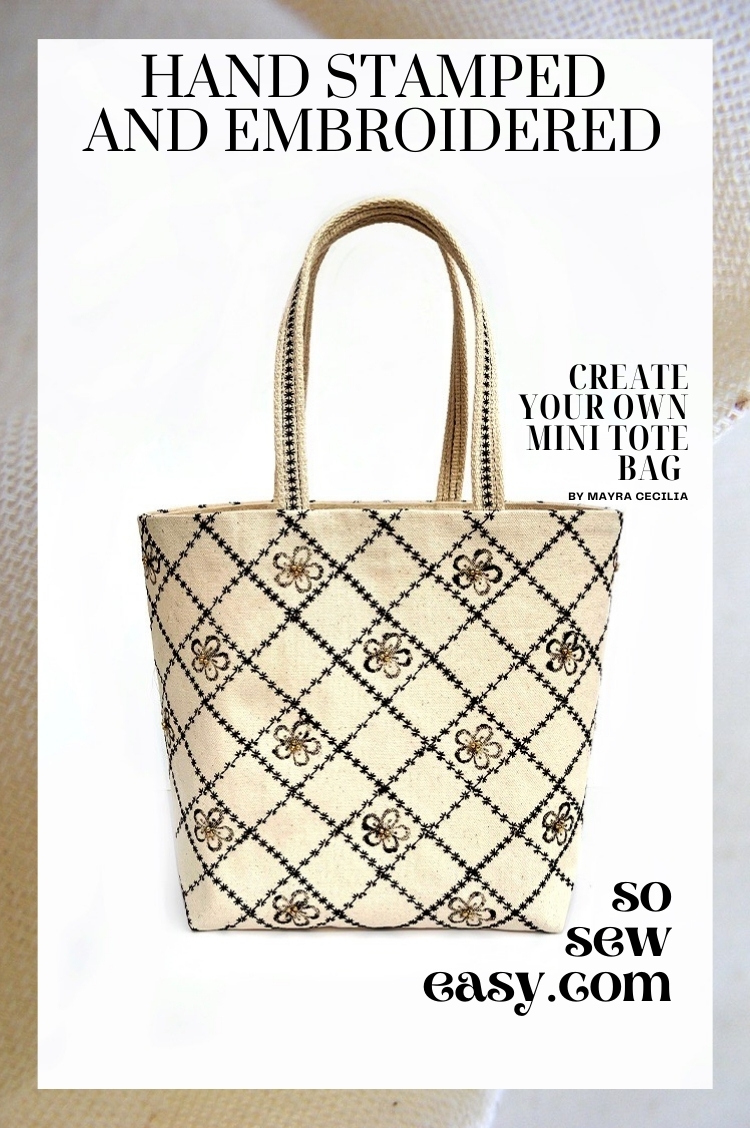
However, though trends and styles change often and suddenly, quality, craftsmanship, and elegance will always be valued. In my opinion, mixing print and embroidery by machine, and then stamping the fabric, is one of the easiest ways of setting your product apart by giving it a unique look and feel.
Let's be realistic here, there are countless bags made out of fabric in markets today, both hand and factory-made. One quick search on Pinterest will give you enough results to make your head explode. Totes are the easiest bags to make, but anything easy to make, though great for learning, is not so great if you are trying to compete in the marketplace – high supply often leads to lowered demand.
I think that if you spend a couple of hours on the print for your bag you will have a beautiful product that no one else will have, and you will be able to use the powerful selling line “I even made the print”. I think it is a relatively simple and effective way to make your product that much more valuable.
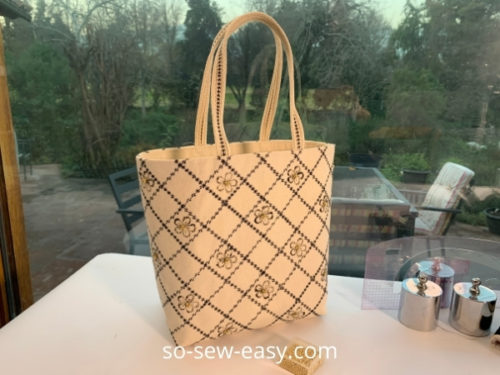
This is a small tote bag but you can carry a few things in it, dimensions: H13″, W9″, D4″.

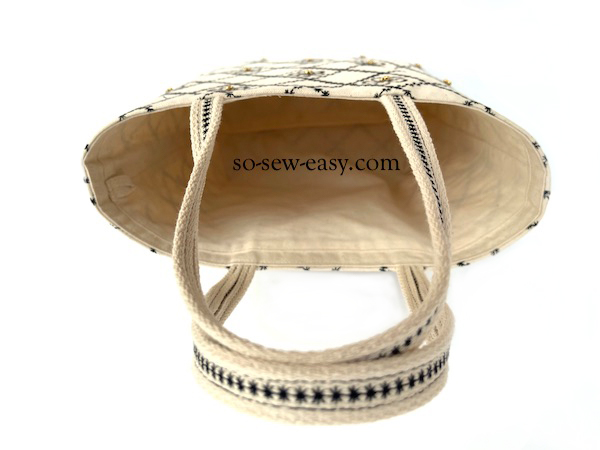
Fully lined with an internal loop to you can attach a wallet or a key chain.
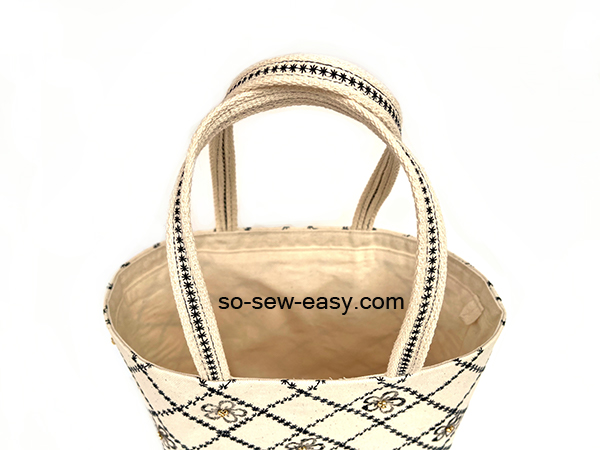
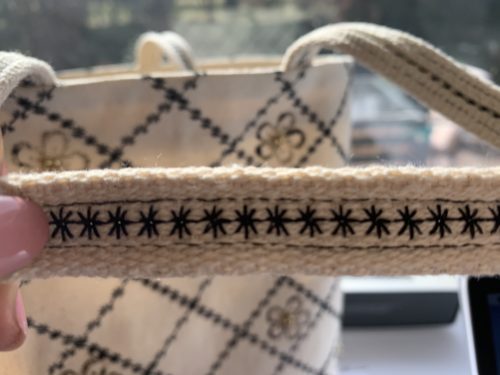
Hand-made embroidered handles.
Materials
- one yard of natural color canvas fabric or thick linen 54″ wide
- one yard of natural color muslin or calico fabric 54″ wide
- one yard of 1 1/4″ or 1 1/2″ natural cotton webbing
- thread to match
- black fabric paint
- 3mm golden tarnish-resistant metal beads
- 3″ length of 3/4″ to 1″ cotton tape, bias tape or cotton ribbon.
Tools
- Speedball Speedy-Carve Block Printing & Rubber Stamp Making Kit
- or wooden rubber stamp
- Iron
- walking foot for home sewing machine (optional) or
- industrial sewing machine (optional)
- embroidery sewing machine (optional)
Experience Level: Confident Beginner
Fabric Suggestions From Amazon.com
How To Download The Gardening Tool Bag Pattern
We're going to continue to use the new Payhip webstore to distribute our patterns.
Our patterns are still free, but now you now have the option of making a small contribution if you like our work! We'd really appreciate it and it will help is keep going with new and fun designs like this. Even a dollar or two really goes a long way.
Just put the amount you would like to contribute above the “Buy Now” box before pushing the button. Thanks so much in advance for helping us out.
Making Your Machine Embroidered Stamped Mini Tote Bag
Zigzag all the edges to prevent the fabric from fraying. Obviously, we need to machine embroider the canvas first. Choose a stitch that is attractive yet simple for your machine to make in a relatively short time. I am using my Bernina B 350 PE and stitch #66. I have to clarify that this machine is no longer available and in its place is the Bernina 335 a small but powerful machine.
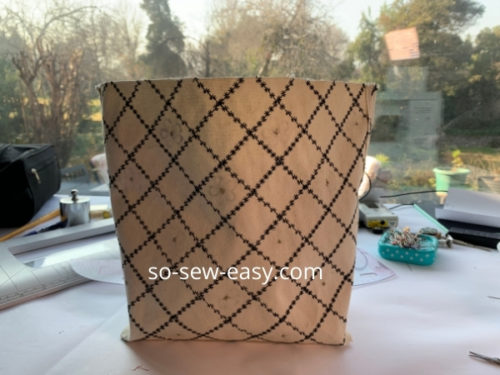
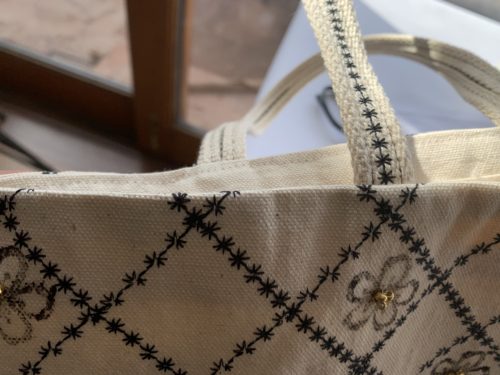
Next, we will print the fabric, using a rubber stamp and black paint. I used a flat brush to apply the paint.
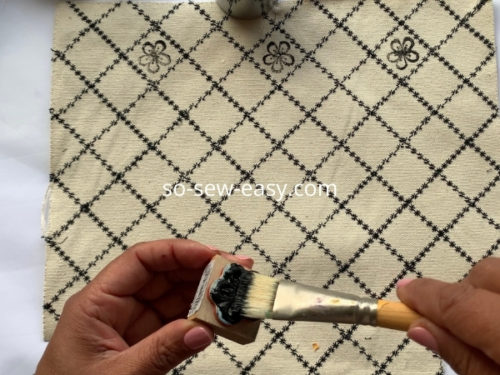
Then, I stamped my canvas.
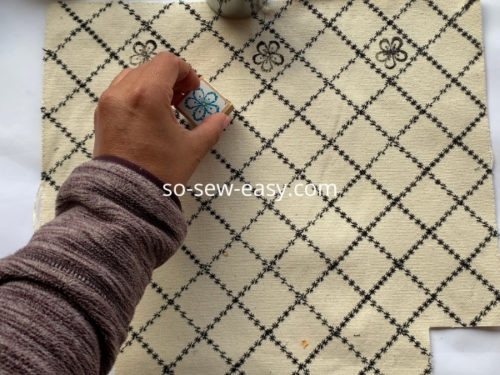
Added three beads to the centre of the flower to add a little contrast with the black paint.

Had I had an extra 12 hours I would have added more beads to my machine embroidered stamped mini tote bag but, my point is to use only a couple of extra hours to make a tote bag to set it apart from the rest.
The third step is to sew the bag, please follow the instructions below.
Sewing Instructions
The seam allowance is 3/8″ already included in the pattern.
While not included with this pattern, I think a removable lined pouch is an essential accessory for this tote.
Sewing The Outer Fabric
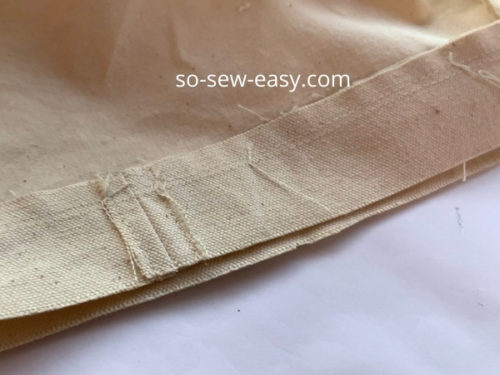
Right sides together, sew the sides of the bag.
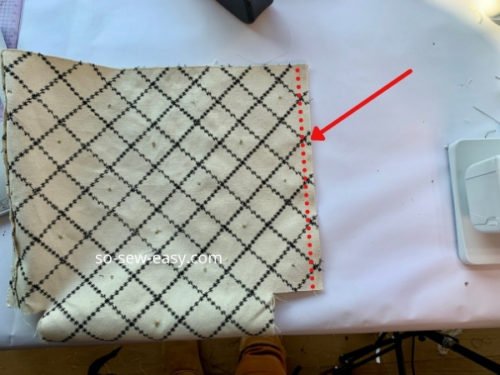
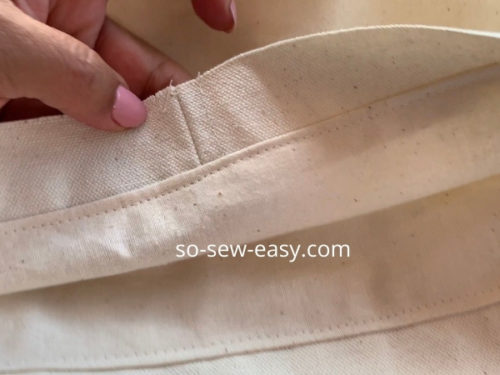
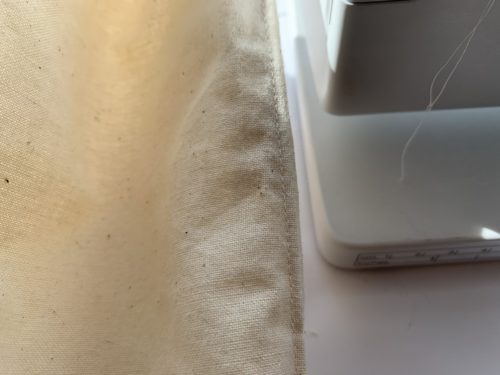
Open the seam allowance and stitch 1/8″ from the center. This allows the seam allowance to lie flat reducing bulk and preventing the fabric from ravel any further increasing the life span of your mini tote bag.
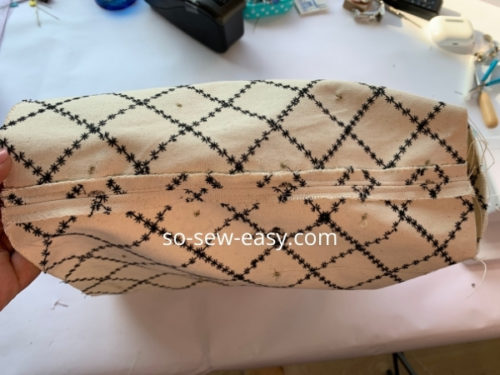
Box the corner.
Sew and zigzag the seam allowance.
Put this layer aside.
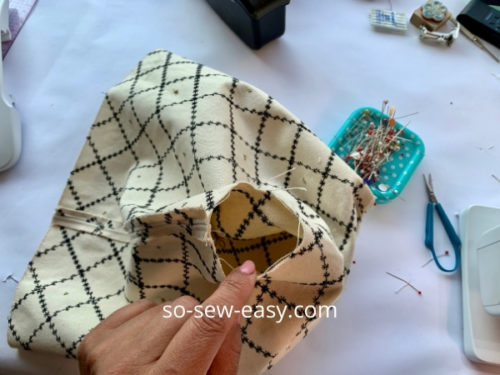
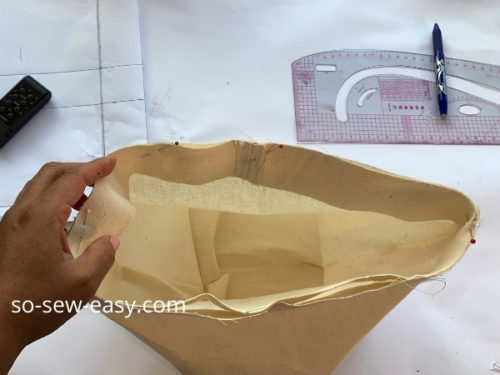
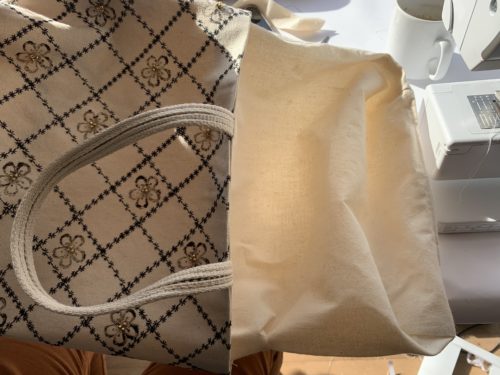
Sewing The Lining
The lining will have a facing and a little loop where we can hook either a key chain or a zipper wallet, we will make this in another tutorial.
Let's sew the lining exactly as we did with the outer fabric, sew the sides then box the corner. Except that you will leave a gap of 6″ at the bottom so we can turn the bag inside out.
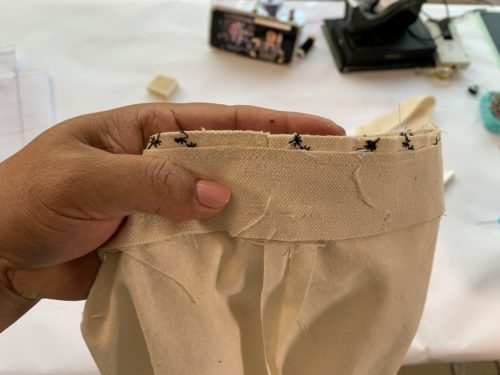
Take the facing and sew the ends making a loop. Open the seam allowance and sew on each side of the seams so the seam allowance lays flat.
Place the band with the seam allowance showing, the right side of the band and the right side of the lining should be facing each other.
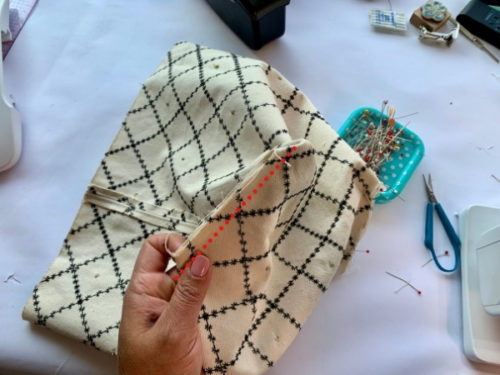
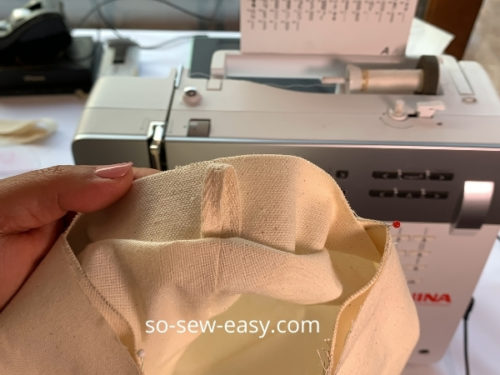
Making A Small Loop
This step is optional but I think it is nice to have a small loop inside a tote bag to be able to hook a wallet or a key chain.
Fold the 3″ cotton tape lengthwise, and sew close to the edge. Pin on the side close to the seam allowance but not on it to avoid bucking the seams.
Sew around the edge. Keeping the tape flat fold the seam allowance towards the lining and topstitch.
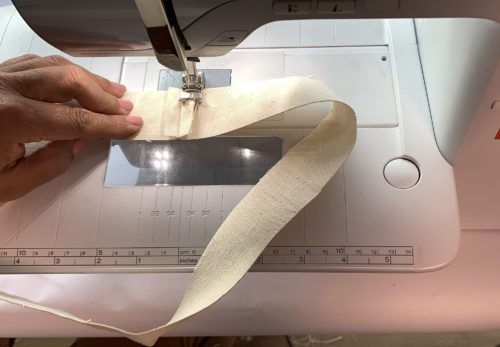
Making The Straps
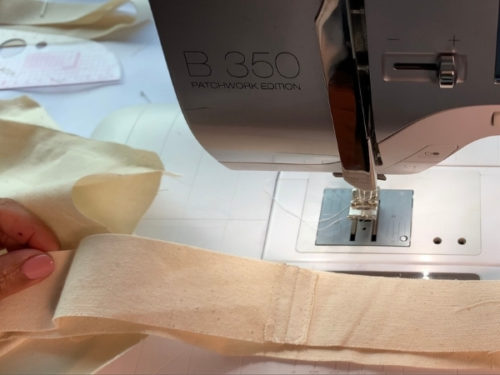
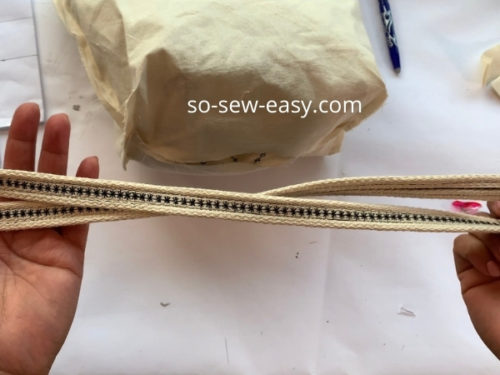
I have used the same stitch #66 to decorate the webbing to match the rest of the machine embroidered stamped mini tote bag.
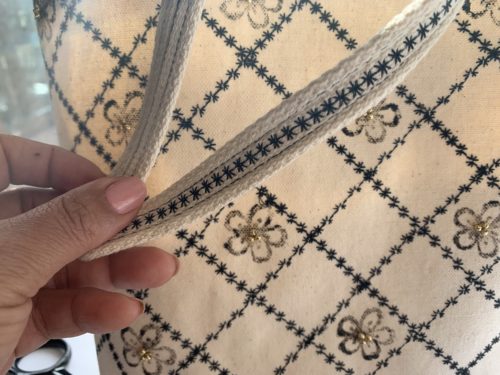
Fold the cotton webbing lengthwise meeting the edges at the center.
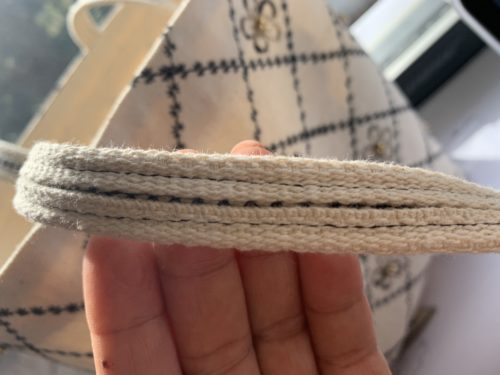
I have added two rows of straight stitching to keep the strap flat.
Finishing Your Machine Embroidered Stamped Mini Tote Bag
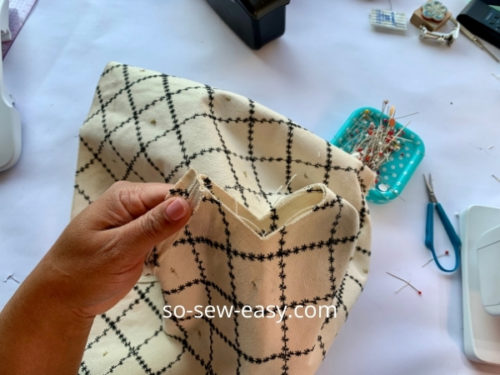
NOTE: I forgot to attach the straps to the bag before I sew the lining. To avoid picking all stitches I opened a gap in the middle on both the front and back of the bag of 5″. I inserted the straps the embroidery is facing the embroidery of the bag or in other words right sides together. Below are the instructions on how to do it without making a mistake.
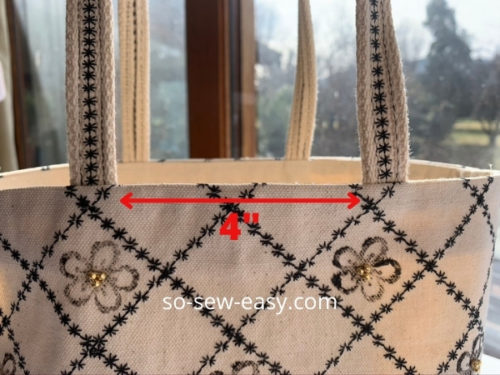
Turn the outer fabric layer print side out. Find the center of the tote bag by folding each side and marking the center.
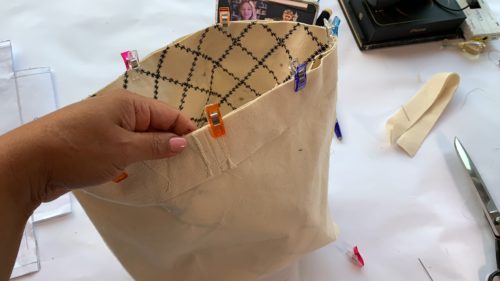
Pin the straps upside down or raw edges of the straps matching the raw edge of the top of the bag. The distance between the ends of the straps is 4″.
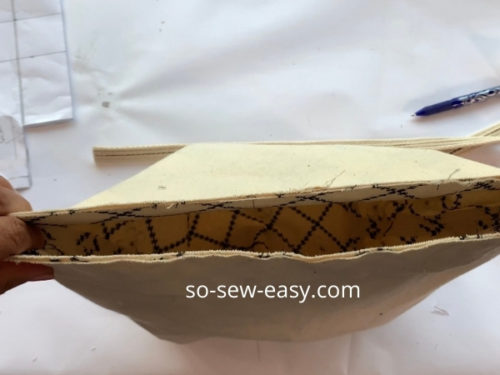
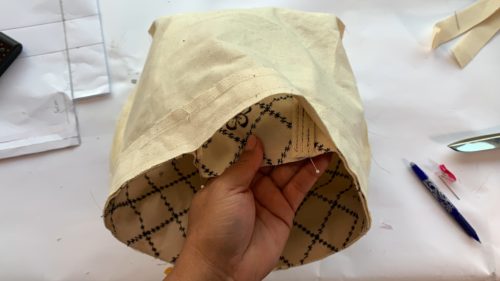
Insert the outer layer with the straps inside the lining. Note: the lining needs to be wrong side out.
Sew twice around the edge of the bag. Reduce the seam allowance of the lining (cotton webbing only) by half.
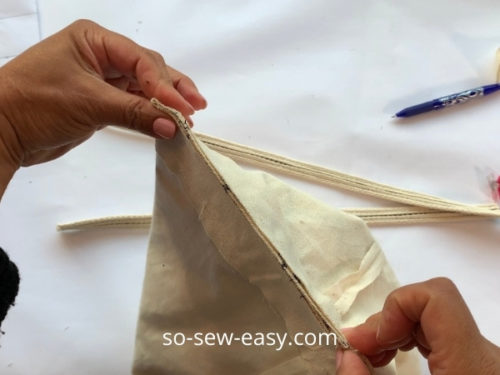
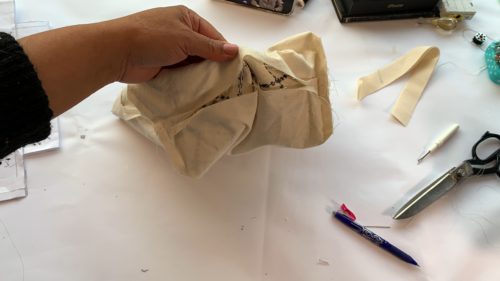
Using the gap in your lining turn the bag inside out.


Topstitch the edge. There are two ways to do this, removing the sliding table of your sewing machine and using the gap of your lining you can topstitch folding all the seam allowances including the straps to the lining.
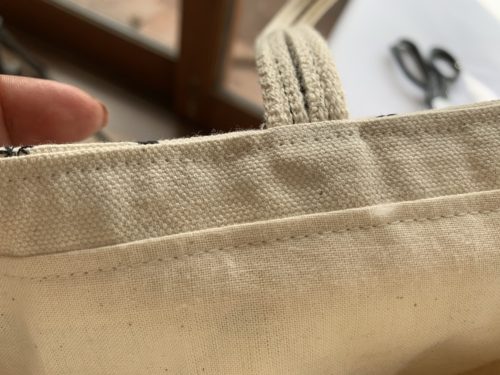
Or, you can fold create a crips edge with the iron and topstitch all the layers together.
Please note that the layers might be too thick for a home sewing machine and you will probably require a walking foot or the use of an industrial machine.
Finally, pull the lining out and use a needle and thread and a running stitch to finish the bag or sew a straight stitch as I have done. 1
I hope you've been convinced that by making a machine embroidered stamped mini tote bag you will be more successful at setting your product apart from the thousands of plain-looking totes out there. This is a wonderful and easy technique to use for making a small collection that you can sell while feeling confident that you have put your own creative details in.
As always, I have enjoyed sharing this small project with you and look forward to seeing your designs on Instagram, please use #soseweasyofficial whenever you use one of my patterns and I am sure to follow you. Or, simply follow me, I promise to share a bit more not just sewing.
Until next time! Let's keep sewing, keeping the world together one stitch at a time!
P.S. In case you missed the first project on this series, here's a link to the metal frame embroidered bag pattern.


Very cute bag! My only suggestion would be to change the title to “Machine Embroidered and Rubber Stamped Mini Tote” I was so confused by the title that I had to read the directions before I understood what you meant. But that may have been just me because I also have rubber stamps that have stitching lines just like the embroidery stitch you used! lol. I really like this bag!! I want to make one now!! Thanks so much for the inspiration!
Thank you for sharing the tutorial. It gave me an idea for making a bag for a bag for a friend. How do buy a coffee to support your site.
I am looking for the dimensions for cutting the fabric, facing and lining, or a printable pattern piece.
This tote bag is gorgeous! A very inspiring project.