
Since my kids both left home, I haven’t been very motivated to decorate for Halloween. We live out in the wild yonder, where no trick-or-treaters dare to go (except that one mini van about 15 years ago) so no one would see it anyway. I’m making an exception for this skull and crossbones wall hanging!

With a new kid on the block, she’s got me thinking about jumping in again. My granddaughter is too little to care this year, but next Halloween might be pretty awesome.
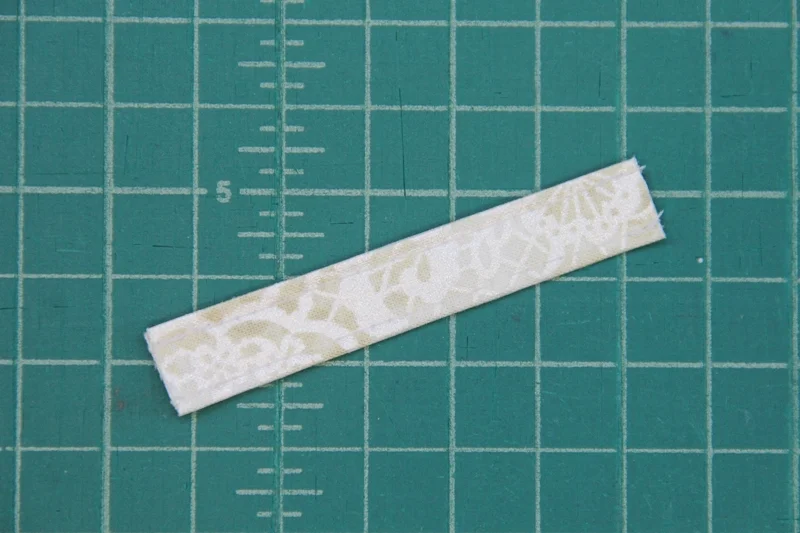
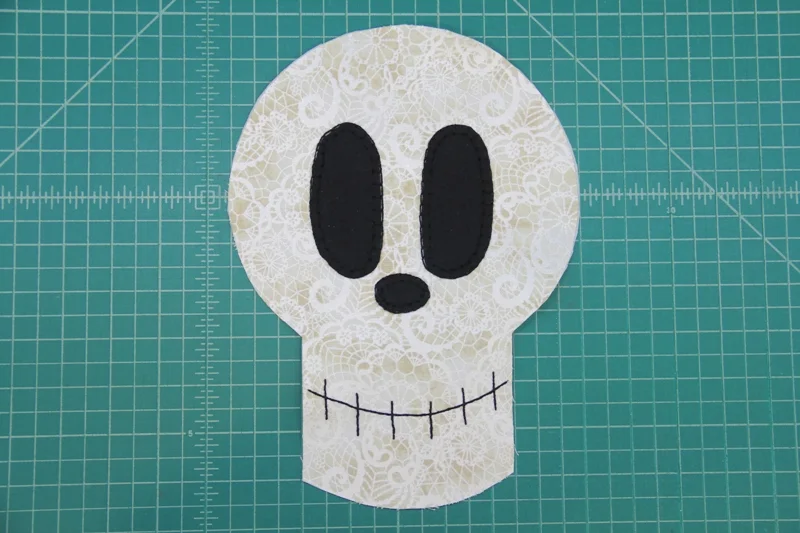
To get a start on my new spookiness, I decided to make this skull and crossbones wall hanging. I know it’s hard to tell from the photos, but this cream-colored fabric was perfect! It’s a little grungy, a little lacy, and it shimmers.

This post contains affiliate links. For my full disclosure policy and point of view, click here.
To make this you’ll need:
cream cotton fabric
black cotton fabric
heavy weight fusible interfacing (typically called Craft Fuse)
cotton batting
black embroidery thread (I used a size 5 perle cotton)
Using the pattern pieces, cut the following:
from cream fabric:
1 skull, flip the pattern over and cut second (2 total)
2 bones, flip the pattern over and cut 2 more (4 total)
1 hanger
from black fabric:
1 eye, flip the pattern over and cut second (2 total)
1 nose
from heavy weight interfacing:
1 skull
2 bones
from medium weight interfacing:
1 eye, flip the pattern over and cut second (2 total)
1 nose (cut from non-fusible side)
from batting:
1 skull
2 bones

Fold the hanger lengthwise, with wrong sides together. Press. Fold the edges in to the center and press again.
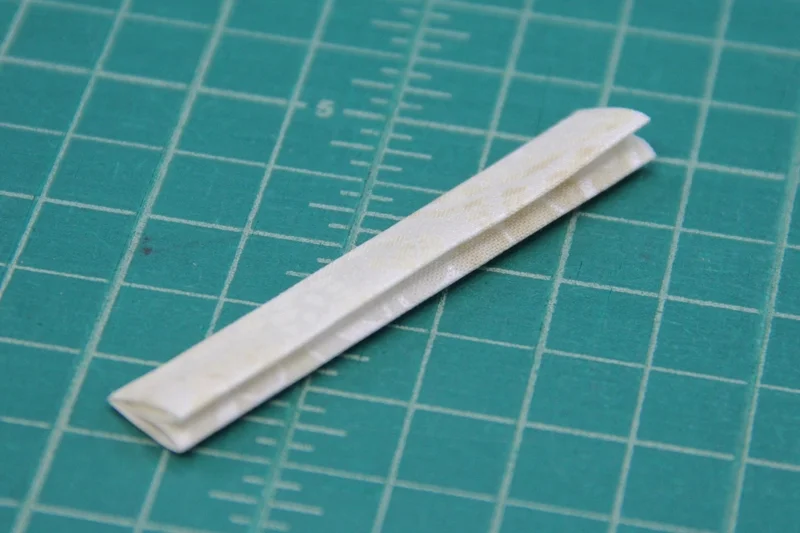
Stitch near both long edges.
Pin the medium interfacing to both fabric eyes and the nose, with right side of fabric and fusible side of interfacing together. Stitch all the way around each piece, 1/8” from the edge. Cut a slit through the center of the interfacing only.
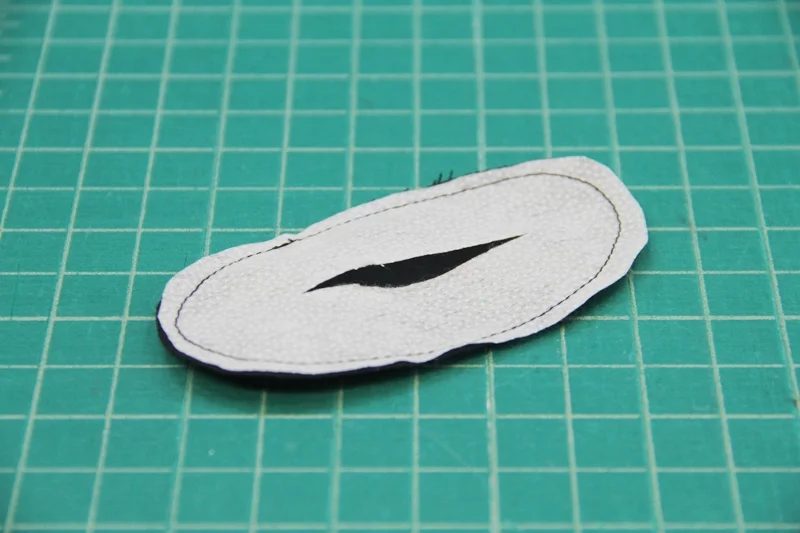
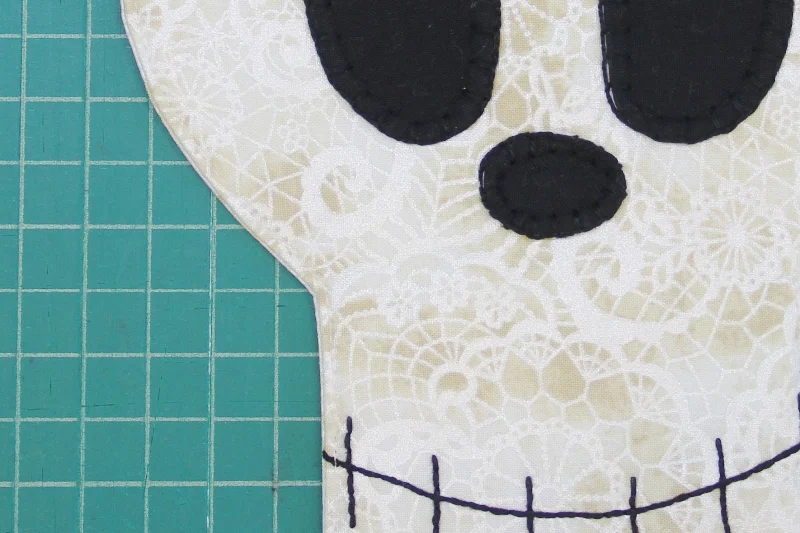
Carefully turn each piece right side out through the slit. Iron the Craft Fuse onto the wrong side of the skull face. Place the eyes and nose on the face with the interfacing side down, using the pattern as a guide. Press in place.
Stitch around near the edge of each piece, either by machine or using the embroidery thread. I went with a blanket stitch on mine.
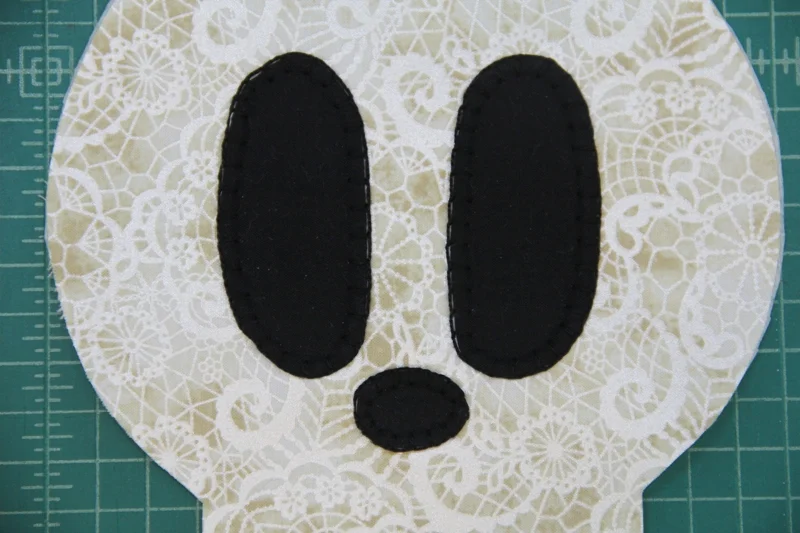
Transfer the mouth embroidery design from the pattern onto the face using your favorite method. Back stitch with embroidery thread.
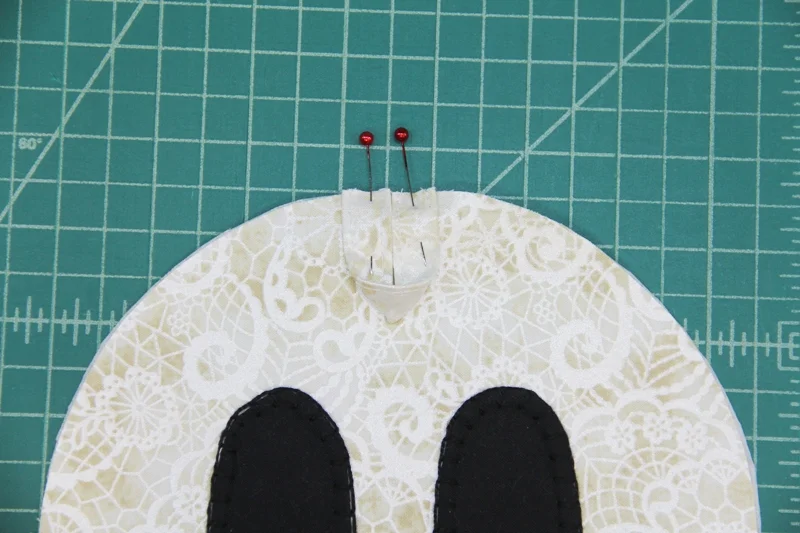
Fold the hanging loop in half and pin at the center top of the head with the loop to the inside and the pin heads to the outside.
Lay out the batting skull. Add the face on top, right side up. Lay the skull back over all, right side down. Pin well.
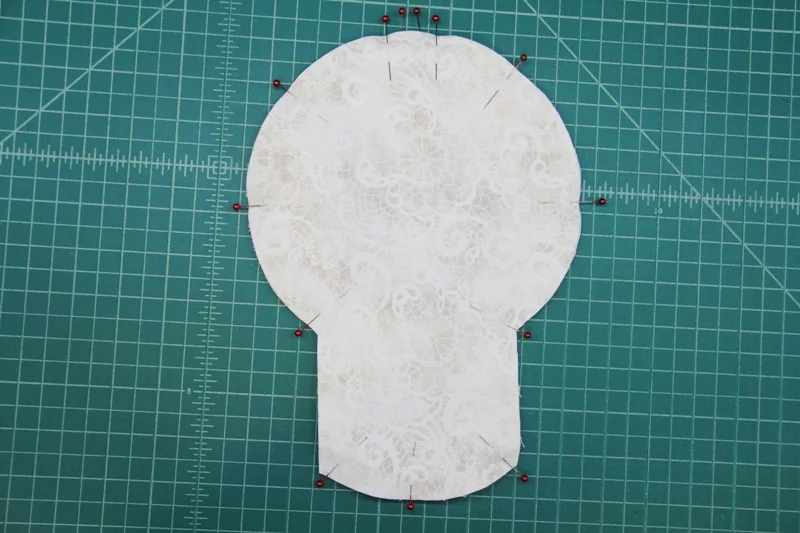
Stitch around 1/4” from the edge, leaving 2” open on a straight edge at the jaw.
Clip the corners. Turn right side out and press, turning in the opening. Topstitch close to the edge.
Iron the Craft Fuse onto the wrong side of two bones.

Lay out the batting bones. Top with the interfaced bones, with the fabric side up. Lay the remaining fabric bones over that, with the fabric side down.
Stitch around 1/4” from the edge, leaving 2” open on one straight edge.
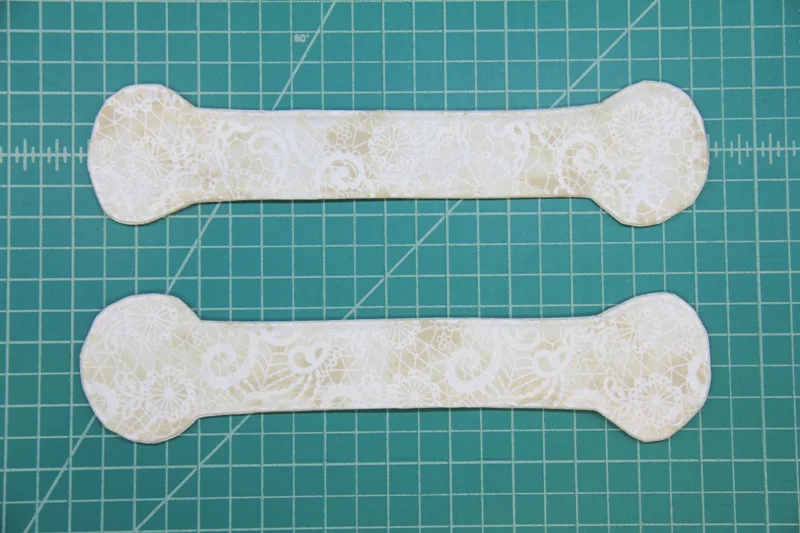
Clip the corners. Turn right side out and press, turning in the opening.
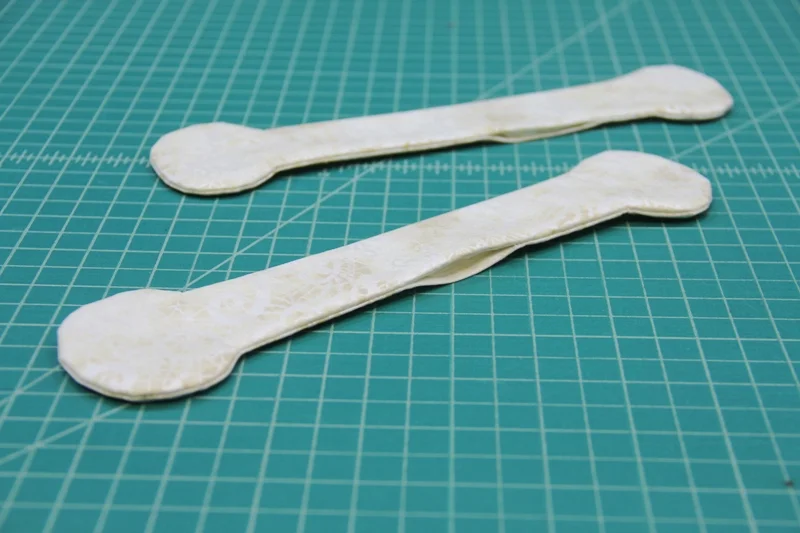
Topstitch close to the edges.
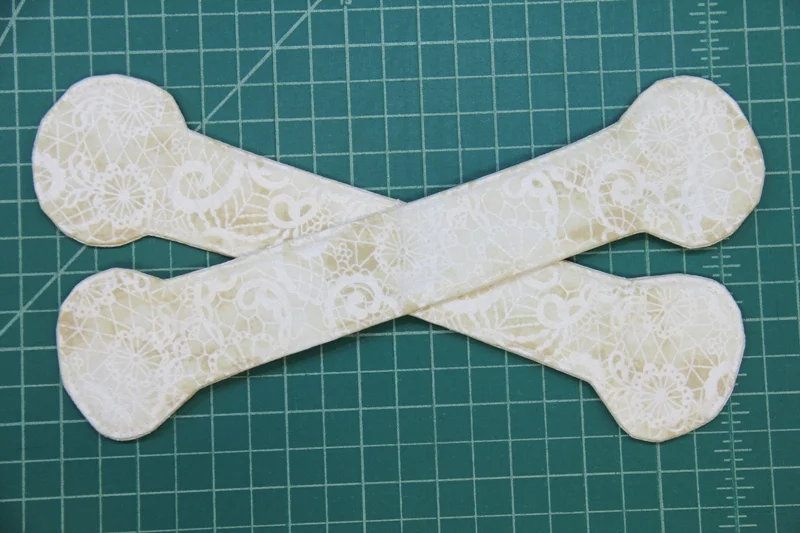
Lay out the two bones in a crossed pattern. Adjust and test with the skull until you’re happy with it. Stitch down the center through both bones.
Lay the skull over the top. Stitch through all layers by machine, following the topstitching on the jaw, or stitch together by hand from the back.
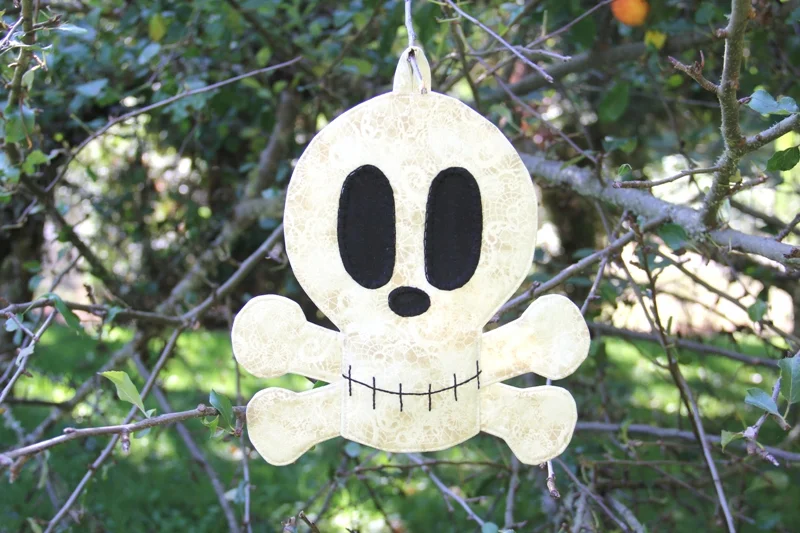
How can a skull and crossbones be spooky and friendly at the same time?
