
DIY: Frayed Denim Wrap Skirt
I introduce you to the world of wrap skirts. They're an essential in my wardrobe and are so easy to make. I find that once you nail the first, you can whip up the rest from there on blind folded.
Depending on your style it can be made in so many different patterns or fabrics and then styled elegantly for a night out or casually to lunch or the beach. So many activities!
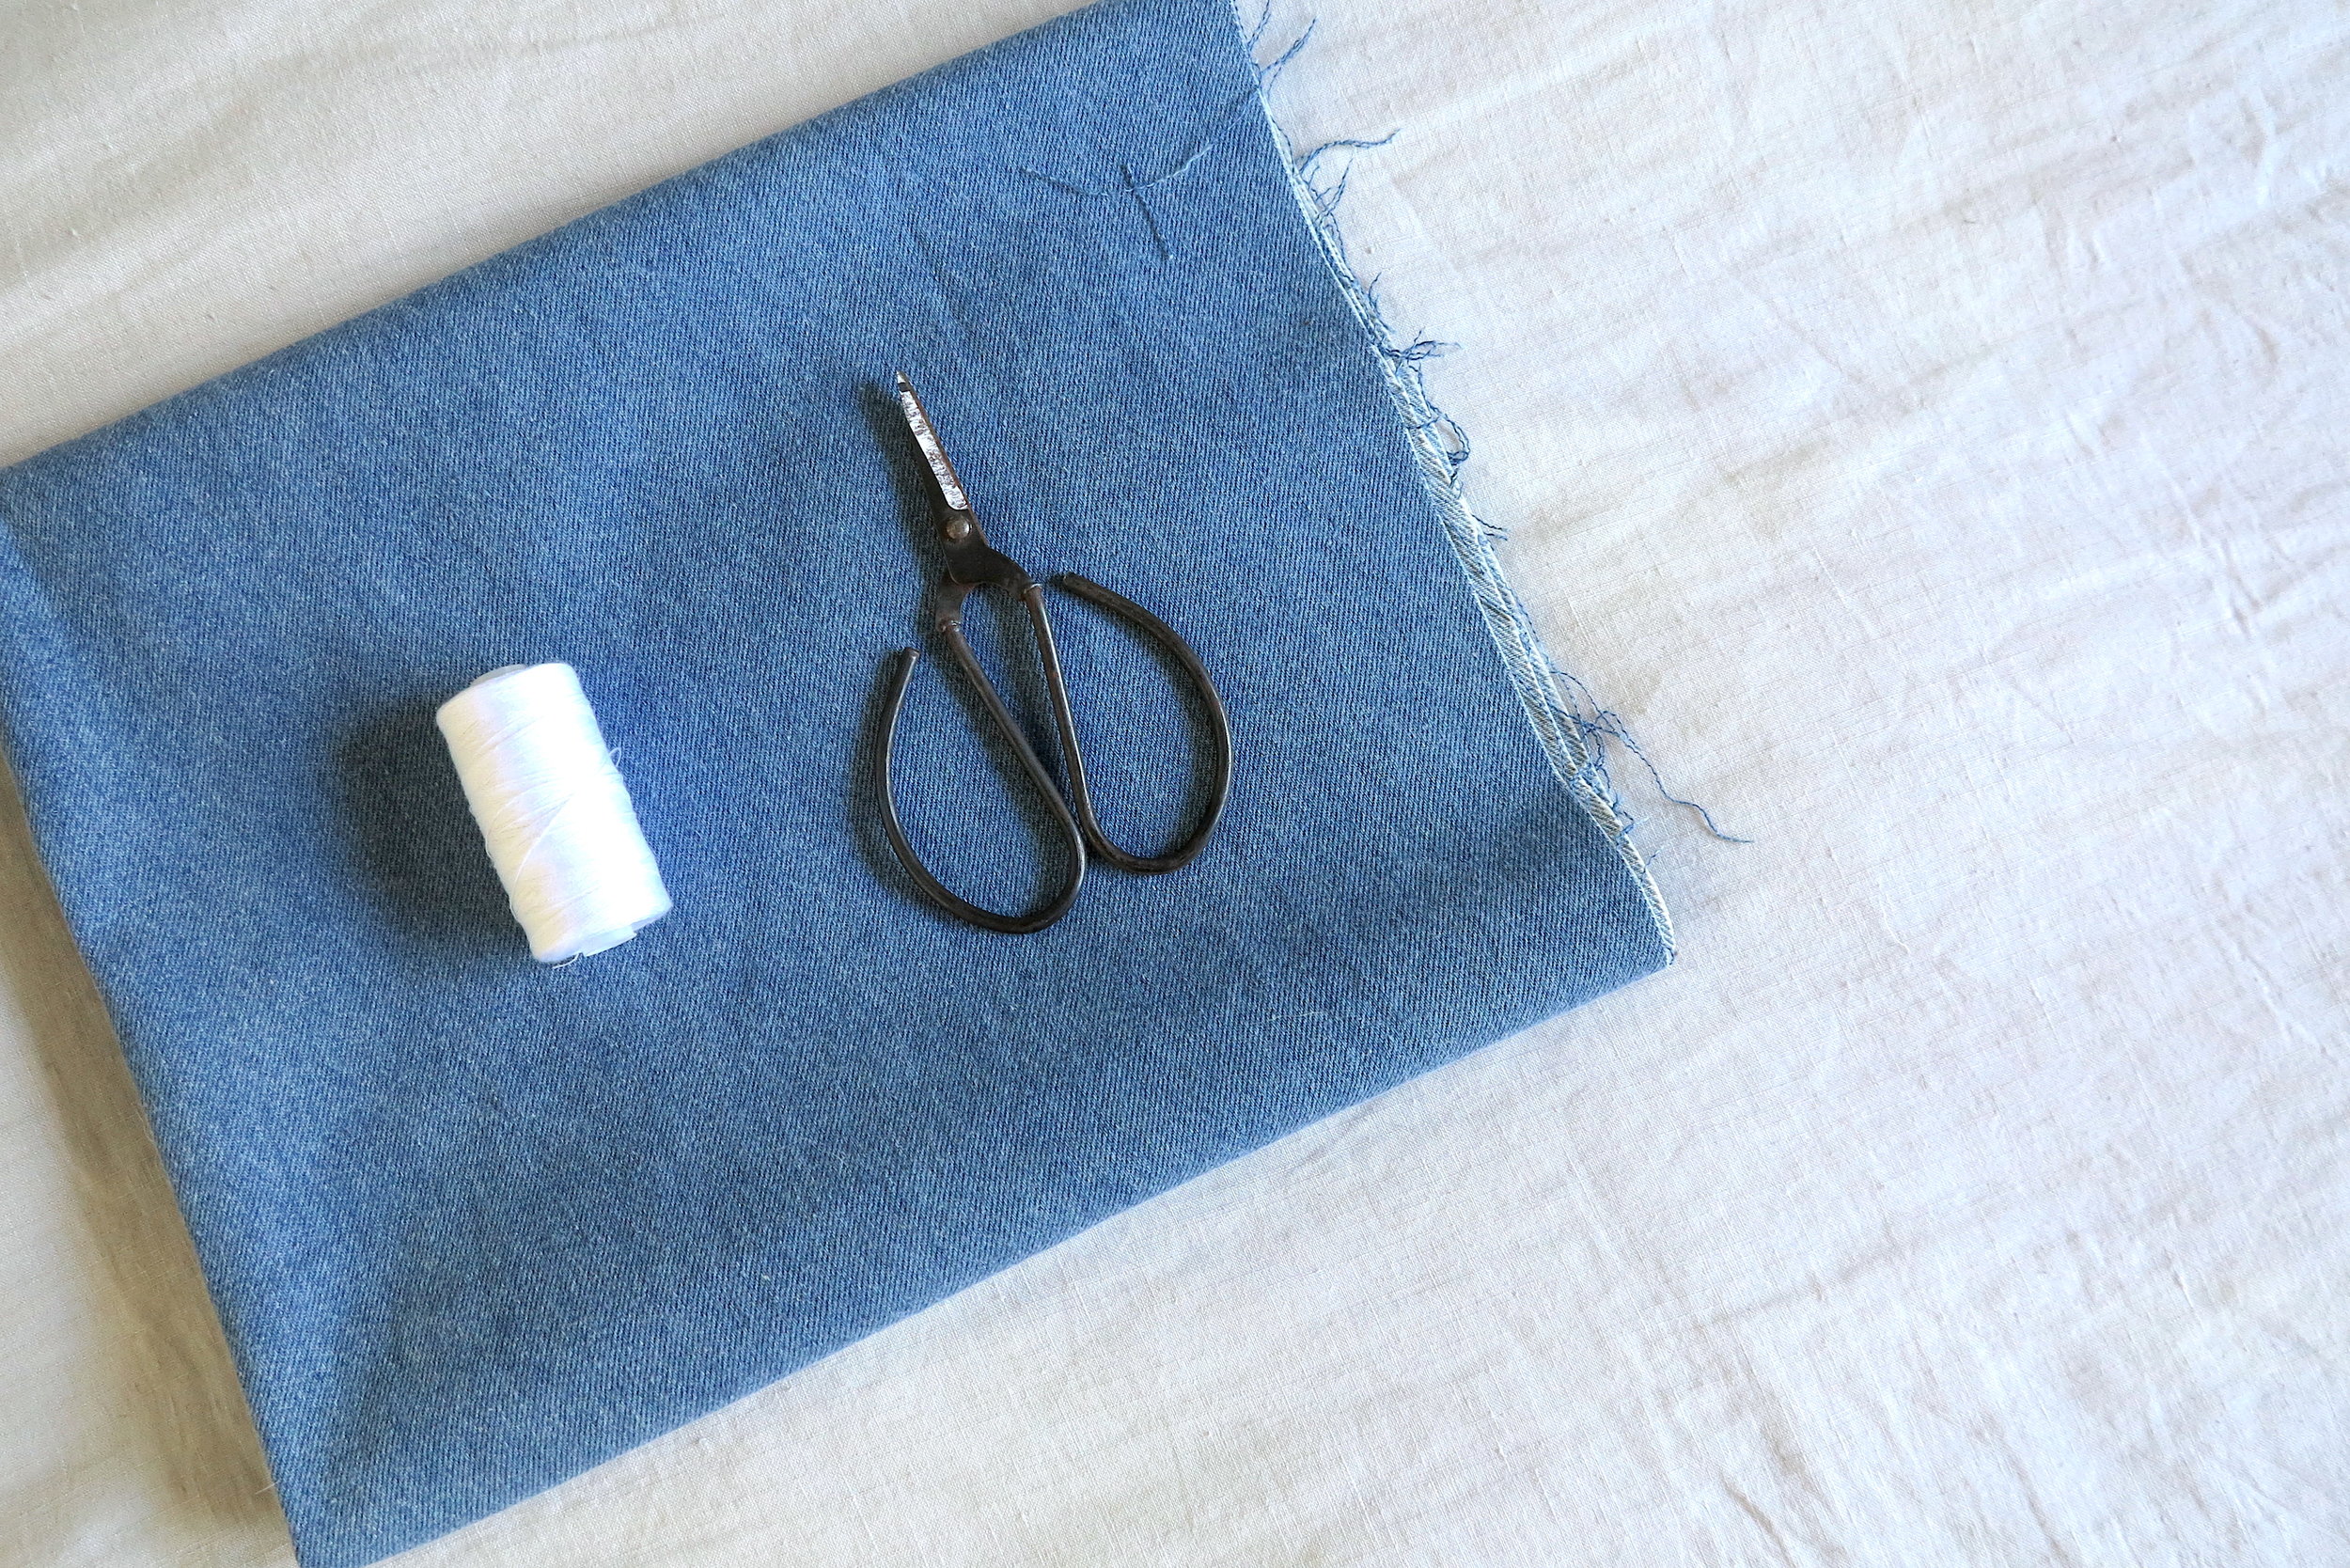
The Essentials
- Denim Fabric
- Thread
- Fabric Scissors
- Sewing Machine
steps.
01
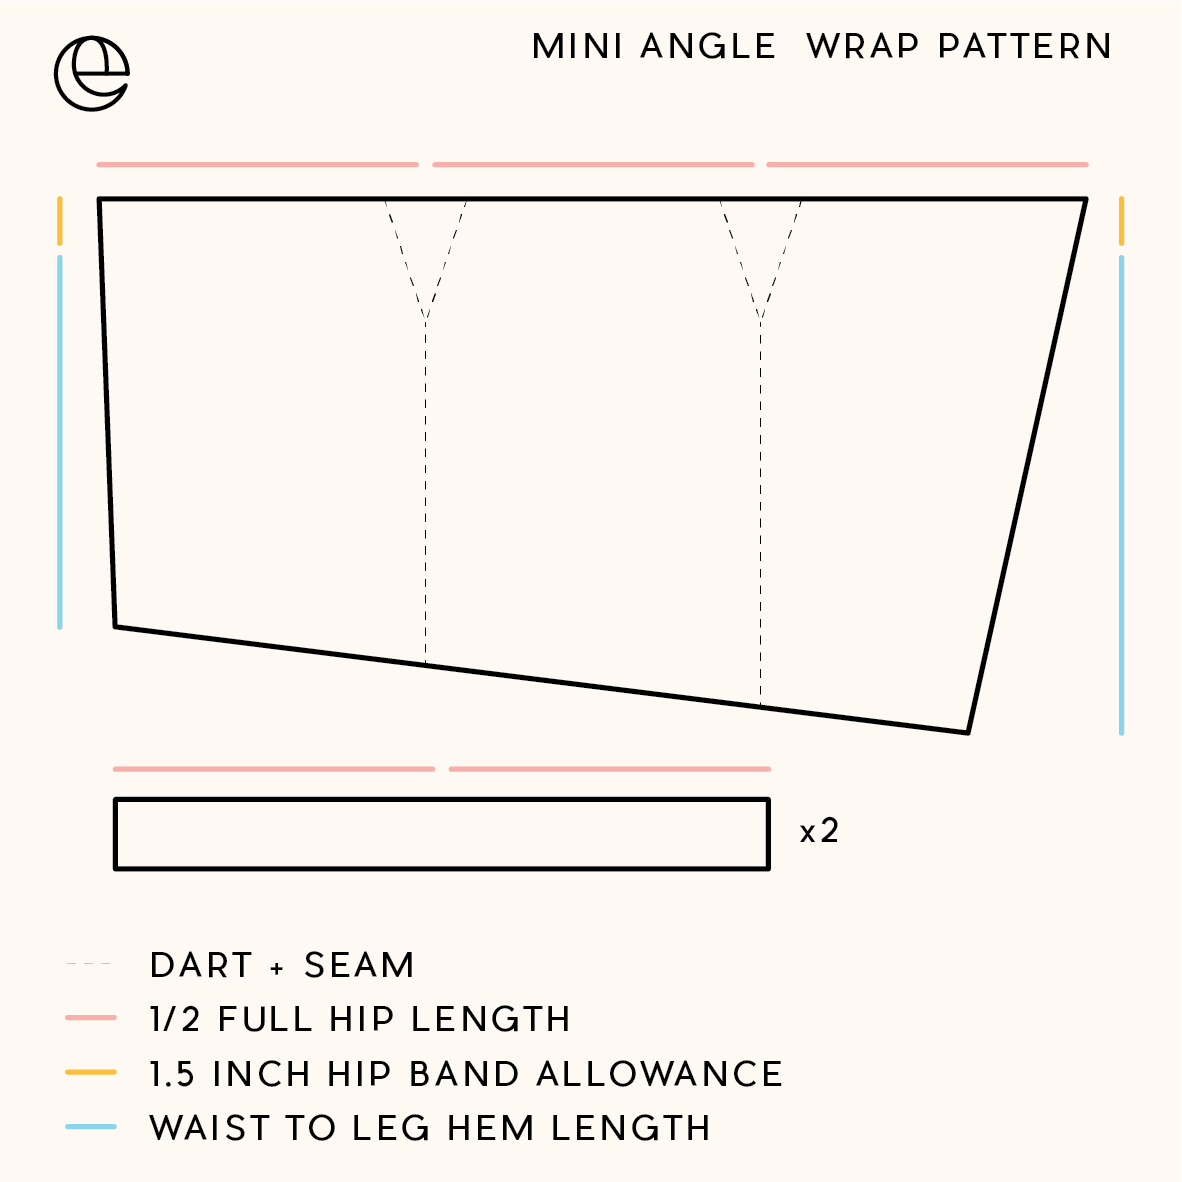
This wrap skirt pattern starts with one piece of fabric - which varies depending on the style you're going for - and two longer panels that become the straps.
WIDTH: The top length of the skirt is 1.5 times your full hip measurement (or 3x your 1/2) to allow it to wrap around and keep you covered, then add 3 inches seam allowance if you're leaving the edges raw otherwise if you'll be hemming add 5 inches.
LENGTH: Start at your waist and measure down to where you would like it to finish and that's the finished length. If you want to hem the bottom add 3 inches seam allowance otherwise if you're leaving the bottom frayed just add 2 inches .
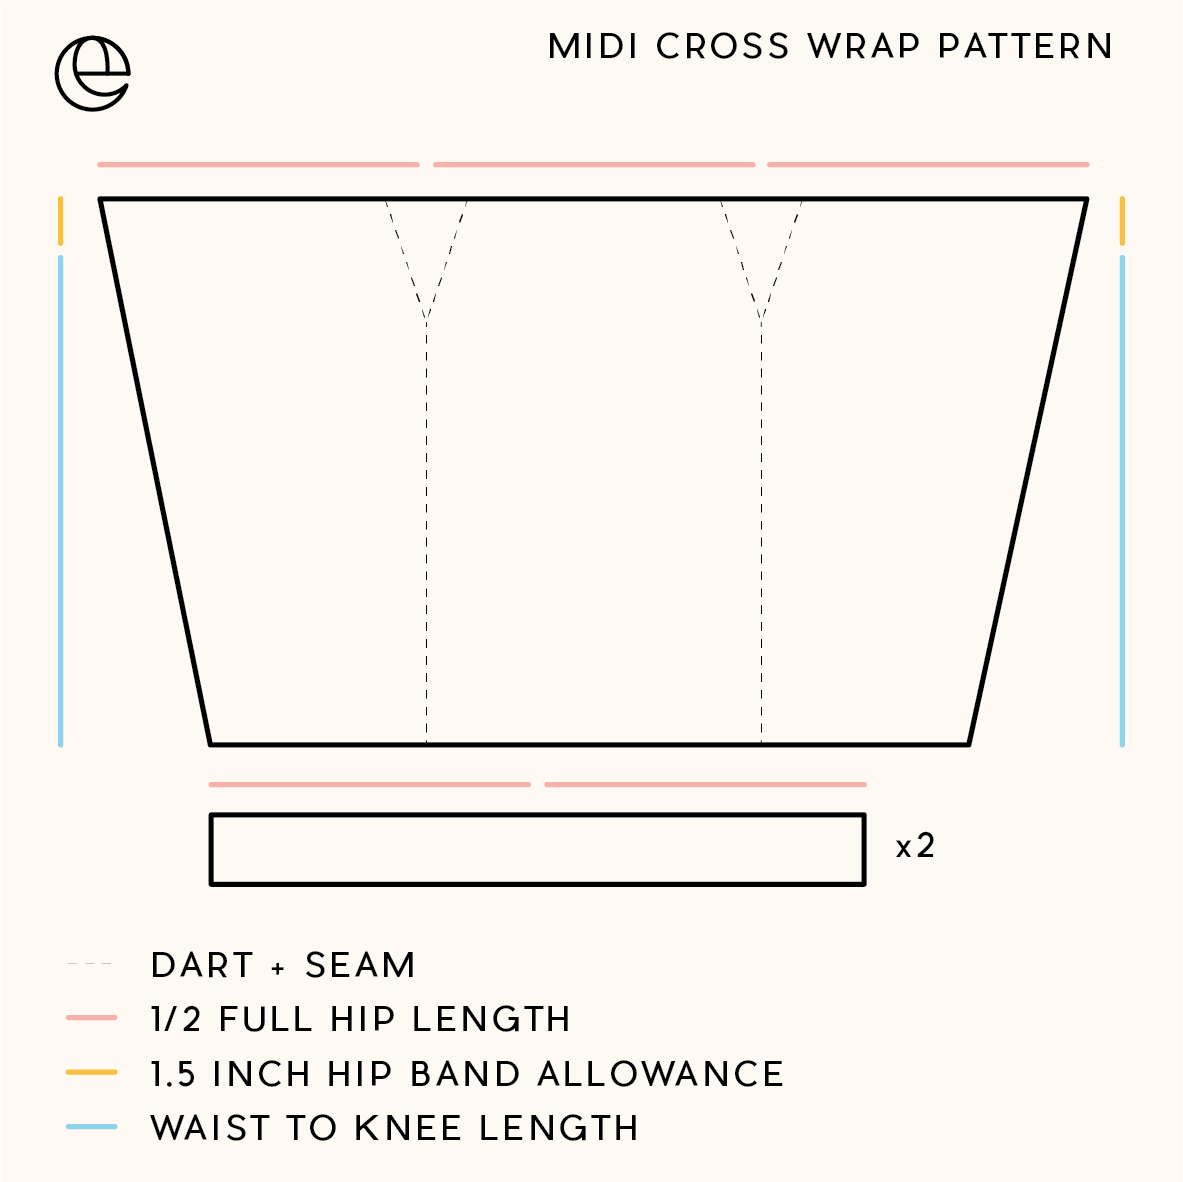
STRAPS: The length of the strap is your full hip measurement and the width depends on how thick you want it to be, but I normally cut it 3inches wide (as it ends up folding on itself and being approx 1 inch). You can scroll through the above images to see how a midi and mini pattern might look.
For imagery in this tutorial I ended up making a mini style.
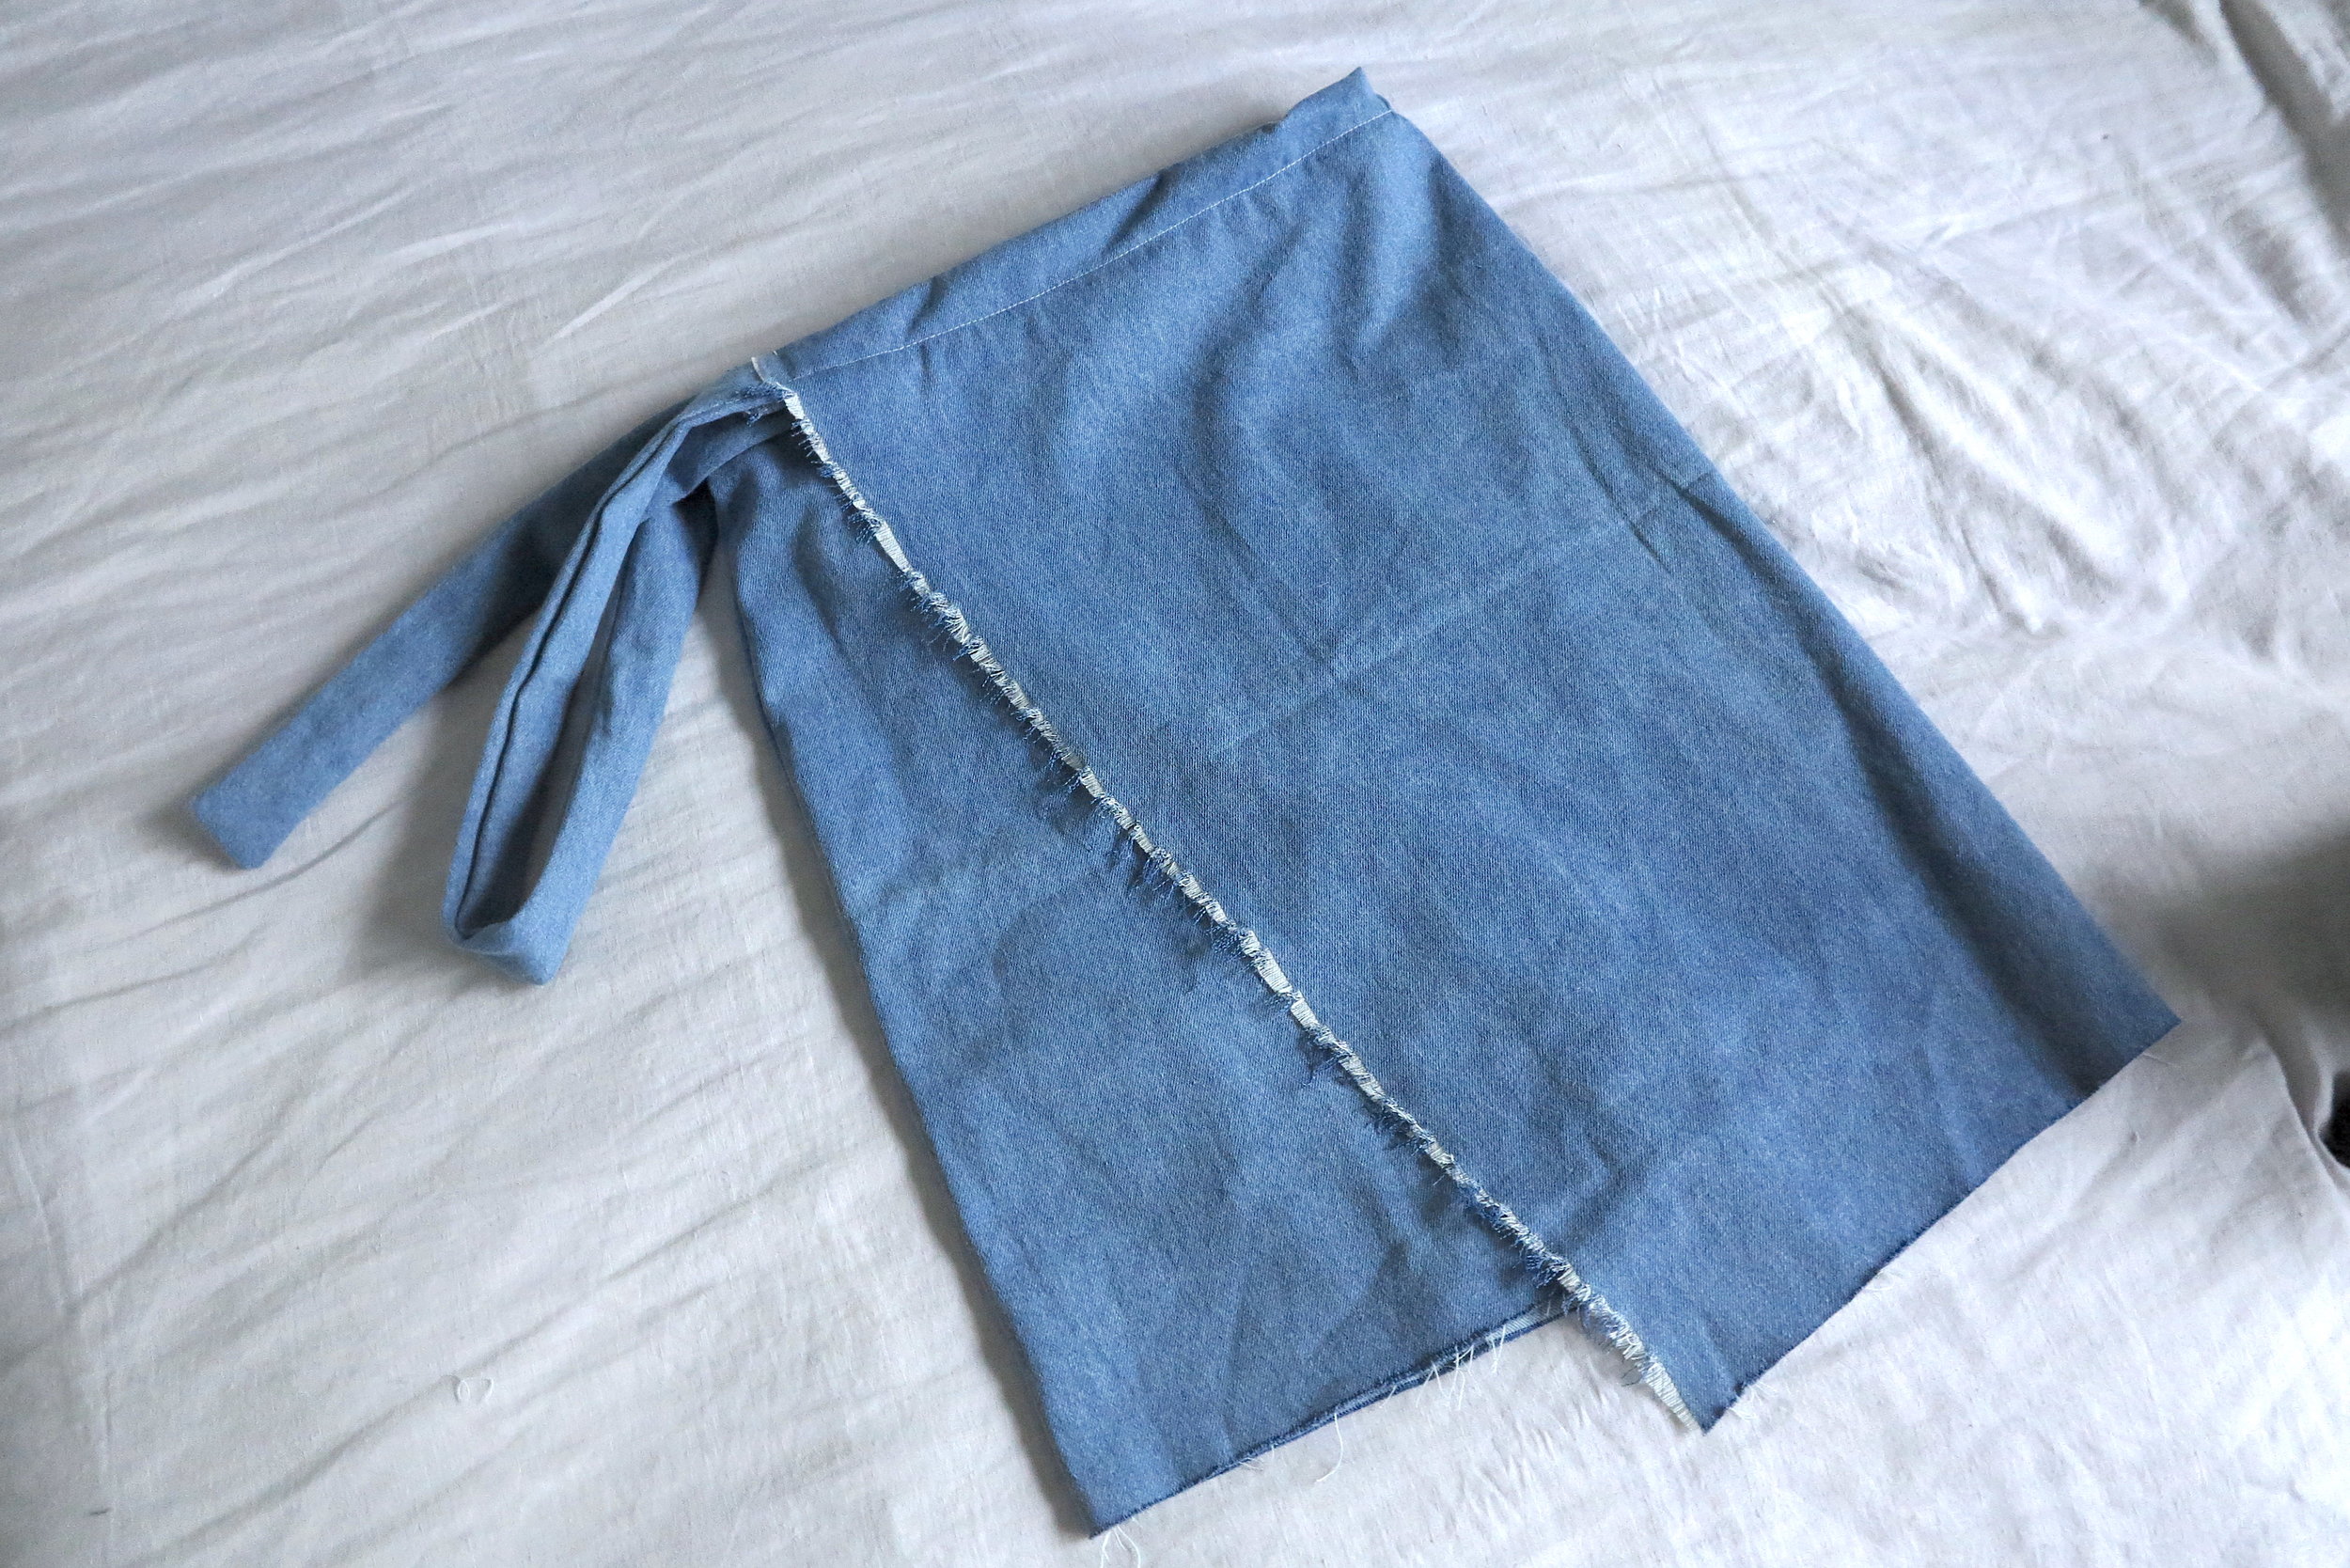
02
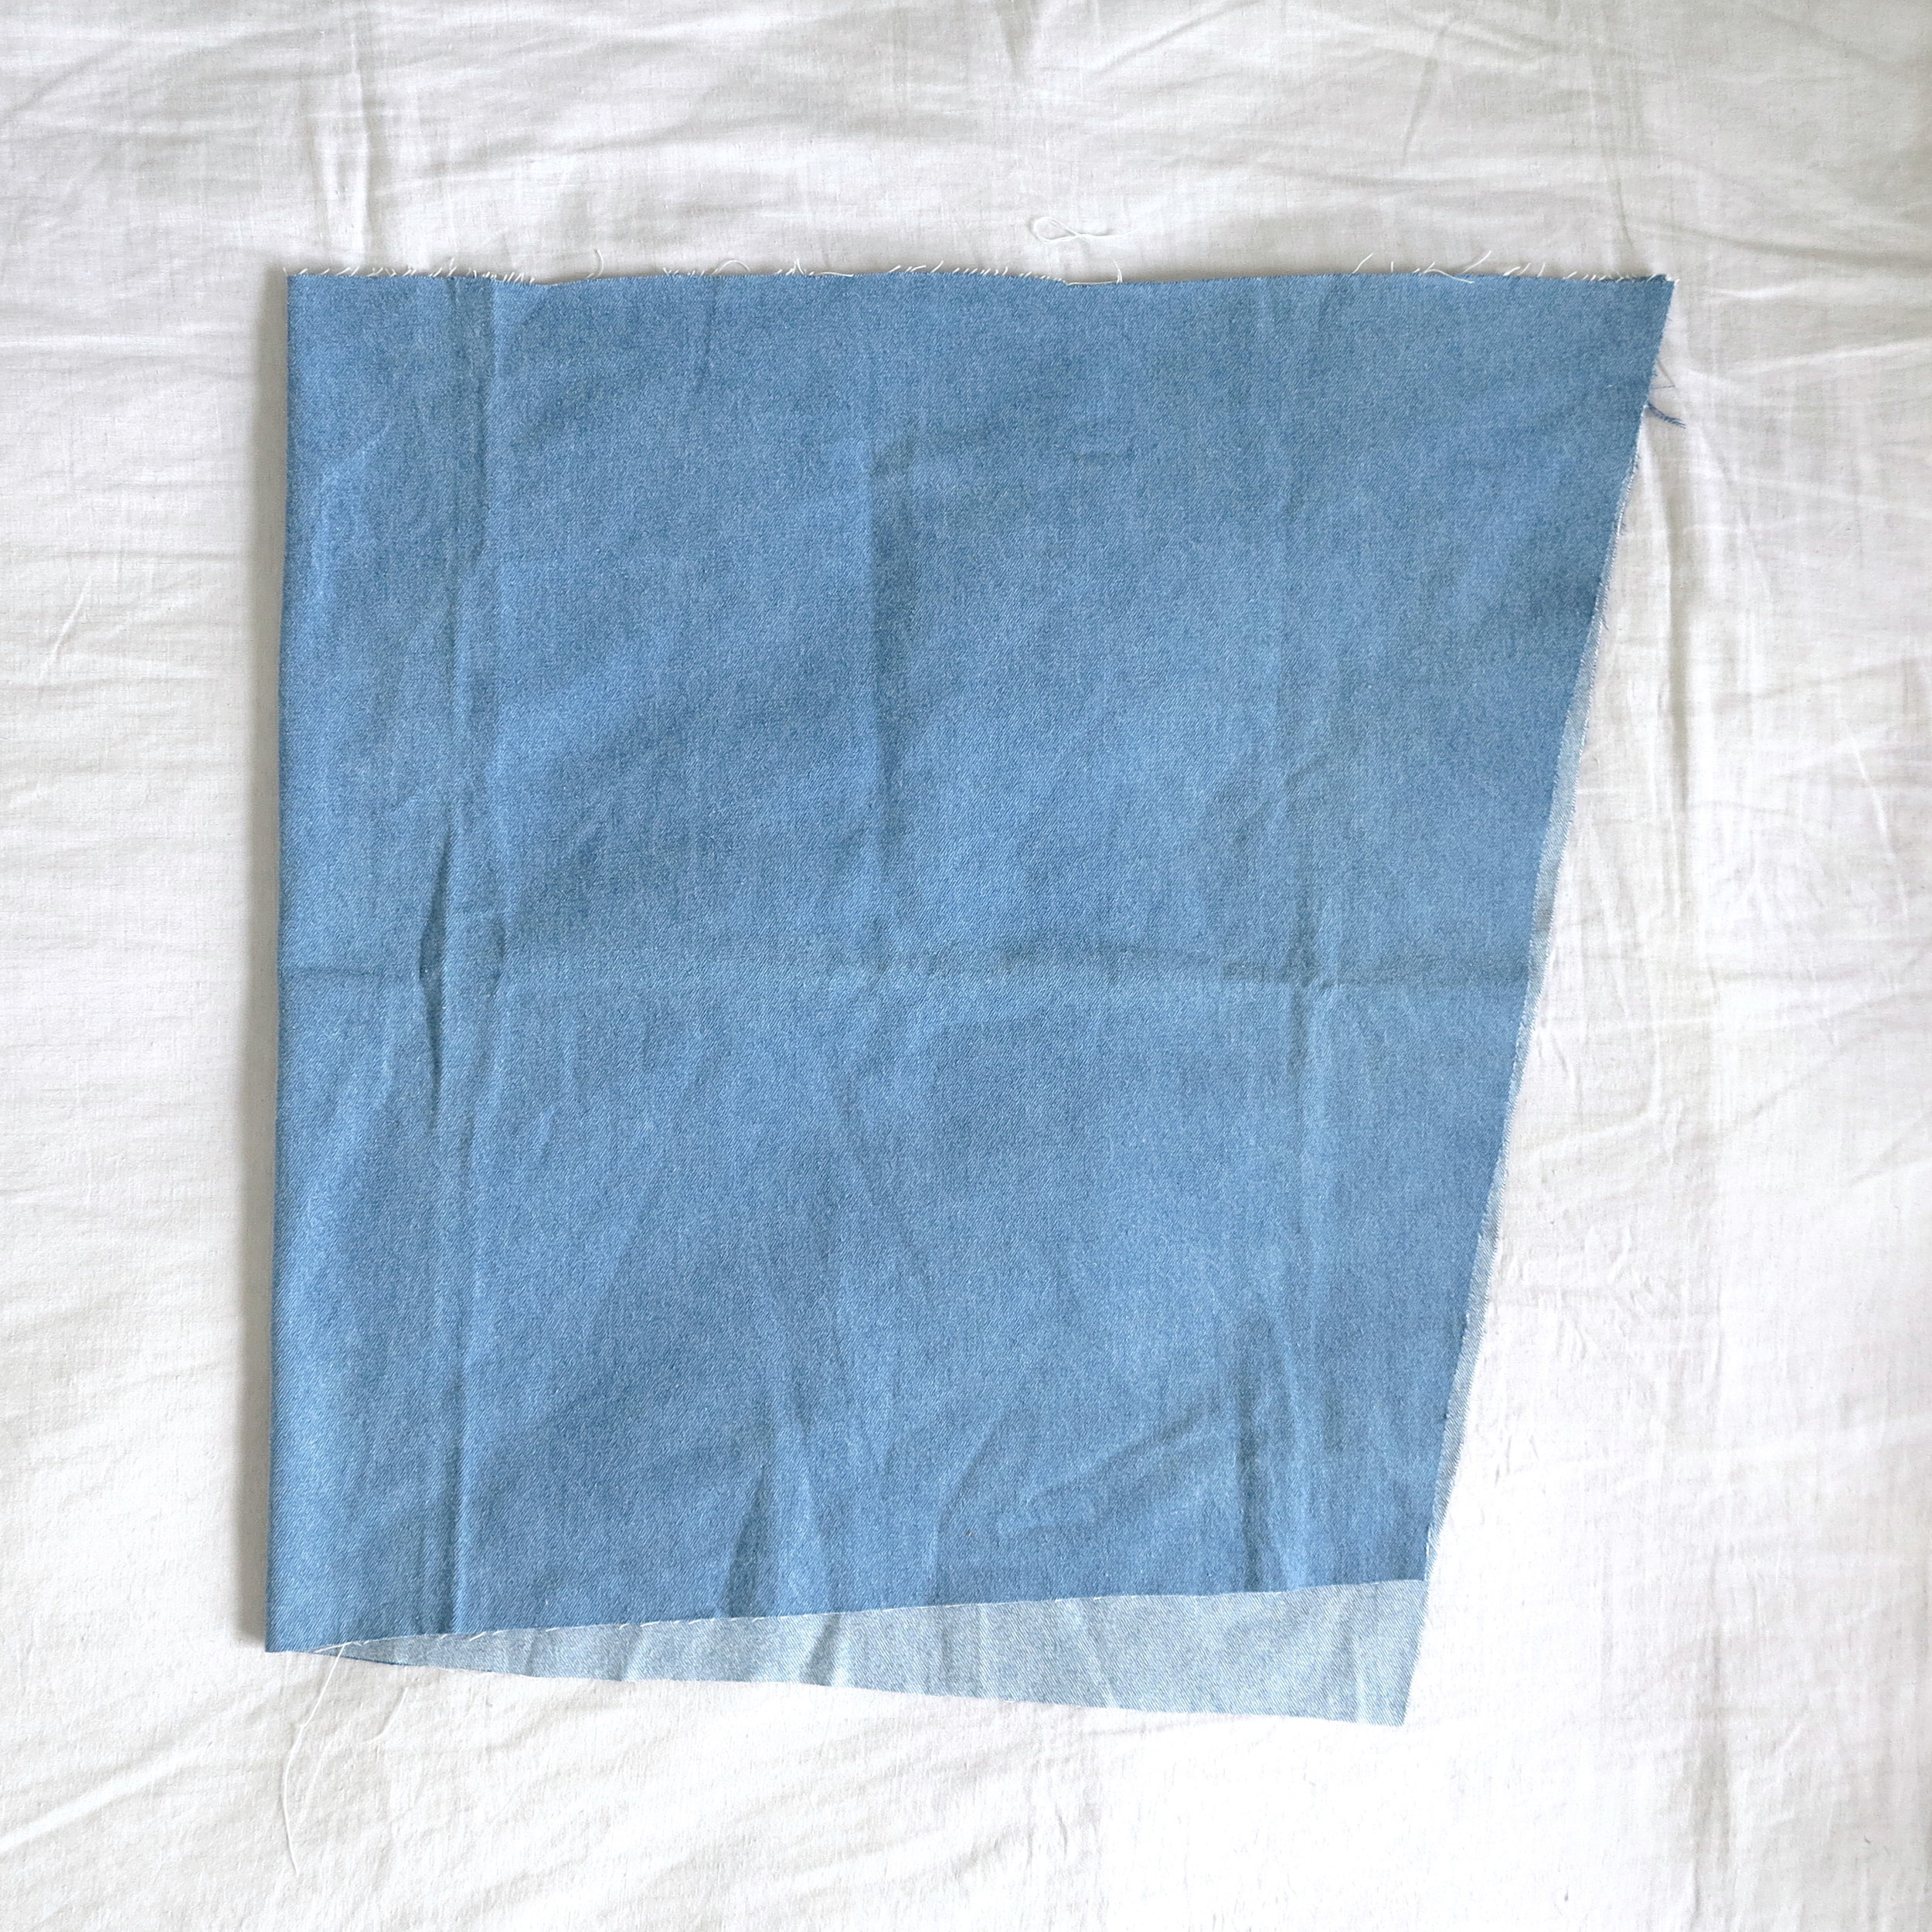
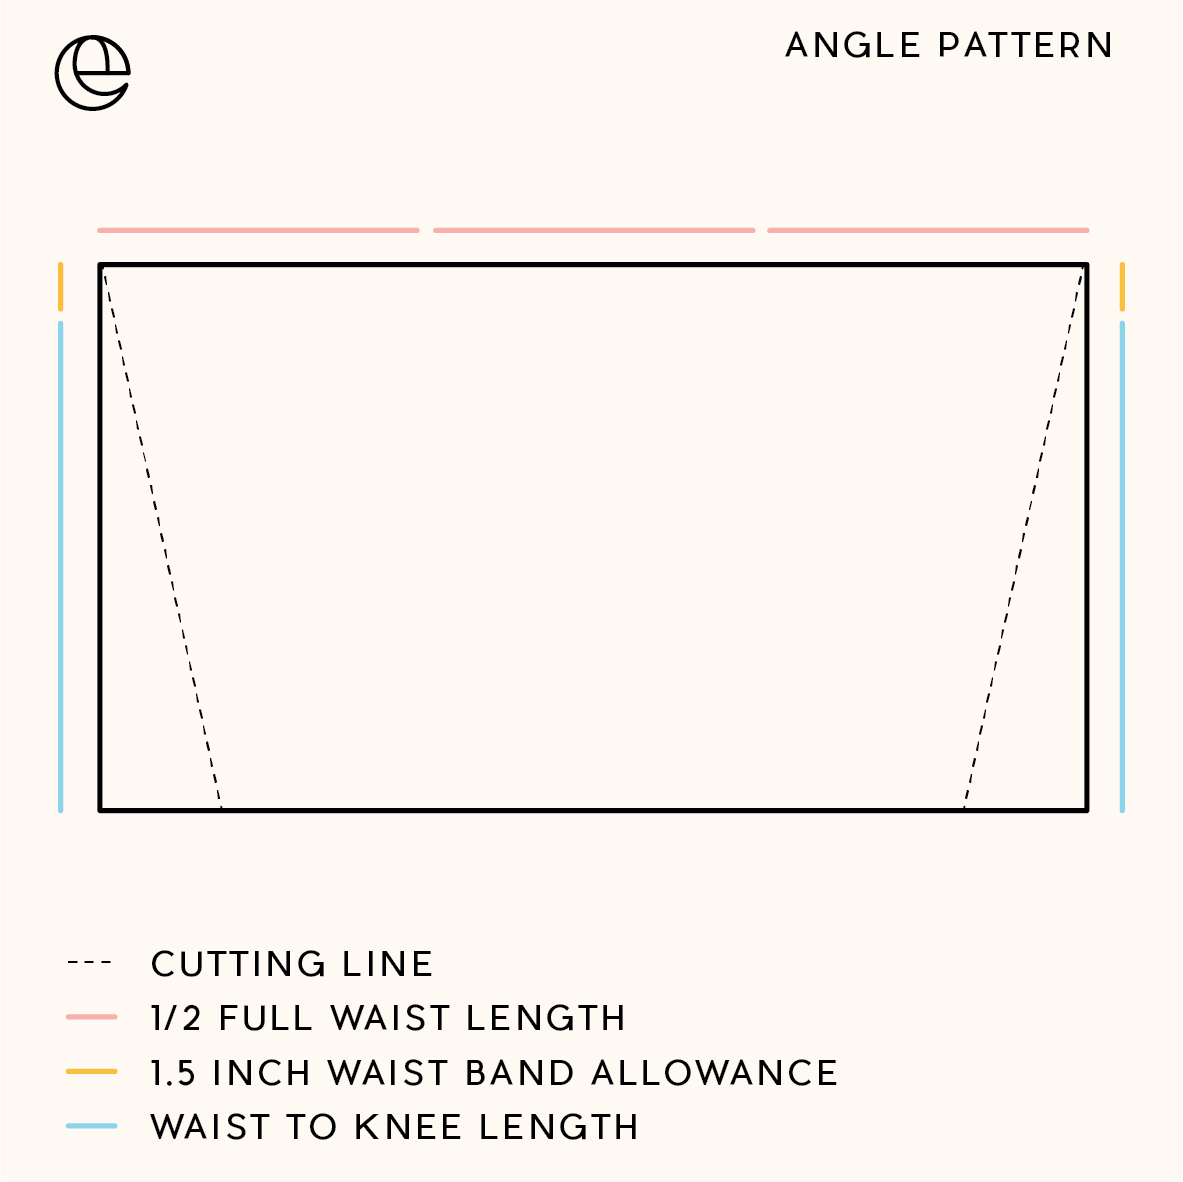
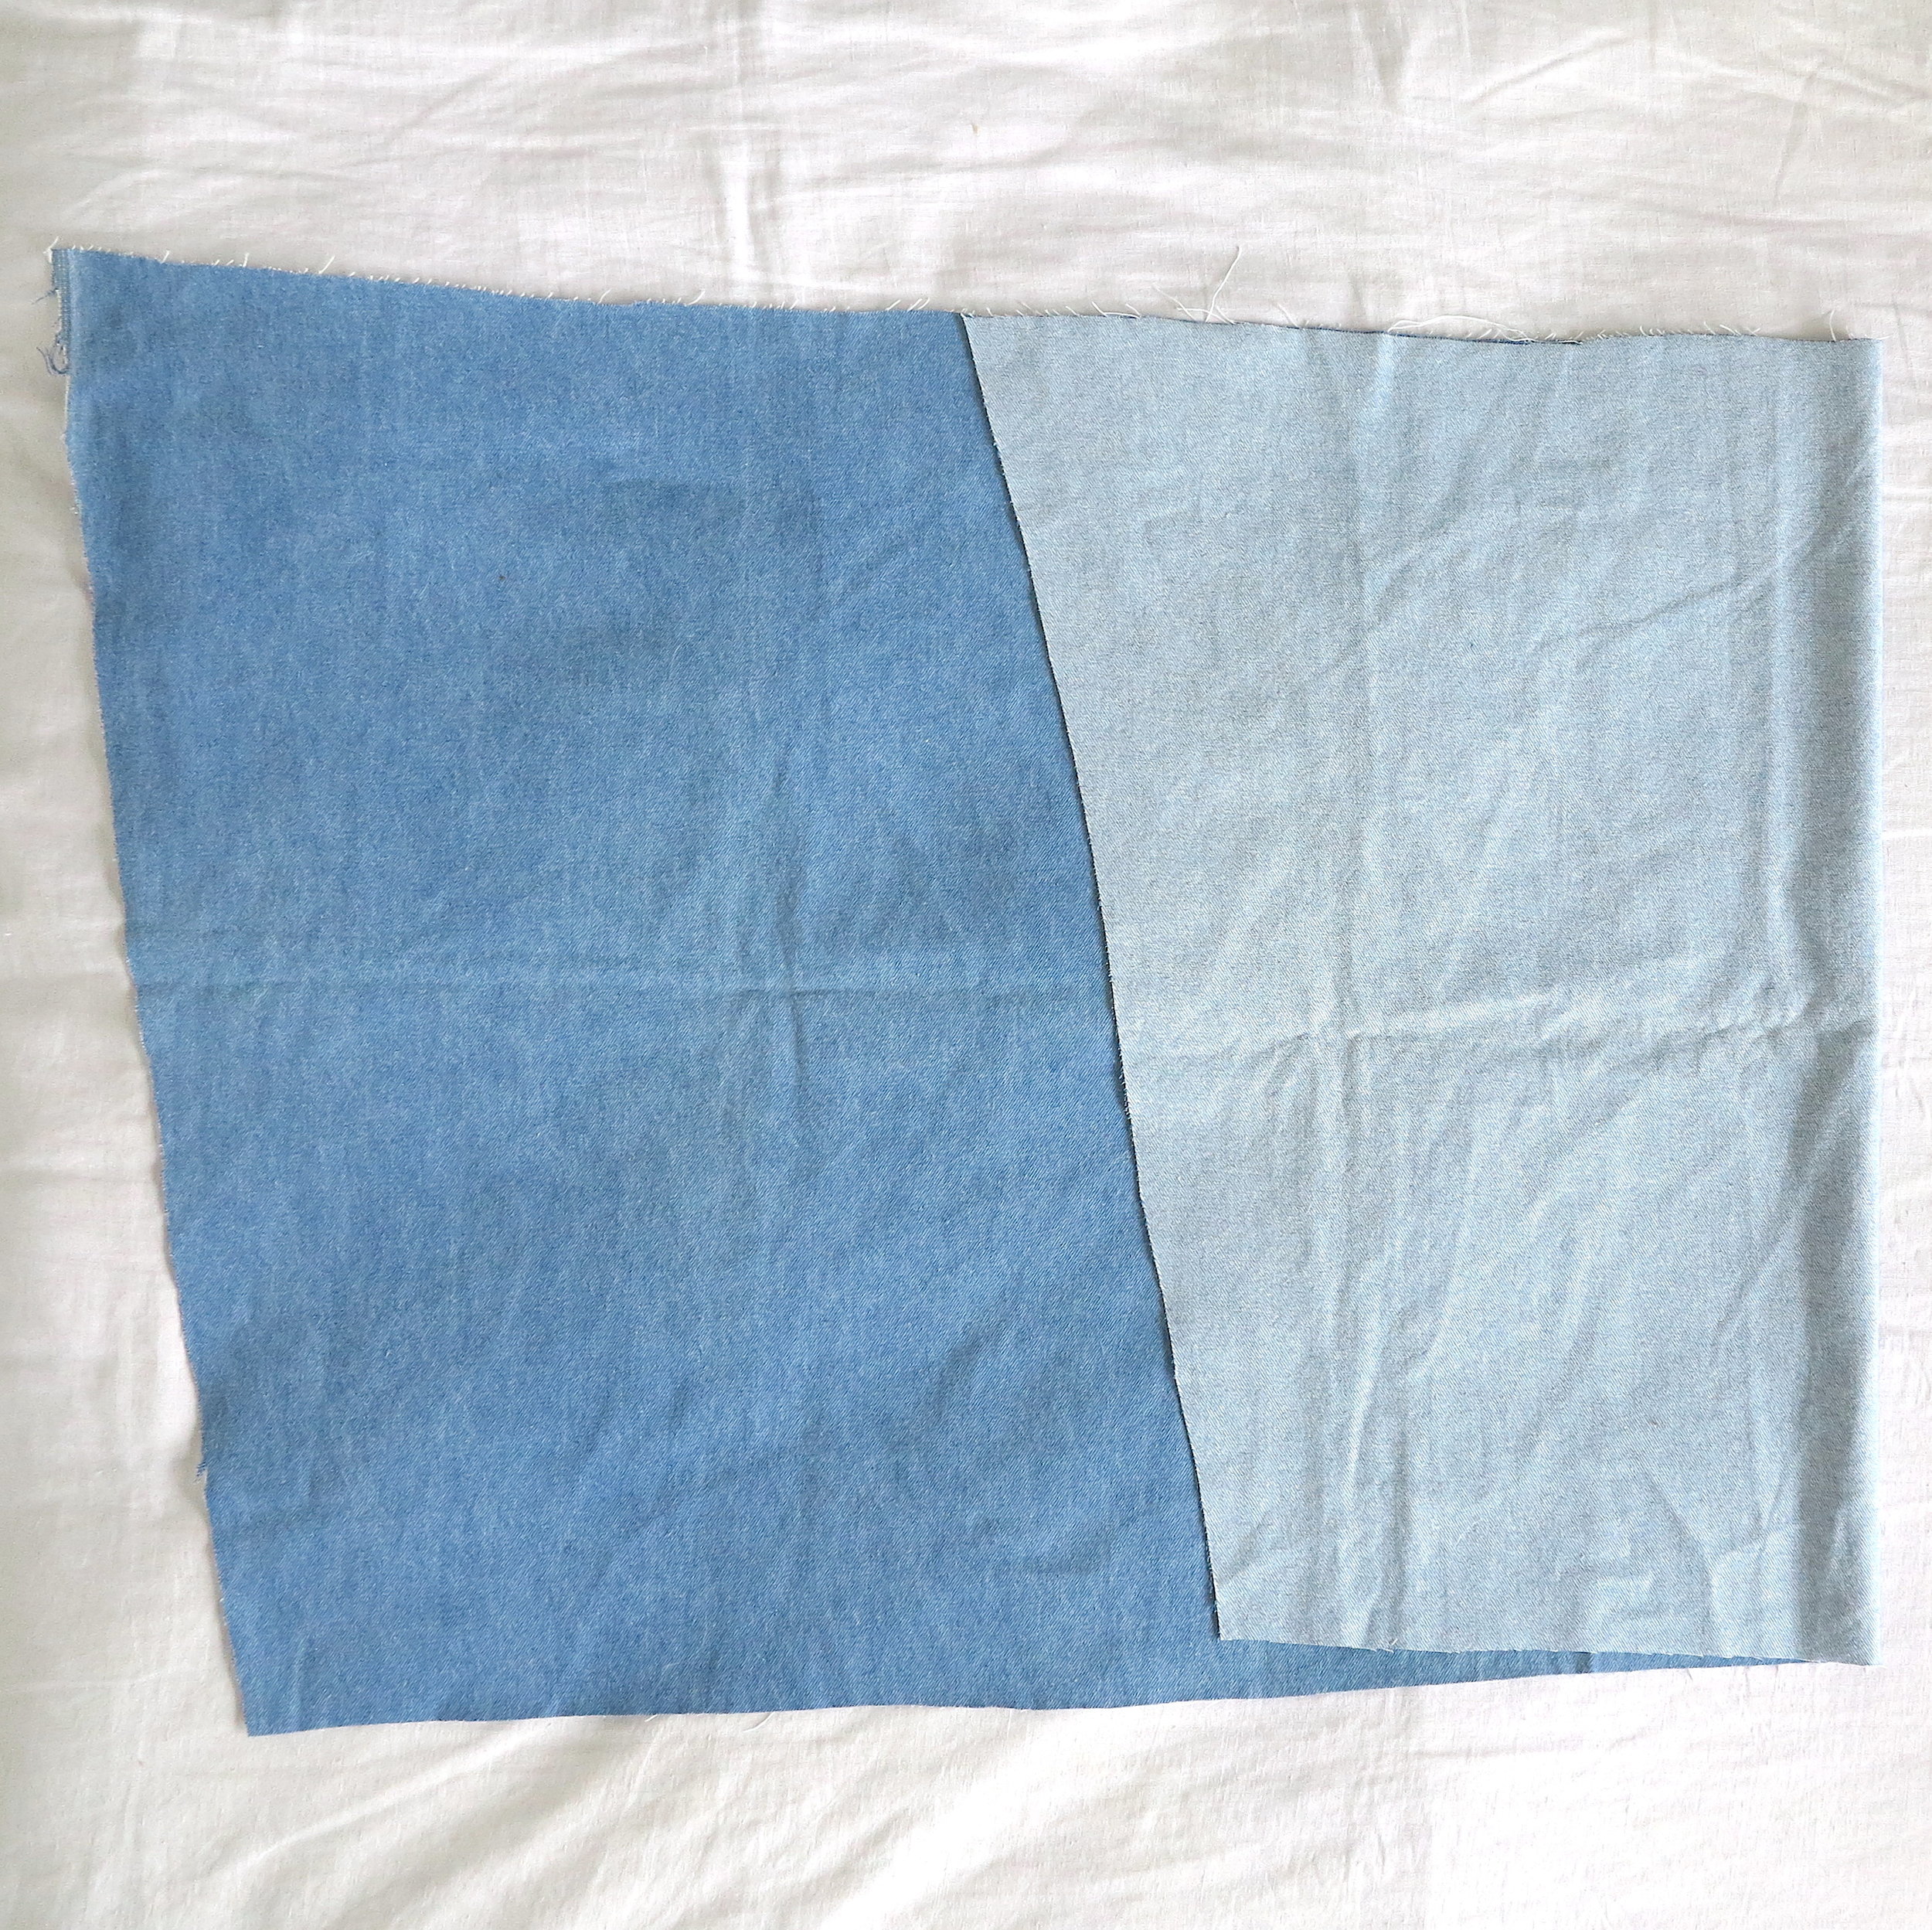
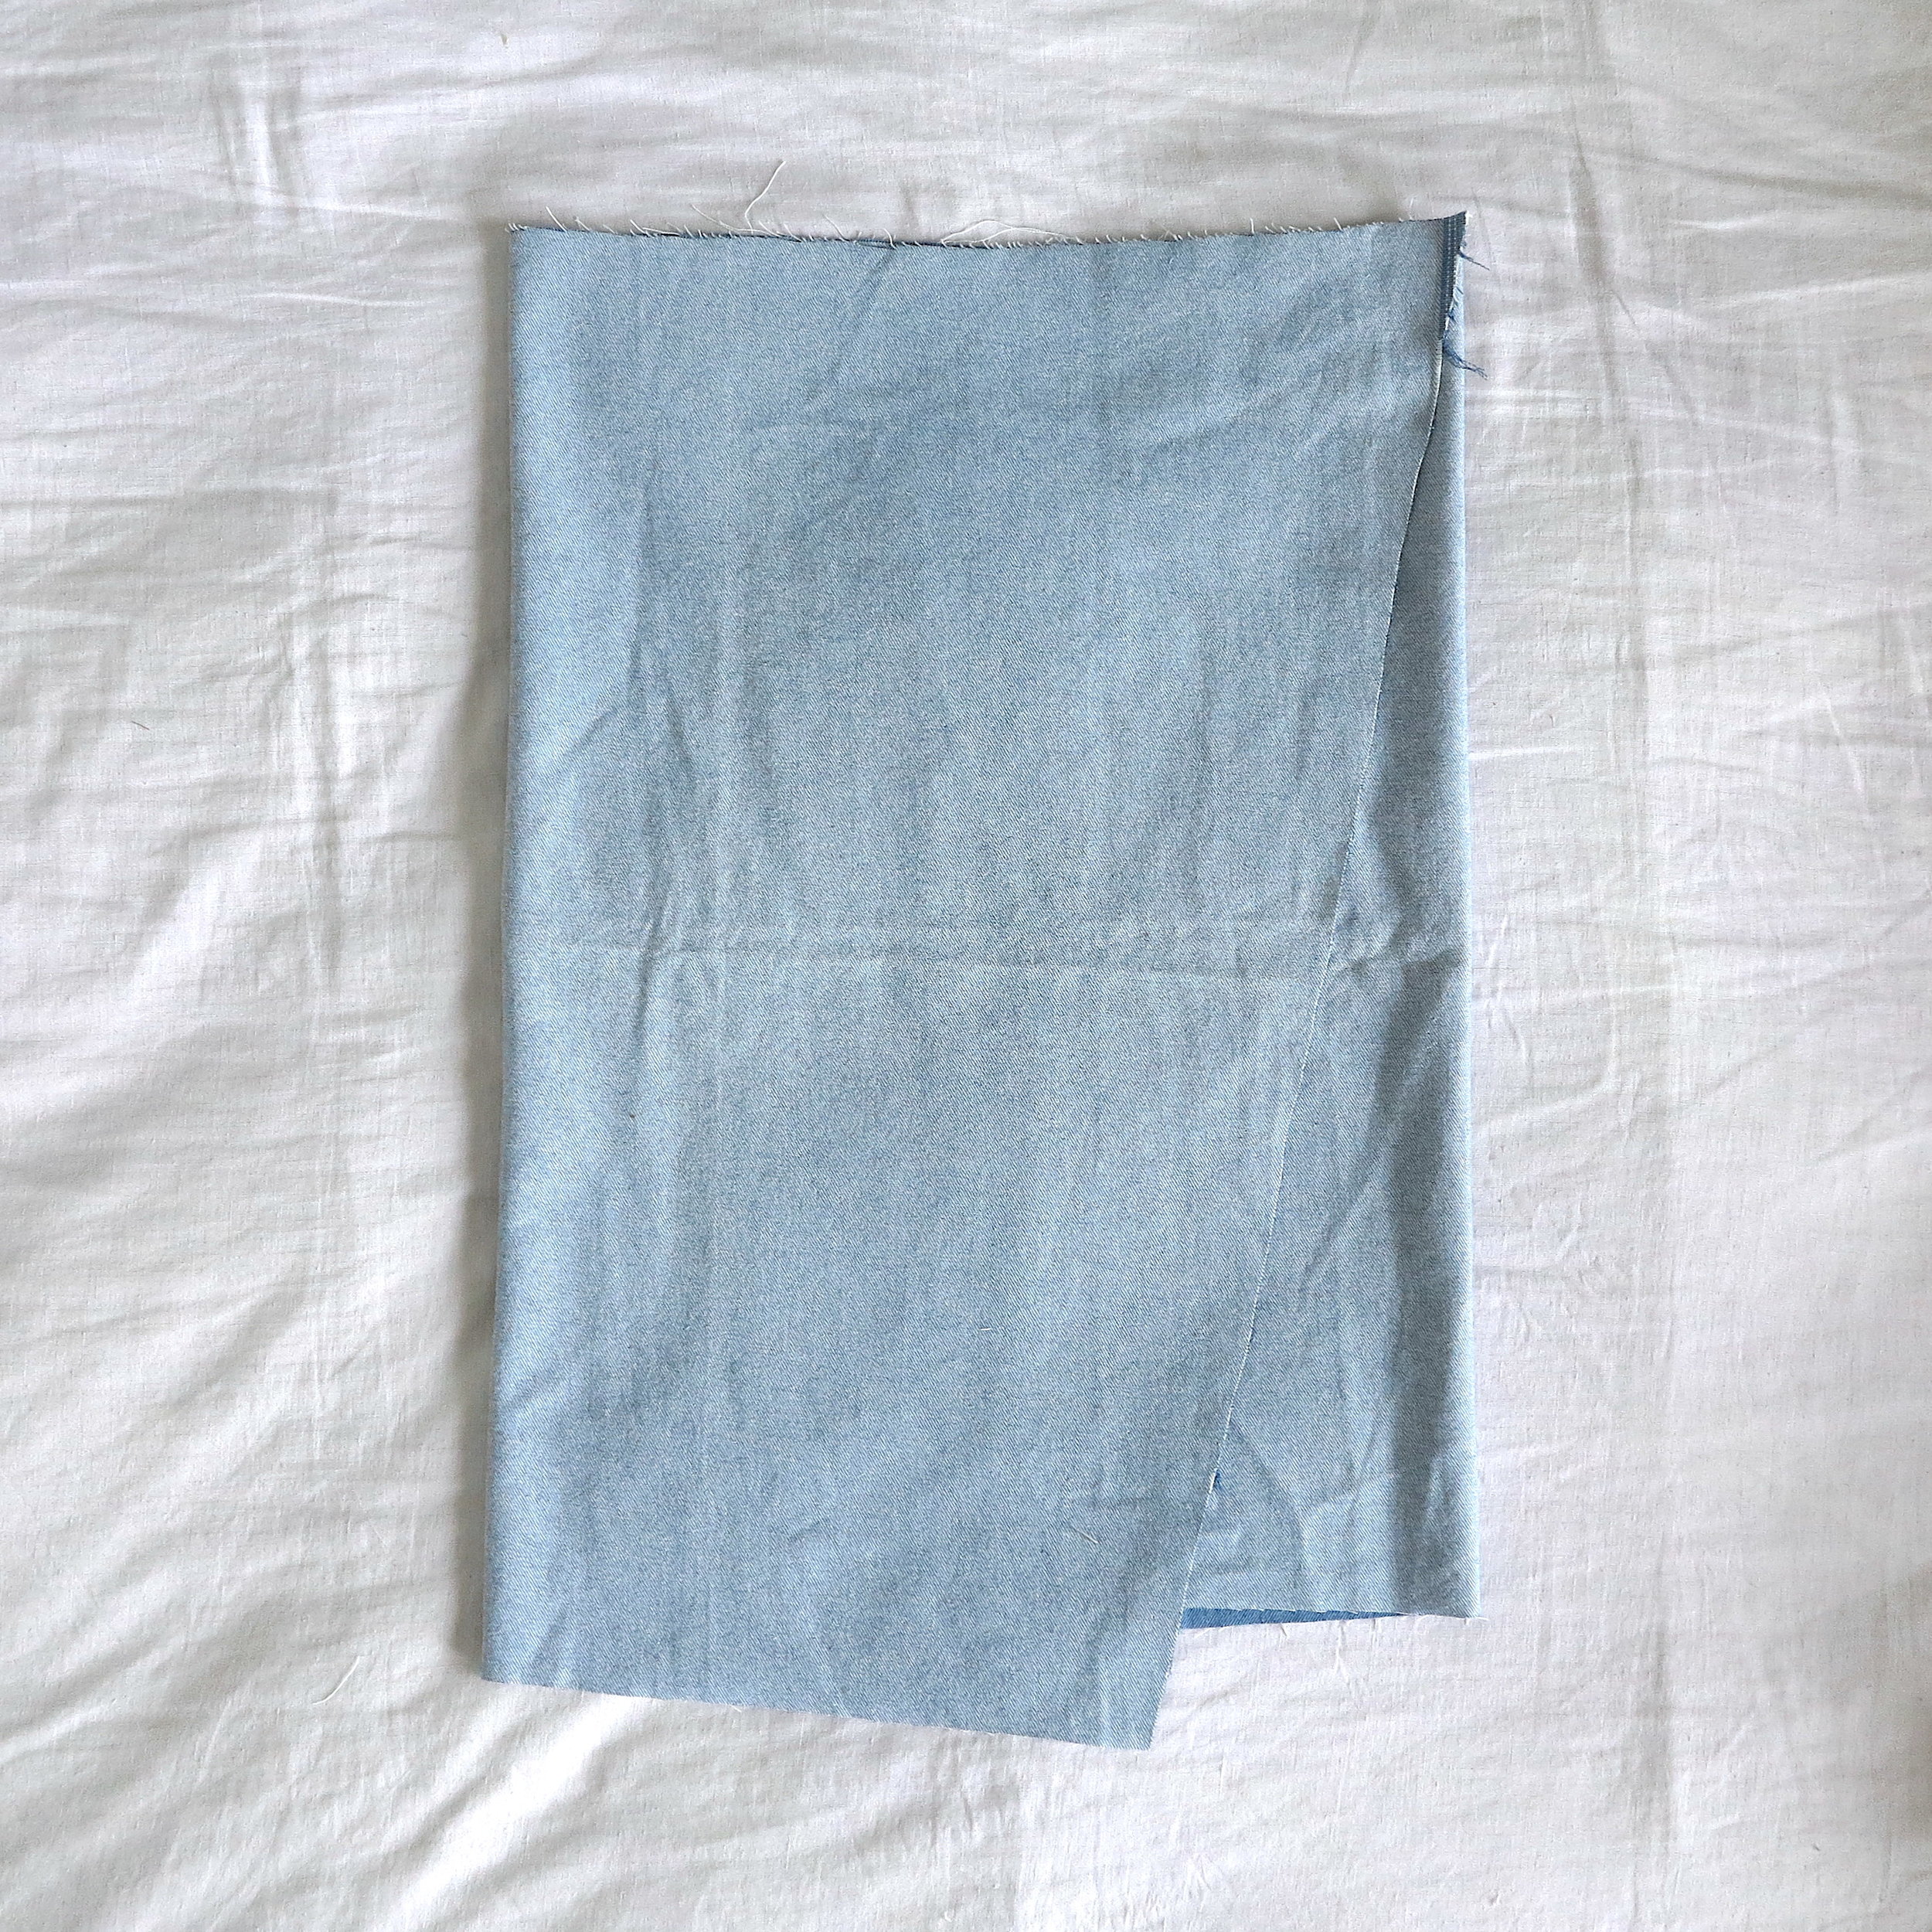
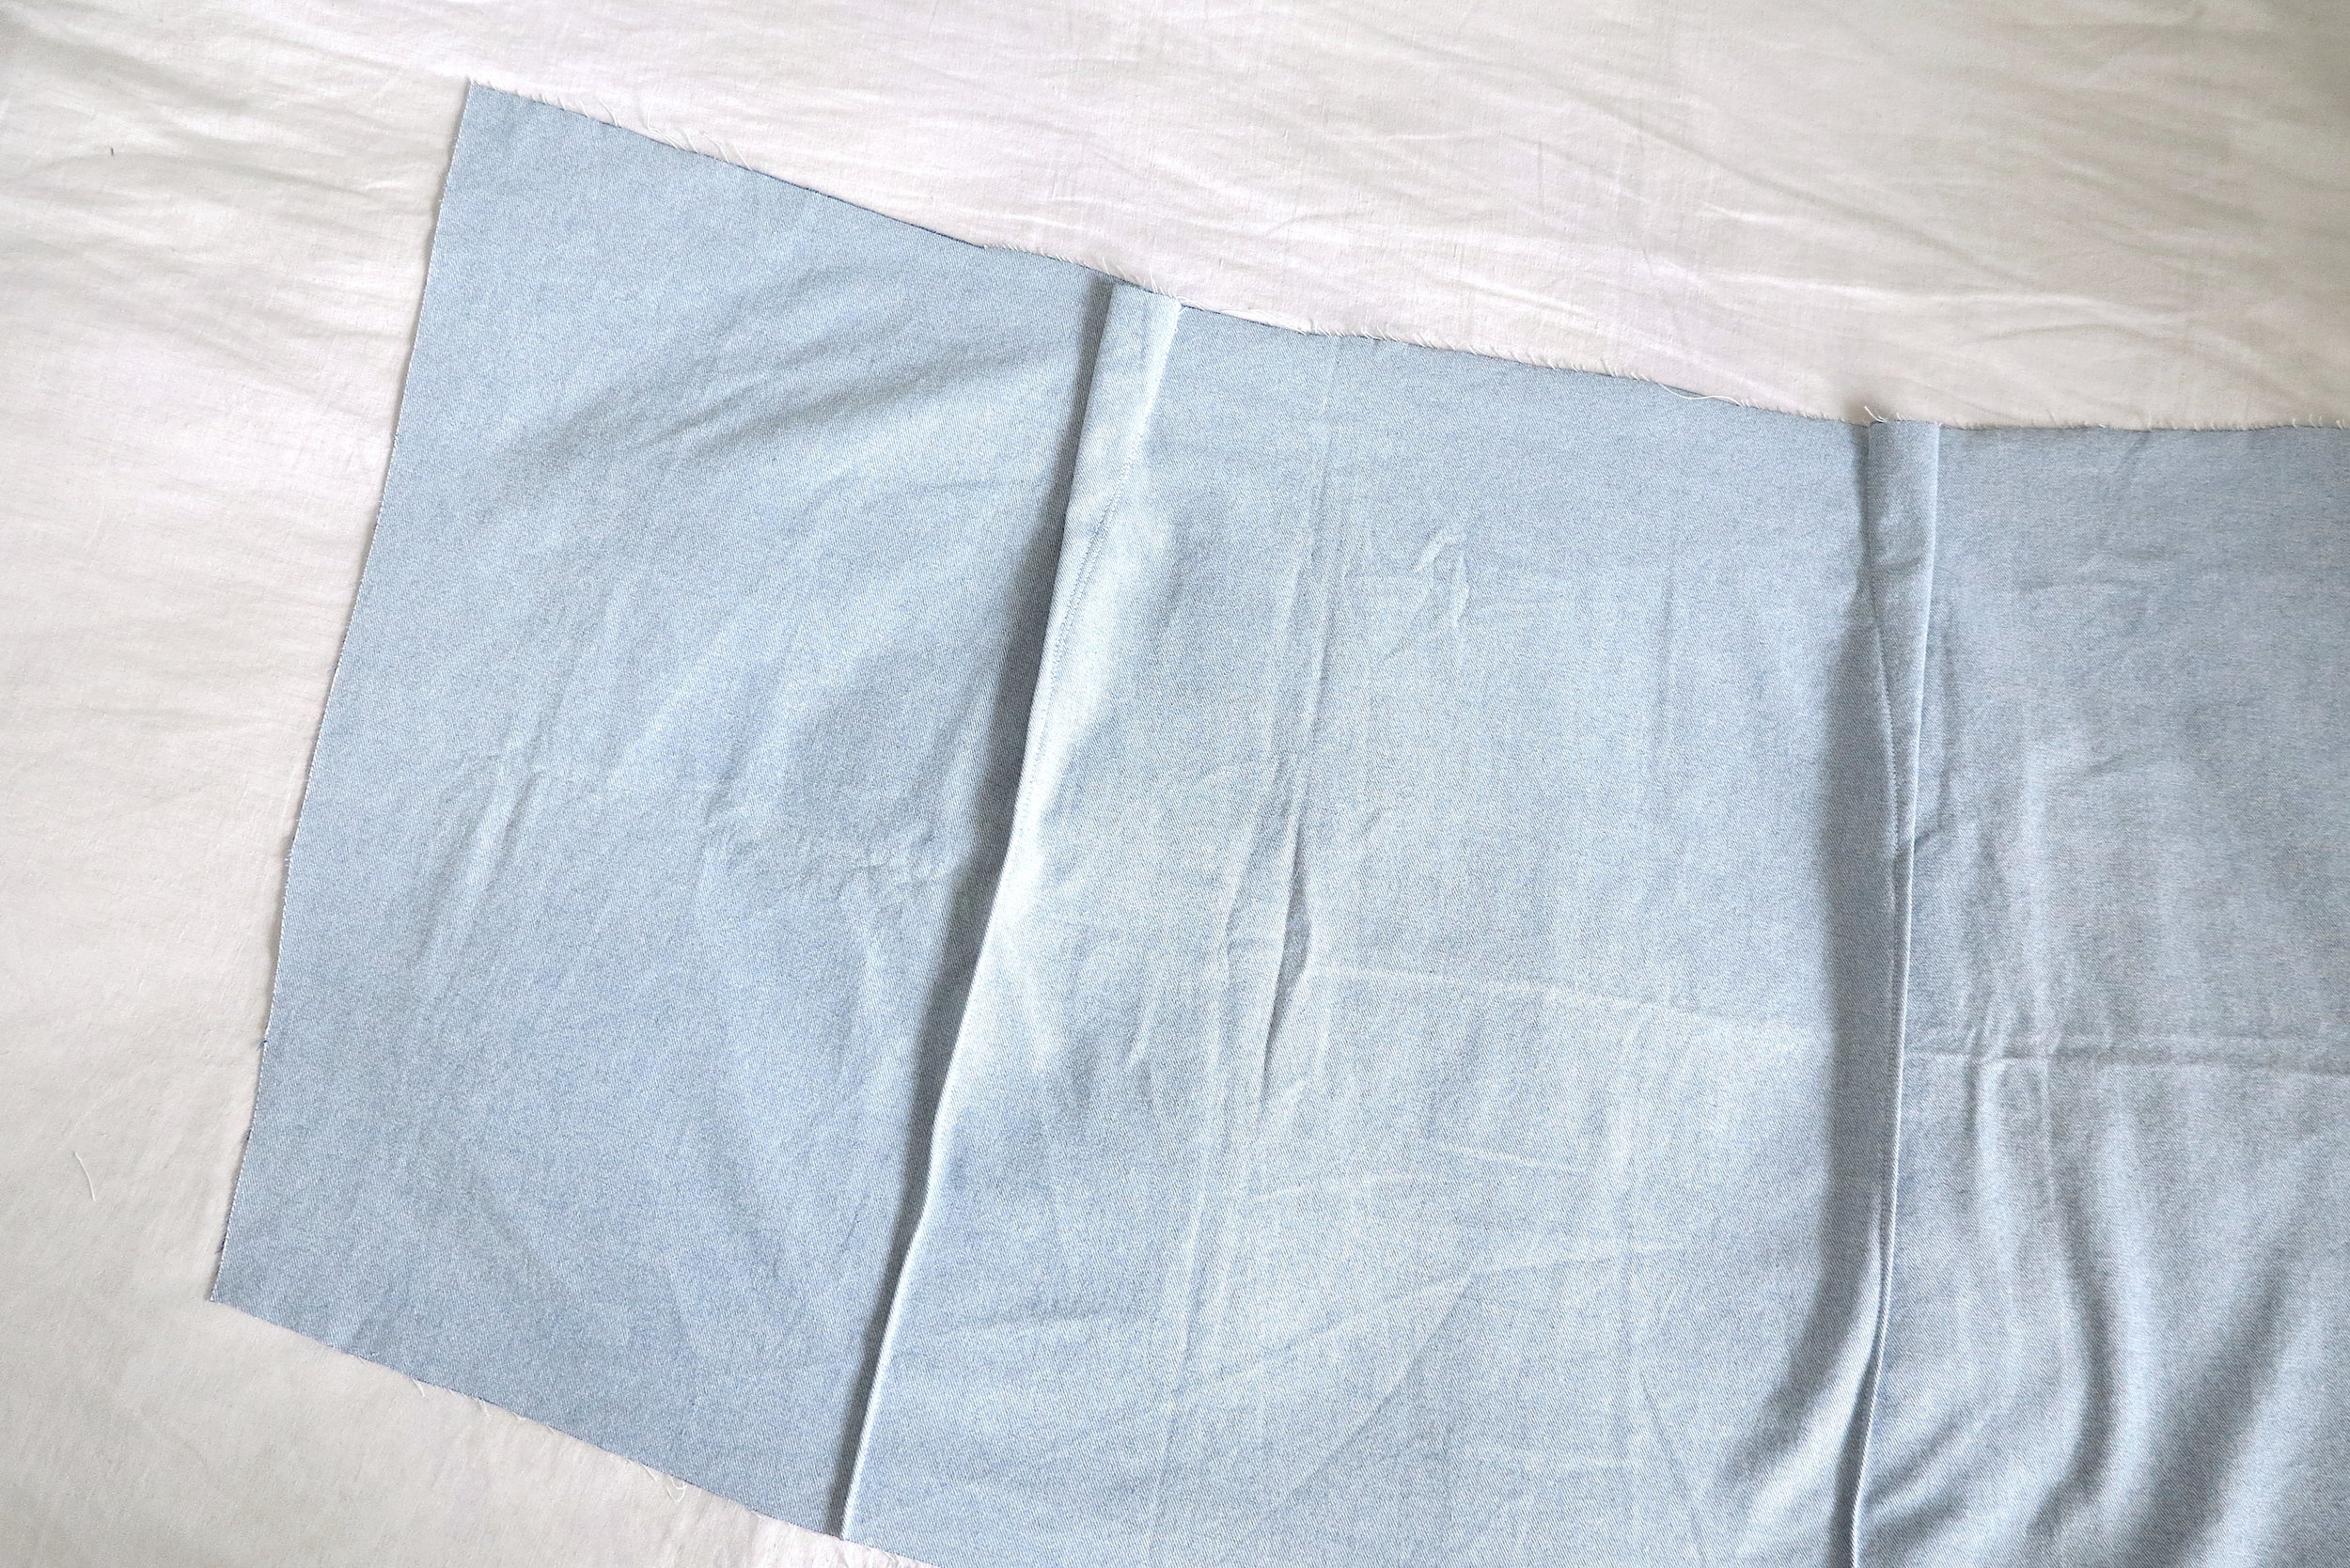
Once cut, it should resemble something a little like this (folded in half). The deepness of the angled edges on either side depends on how much leg you want to show. The harsher the angle the more revealing, the less the more covered up you'll be. The ends on the bottom look uneven because I tend to cut the hemline on an angle so one side sits a little lower to add a bit of interest.
Tips: If you're unsure with how to cut the edges it's better to start with less of an angle to be safe - then you can edit as you get further into making it. It's easy if you start with rectangle piece of fabric, the length 3 times half your waist measurement and the width however long you want the skirt. Then measure in 10cm from the bottom corners and draw a line up to the matching top corner. Cut along there. (scroll above images to see example)
03

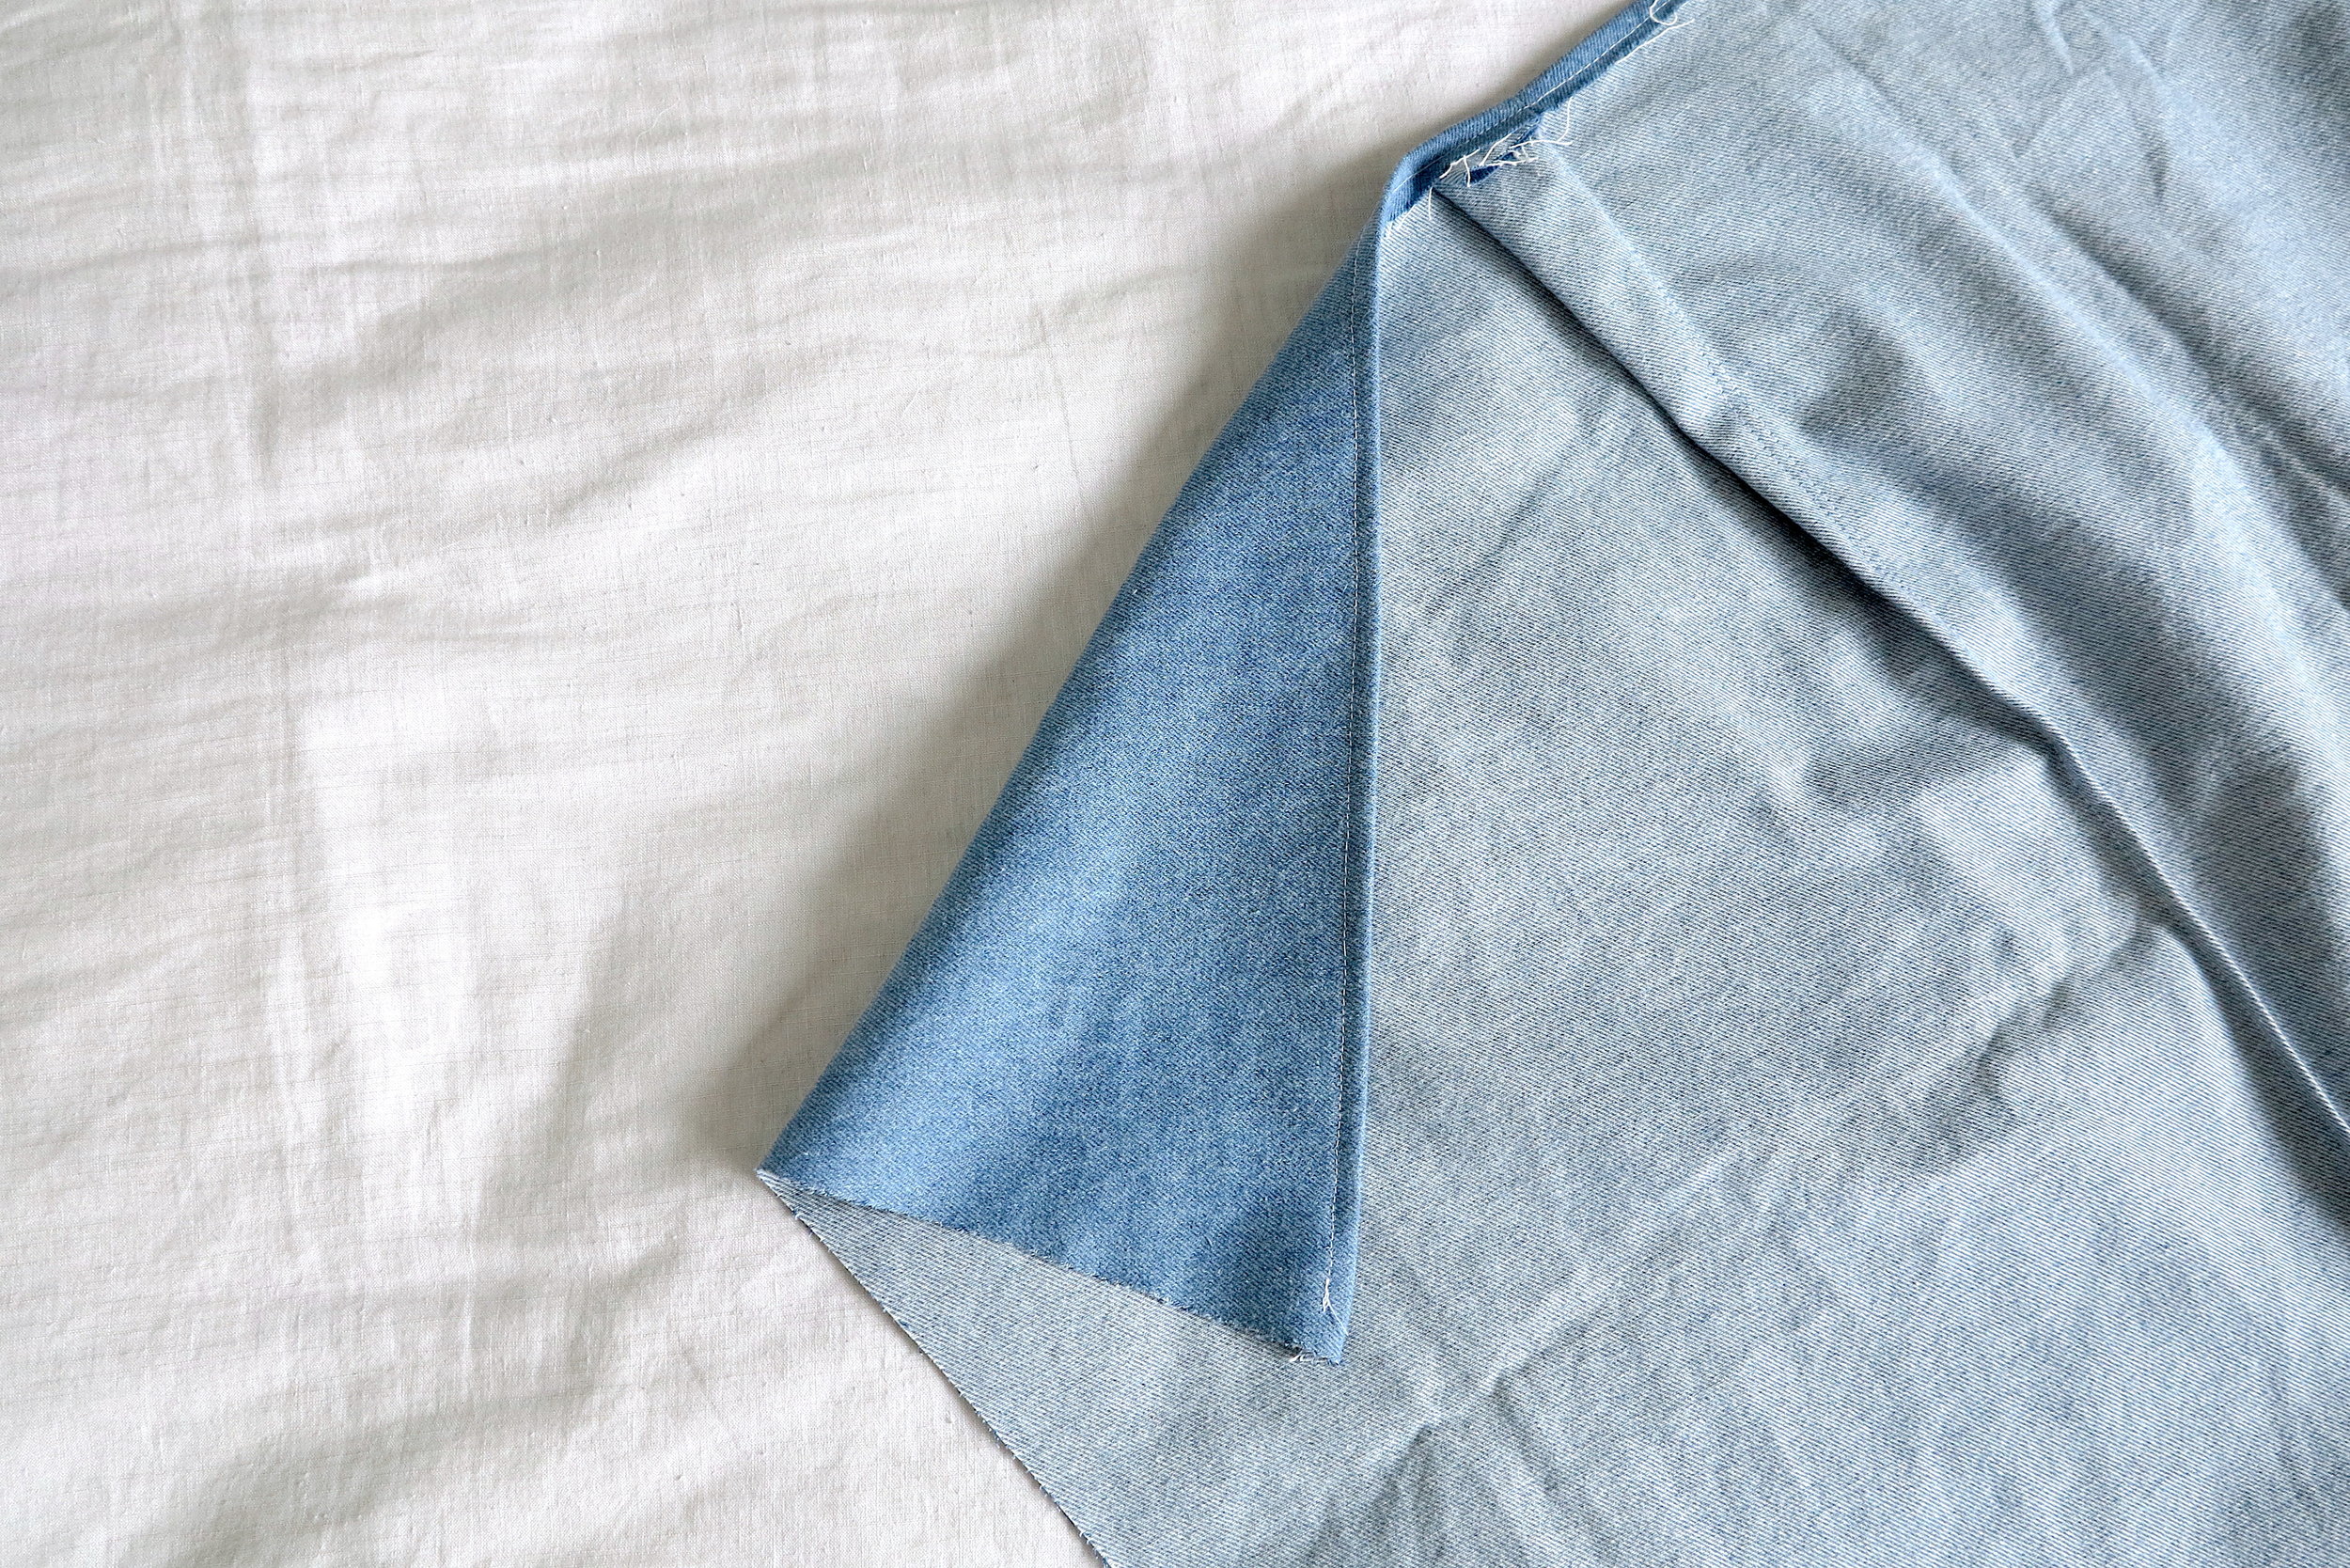
Now you've got the main pieces all cut out it's time to get sewing. Divide the top section into three and fold the two sides into the middle - with good sides facing each other.
04
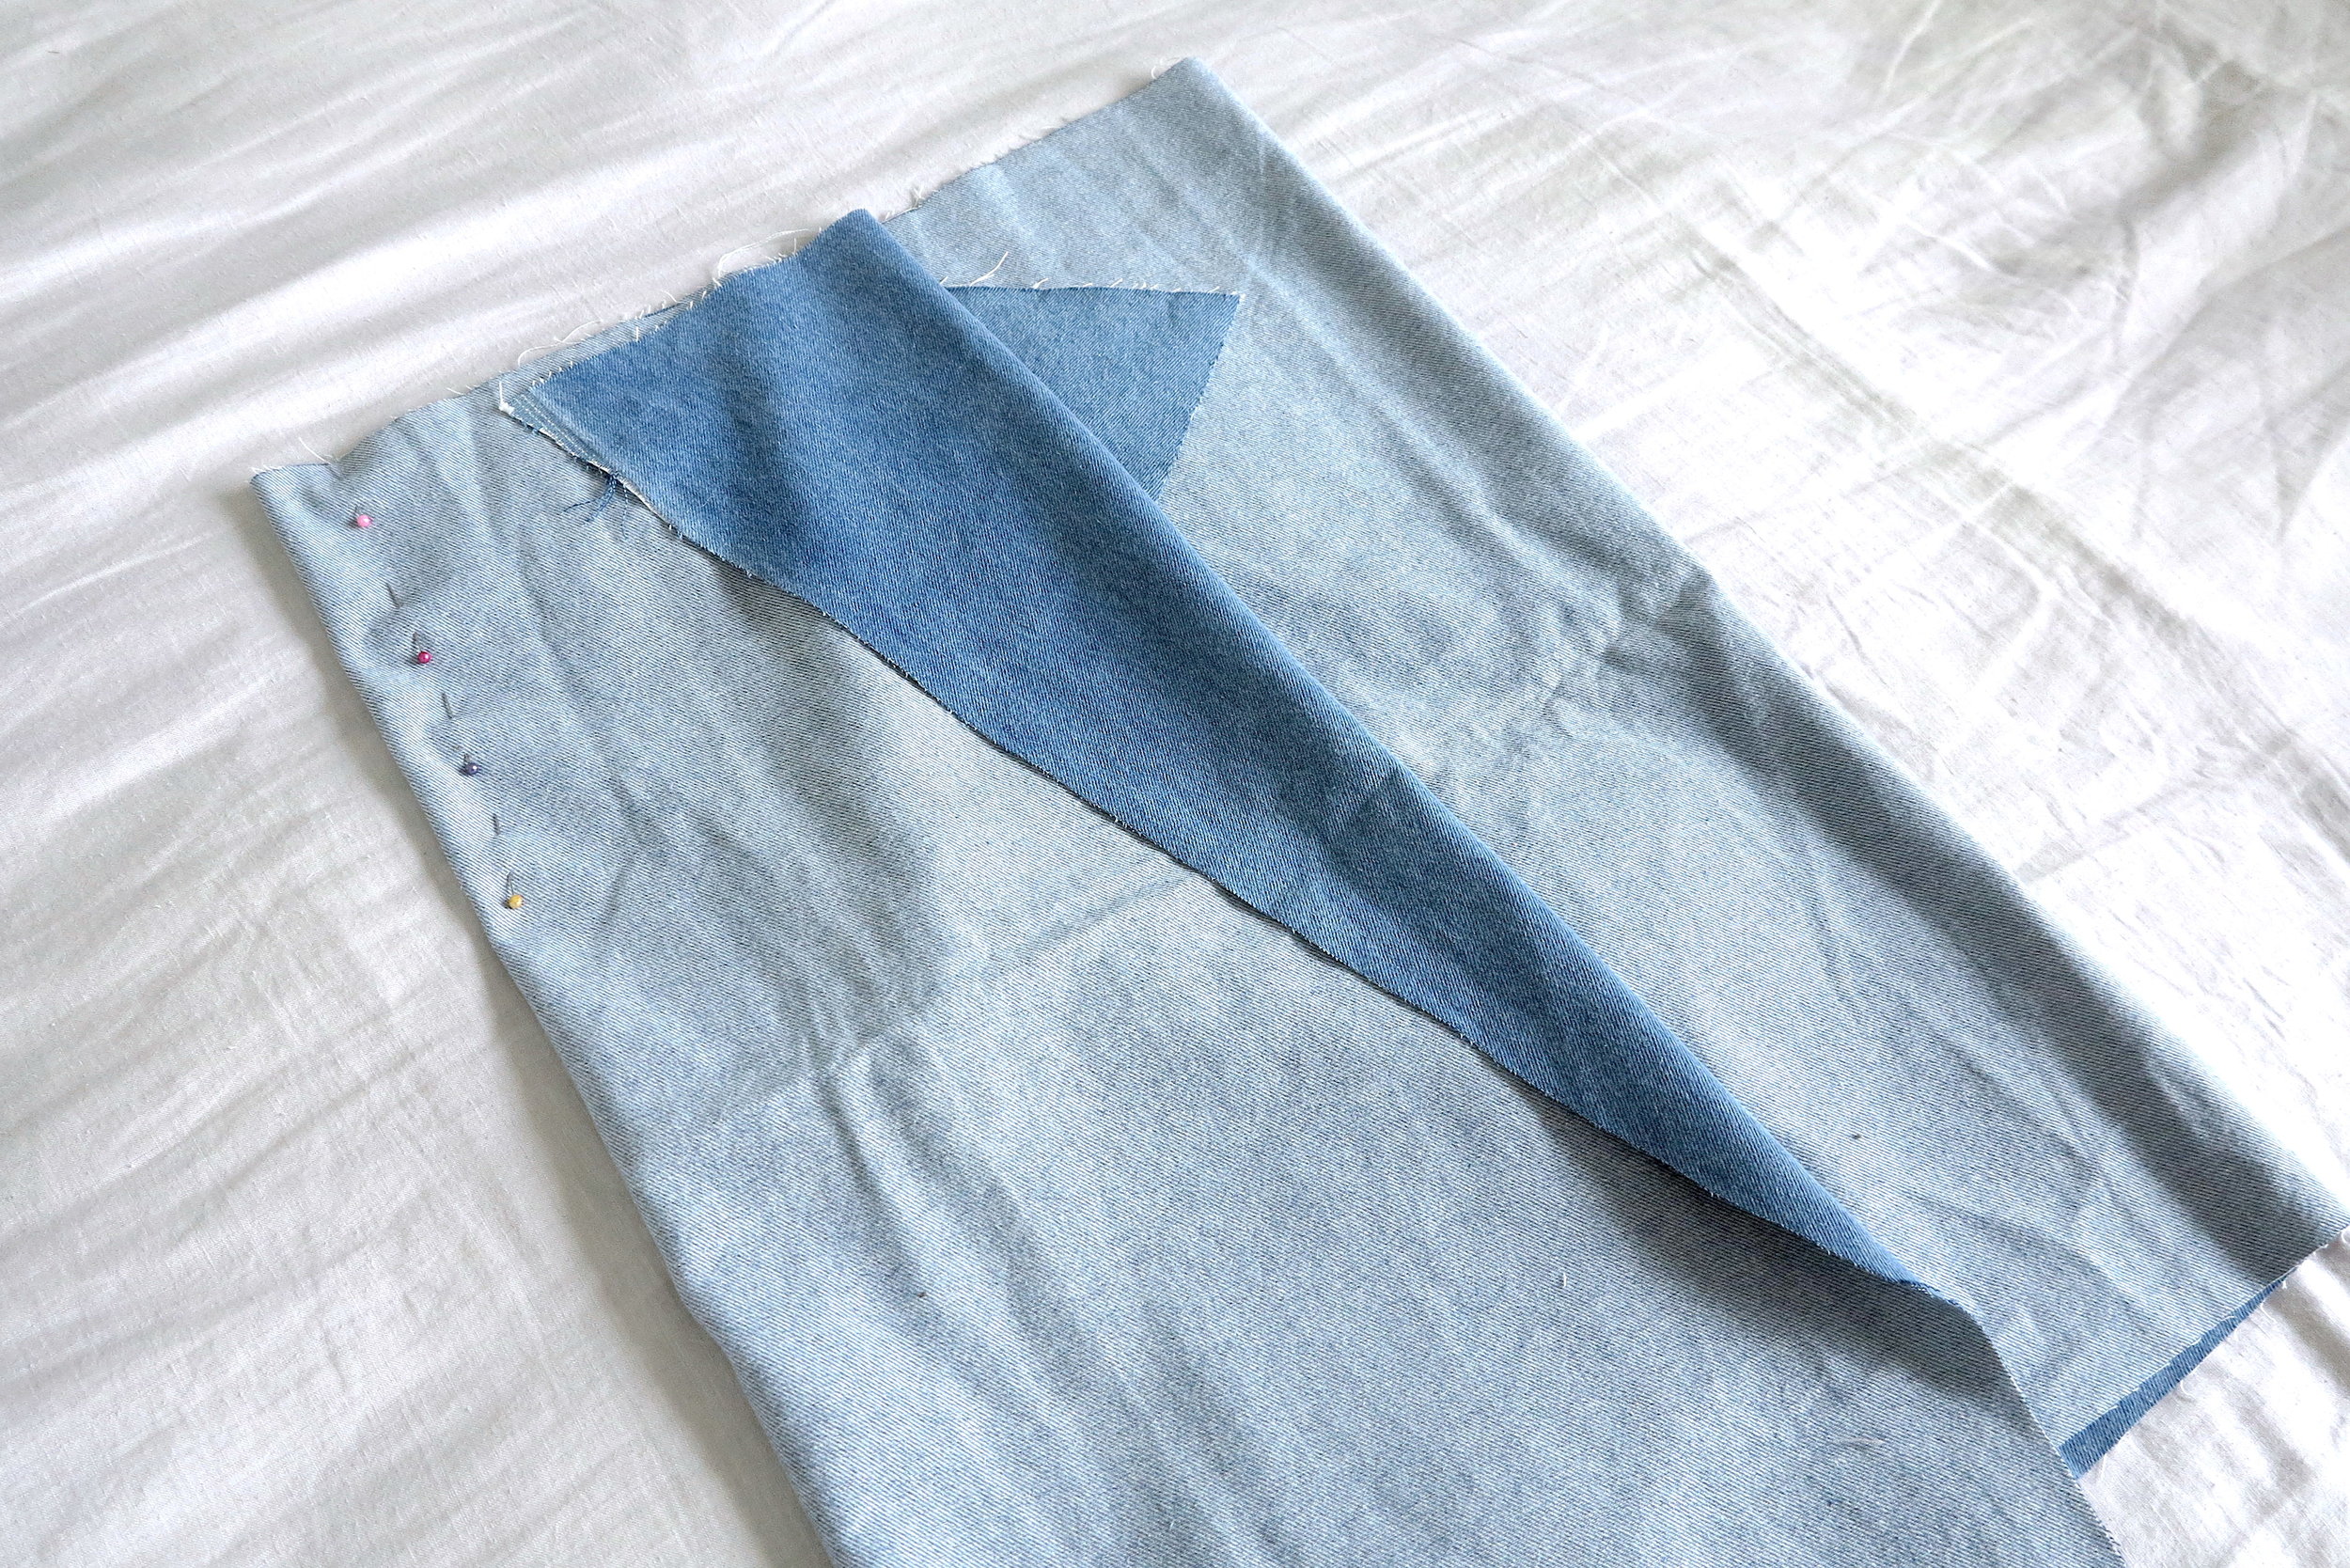
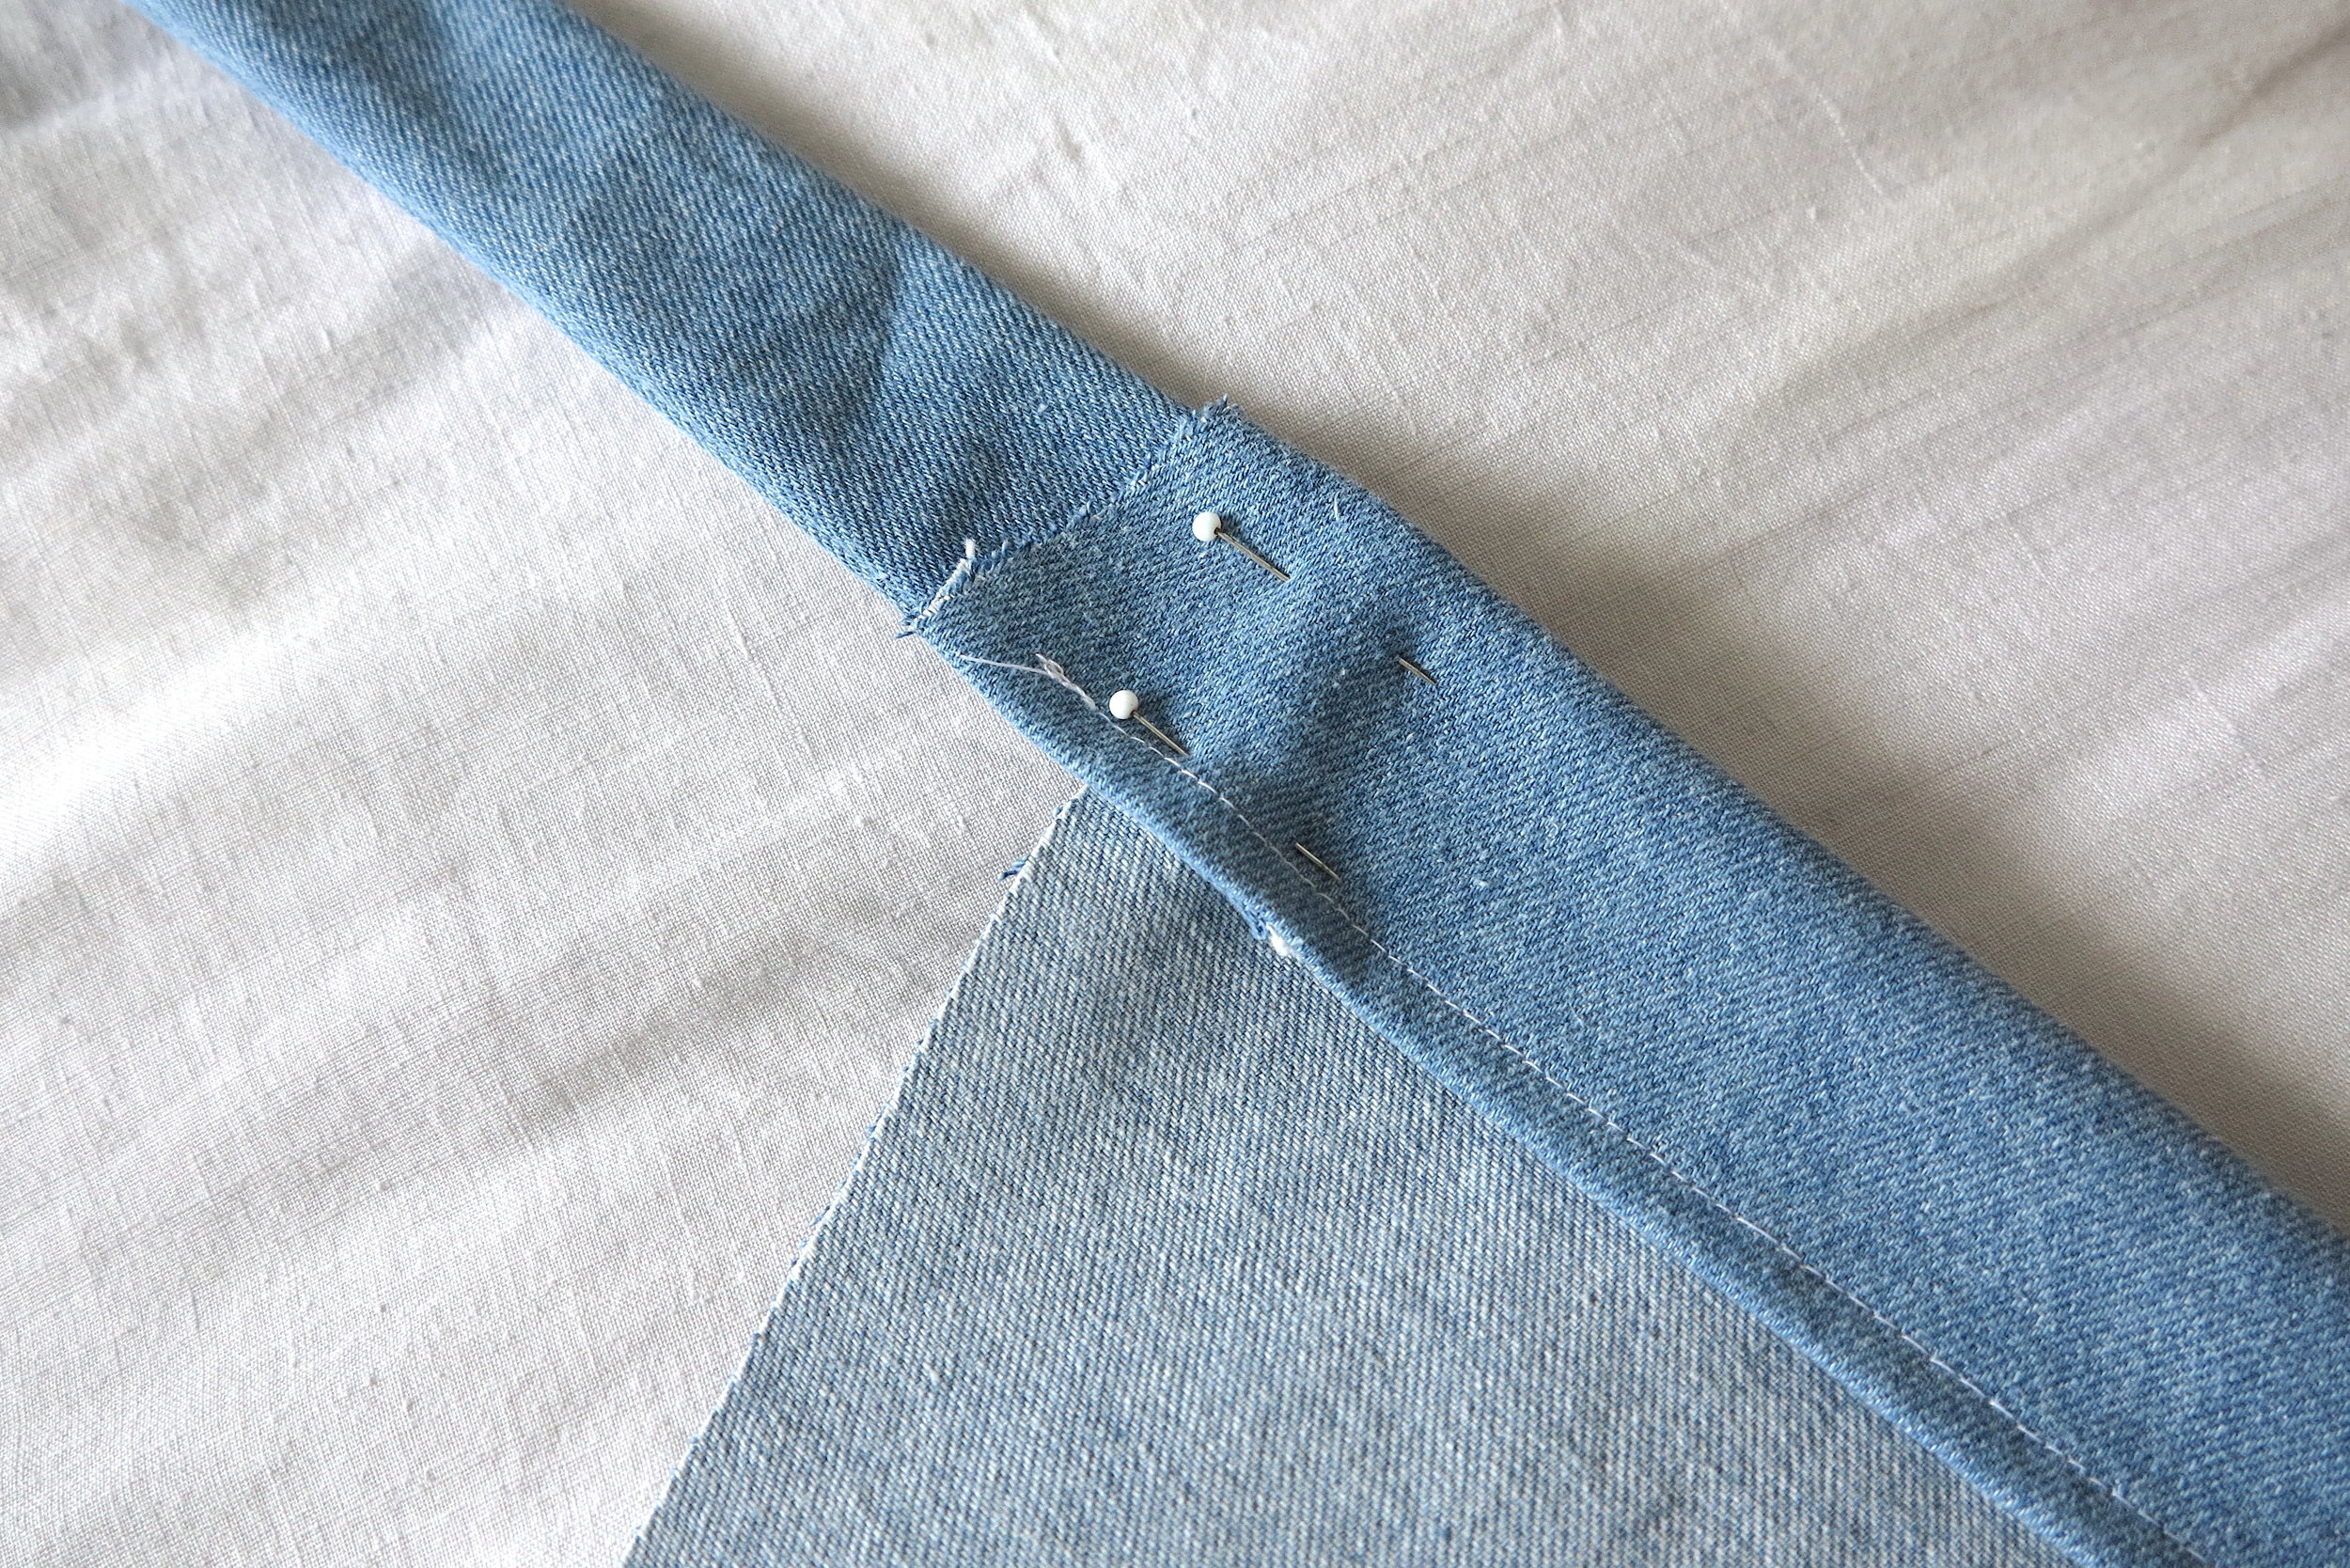
Make sure that the corner tips are untucked and then pin down the sides. This is where you'll be adding in the darts* and continuing down to the bottom to create a clean seam. To form a dart, start sewing about an inch inset and sew on and angle until you hit 1cm off the edge (approx 20cm from the top) and continue sewing to the bottom 0.5-1cm parallel to the edge. This will help the skirt sit comfortably high waisted and hug the curves of your hips.
*Darts are folds sewn into the fabric to add shape to a garment.
05
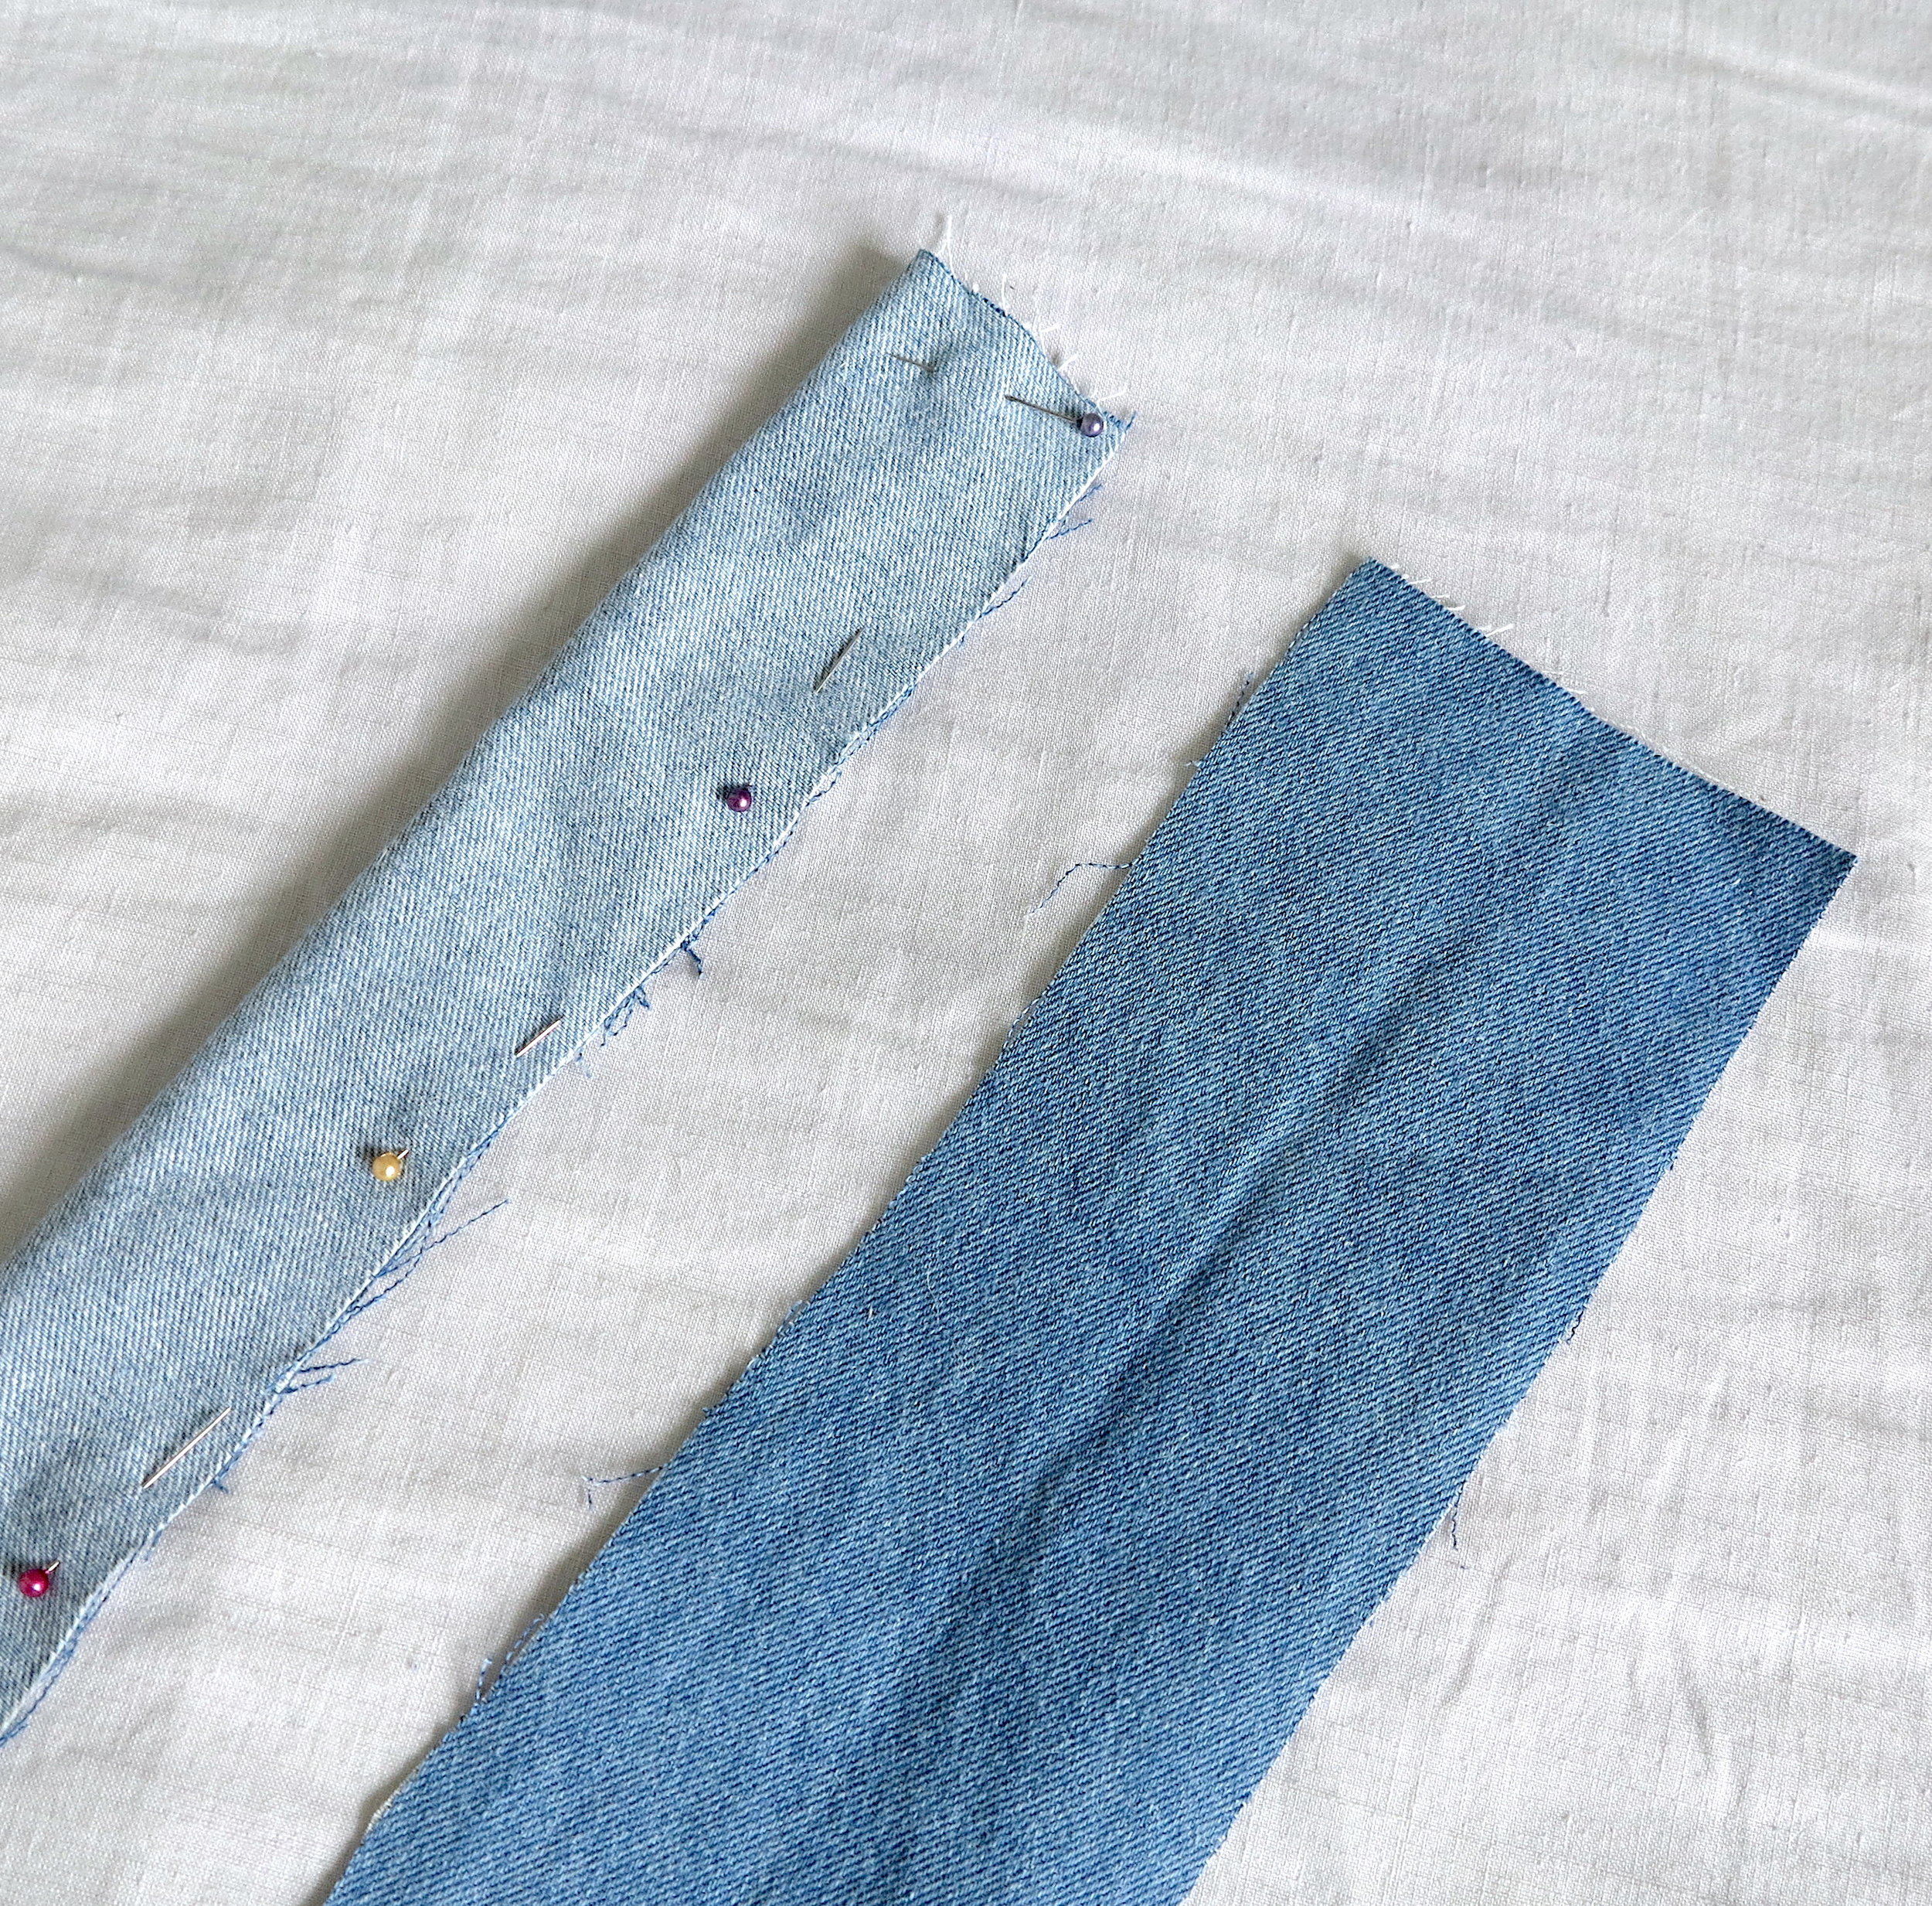
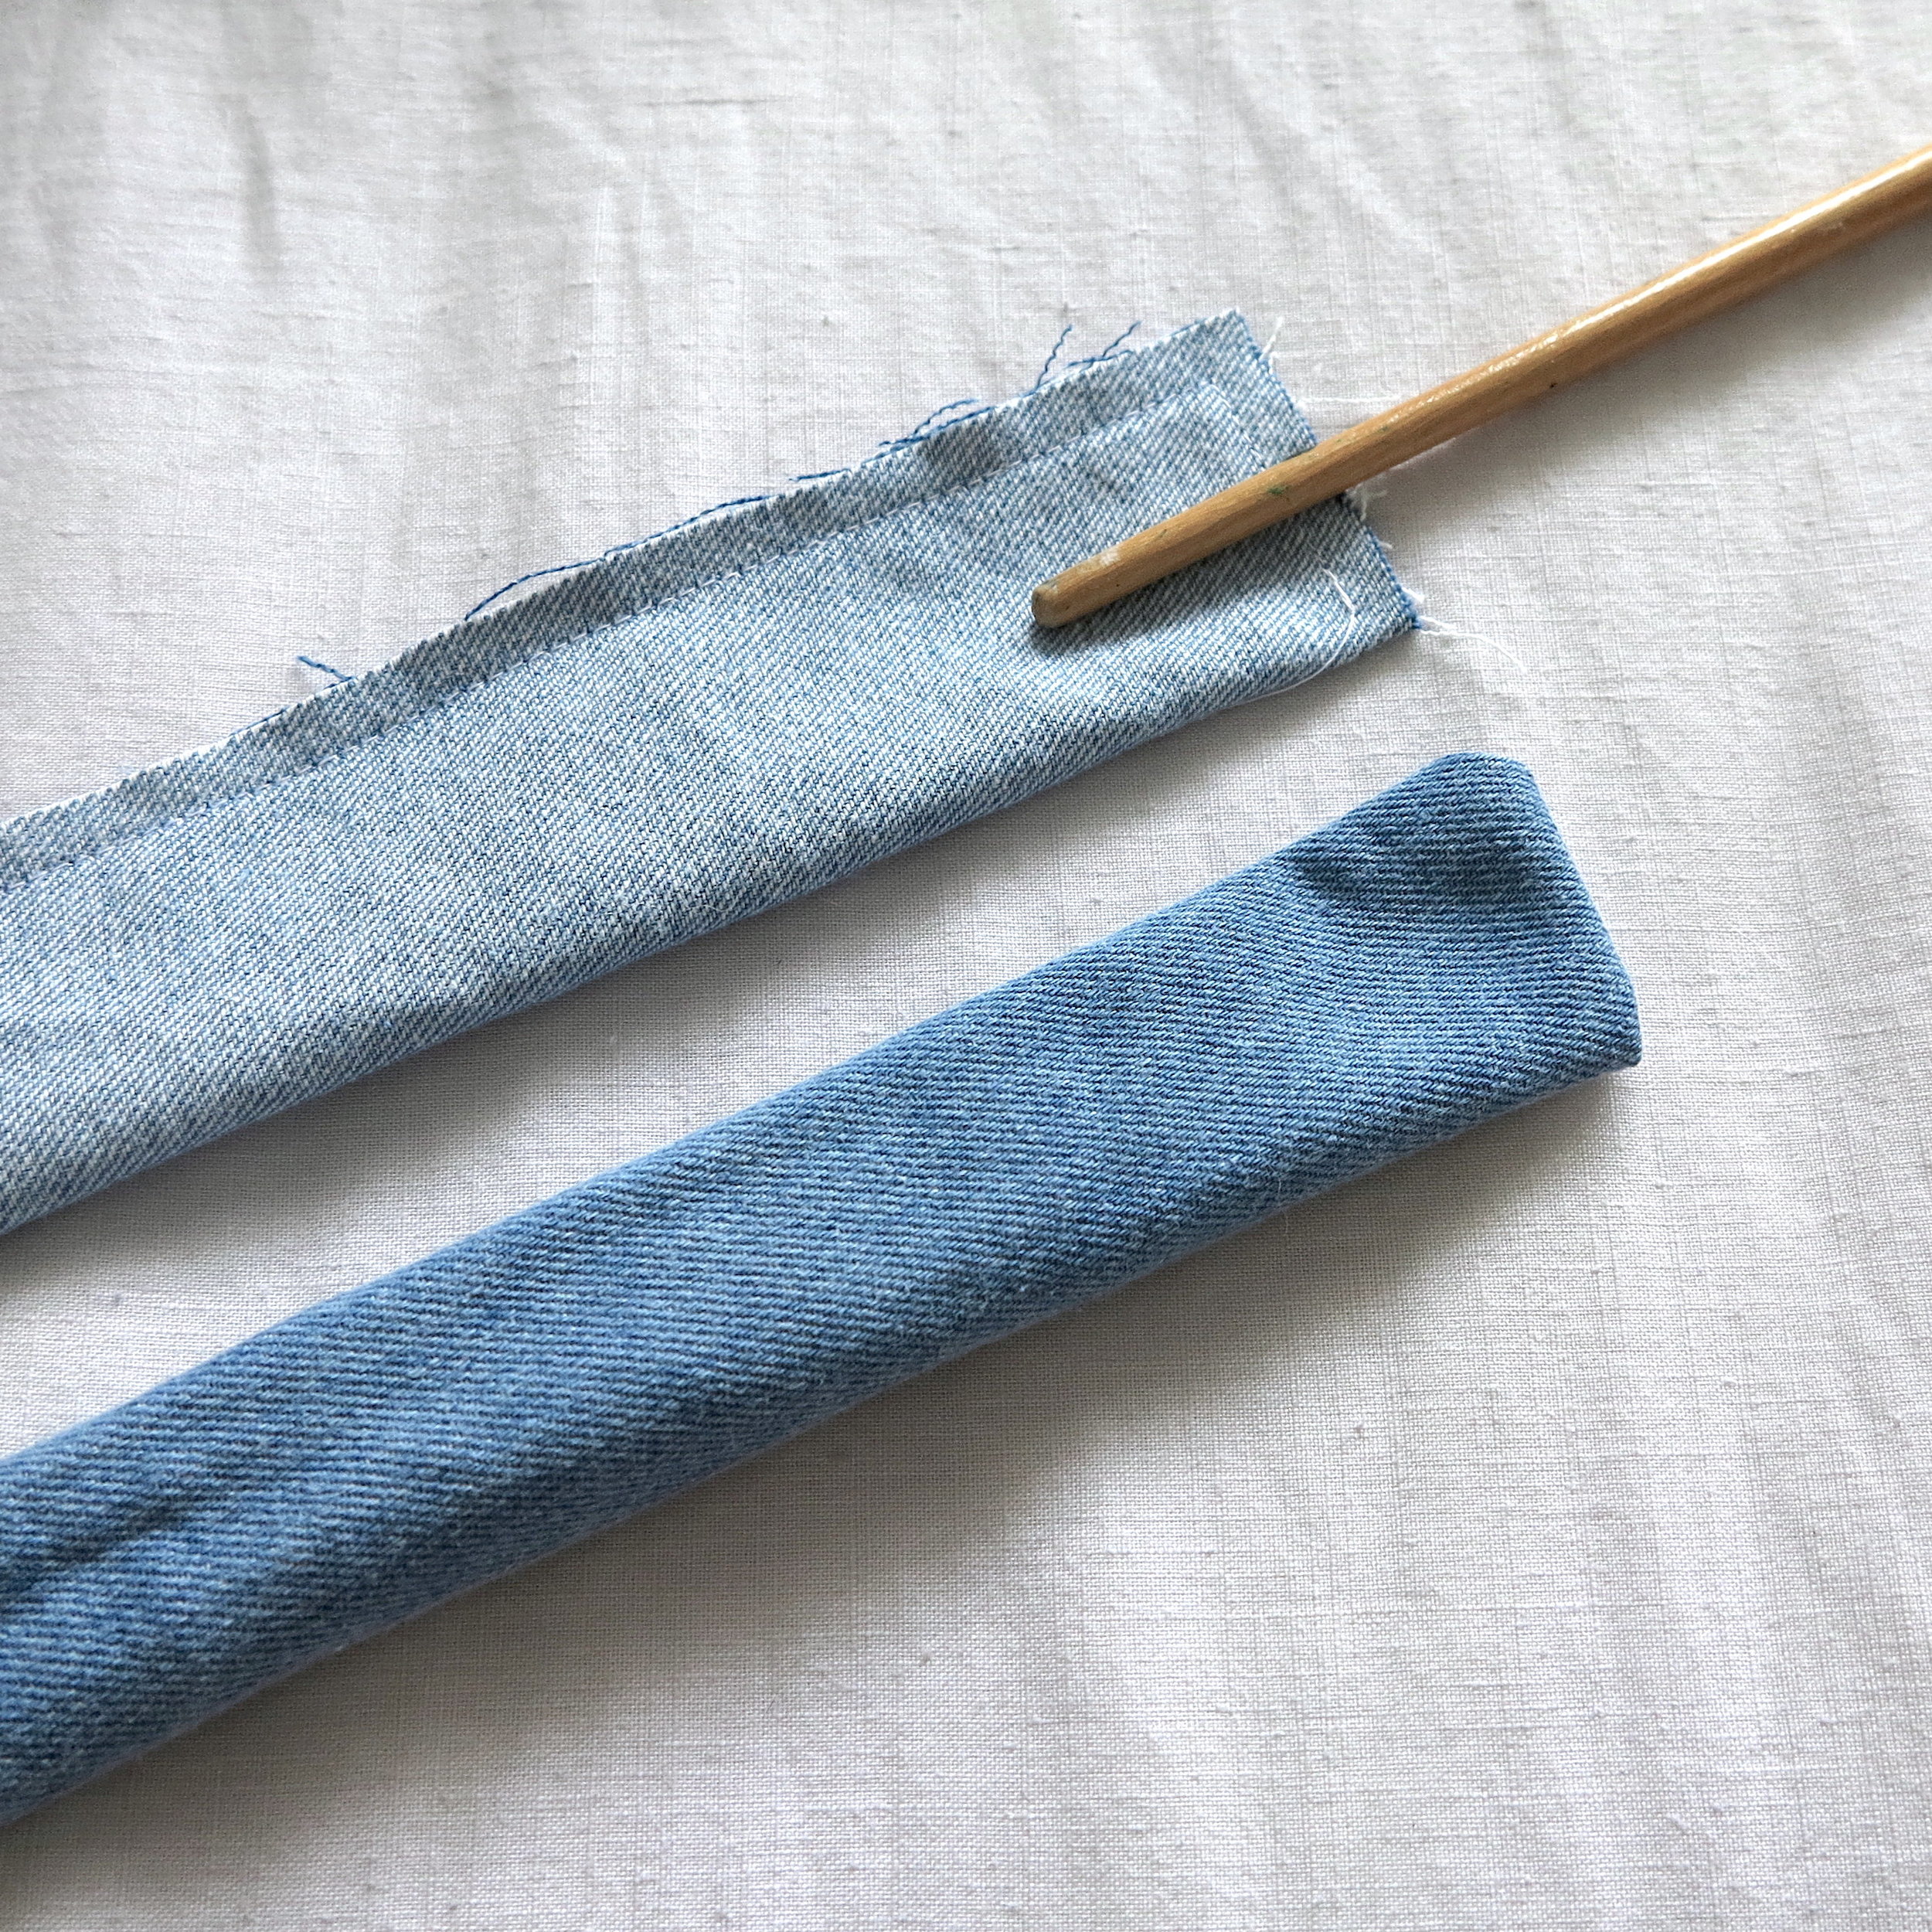
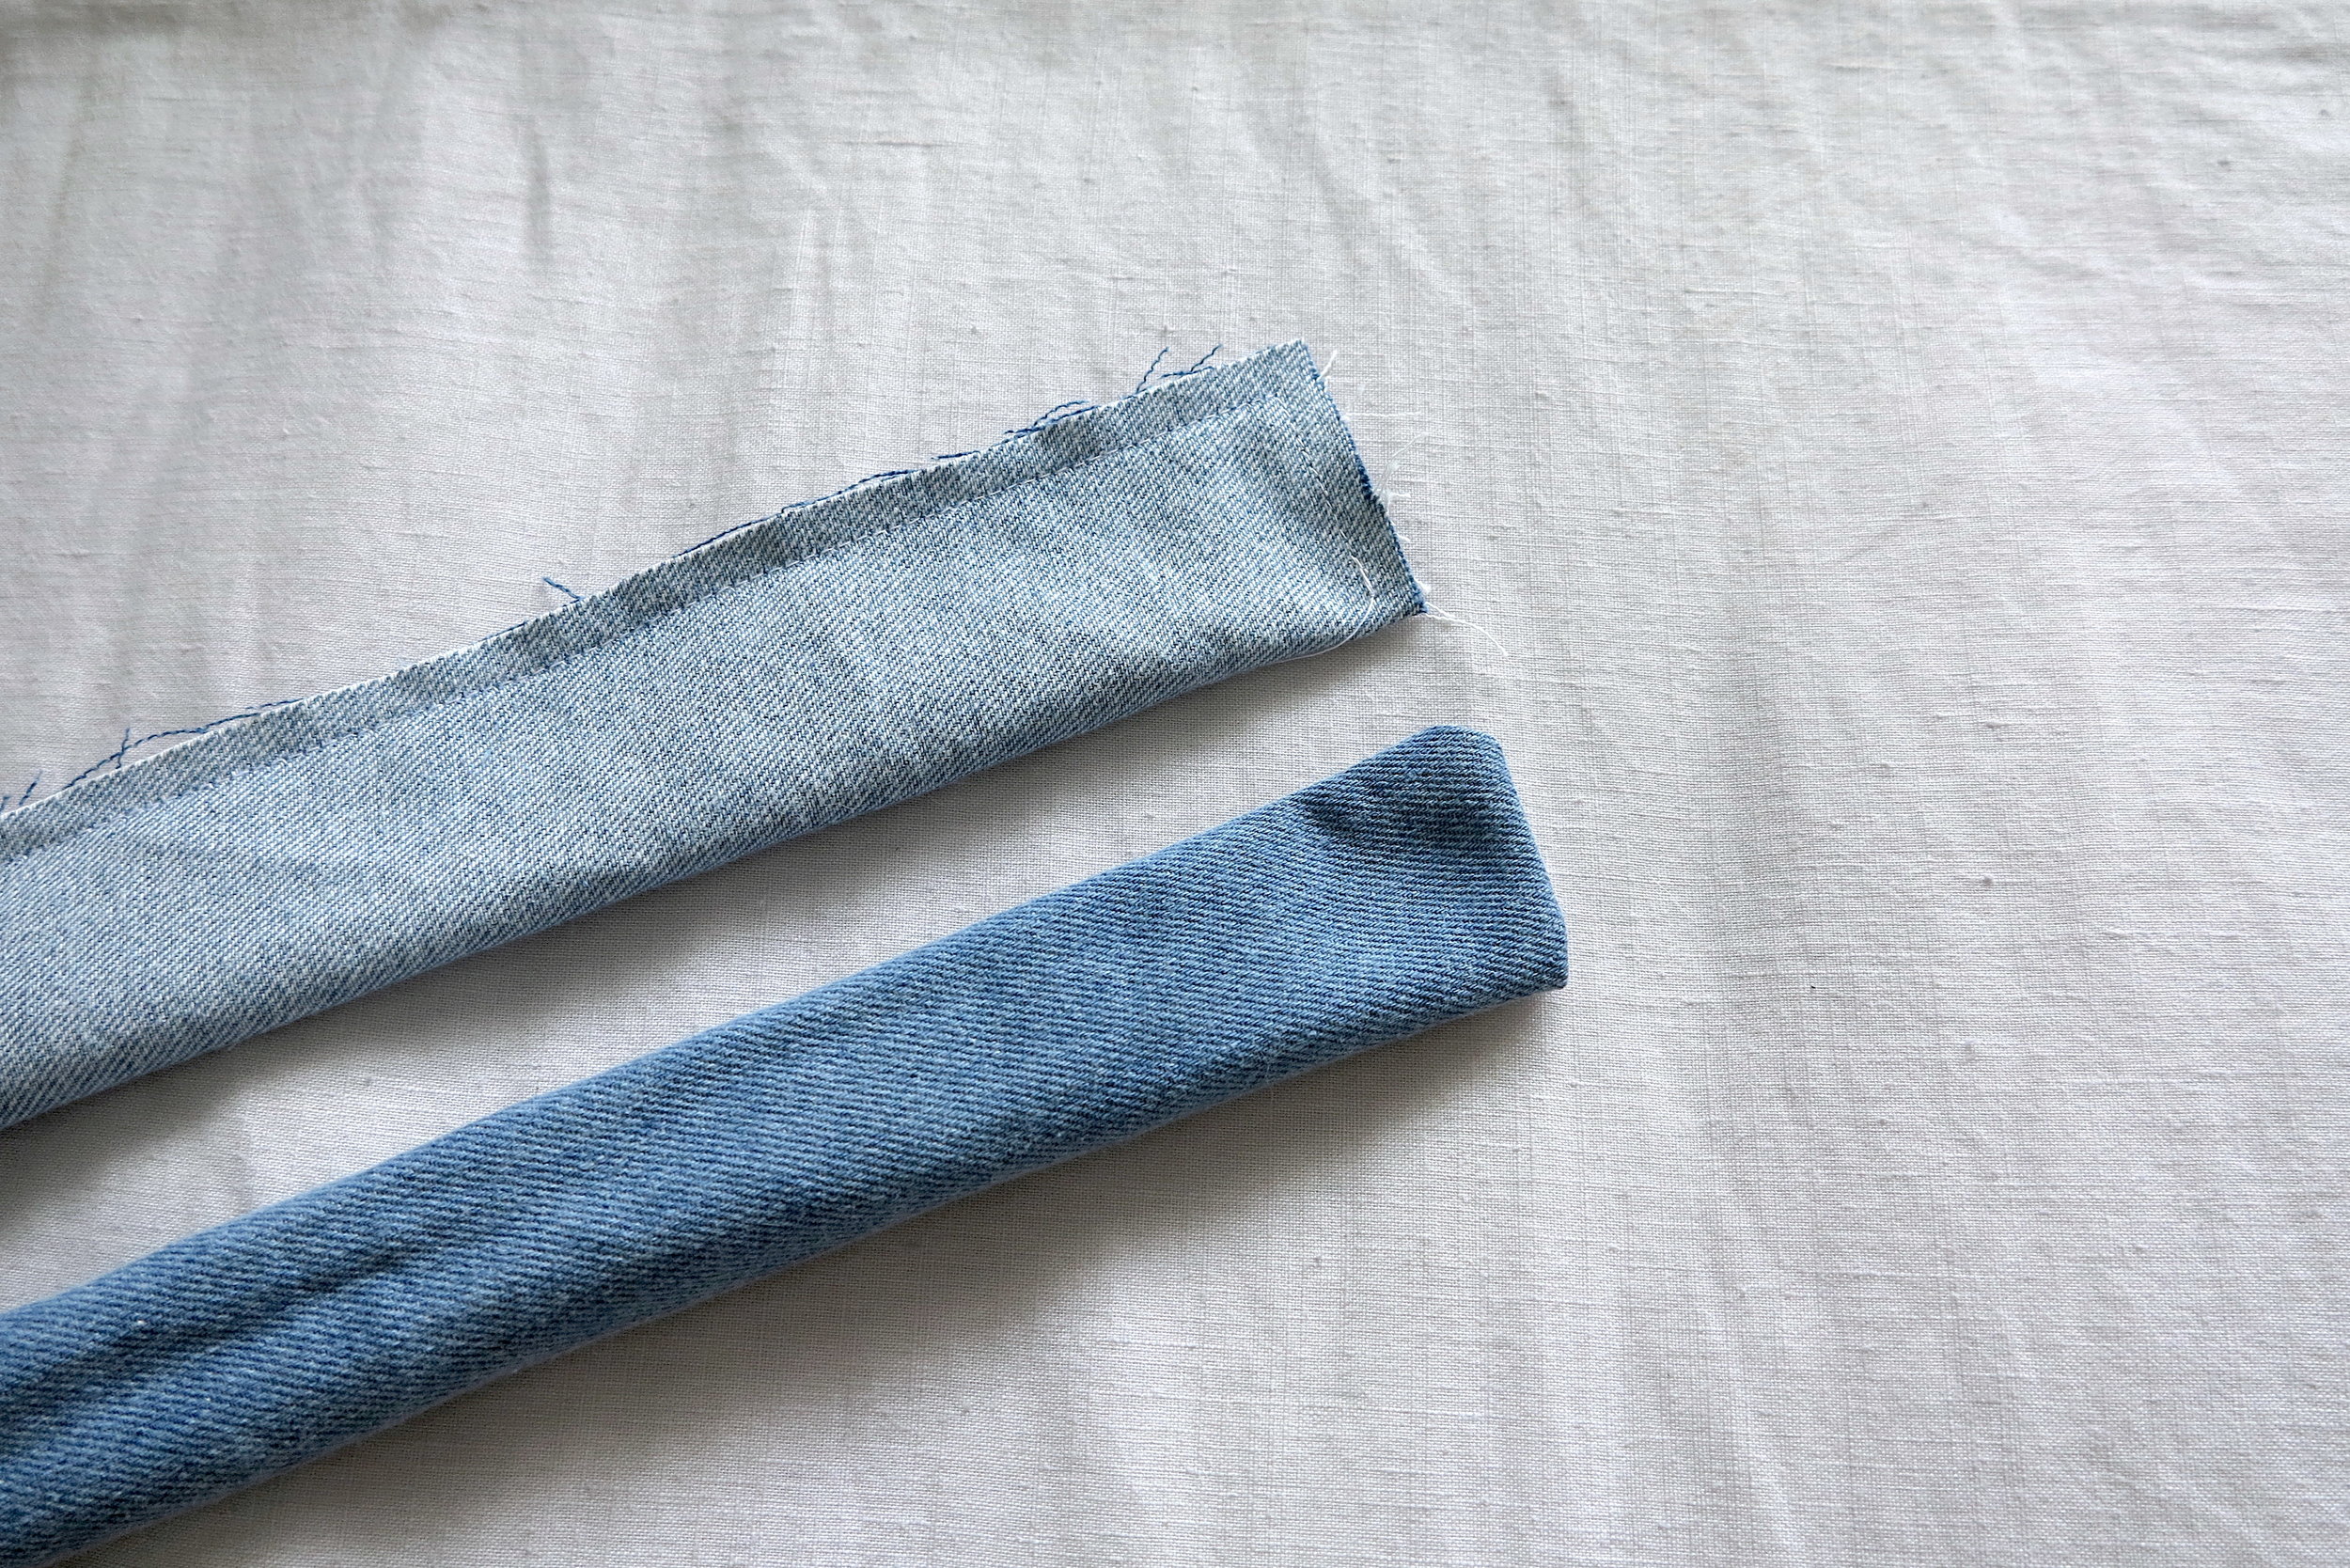
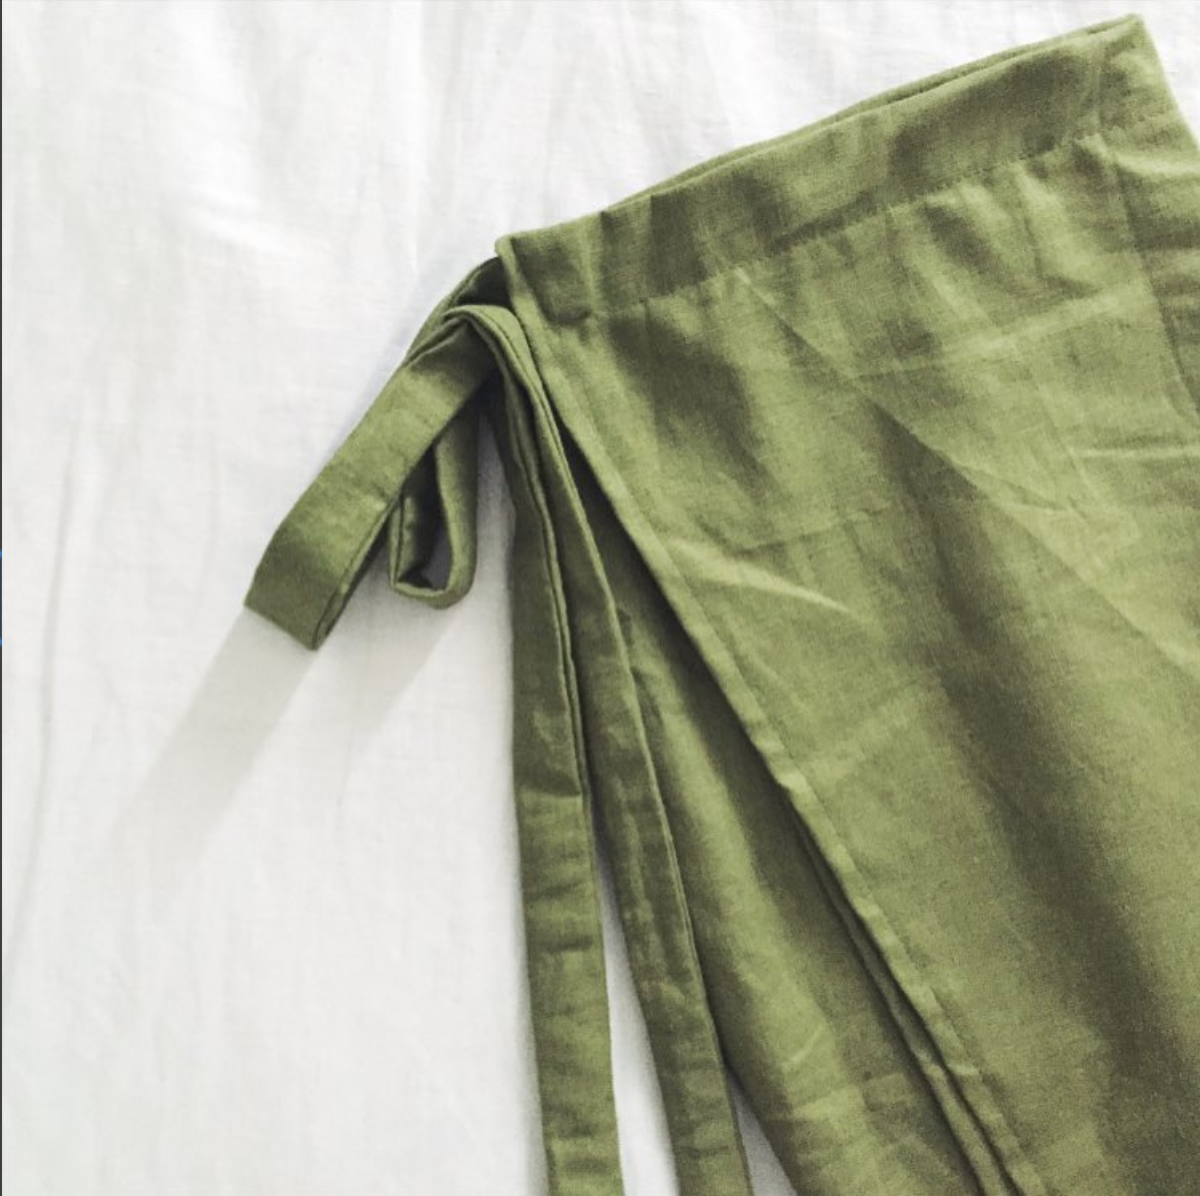
Fold in half the panels for the straps with good sides facing. Pin down and sew along frayed edges. Be sure to leave one of the smaller ends open so you can flip the good sides back out.
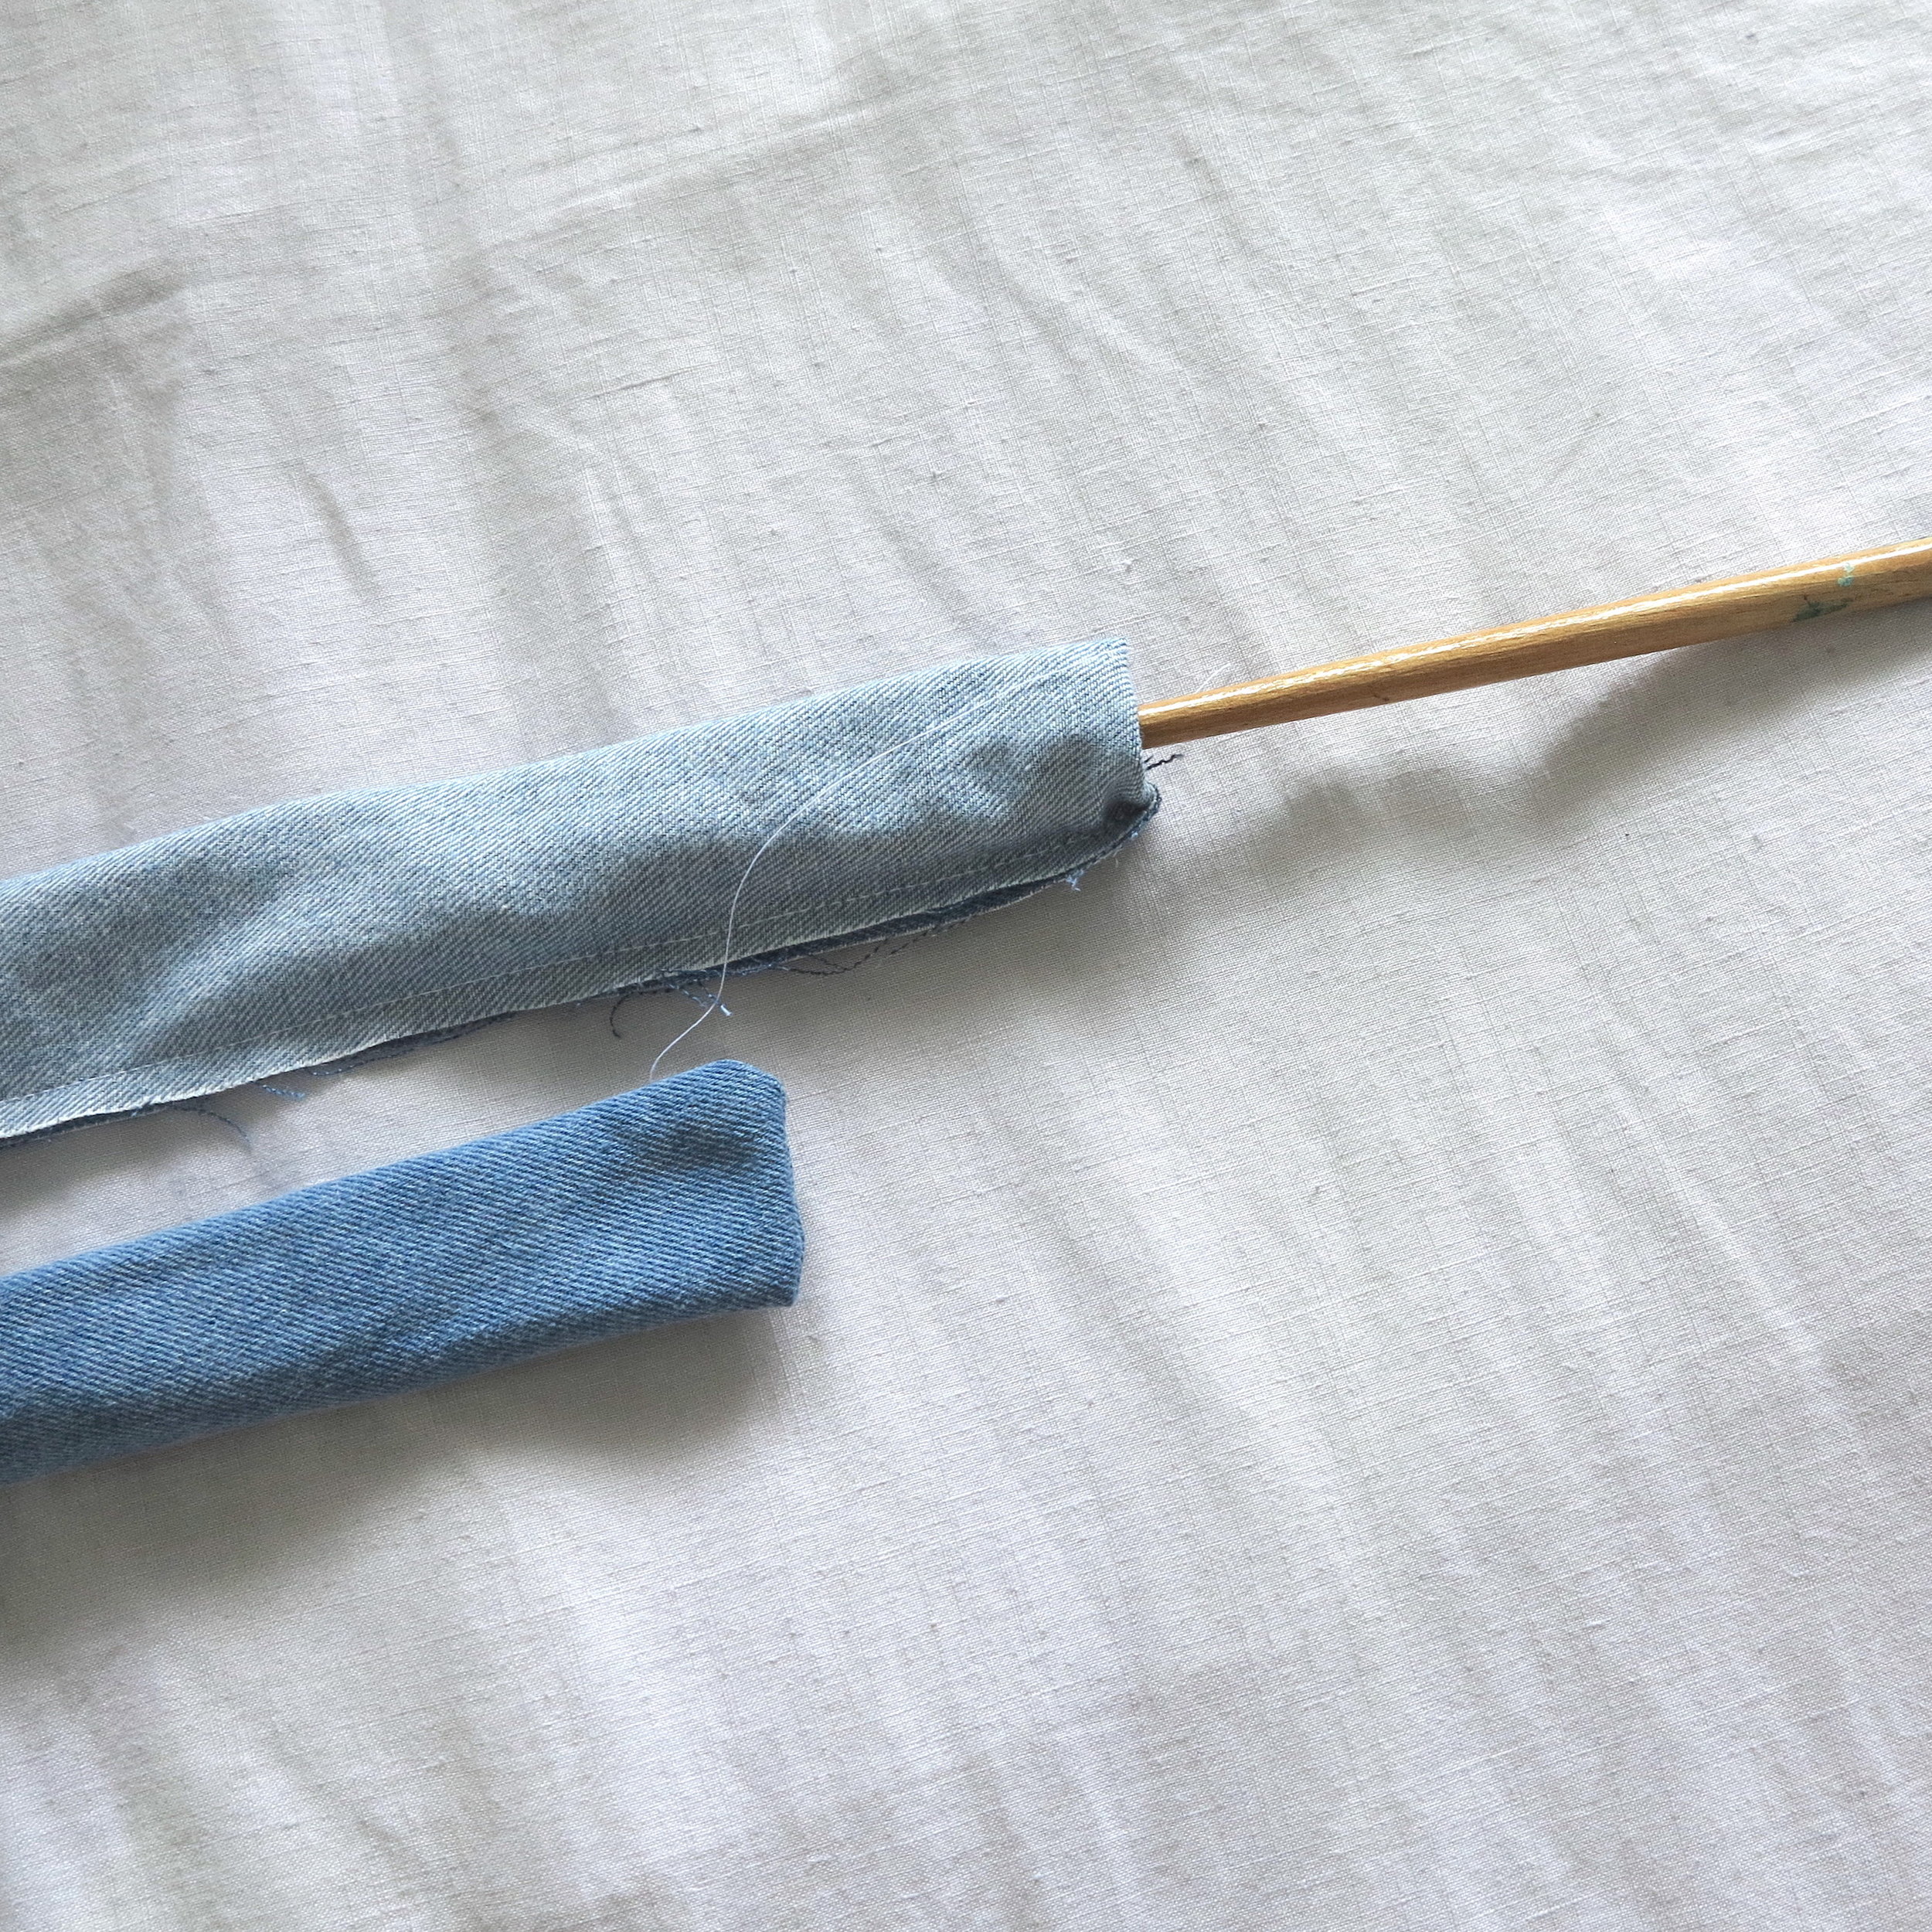
Tip: To flip it good side out I normally use the tip of a clean paint brush or ruler to get the process started and then push the rest out. (scroll through above to see example)
06

Add a small 1cm hem across the top in preparation for the larger hem waistband and tie straps.
If you're wanting clean edges this is where you would hem the rest of the sides as well.
07
Next, fold the top hem over to cover where the straps are attached to the skirt. Sew from the top down the edge until you hit the hem and then sew parallel to the top and back up the other side.
08

And voilà, the insides and top part should end up looking like the above. Try it on and see if you like the length and angles and adjust anything if need be. The benefits of the frayed look is you can just simply cut it otherwise if you've hemmed just add another layer hemming.
Wrap that baby around your waist and get down to business.
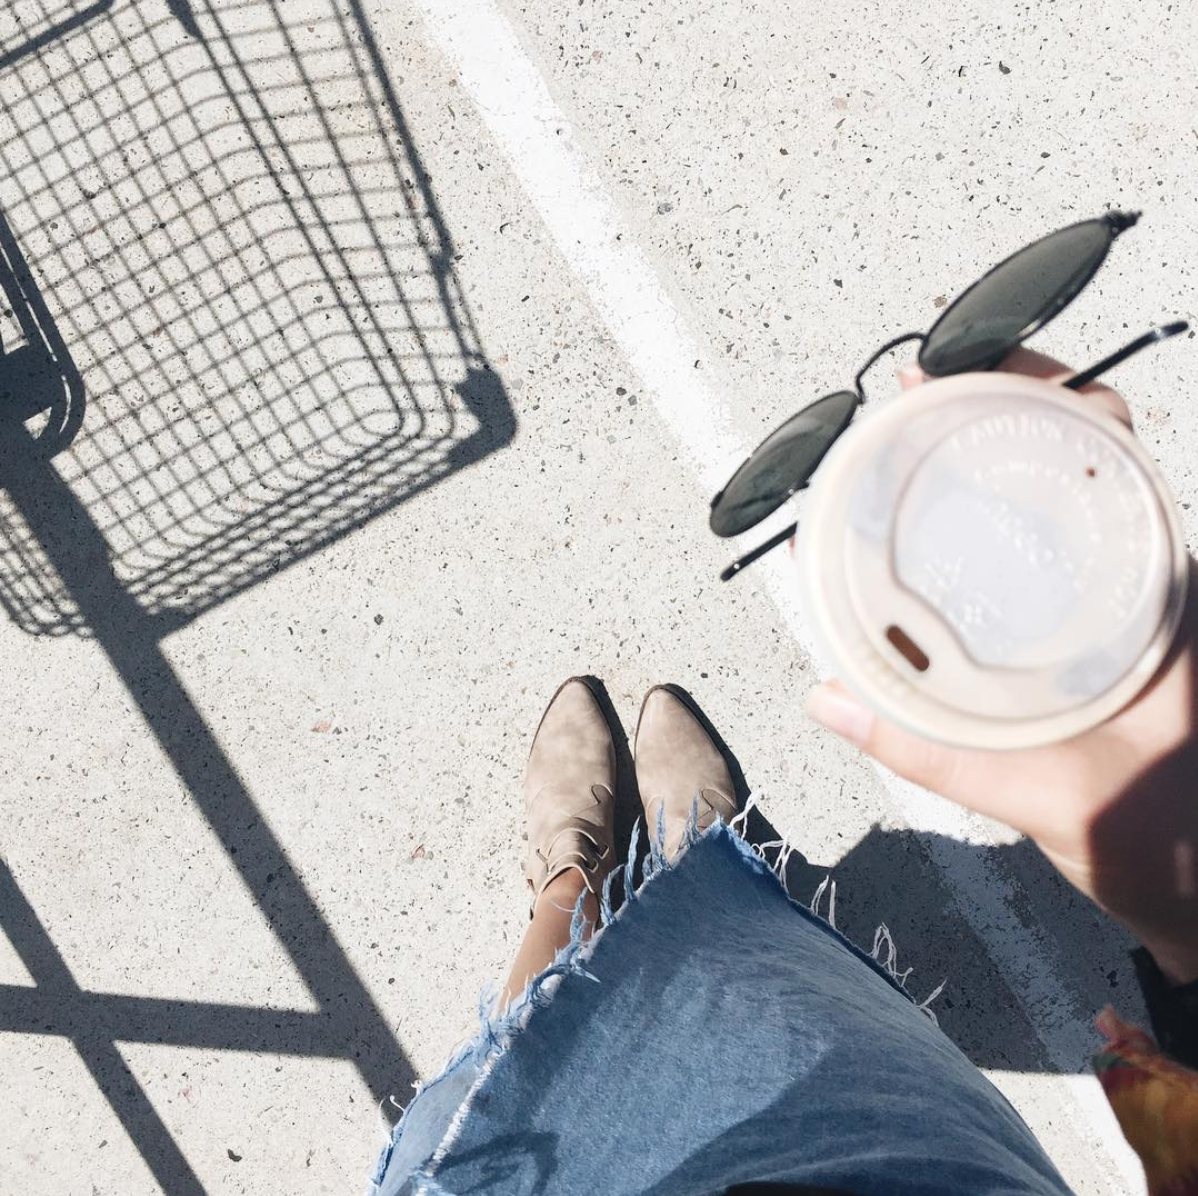
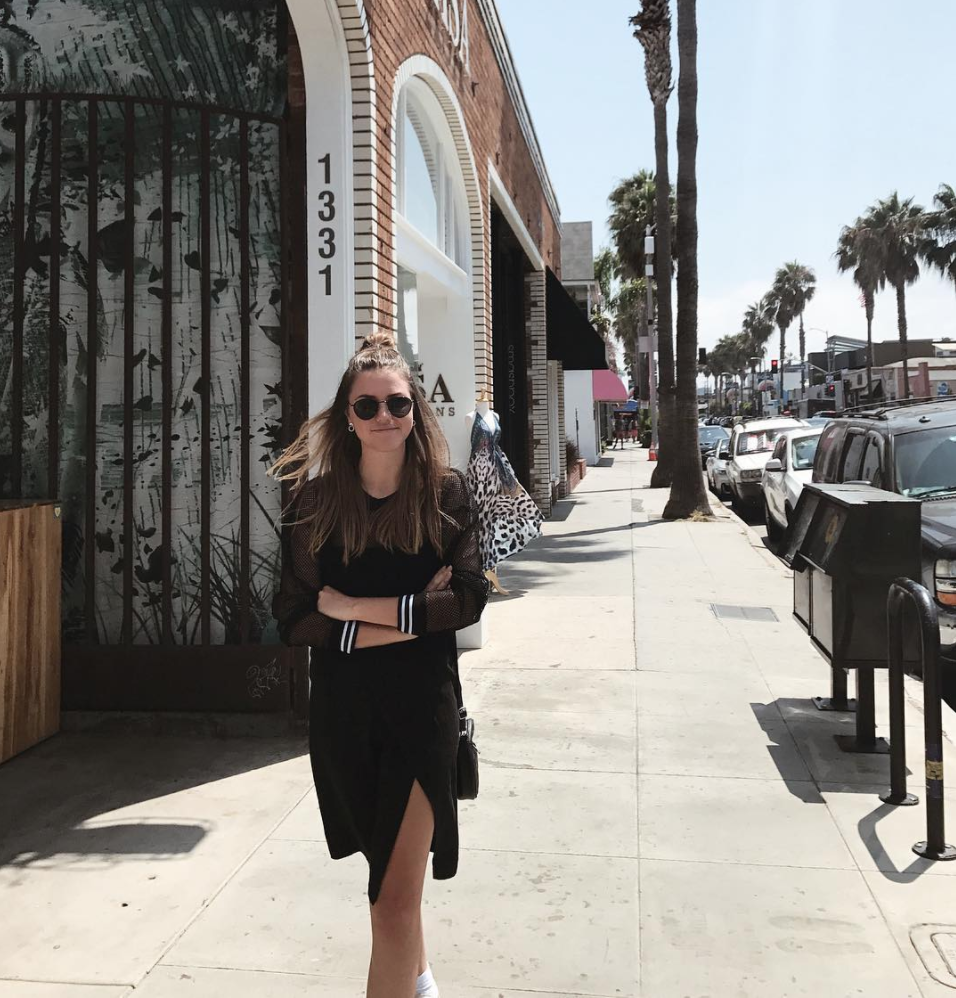
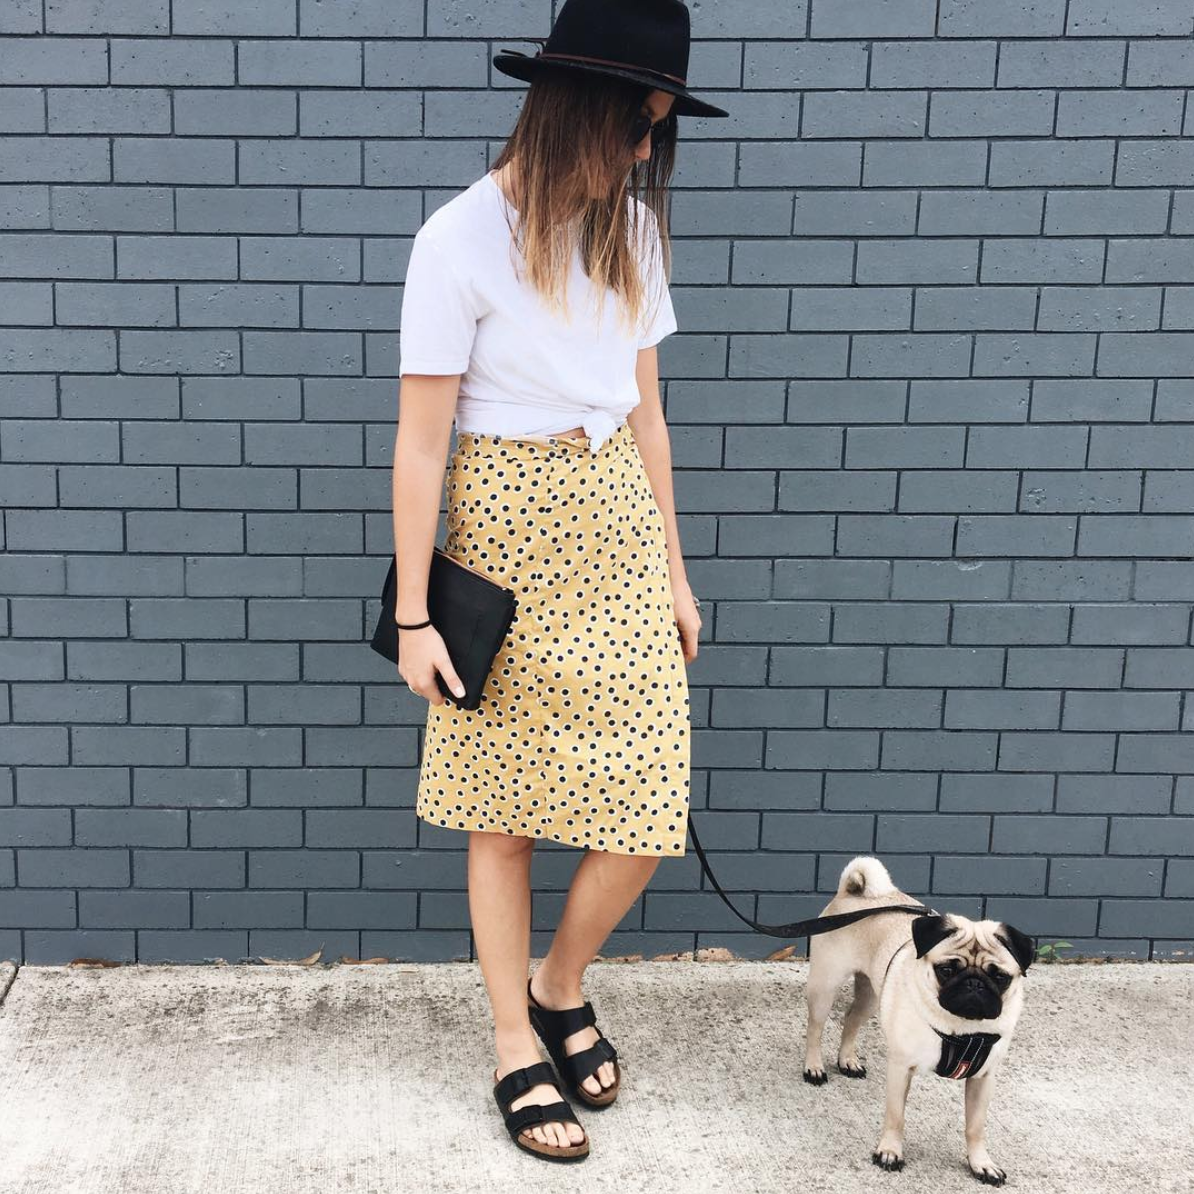
As I mentioned earlier I have countless wrap skirts. It's a serious (but healthy) addiction. I've gathered a few snaps of them in action from over the years so you can see how they look on.
WATCH VIDEO VERSION OF TUTORIAL BELOW


There are a lot of little steps but essentially it goes:
01 Cut the pattern
02 Sew the darts/seams
03 Prepare the straps
04 Hem edges (just the top if you want the sides frayed)
05 Fold waist band and attached straps
Hope this was helpful! Let me know if you give this tutorial a go and how it turns out. Hashtag the outcome #essentialsclub on social media.