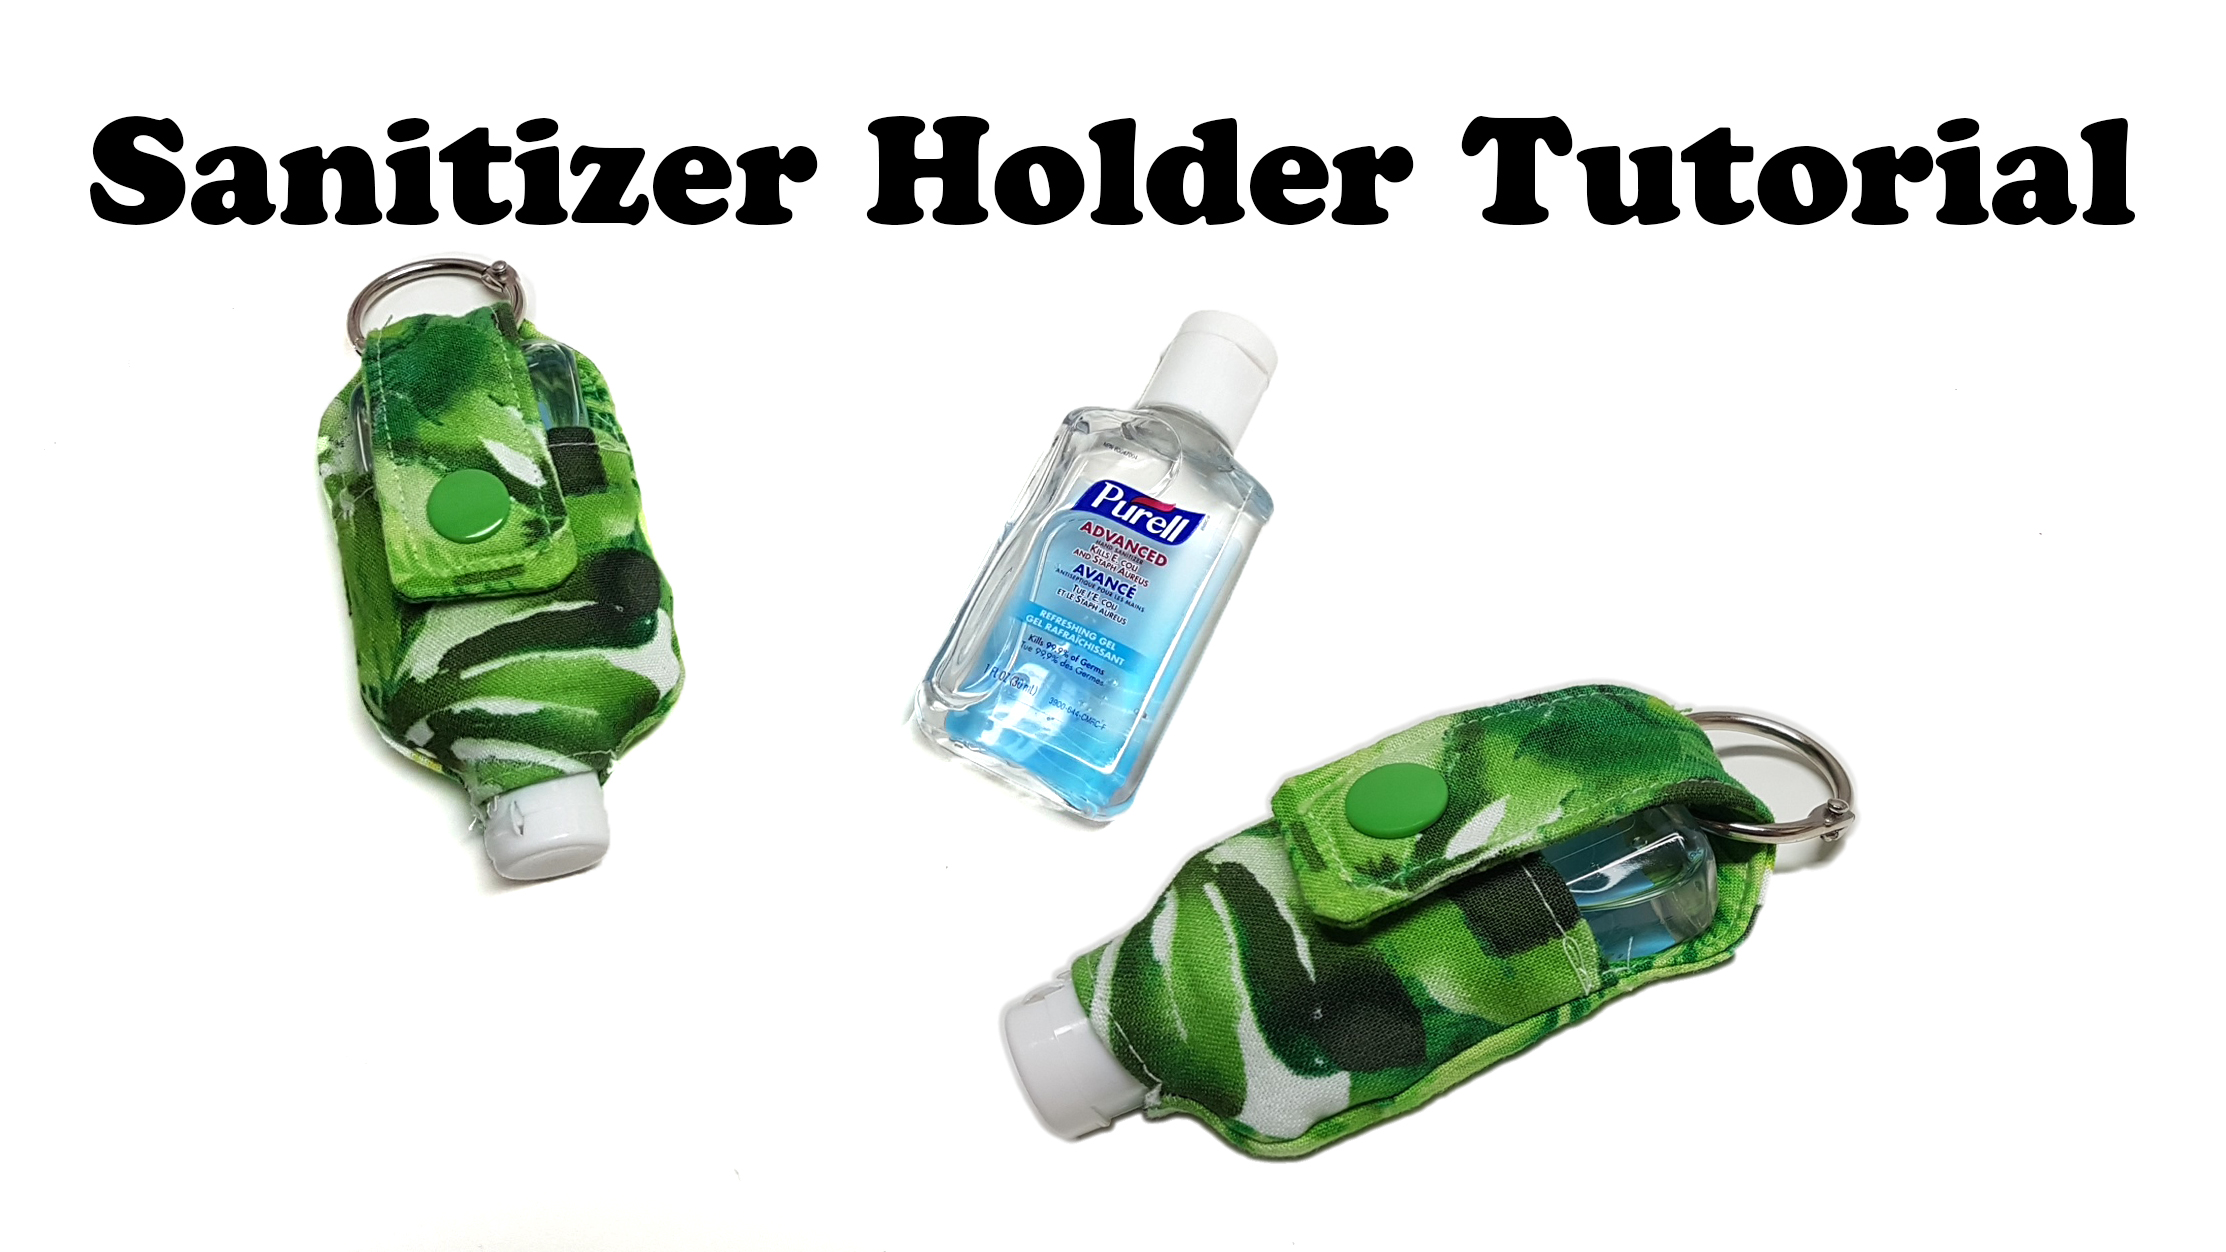
Hey! Welcome to the blog post for the Hand sanitizer bottle holder
If you are coming from my youtube tutorial you will find the pattern link and products i used
If you are coming from Craftsy.com then you will find more information, photos and links to the products i used, If you havnt already watched the Video tutorial visit www.youtube.com/charmedbyashley

The things you will need
Print the pattern here —>> sanitizerbottleholderpattern-charmedbyashley
Cotton Fabric, or Canvas fabric
(if you are using Cotton fabric i recommend using an interfacing such as a light or medium weight)
I use pellon light weight fusible interfacing
Kam Snaps
Or you can create a button hole and use a regular button, or sew on snaps
![]()
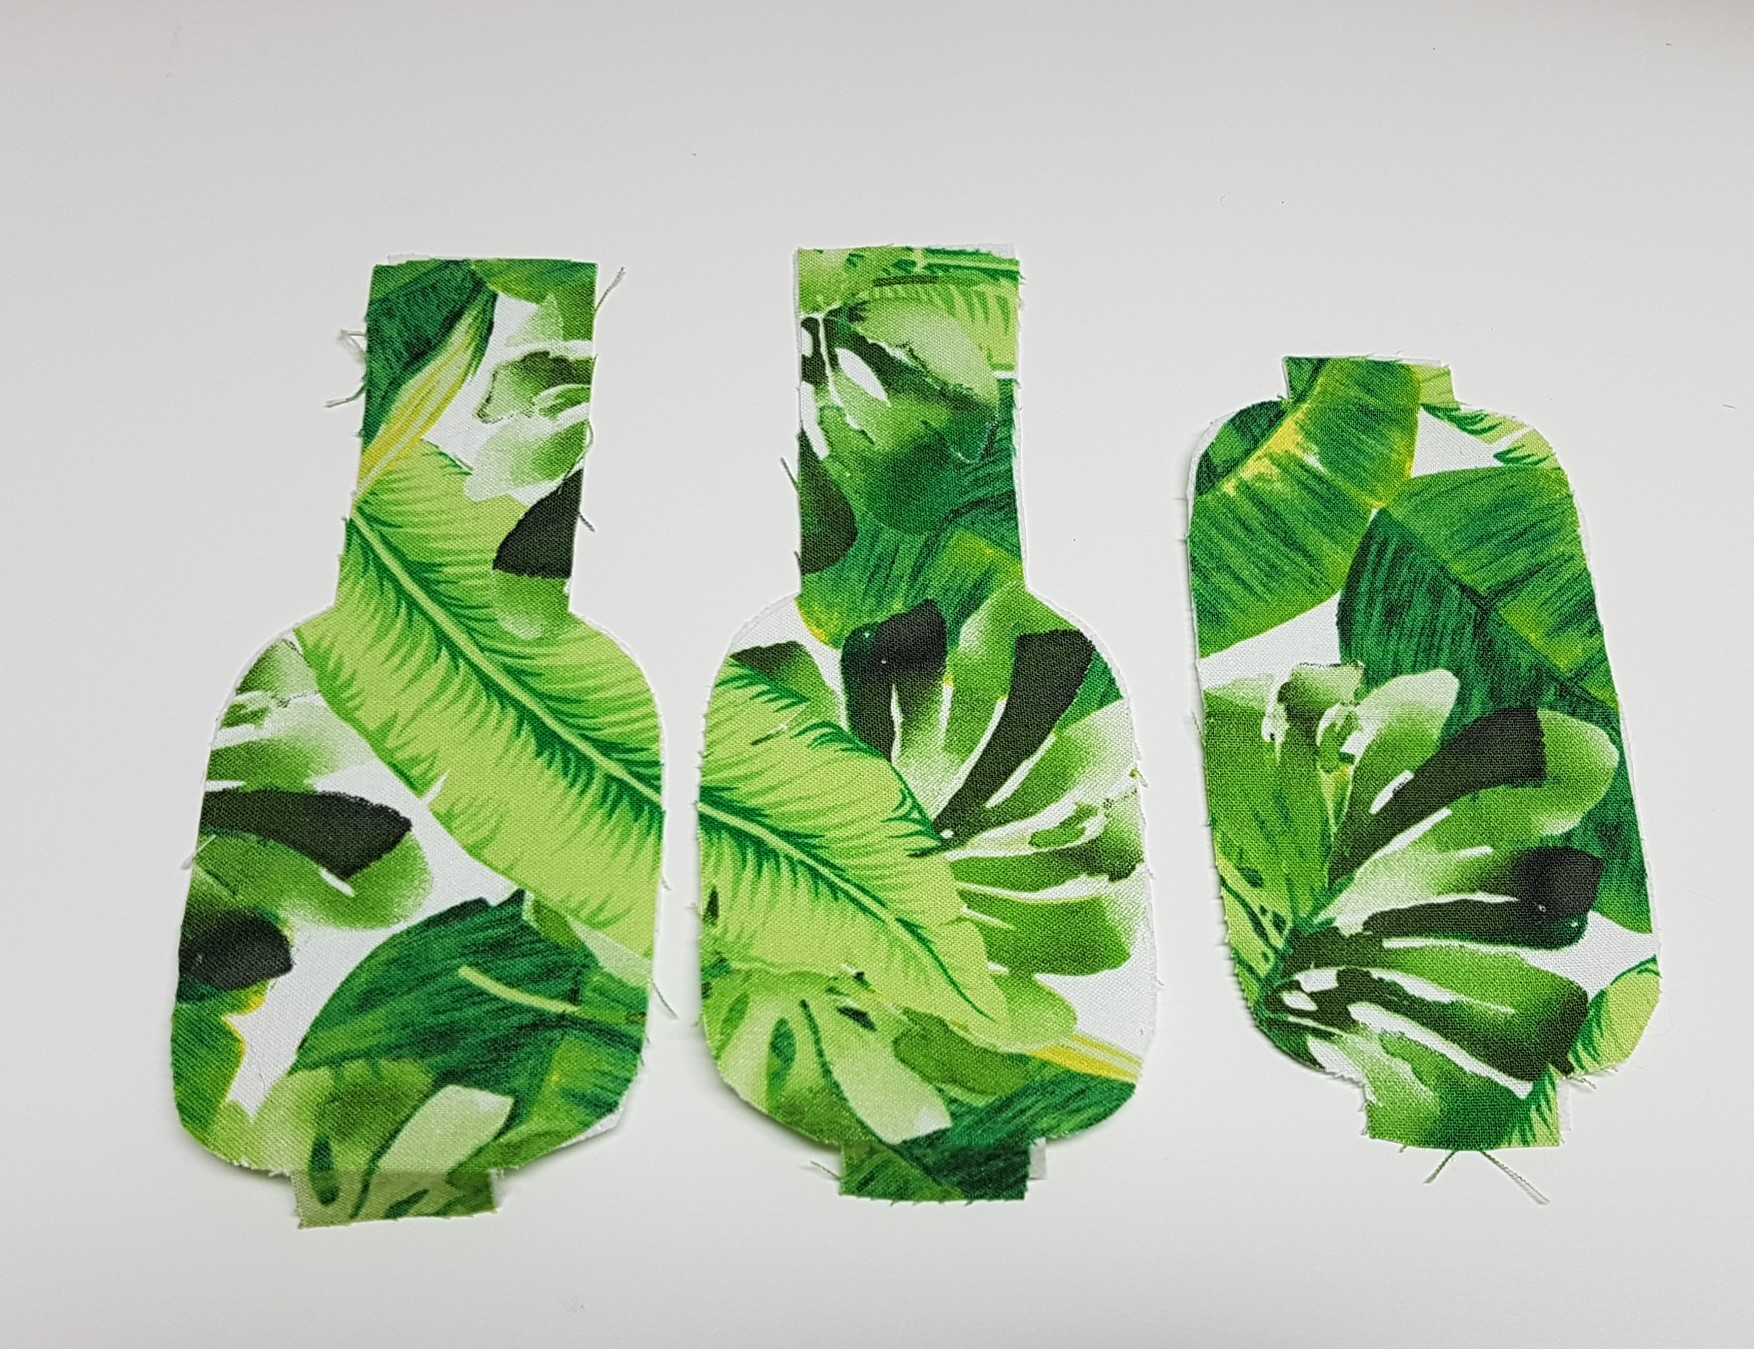
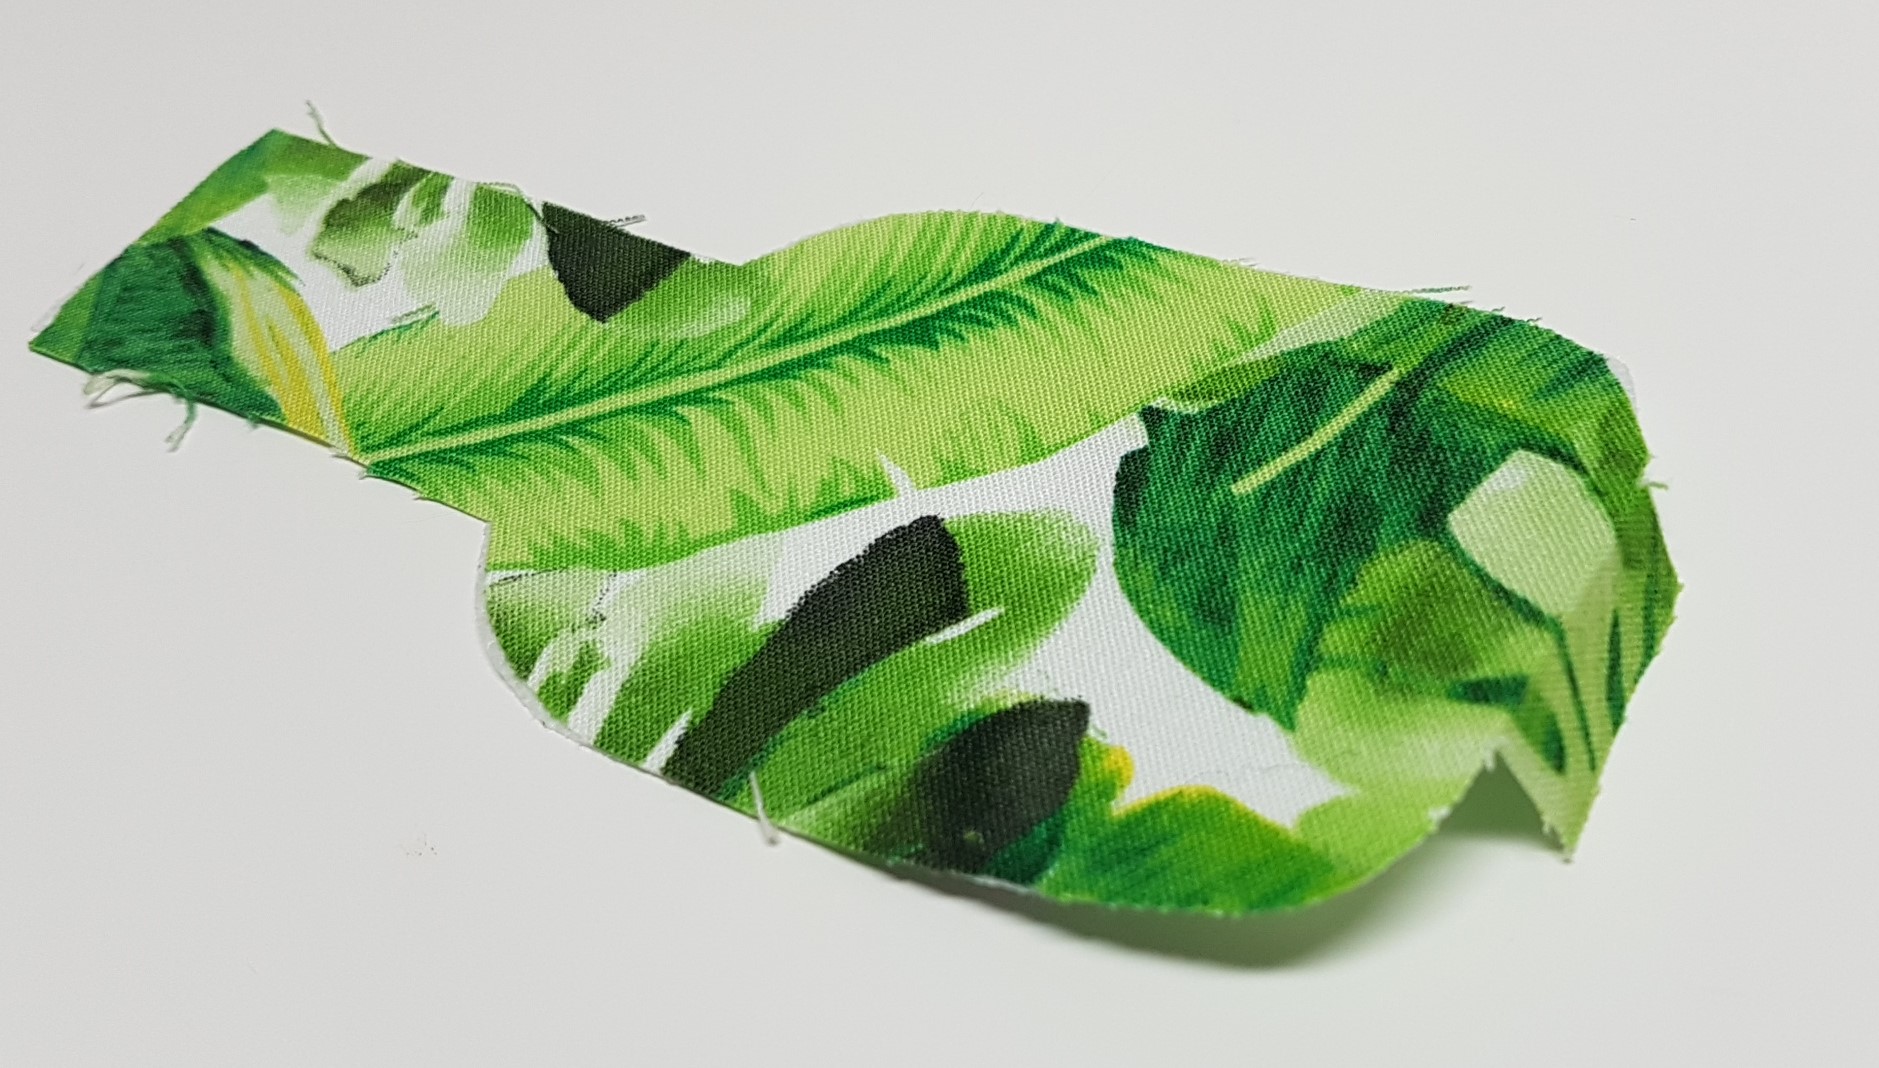
Head over to www.Craftsy.com to download the pattern and cut out the pieces out of the fabric of your choice
This fabric i grabbed over at Hobby Lobby (2017) i love me some Palm fabric hehe
i used my light weight interfacing and ironed that onto the back of each piece
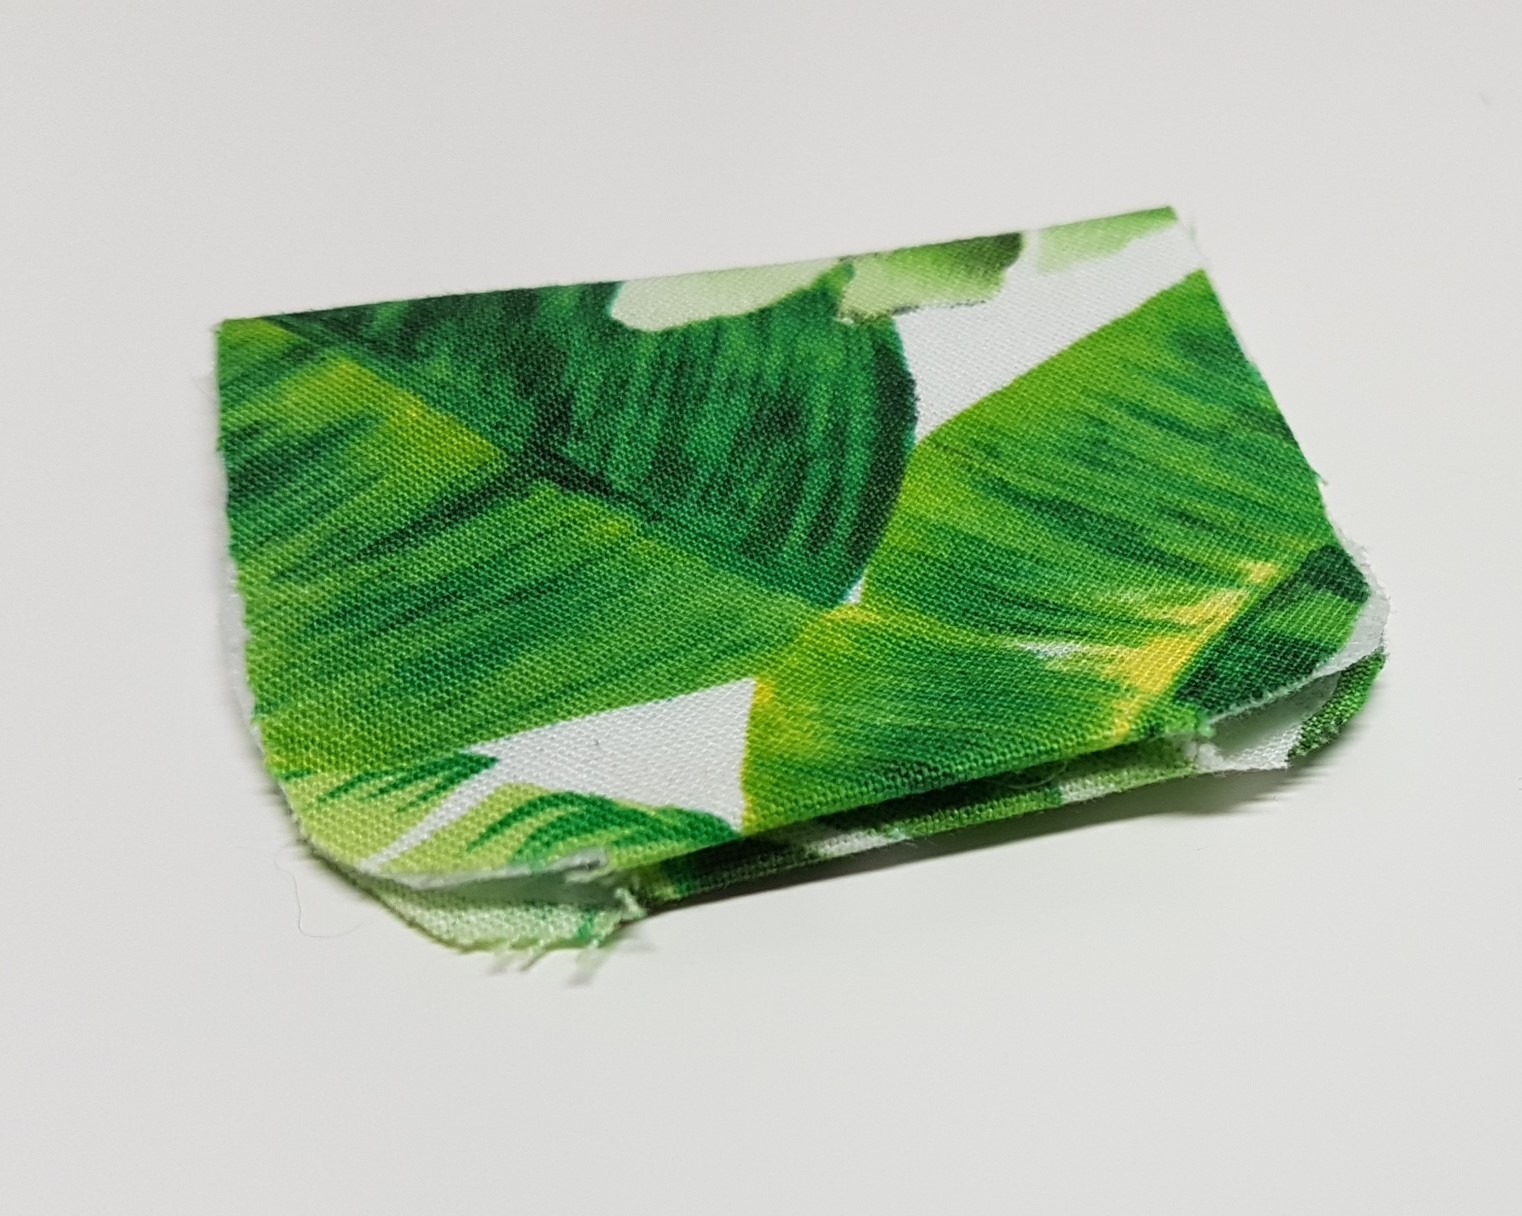
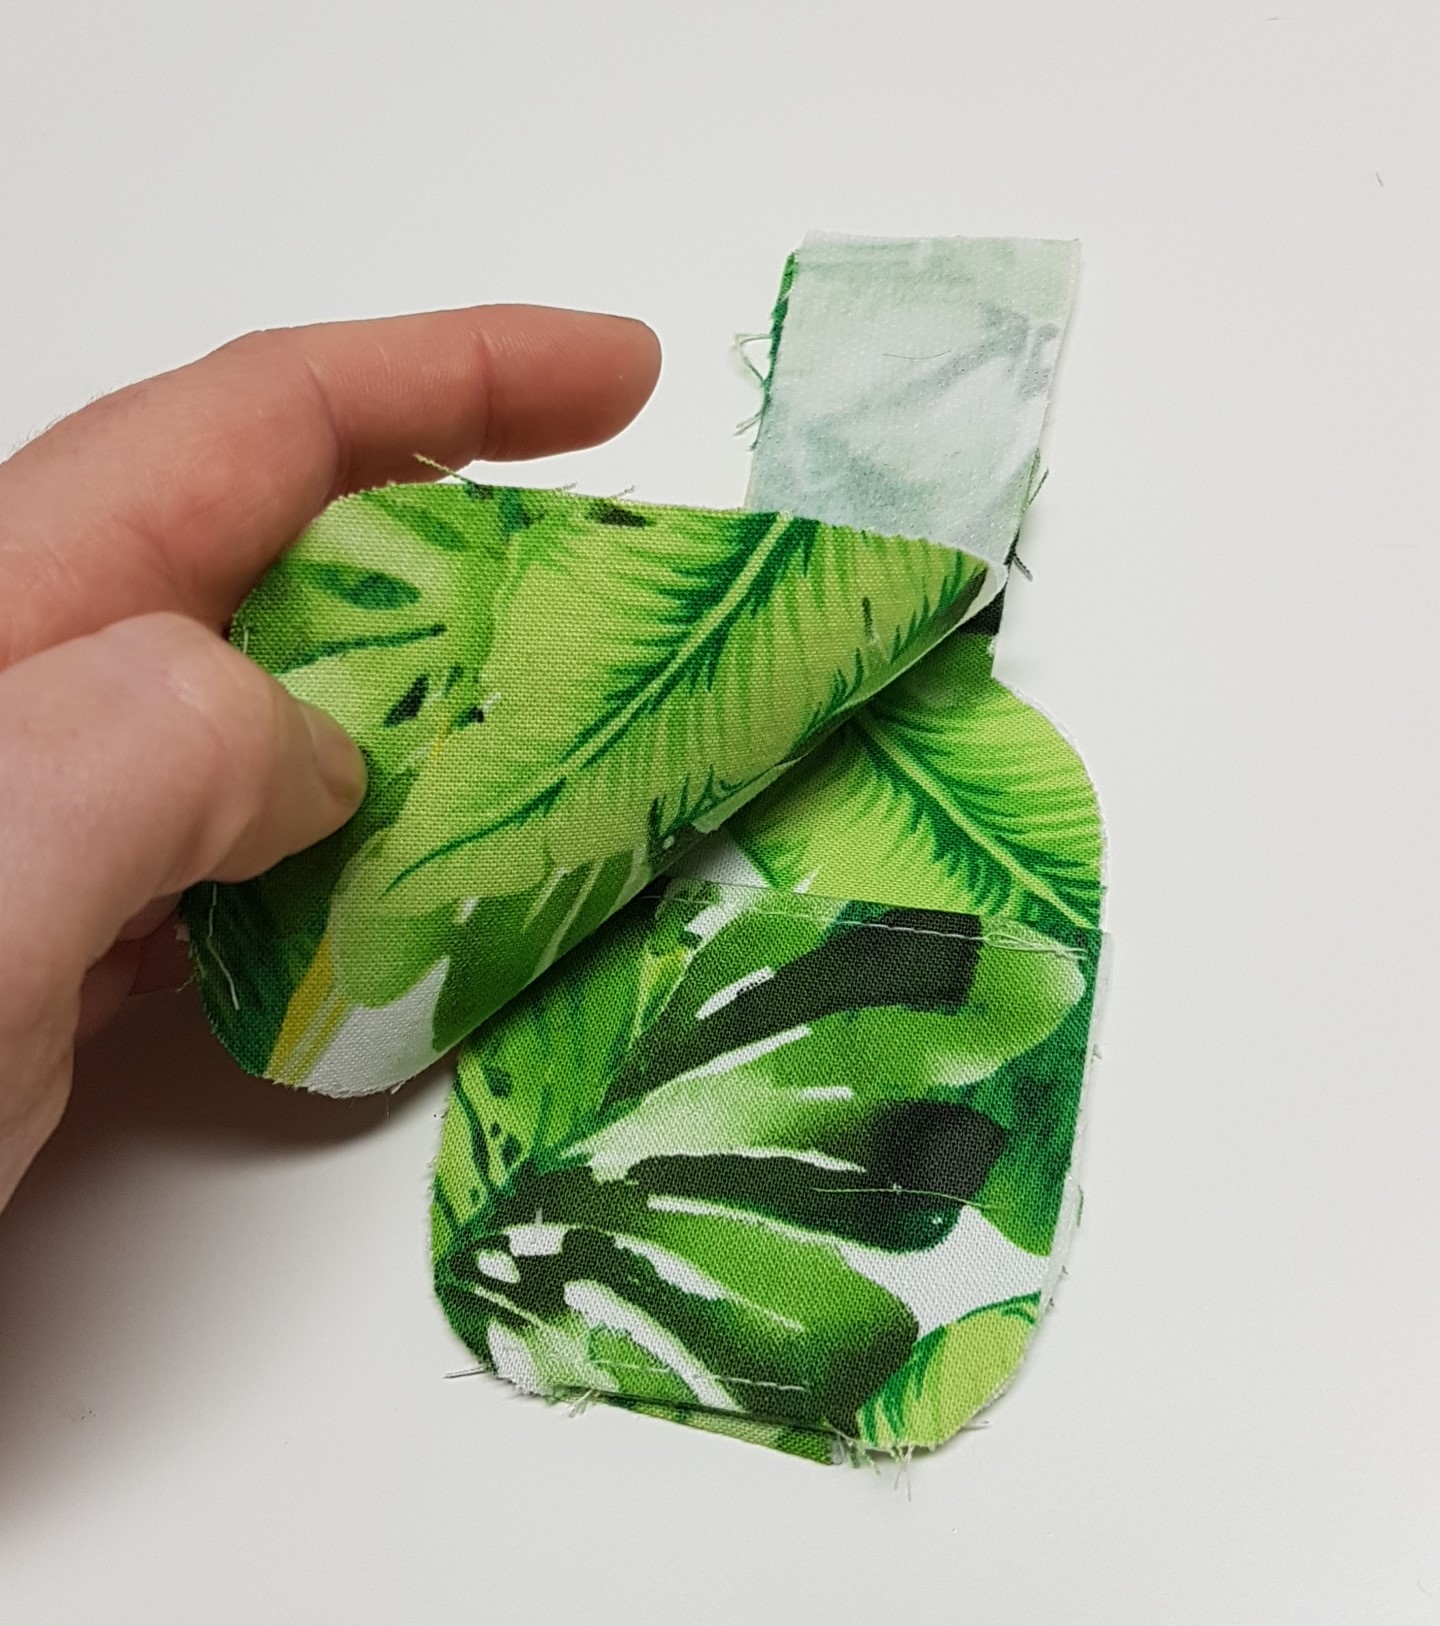
Now i will take the “pocket Piece” fold it with the wrong sides together and press, then i take my “main pieces” and fold the little tab down at the end and press
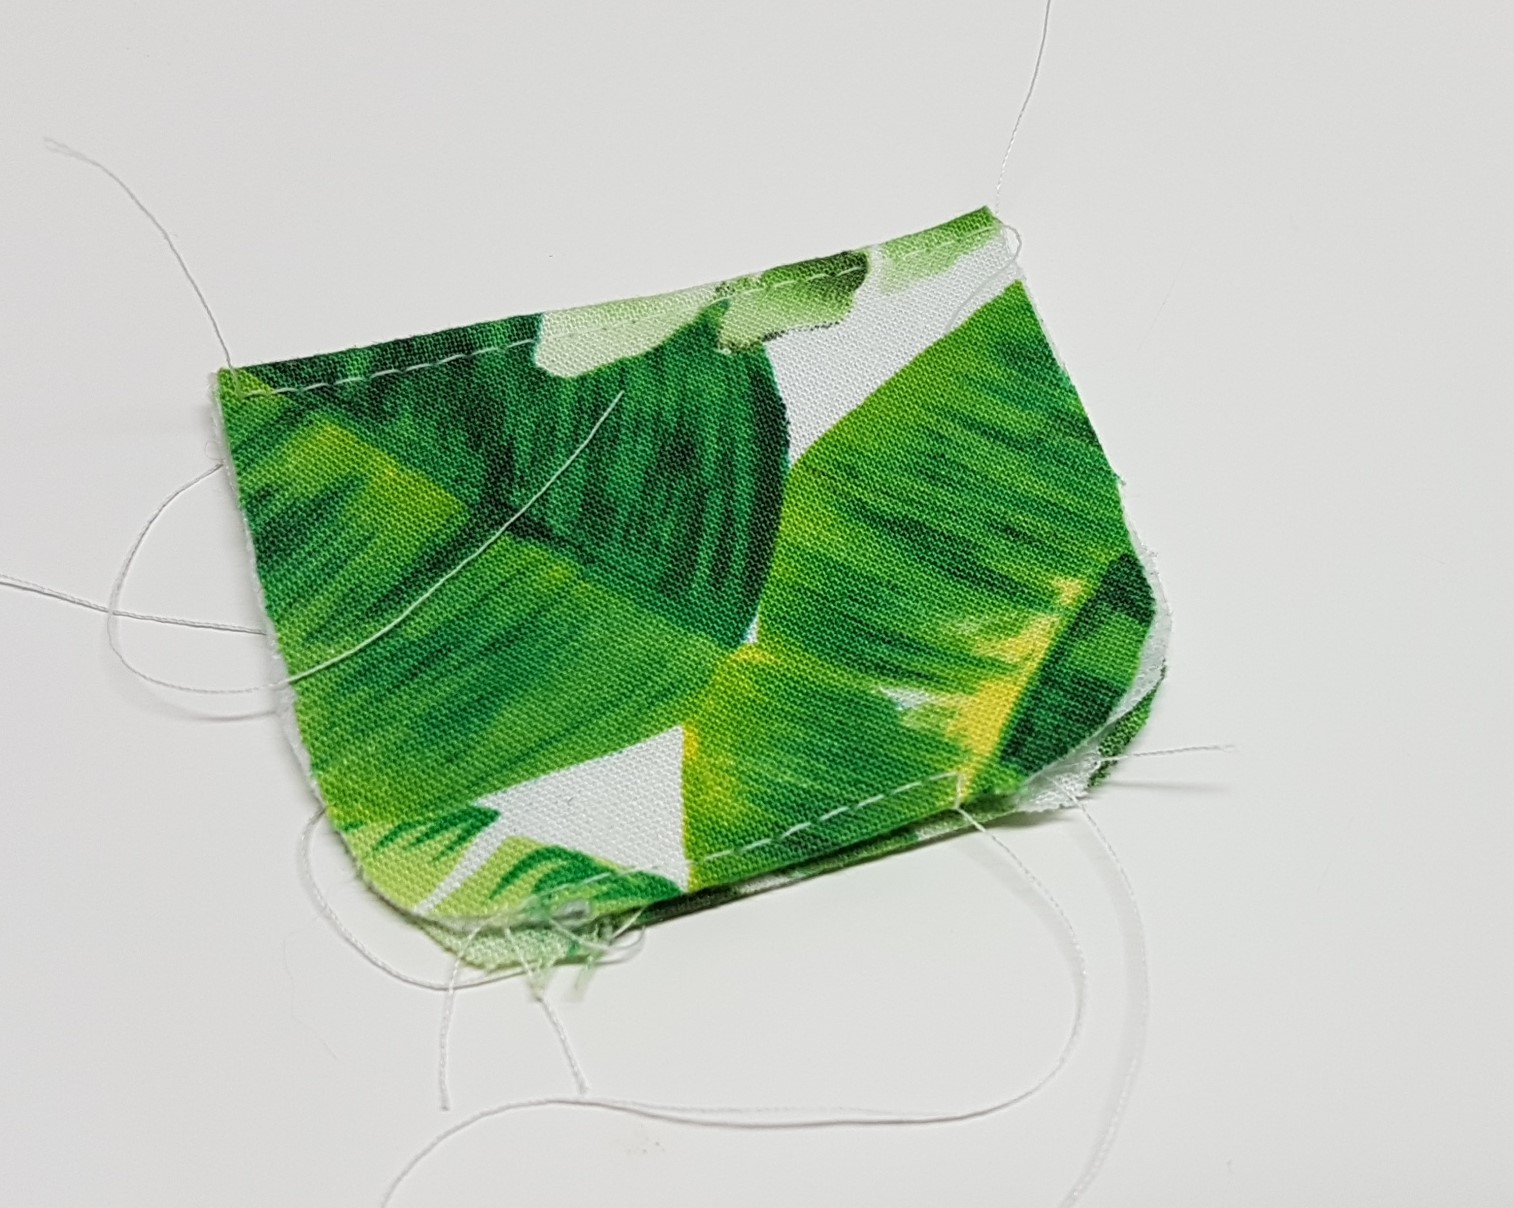
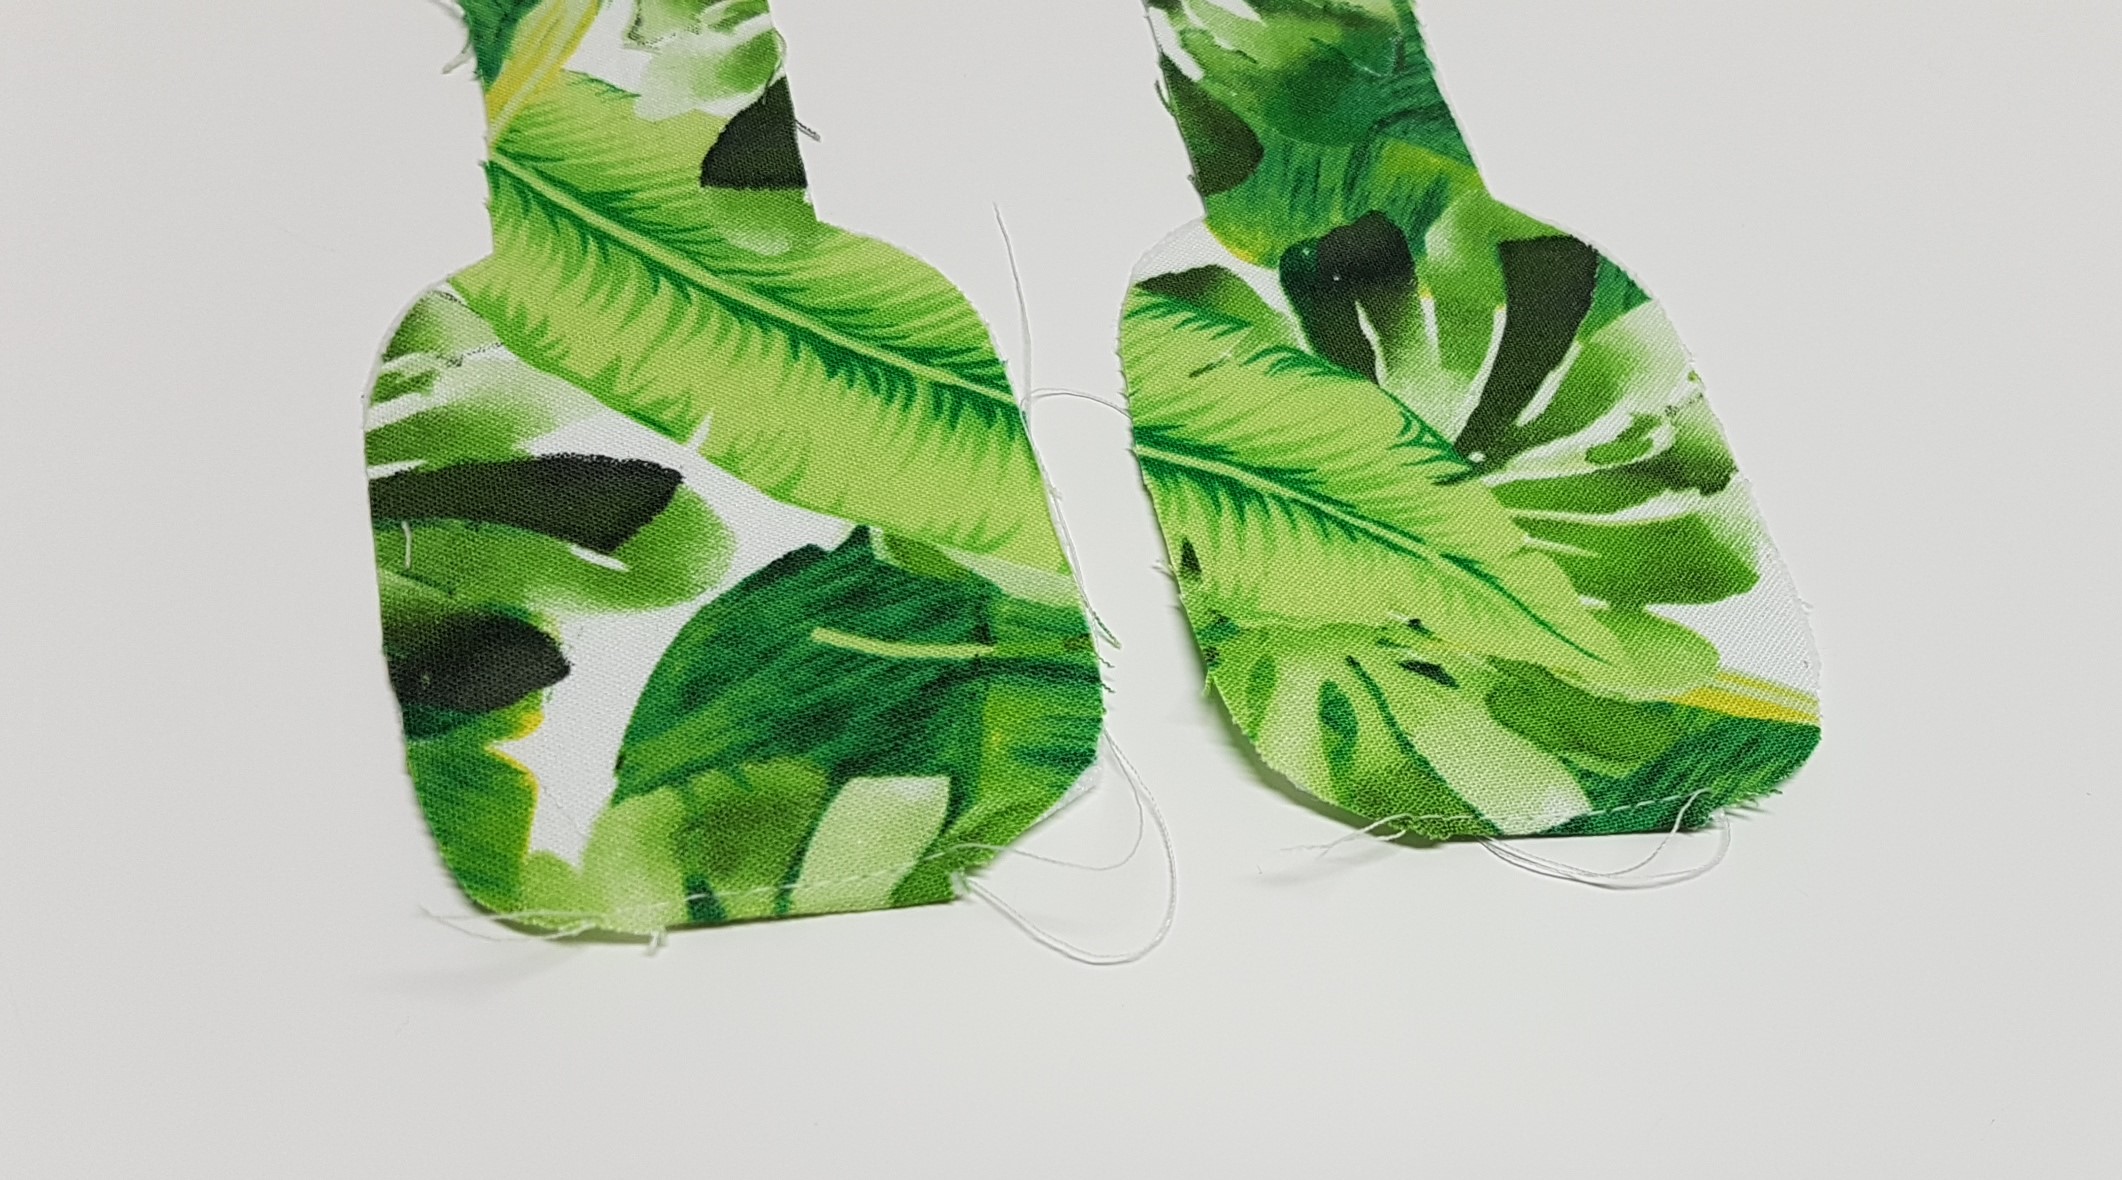
Now i will top stitch along the folded edge of the pocket pieces and then top stitch along the folded edge of the tabs on all of the pieces
when doing the pocket piece you can lay the piece flat and top stitch either side or you can sew the pocket piece closed, make sure your stop stitch is about o1/8″ of an inch away from the edge
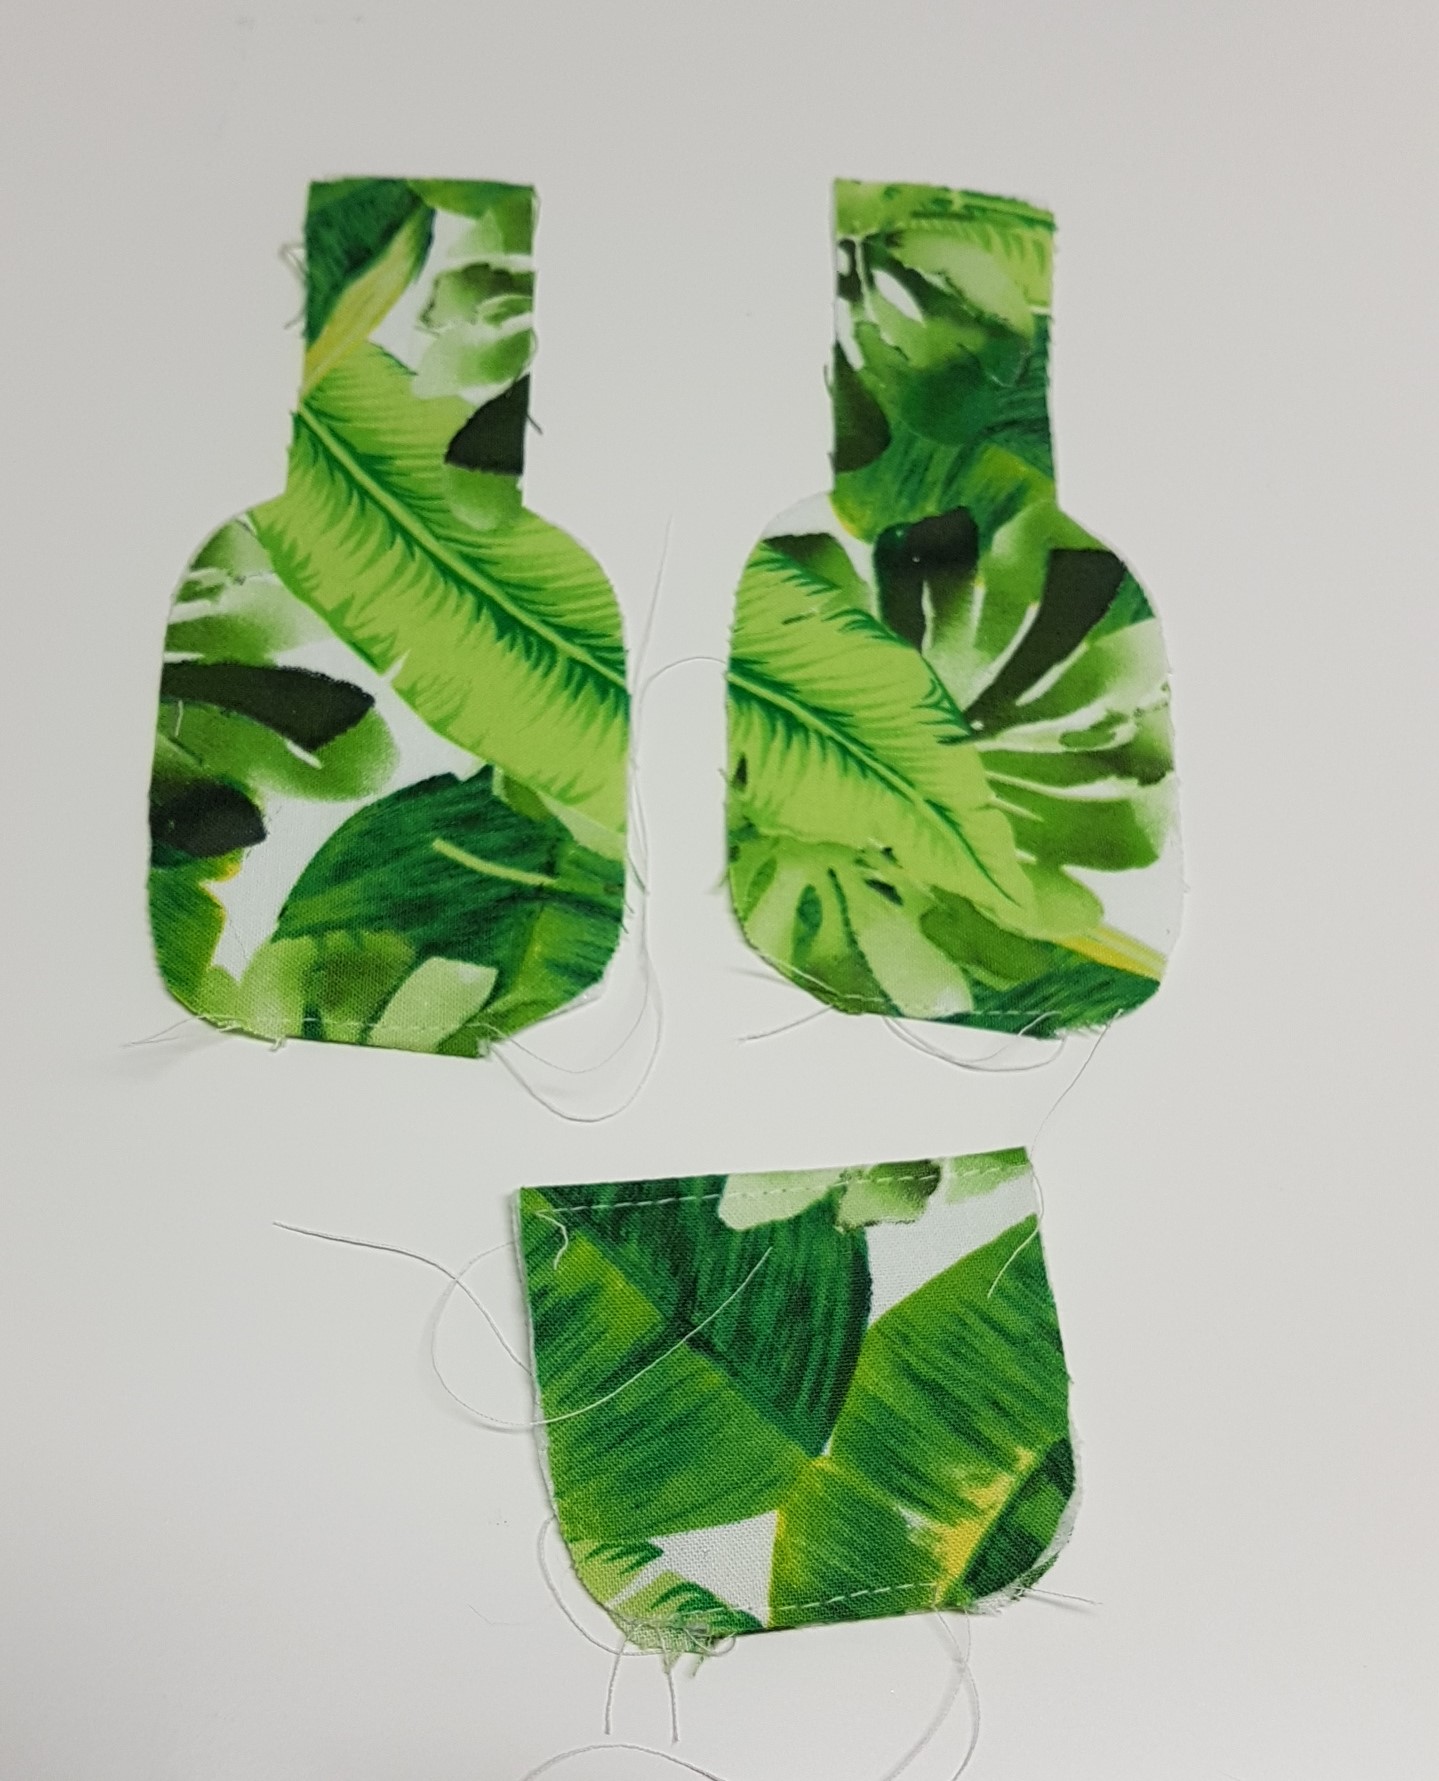
This is how they should all look
Now you will layer the pieces, main piece right sides up, pocket piece on top with the “tabs” lined up, and the last main piece on top right side facing down.
You will sew around the whole thing but dont sew the “tab” part shut as that is the place you will flip your holder and its also the hole your bottle lid will poke through
make sure when you are sewing along you do a quarter of an inch seam allowance, if you need direction on how to sew this please follow my link to the tutorial 😀
Also when you start sewing start next to the “tabs” and lock your stitches a bunch when you go to flip it right sides out there will be pressure on those stitches and you dont want it to bust back open again.
Now flip it right sides out
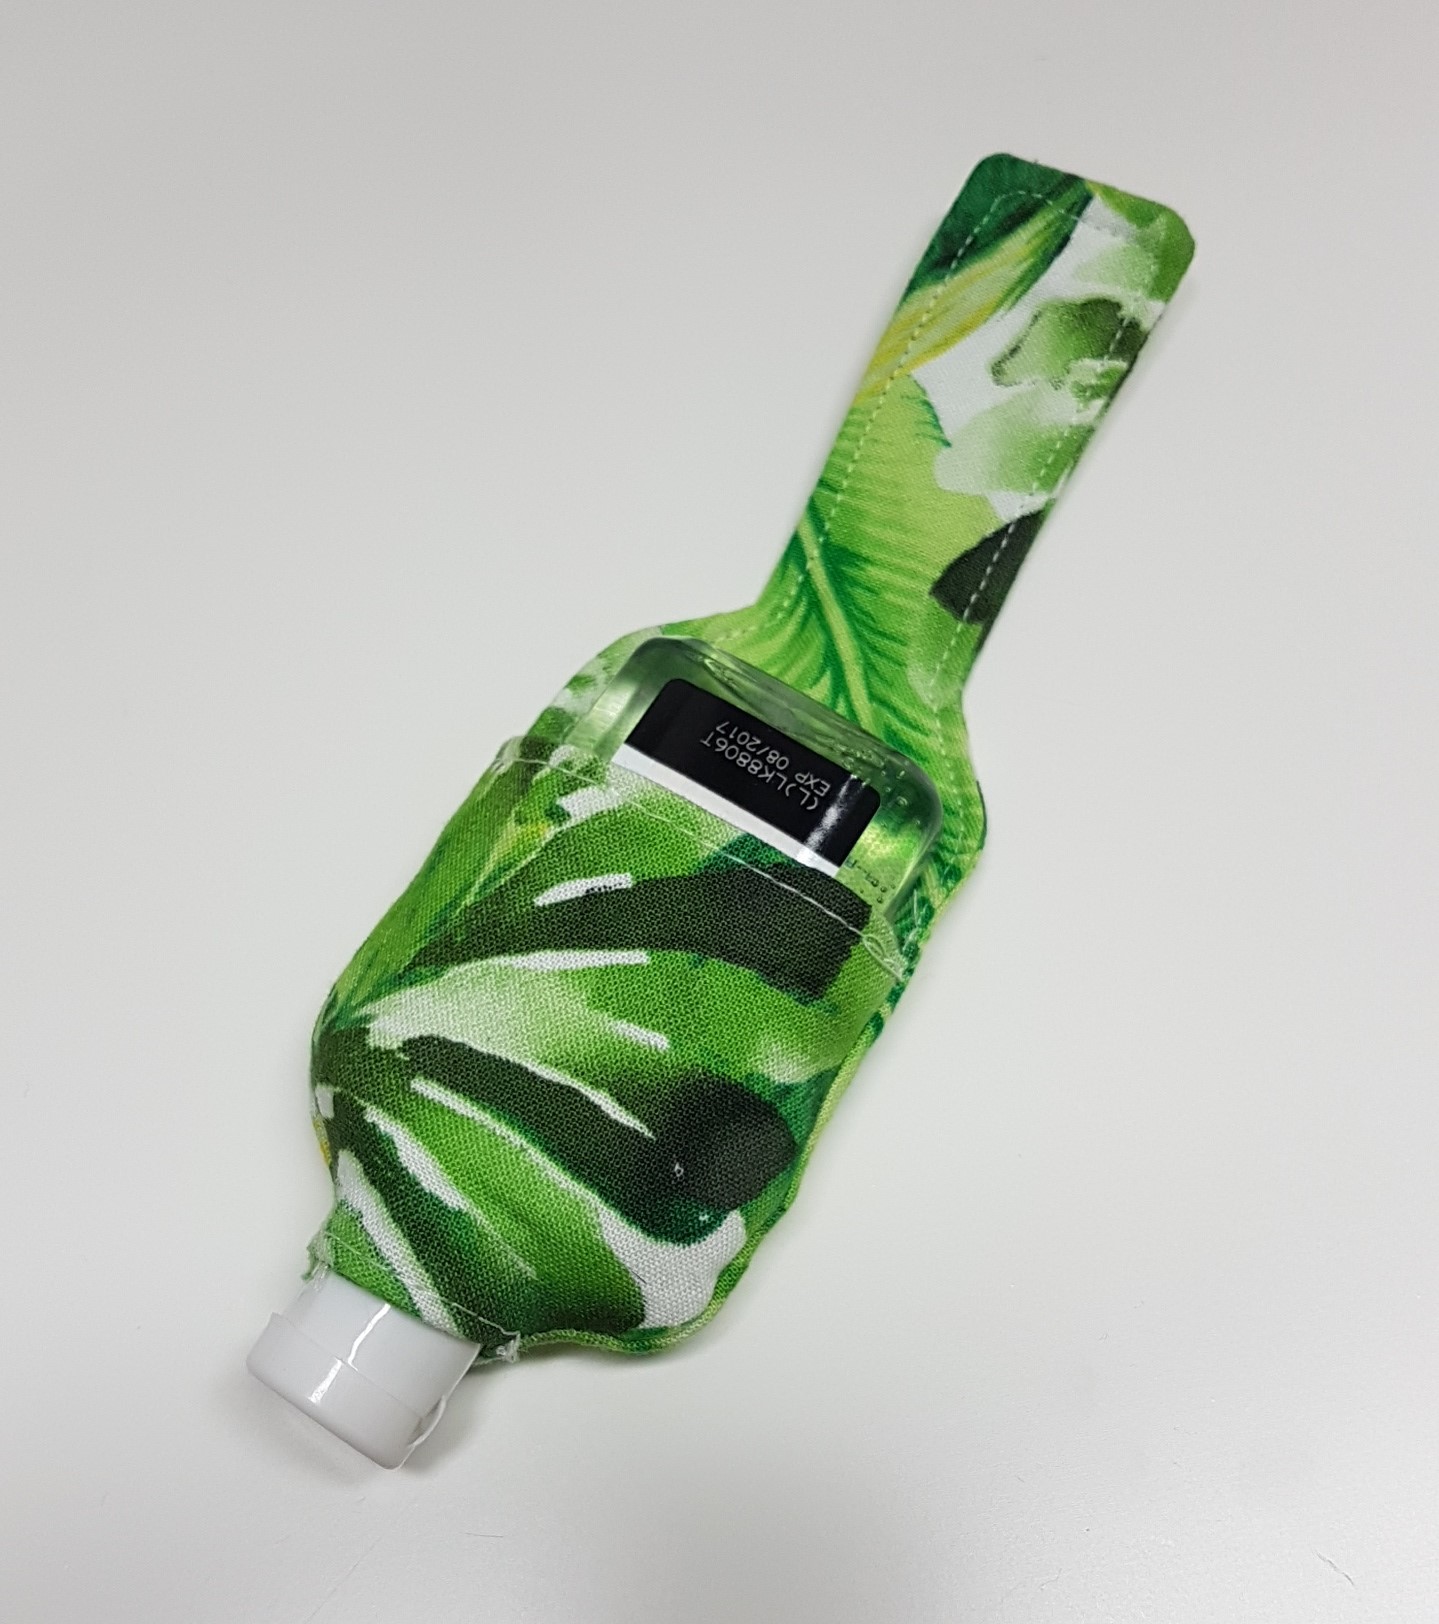
i did a top stitch around the top of the holder (do not top stitch on the pocket)
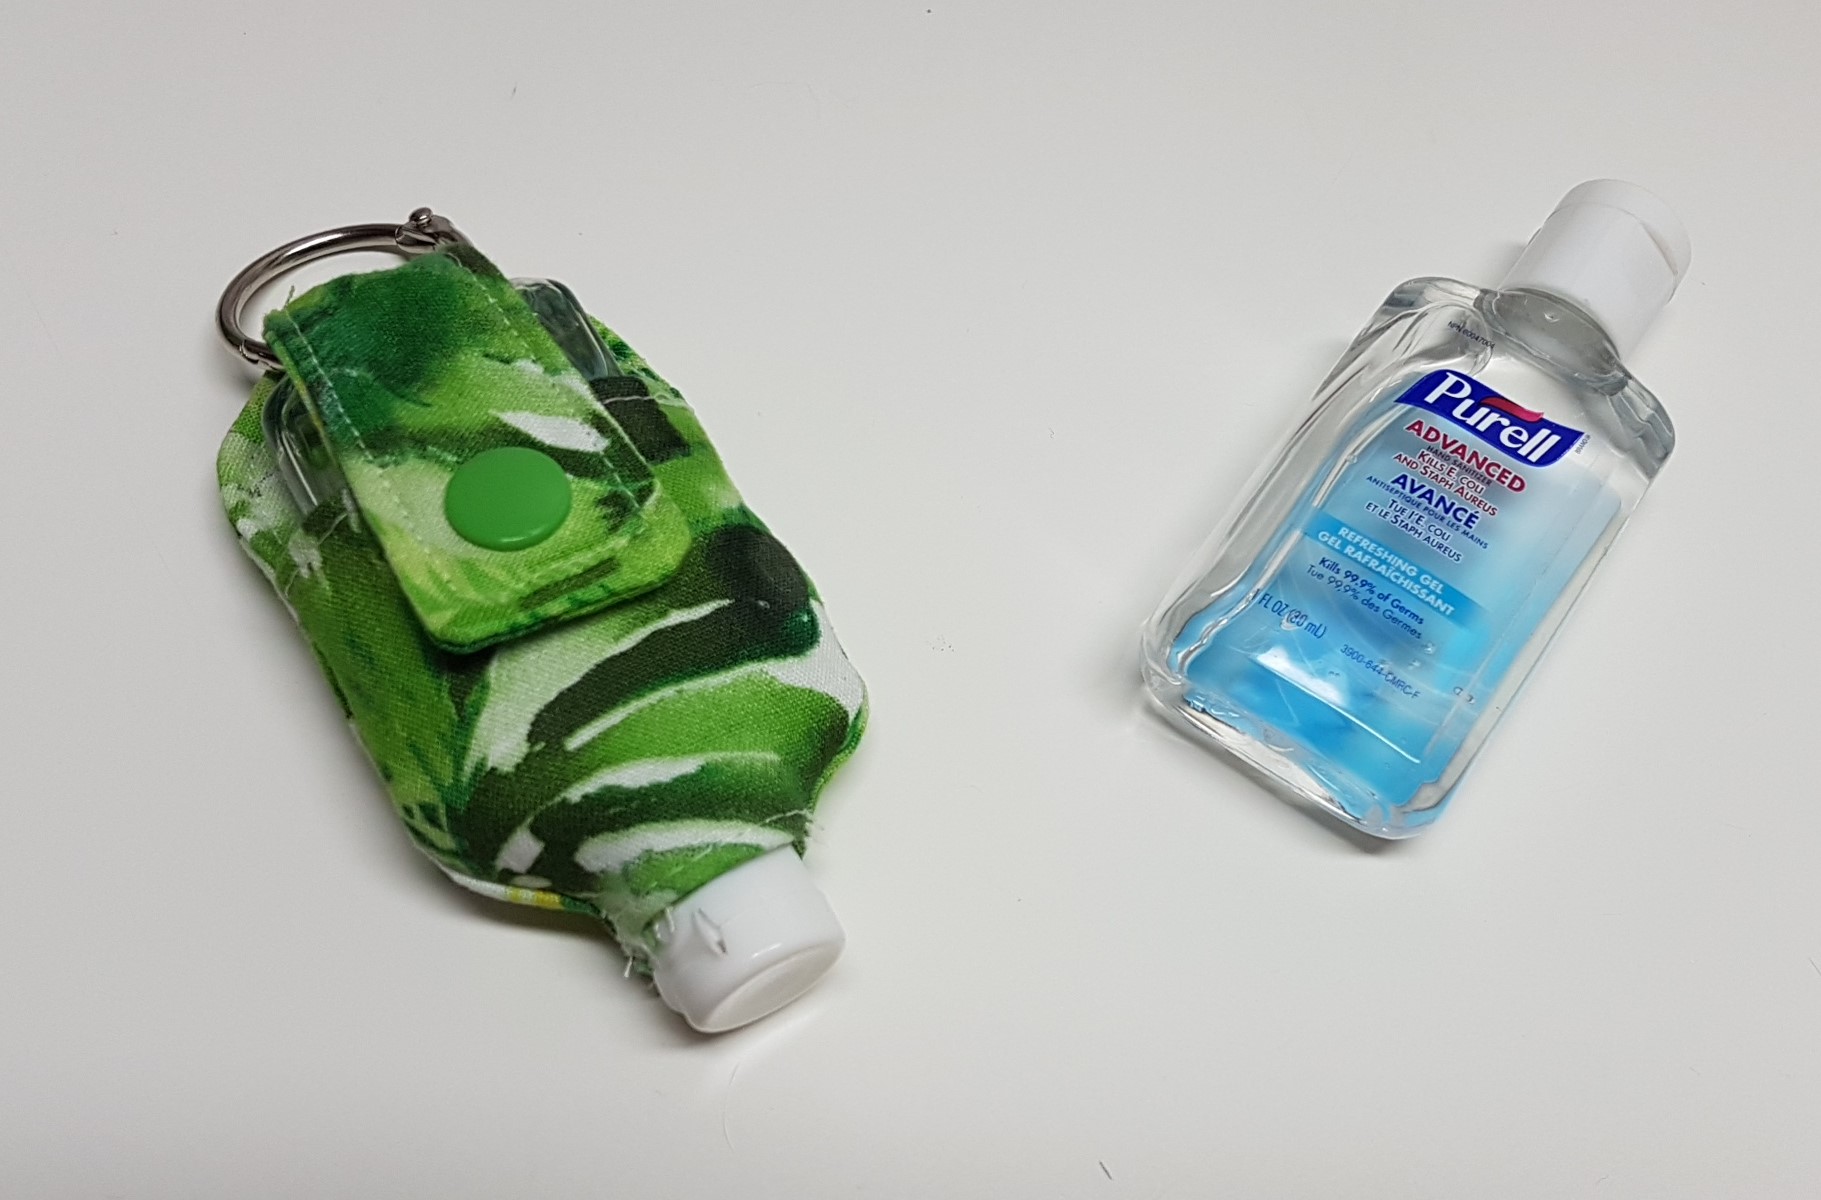
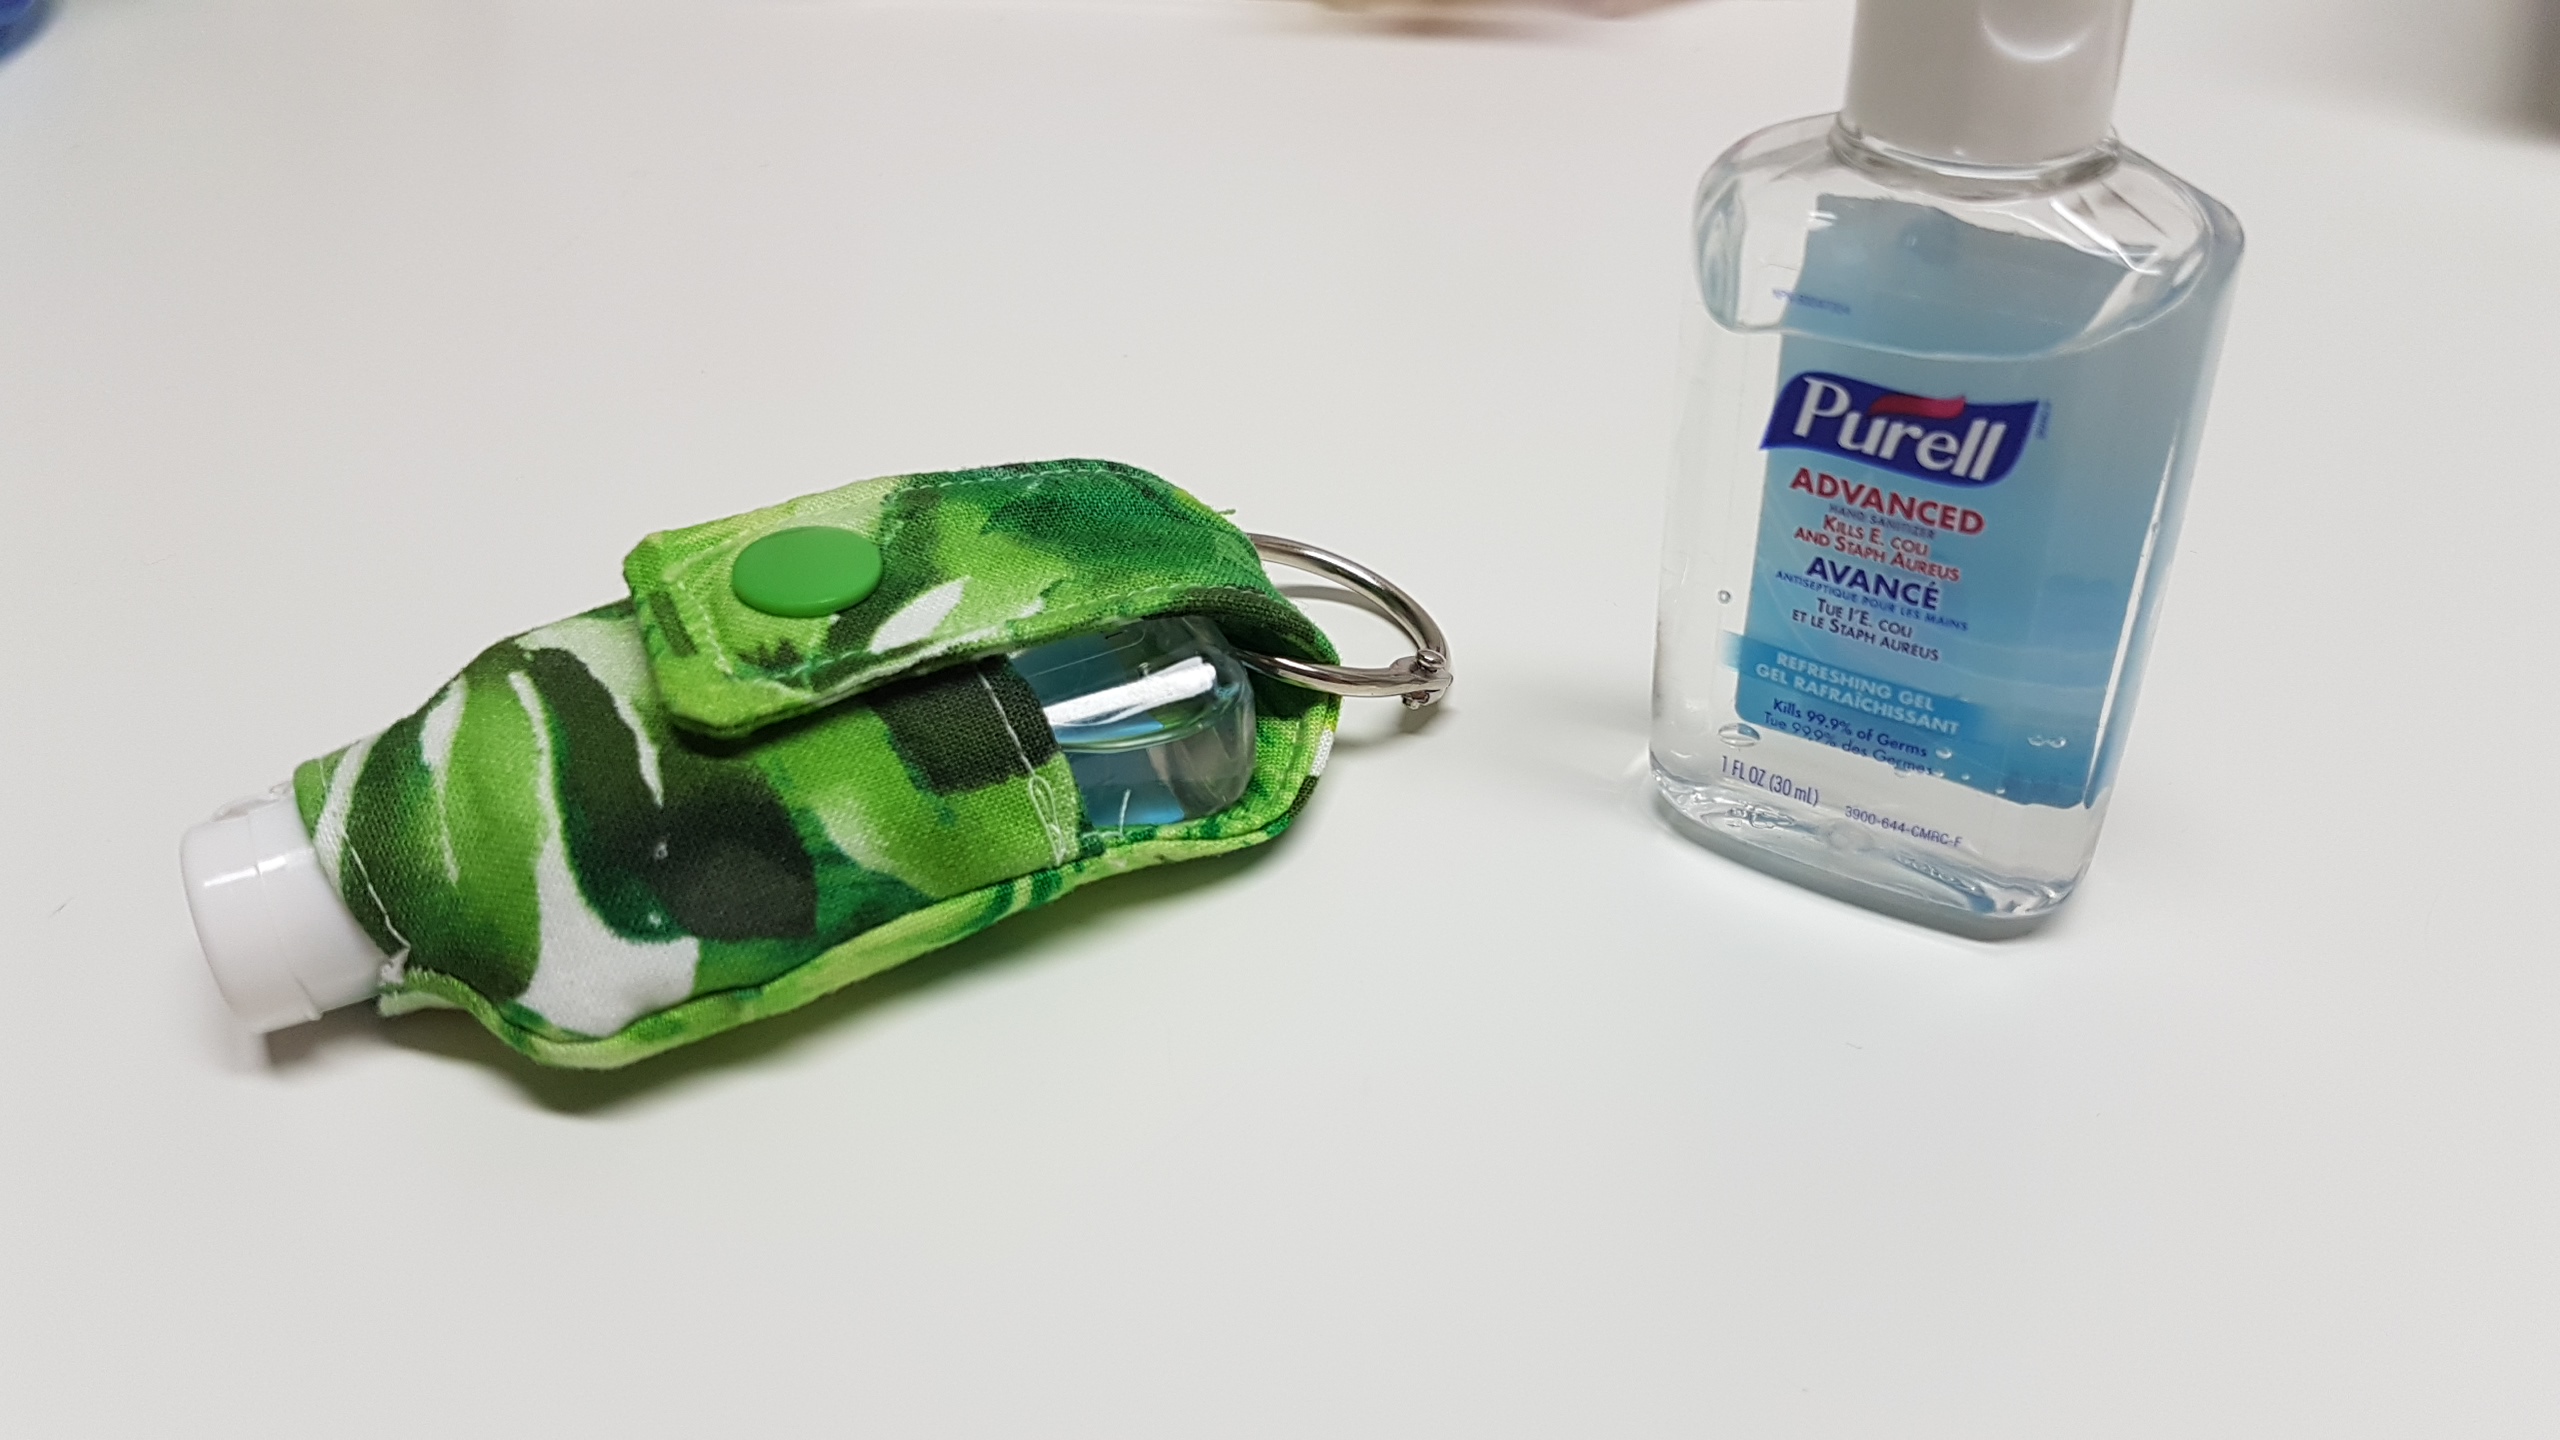
put in your bottle and test out where you want your snaps to be and then install your snaps, i slipped a binder ring around the closure to hook onto my keychain, backpack, purse, or planner