


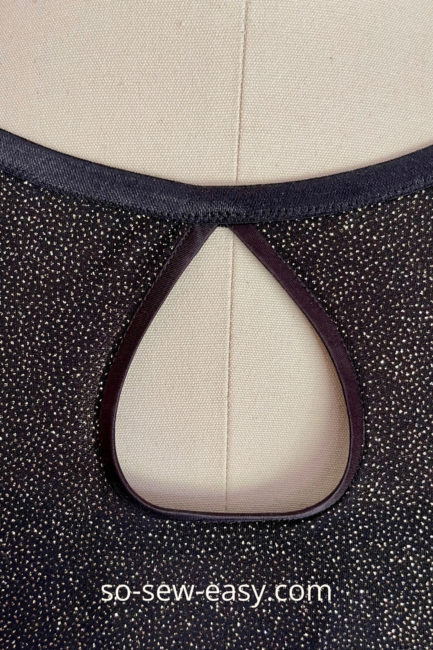
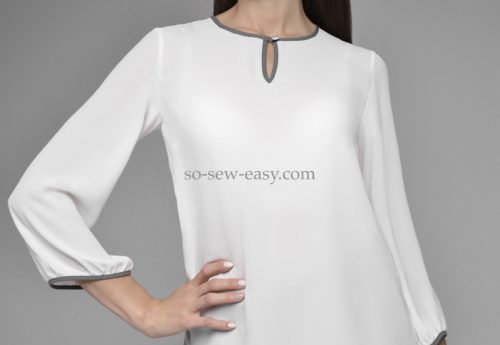
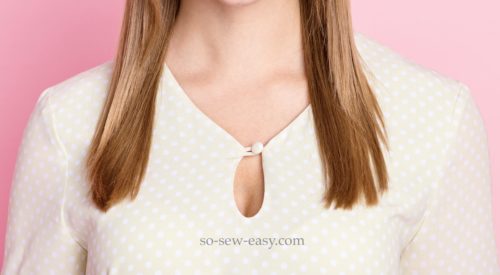
Keyhole neckline blouses are the epitome of easy-to-make elegance, a small detail that feminizes and embellishes any blouse.
Allow me to show you how easy it is to make even if the pattern does not already have one.

Materials
- 1/2″ bias tape store-bought or handmade
- erasable pen
- thread to match the bias tape
How To Make The Keyhole Neckline
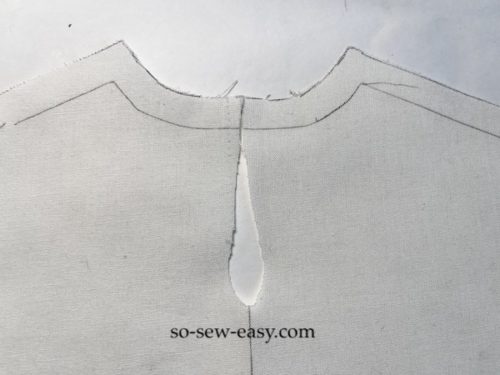
Draw a straight line the length of the finished keyhole you want. The longer the line the more cleavage you will be showing.
Note: I am using a piece of an old drape, old stained bias to make this tutorial, so if you see the stains know that the fabric used started its travels somewhere in Asia 20 years ago, the bias tape is probably only 10 years old.
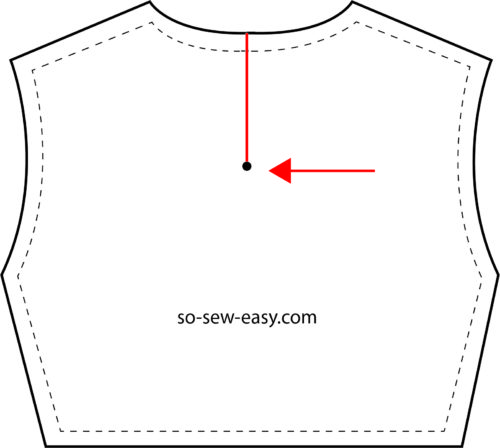
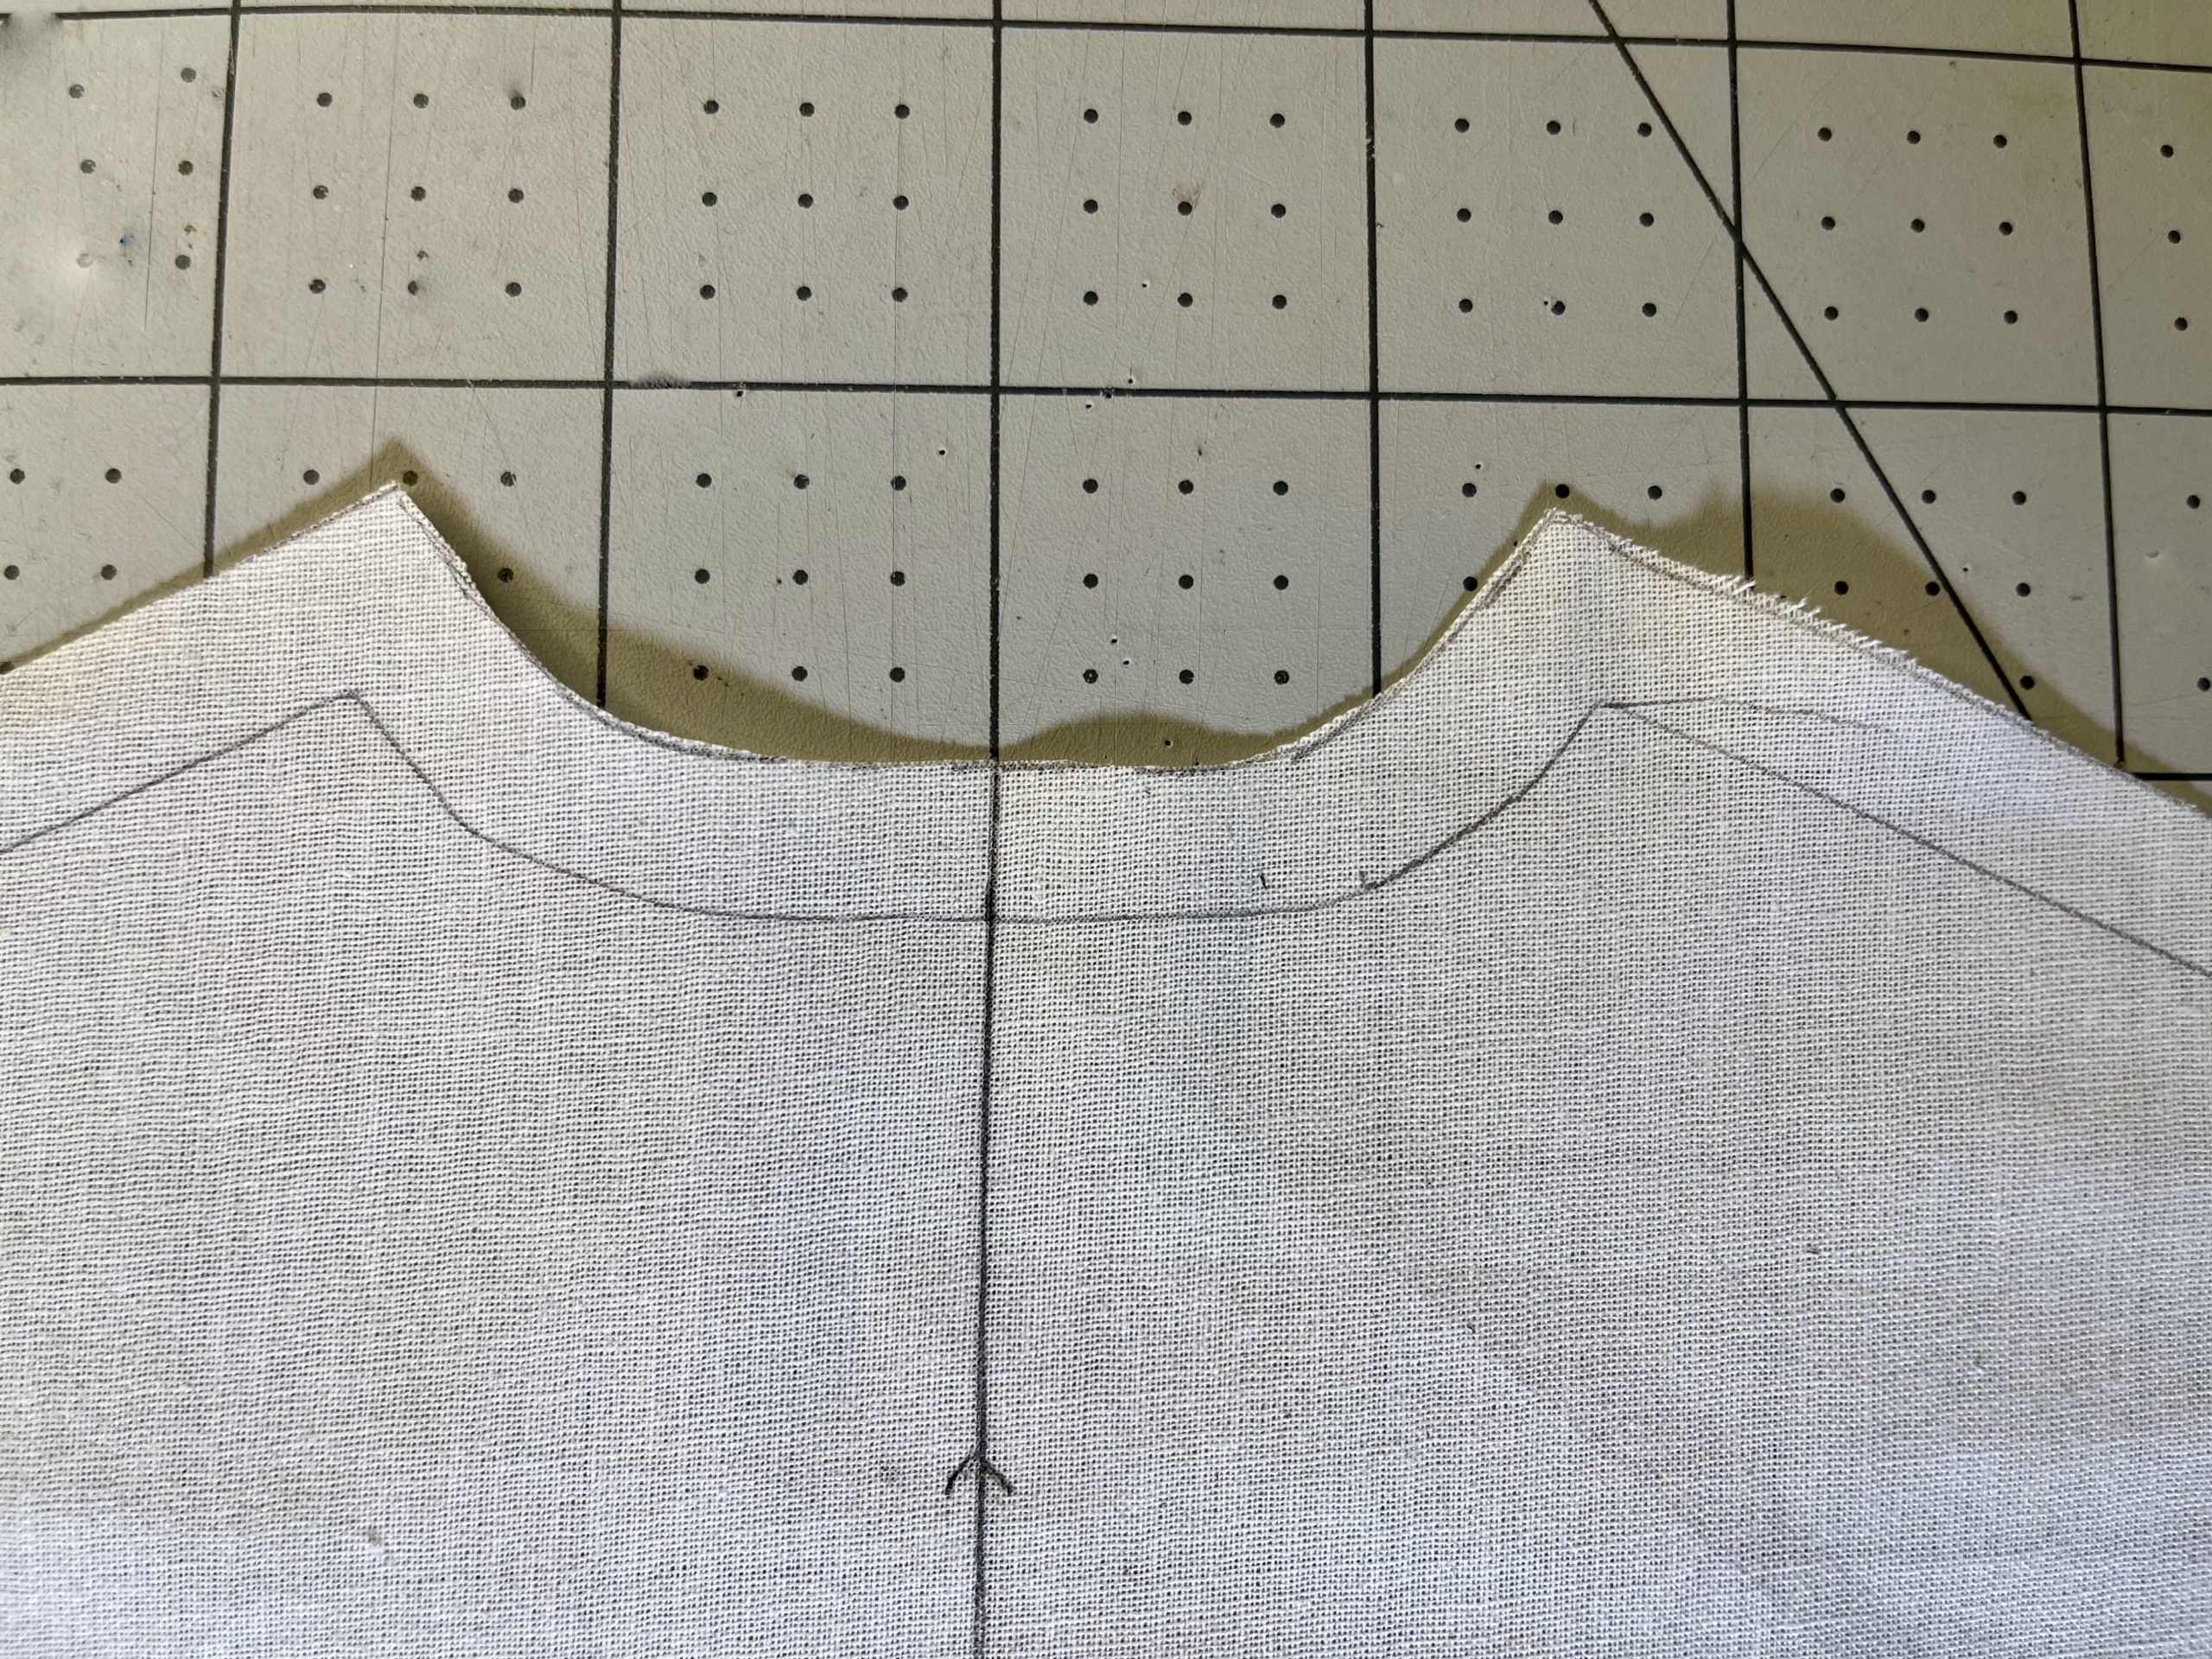
Mark the seam allowance above the end of the line. This will depend on the bias tape you will want to use. I like to use 3/8″ or 12 mm. I make a 4mm seam allowance which the width of the thinnest side of the bias tape.
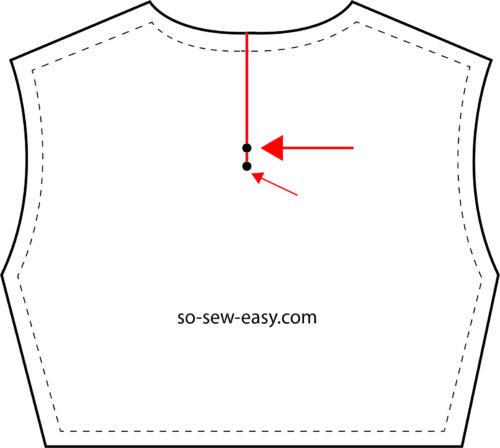
Draw a keyhole from the seam allowance at the neckline up to the first dot which represents the seam allowance of the keyhole. Drawing the keyhole from the neckline will not increase the size of the neckline as shown in the picture below.
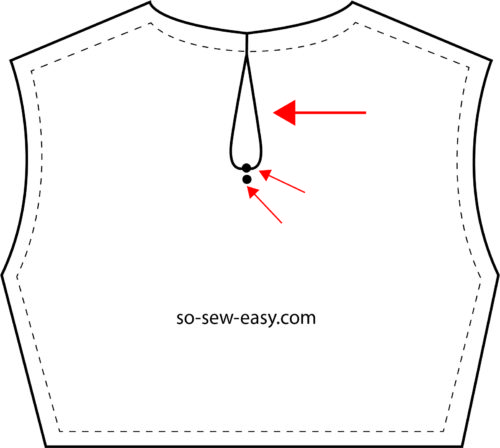
If you want to increase space at the neckline, start the keyhole from the edge of the pattern. The results are shown in the picture below.
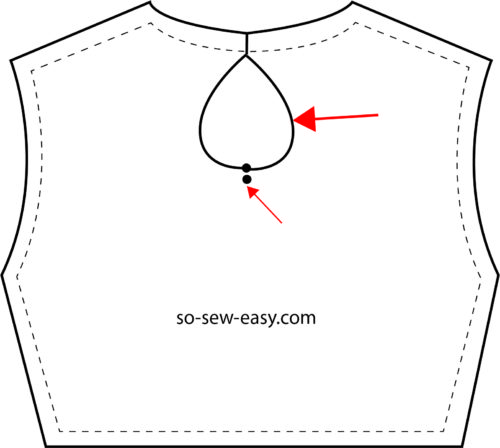
Start the keyhole from the edge of the pattern with the amount of width you want at the neckline. See the drawing below.
How to sew the keyhole
Work on the right side or print side of the fabric. Cut the keyhole out.
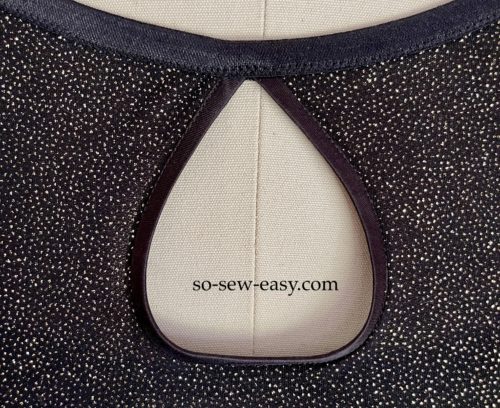
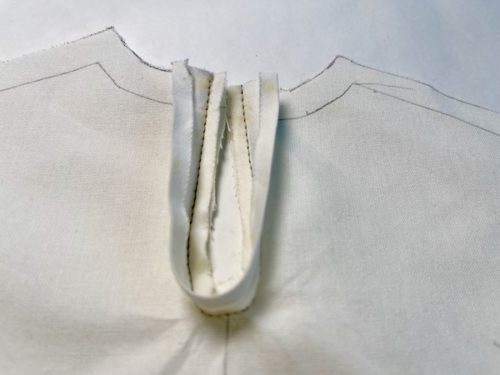
Attach the thinnest side of the bias tape to the border of the keyhole.
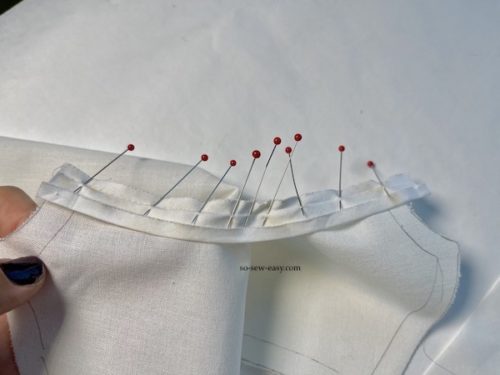
Sew using a small stitch, I am using size 2 in my Bernina B 350.
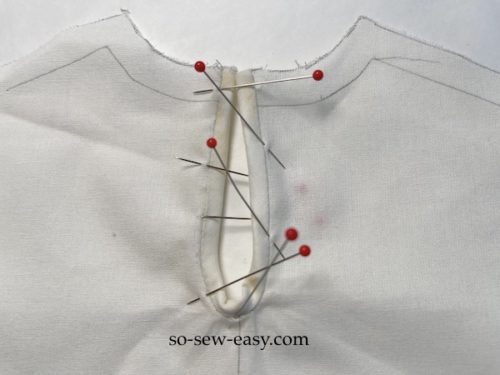
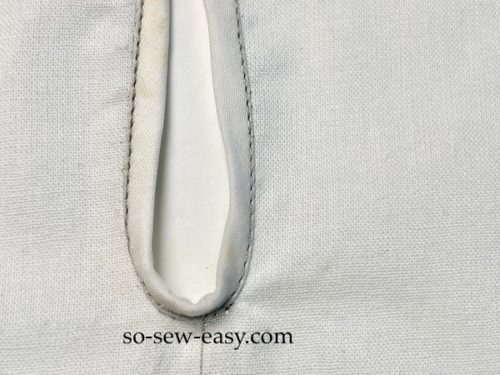
Turn the bias tape to the wrong side of the fabric and use the stitch in the ditch technique or sew very close to the edge to secure the tape.
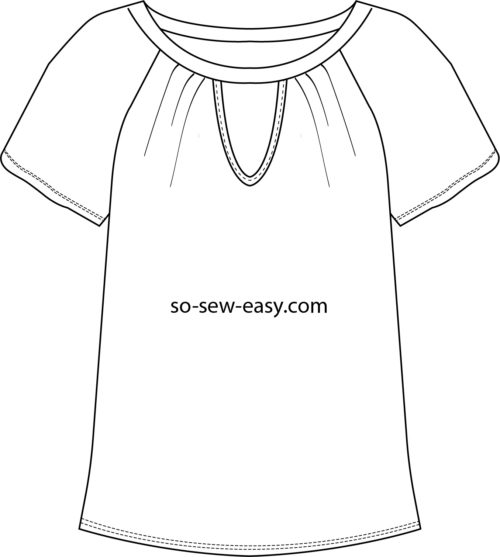
Finally, attach bias tape all around the neckline. Use this tutorial with my raglan sleeve t-shirt dress pattern in sizes S-2XL.
I hope I was able to show you how easy is to add elegance to any blouse by making a keyhole neckline. I use it a lot. Do you have any other technique on how to add elegance to a blouse that you would like me to show you and we can explore together? Please leave your suggestions in the comments below. Let's keep the world together one stitch at a time.
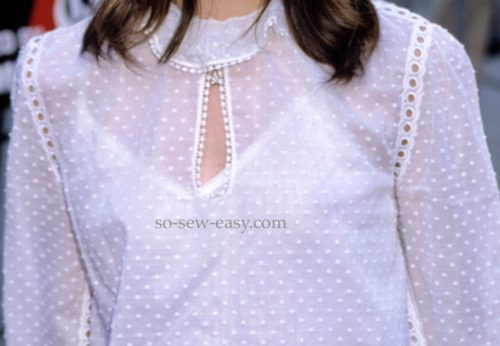
Want to try another technique for a keyhole? Check out my summer top.


Thanks for a great tutorial. However I’ve followed these instructions and the keyhole didn’t come out perfect. I don’t know exactly what I did wrong-but it was too bunched up and not professional looking.
I was wondering if there is a way of doing the keyhole neckline with a lining fabric underneath so that the whole neckline is encased and you don’t have to use a bias tape.
Thanks again for the site. I love all your information!
Best wishes,
Maria
Hi Maria, trying the technique on a scrap of fabric is the best thing you can do to master the technique. If you do not want to use bias tape you can make a facing, remember to clip the rounded part 3/8″ apart to the curve looks smooth. Good luck!
Yes, I try all these techniques on scraps of fabric. I’ve messed up too many projects in the past! I will try again with a facing this time. Hope it works better. I will let you know!
Thanks again!