The pleated skirt is one of my all time favorite things to make. It's basically just a rectangle with lots of folds (aka pleats) attached to a waistband. I've shared a tutorial for making a pleated skirt before but I thought I would take it one step farther and show you how to make one with a button band in the front. You don't need a pattern and I've done all the math for you. Read on and find out how to make one yourself.
This tutorial provides measurements for a fully pleated skirt. If you only want a few pleats or don't have a lot of fabric, just cut the front and back widths smaller than the given measurements but still larger than your waistband. For this skirt I used a 1 inch gingham and made a pleat every 1 inch.
HOW TO DIY A PLEATED BUTTON FRONT SKIRT
Supplies:
Fabric (about 2 yards)
Interfacing
5-6 buttons for exterior
1 button for interior waistband
1 slide style hook and eye
NOTES: Seam allowance is .5 inch. Hem allowance is 1.5 inches.
INSTRUCTIONS:
Step 1: Take some measurements. You need to figure out the finished waistband width and the finished skirt length. First, measure around your waist where you want the waistband of the skirt to sit. If you're not sure about ease, measure the waistband of a skirt that you like the fit of. Next, measure how long you want the skirt to be. Now write those numbers down before you forget.
Step 2: I made a handy-dandy chart for you so you don't have to do a bunch of calculations. Find your waist measurement in the far left column and read across to the right for the width dimensions of the waistband, front and back pieces. You can click on the image to make to bigger. For example, if you have a waistband measurement of 32 inches and length of 36 inches, you will need to cut the following:
Waistband: 34.5 x 4 inches (cut one from fabric and one interfacing)
Back: 49 x 36 inches (cut one)
Fronts: 24.25 x 36 inches (cut two)
Interfacing for button bands: 24.25 x 3 inches (cut two)
Step 3: First, fuse interfacing to waistband. Then fuse button band interfacing to front of skirt .5 inch from raw edge. Fold seam allowance (.5 inch) to wrong side and press. Then fold again 1 inch, dividing button band in half.
Topstitch in place. I like to topstitch .25 inch from the folded edge then do a double line of stitching next to the edge of the button band. Use the guides on your presser feet to keep the stitching lines parallel.
Tip: If your fabric is being uncooperative, you can use glue to stick down the button band before topstitching. This check fabric is kind of cheap not was getting wonky. A quick swipe of glue really helped keep it in place.
Step 4: With right sides together, stitch front pieces to back at side seams. Finish seams
Step 5: Fold waistband in half lengthwise right sides together. On one end, mark 1.5 inch from finished edge for tab overlap on left side. Stitch from folded edge, pivot at corner and stitch to marking. On other end stitch from fold to .5 inch before edge.
Step 6: Pin pleats of desired direction and width to one edge of waistband. Make sure to place tab end on right side when looking at the wrong side of fabric (see below photo). Baste and then stitch in place.
Turn in raw edge of waistband. Stitch in place by hand or machine. I prefer to stitch in the ditch from the right side, just catching the waistband and holding it in place.
Step 7: Overlap front of skirt with tab end of waistband on the bottom. Mark where you want the buttonholes to be placed. Make buttonholes and attach buttons to button band. If the buttons aren't too bulky (like these ones), I like to use my sewing machine to attach the buttons. It's kind of scary the first time but so fast.
Attach hook and eye to tab overlap. On tab overlap stitch a buttonhole sized to the inner waistband button. Attach the inner waistband button invisibly by hand.
Step 8: Hem skirt.
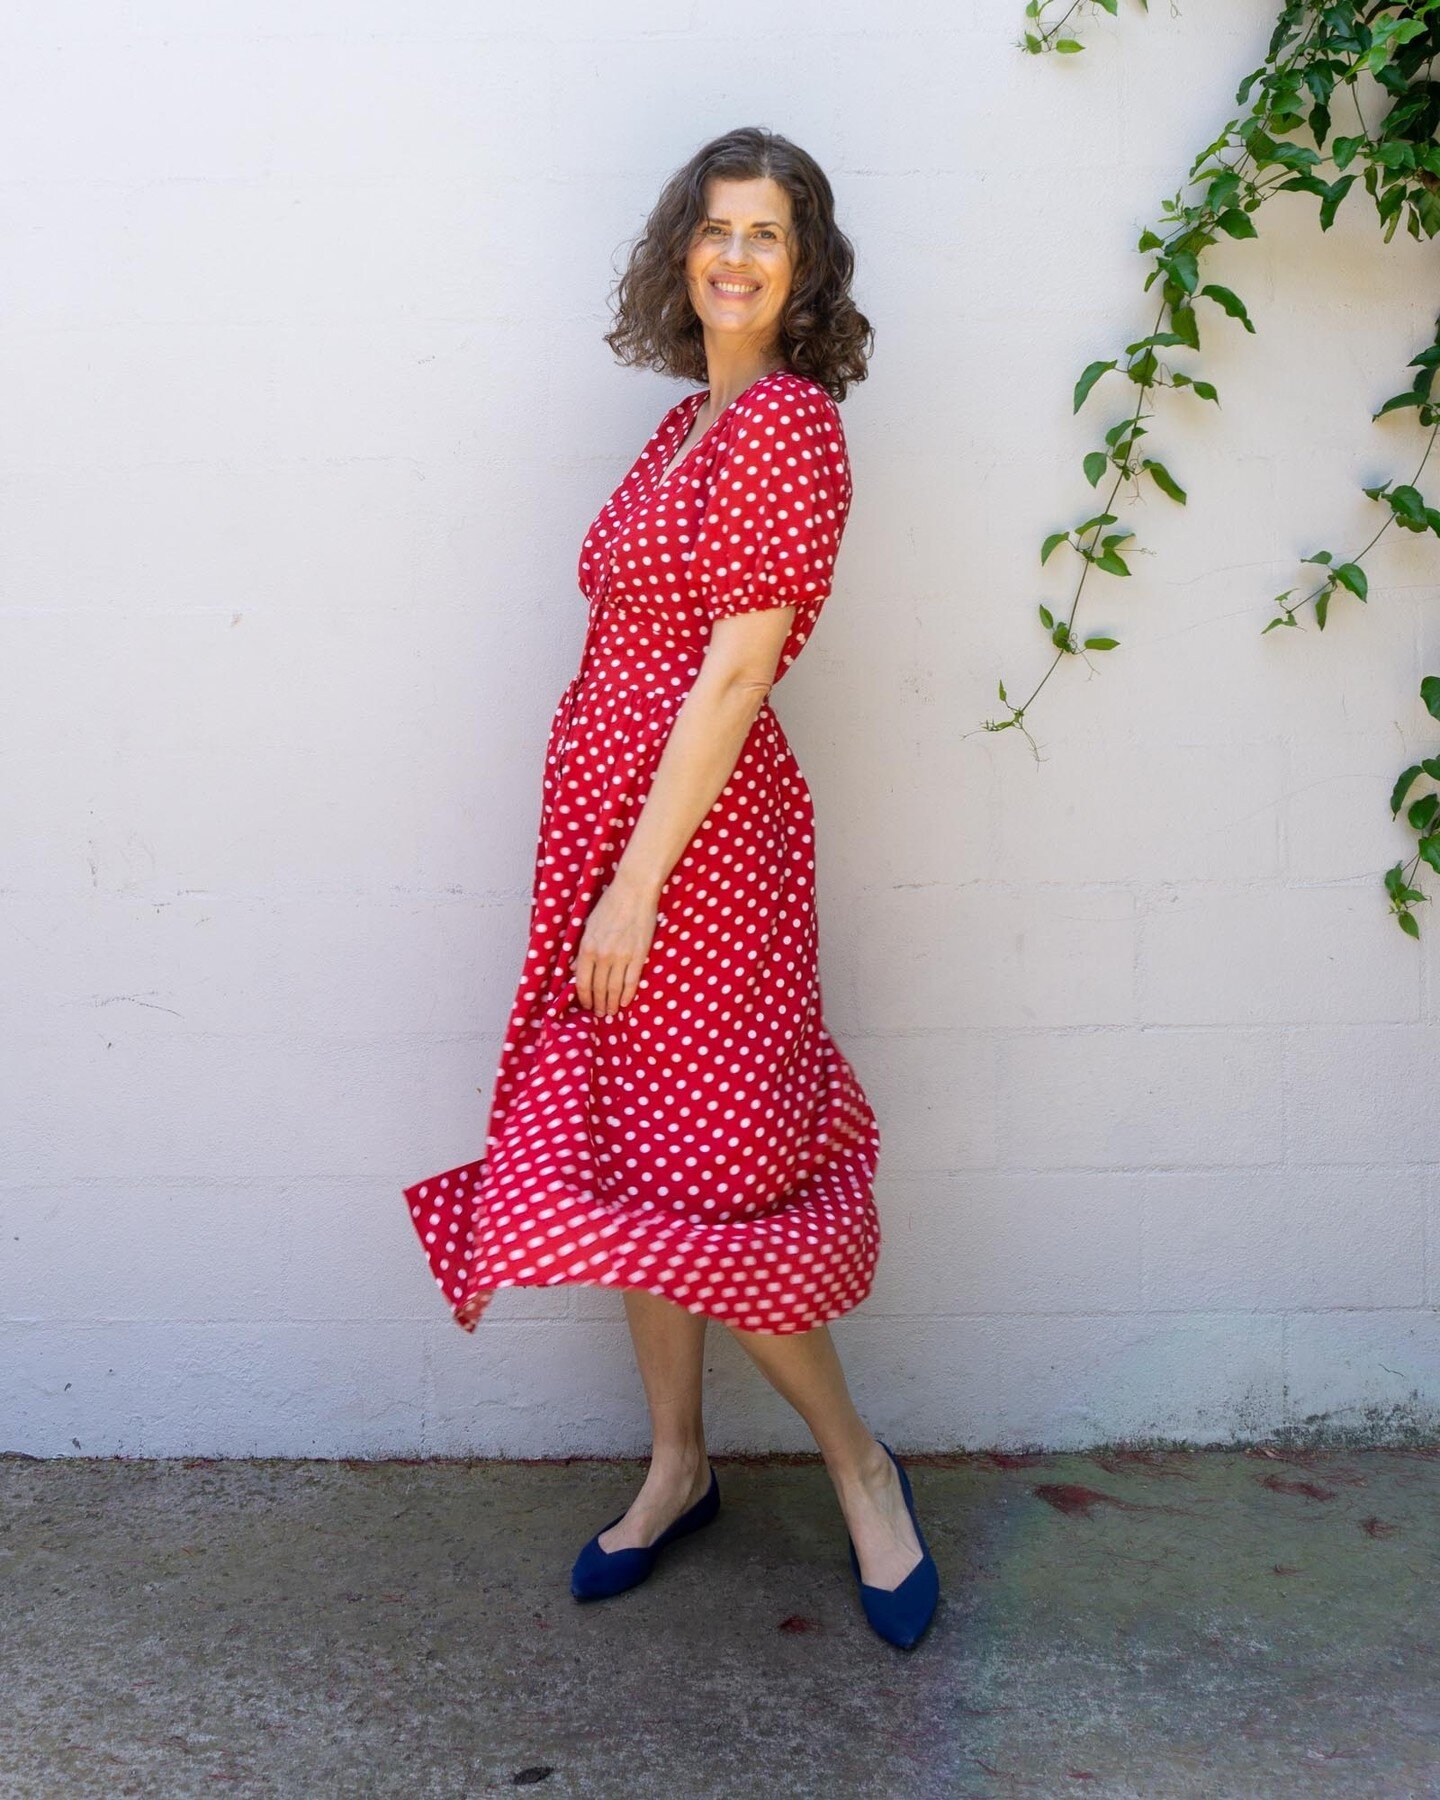
And that's it! You have a classic skirt all ready to hit the town.
I love this skirt so much. I feel like I need to hop on a plane to Paris and cavort along the Champs-Elysees. I'm wearing it here with my low-back Nettie bodysuit. The bodysuit has no match in creating a smooth line at a fitted waistband. I hope that you enjoy this tutorial and find it useful. Happy Sewing!