


Hey friends!
I have been trying to think of ways to be more environmentally friendly when I am quilting. I am really thoughtful about the beautiful fabrics I select and I want to use every scrap so that nothing goes to waste. Today I am sharing a scrap buster tutorial to make a quilted bookmark!
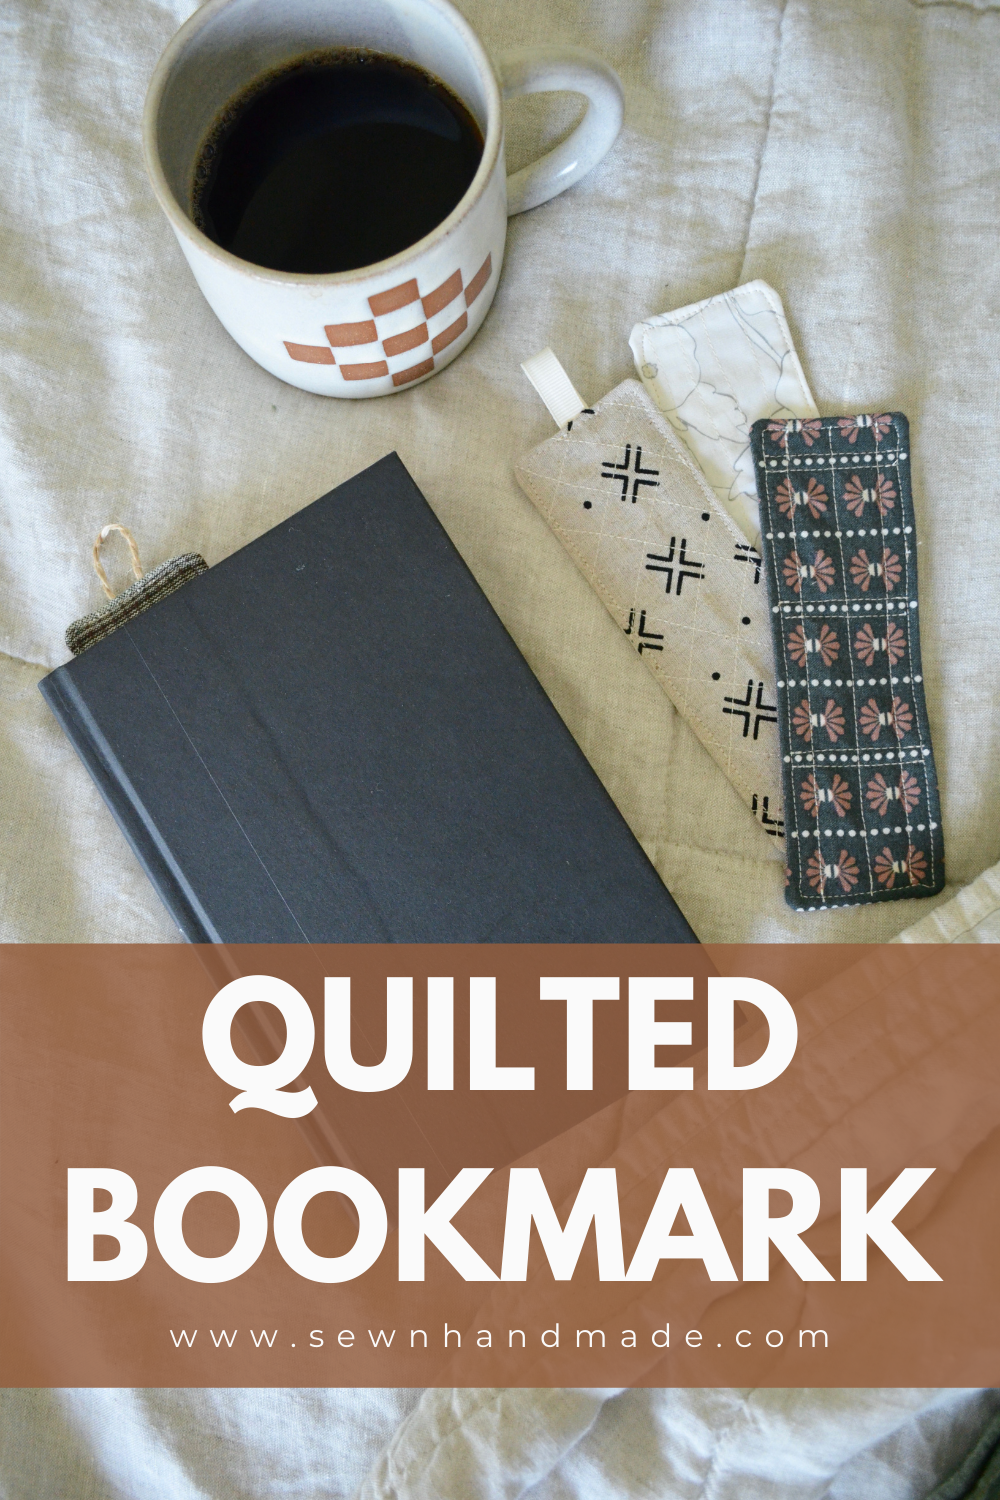
How to make a quilted bookmark:
Materials:
- Fusible Midweight Interfacing
- Quilter's Cotton Scraps
- Sewing Machine
- Iron & Pressing Mat

Other Helpful materials:
Cutting Instructions:
- Cut (1) 2 ½" x 6 ½" piece from each of your scraps for the front and back of your bookmark
- Cut (2) 2 ¼" x 6 ¼" pieces of interfacing for each bookmark

Preparation:
Next you will following the instructions for your interfacing and adhere the interfacing to the front and back pieces of your bookmark.

After your interfacing has cooled you have two options for quilting the bookmark.
- You can quilt the front of the bookmark now and then assemble. (Try one of these quilting designs if you need inspiration!)

- You can assemble the bookmark and quilt it once you have turned the right side out.
Assembly Instructions:
Next you will sew the front and back with right sides together but if you would like to include a tie or strings at the top of your bookmark insert that before you sew around the perimeter.

Sew the front and back (right sides together) with a ¼" seam allowance. I set my needle to stop in the down position so I could turn the corners easily.

Make sure you leave a 2" opening on one of the long sides to turn the right side out.

Next, trim the corners and turn your bookmark right side out through the 2" opening you left. Make sure you push those corner out so you have crisp edges.


Press the bookmark making sure to tuck the open edges back in as shown above. Then sew around the perimeter of the bookmark again, but on the right side. I sewed as close to the edge as possible.
I also found it helpful to have my sewing machine stop in the needle down position again. You will want to do a back stitch so you have a nice strong start and stop when you get back around to where you started.

You can stop here if you already quilted the front of your bookmark or you can quilt your bookmark now!

These bookmarks are a great beginner sewing project for anyone who is completely new to your machine. It also makes a great companion gift if you are gifting a quilt to someone! Include a little bookmark or even a carrying bag for the quilt.

Since we are talking bookmarks I figured I should also include my top five favorite fiction reads (not including Harry Potter because - duh. That's a given!) :
- Beneath a Scarlet Sky
- A Man Called Ove
- Miracles and Other Reasonable Things
- All the Light We Cannot See
- The Book of Longings
This was a super hard list to narrow down. I love to read and I usually don't finish books I am not enjoying. So, when I finish a book it means a lot to me!
You might also enjoy reading:
Window Sheers Tutorial
Free Quilted Pillow Tutorial
Five Easy Quilted Designs
Easy Name Tag Tutorial


Great tutorial. Definitely going to make some of these. Thank you. Antoinette Schultz