DIY Sewing Travel Kit: Free Pattern
SEWING TRAVEL KIT
This is a FREE pattern + tutorial to make a pouch that you can use to store some basic sewing tools when you are away from home.
The tools and notions that you can find in premade travel sewing kits are often of very poor quality. As a sewer you have the tools and notions you need, but you might not have a practical little pouch. This case neatly organizes everything that you might need during your travels to repair your clothes or to sew on buttons. Let’s get to work!
This travel pouch has:
-
- a zippered pocket for spare buttons, and spools or bobbins with sewing thread
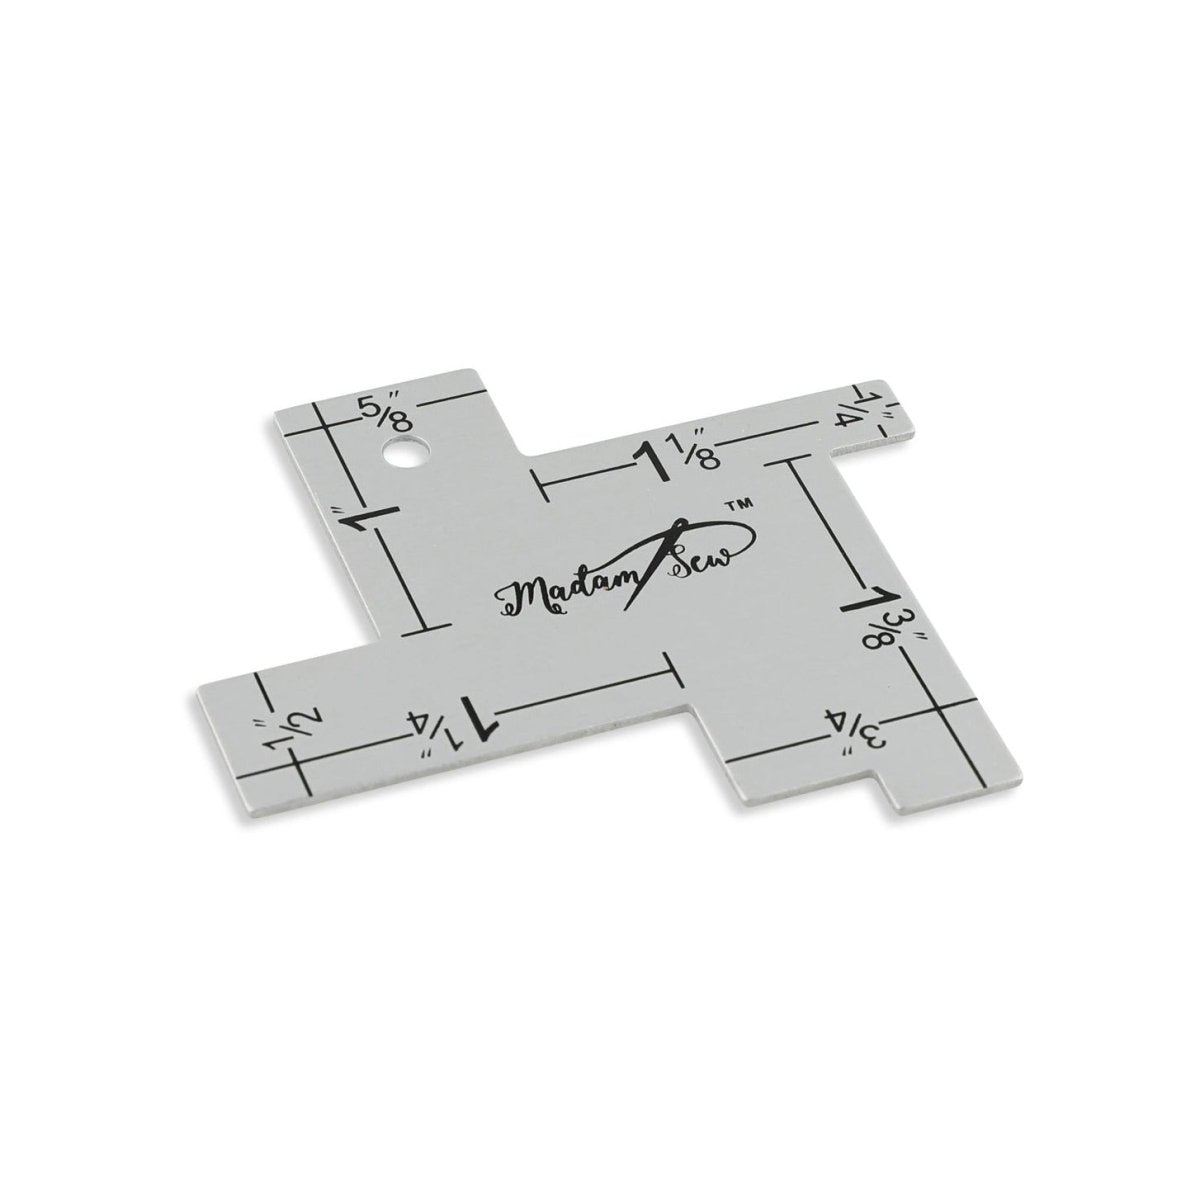
- 3 slide-in pockets for scissors, seam ripper, a fabric marker, a seam gauge or tape ruler
- a felt base to hold needles, pins and safety pins.
This project is doable for everyone with basic sewing machine skills. You’ll learn how to insert a little zipper and attach bias tape.
The finished project dimensions are: overall 5 ½ х 9 ½ inch, folded 5 ½ х 4 inch
THE SUPPLIES
-
- a piece of fabric 27 x 6 inch (canvas or twill recommended),
- 32 inch bias tape (min. ¾ inch wide)
- 5 ½ x 3 inch piece of felt
- A regular zipper, minimum of 5 inch (you can easily trim a bigger zipper)
- 2 inch of corded elastic
- a small button
- 9 ½ x 5 ½ inch firm stabilizer
Your basic sewing tools: fabric scissors, a fabric marker, a sewing machine, sewing thread
THE PATTERN PIECES
Print the 3 PDF pages. Cut the 6 pattern pieces. Copy them on your fabric.
-
- Cut pattern pieces A-E out of your main fabrics, with the right side of your fabric facing up. Cut pattern piece D 2 times. I used a different fabric for pattern piece E, the pocket.
- Cut out pattern piece A also out of firm stabilizer or fusible wadding if you want to add a little volume.
- Cut pattern piece F out of felt.
THE STEPS
1. Take piece E (pocket) and press down the top edge ⅜ inch. Then turn over another ⅜ inch, press and pin down. Next, stitch ¼ inch from your top folded edge.
2. Take piece E, pin and baste stitch it to piece D along the sides and the bottom at ¼ inch.
Baste stitching is a temporary stitching to hold 2 pieces together. Use a big stitch length. You don’t need to backstitch.
3. Take your temporary fabric marker and mark a line 2 inch in from the left side of your pocket piece. Then, mark another line 1 inch from that. Topstitch on these 2 lines.
4. Take piece F, pin and sew it right sides together to pieces D and E, as shown in the picture, use ¼ inch seam allowance.
5. Press the seam from Step 4 towards your main fabric.
6. Topstitch your seam from Step 4– topstitching should be ⅛ inch from the edge on the main fabric. You can use an edge joining foot for this, in order to keep a perfect ⅛ inch seam.
7. Take piece B and sew it right sides together to the left side of your zipper. Use a zipper foot to sew close to the zipper teeth.
8. Press the seam from Step 7 towards your fabric and topstitch it down, ⅛ inch from the zipper teeth, using a zipper foot.
9. Take piece C, pin and sew it right sides together to the right side of your zipper.
10. Press the seam from Step 9 towards your fabric and topstitch it down ⅛ inch from the edge.
11. Take the zipper piece, pin and baste stitch them all the way around to the right side of the second D piece, using a ¼ inch seam allowance. Make sure the top and bottom edges of your zipper are closed shut as much as possible.
12. Take the fabric pieces B+C (Step 11) and pieces D+E (Step 6). Put them right sides together. Align the left edge and pin together (as shown in the 2nd picture). Sew together using a ¼ inch seam allowance.
13. Press your seam from Step 12 towards your zipper pocket.
14. Topstitch this seam ⅛ inch from the edge on the pocket.
15. Fuse the interfacing or wadding to piece A using a hot iron.
If you want to add quilting lines on piece A, do so now using your heat erasable marker. Quilt piece A to your stabilizer. Afterwards, iron out your quilting lines.
16. Depending on how close you stitched to the zipper teeth, and how wide and precisely you stitched your seams, the piece with the zipper might be longer than fabric piece A. Trim both pieces to the same size by cutting off a strip from the felt piece.
17. Take pieces B-F and stitch them wrong sides together with piece A. Sew all the way around with your stabilizer sandwiched in between at ¼ inch. Trim the edges, if necessary.
18. Take your corded elastic and stitch it down as shown in the photo. It should be placed in the center of the short side of piece A with the felt behind it.
19. Take your 32 inch long strip of bias tape. Pin your bias binding all around the edges of your pouch with the right sides together.
Make sure to fold over the first edge and then overlap a little extra from the opposite end on top of it so that there are no raw edges showing.
20. Fold the bias strip over the edge. Press down, pin and topstitch close to the edge of the bias tape, on the outside of the pouch. This will catch in the underneath of the bias tape. You can use your edge joining foot again for this. Be careful going around the curved edges at the corners as they will be a little tricky to get around.
21. Mark your button placement using your heat erasable marker. Sew on your button with a hand needle.
22. Something extra I added to this pattern: I noticed that my little stork scissors fell out easily, so I added a little elastic with a snap button to attach them.
23. Finally! Time to load up your travelling sewing kit with your supplies. What tools or notions do you think are indispensable when travelling?
I hope you will enjoy making this pouch and use it a lot! It’s also a lovely handmade gift for a friend. Who doesn’t need a sewing travel kit, right? You don’t need to go far to be in need of a little repair from time to time :-)
Happy Sewing!
Download the PDF of the tutorial and the pattern pieces.


