 BERNINA Corporate Blog -
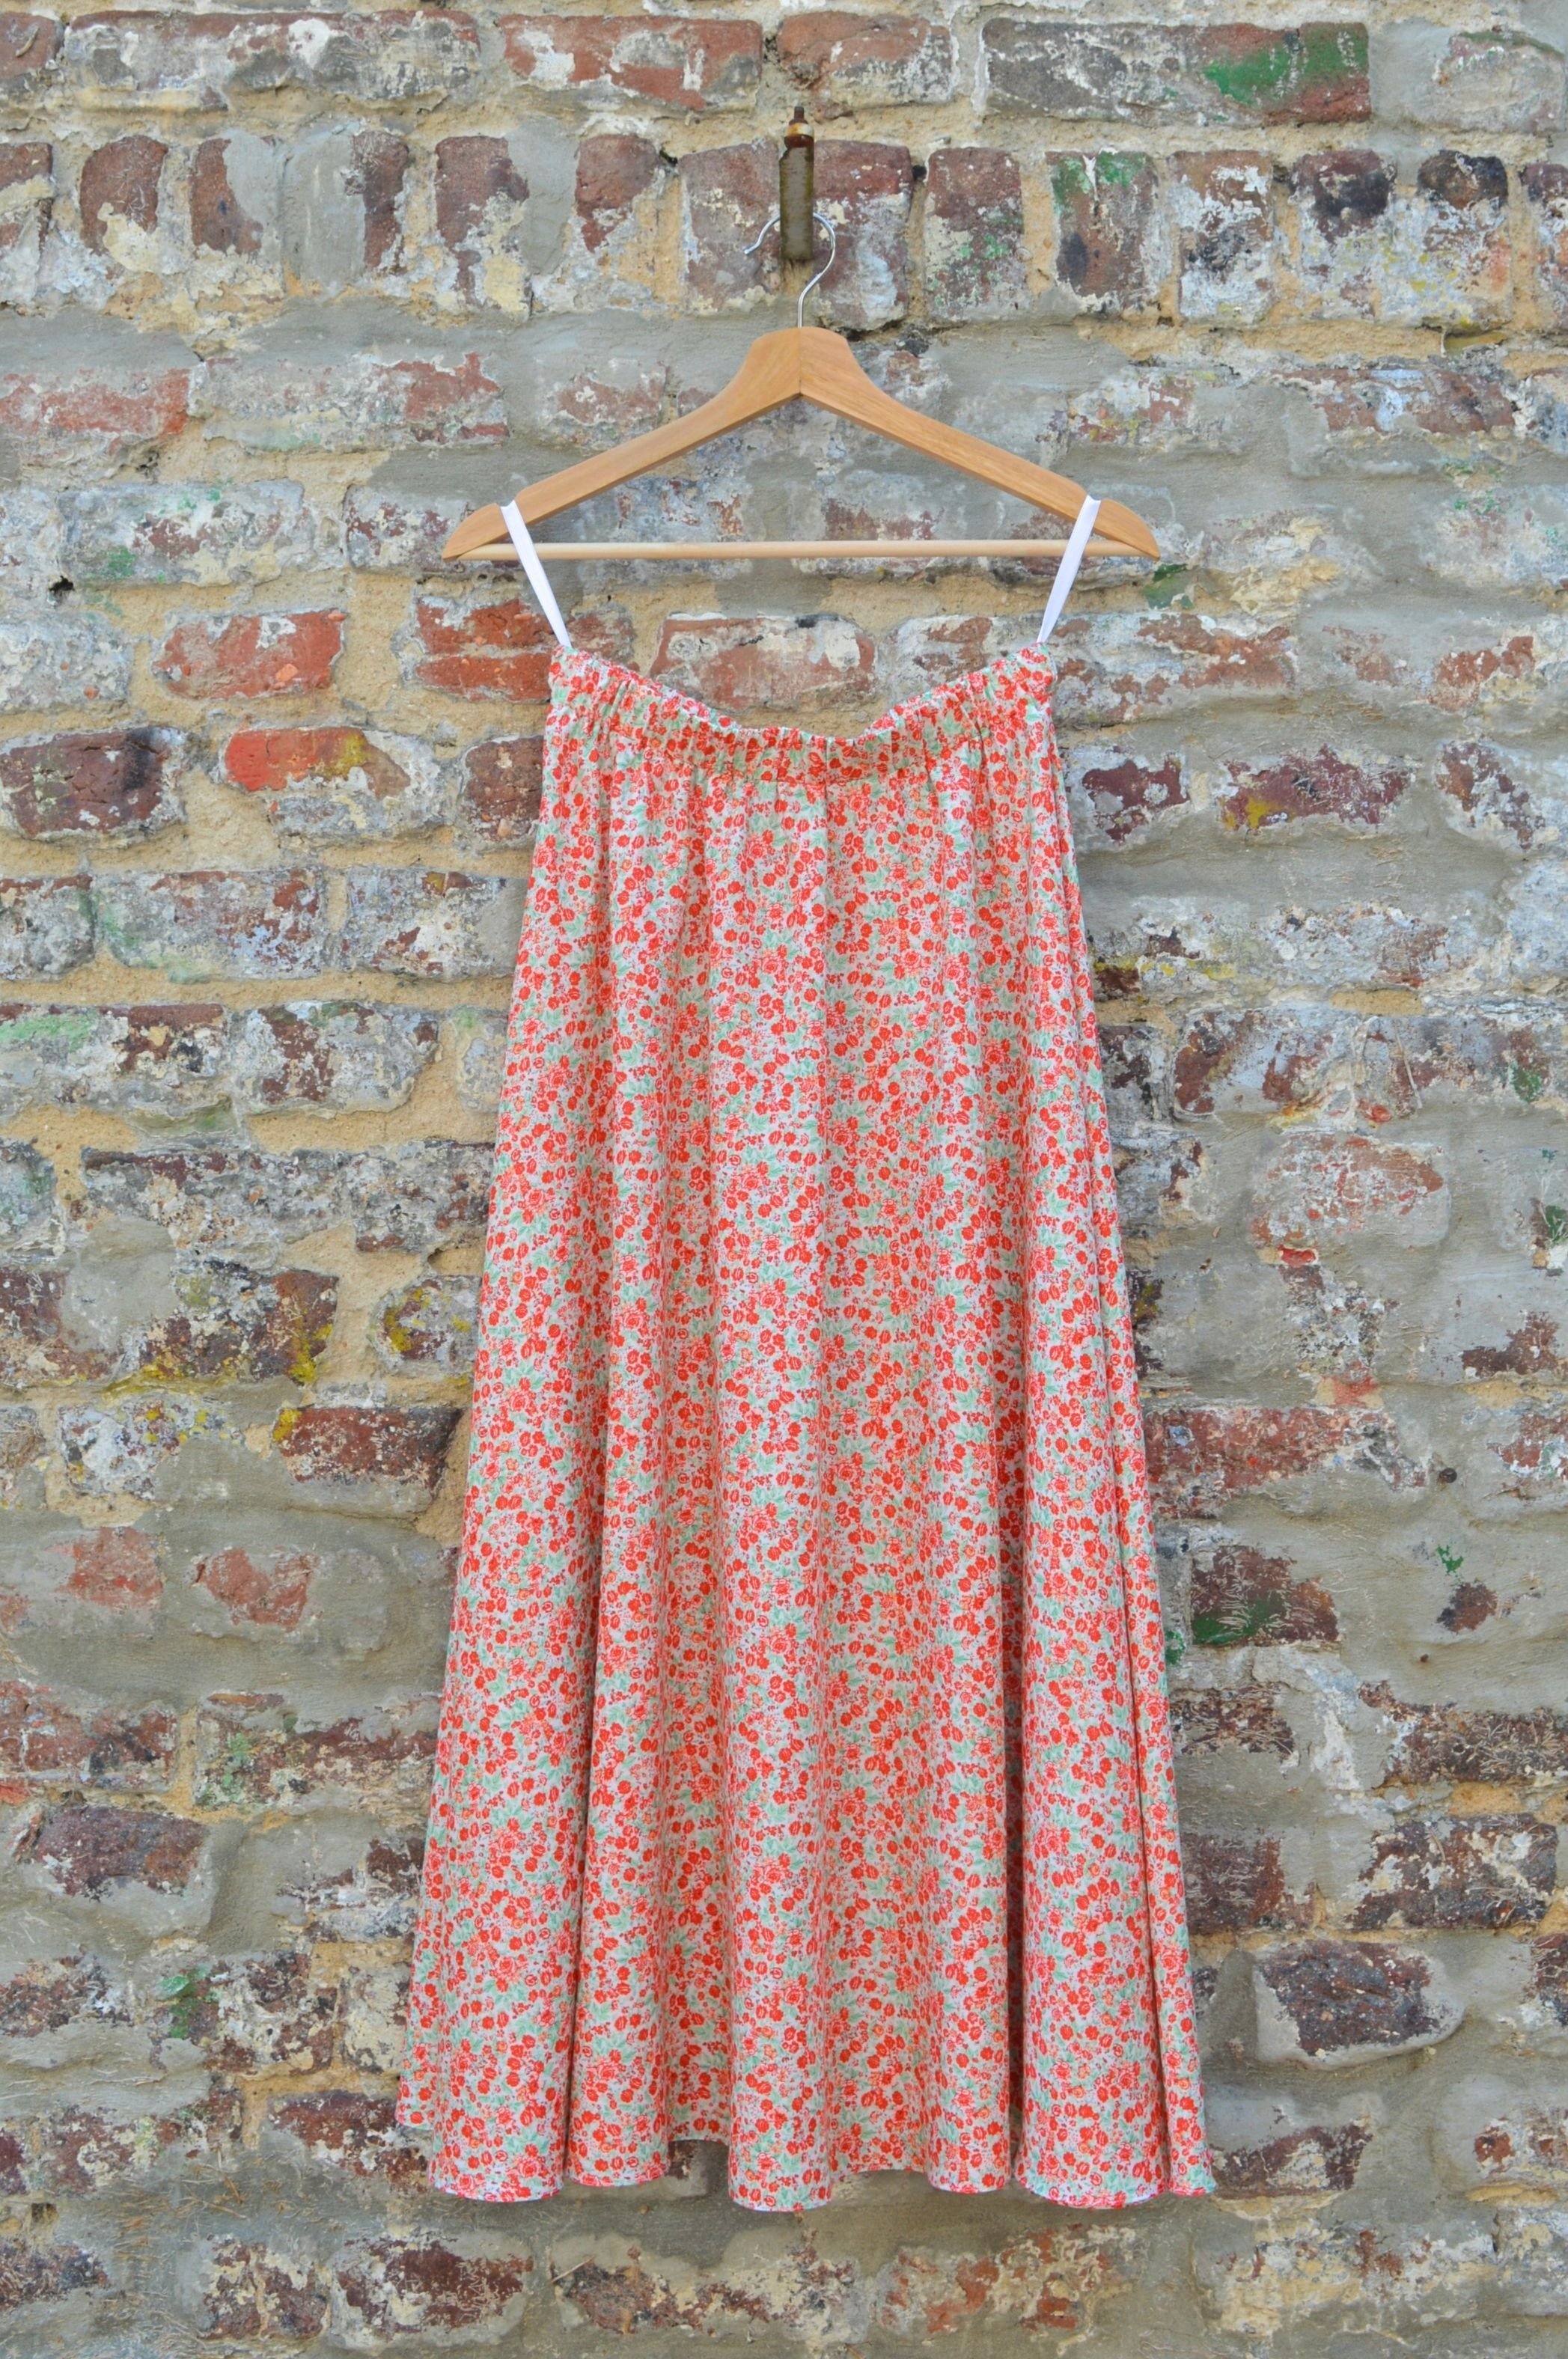
Especially in the summer period, I love to wear skirts. It is very pleasant to wear skirts of lightweight and fluttering fabric when the weather is warm.
Here is a simple skirt model, whose base is the half circle and in the waistband is elastic.
There are no specific measures for this skirt, but based on the measurements of our body we create a pattern.

First I’ll explain pattern and then specify all material, you need for this skirt.
The skirt consists of two parts, which are base of the skirt and waistband.
The base of the skirt is tailored in one part and represents a half circle.

Half circle
It is cut out on folded fabric

The base of the skirt is located between the waistband and bottom edge of the skirt, for which cutout are needed smaller radius r1 and larger r2 of the half circles, which we will now determine. This requires a bit of math.
In the image below are marked with a green r1 and r2 with the red dotted line.

r1 and r2
!!! For an easier tracking of the cut and measurement we use, my measurements are listed as an example, and you will already use your measurements.
-
Measure your hips
MY SKIRT My hips = 100 cm
-
Add to hips 10 cm
HIPS +10 cm
This is the length of the circular line that will be on the waist
MY SKIRT 100 + 10 = 110 cm
-
To determine r1, calculate
r1 = (HIPS+10) / 3.14
MY SKIRT r1 = 110 / 3.14 = 35 cm
The next step is to decide how long your skirt will be, and below I’ll explain what the options are.
MY SKIRT I decided that the length of my skirt would be 80 cm. (I love ‘midi’ skirts.)
The larger radius r2 calculate
r2 = r1 + skirt length
!!! to make it easier, you should already include the seam allowance (on the bottom) in the length of your skirt
MY SKIRT I added a seam allowance of 1 cm.
r2 = 35cm + 81cm = 116cm
Getting back on the length of the skirt, which may be interesting in this story. Most of the fabrics are 140-150 cm wide, and for easy explanation, let the width of the fabric, which we use, be 140cm.
The established r2 must be found in that length, i.e. when you specify r1, your skirt length is anything that ranges from 0 to 140 -r1 cm
MY SKIRT r1 = 34 cm, I could choose a length of skirt from 0 up to 106 cm.
(0 would not look like a skirt, is it? My recommendation for skirt length is minimum 40 cm.)
It is up to you to calculate the possibilities for your skirt length and to decide for the length.
I hope that all calculation is not too complicated, but only in this way you can make this skirt fit your measurements.
When this calculation is finished, we can calculate how much fabric we buy.

MATERIAL:
- lightweight material that is minimum 140 cm width and the length you need is 2 x r2 + 20 cm for the waistband and a bit of more if the fabric is wrongly cut out.
MY SKIRT 2 x 116 cm +20 cm = 252 cm
I bought 2.55m of fabric
- elastic band width 3 cm, the length that is the measurement of your waist
- thread in the matching color
You still need: sewing machine, needle, pins, scissors, chalk, rotary cutter and serger/overlocker are not necessary.
The fabric that is used in this post is 100% viscose/rayon and you can use any lightweight fabric such as viscose, cotton, poplin or similar.
!!! fabrics like viscose can be stretchy on the bias and if you have no experience in the treatment of similar, choose a fabric that is not too extensibility at an angle of 45 degrees.
Pattern pieces
- the base of the skirt
- waistband – the width 8 cm (For the elastic 3 cm width and 2 cm seam allowance), the length HIPS +10 cm +2 cm seam allowance
!!! when you use elastic another width, then is width of this band 2x elastic width + 2 cm seam allowance.
Pattern pieces draw directly on the fabric and then cut out.
First, on one side of the fabric, cut the 8 cm (when you use elastic width 3 cm), which we used after for the waistband

The rest of the fabric fold in half so that selvedge edges coincide.
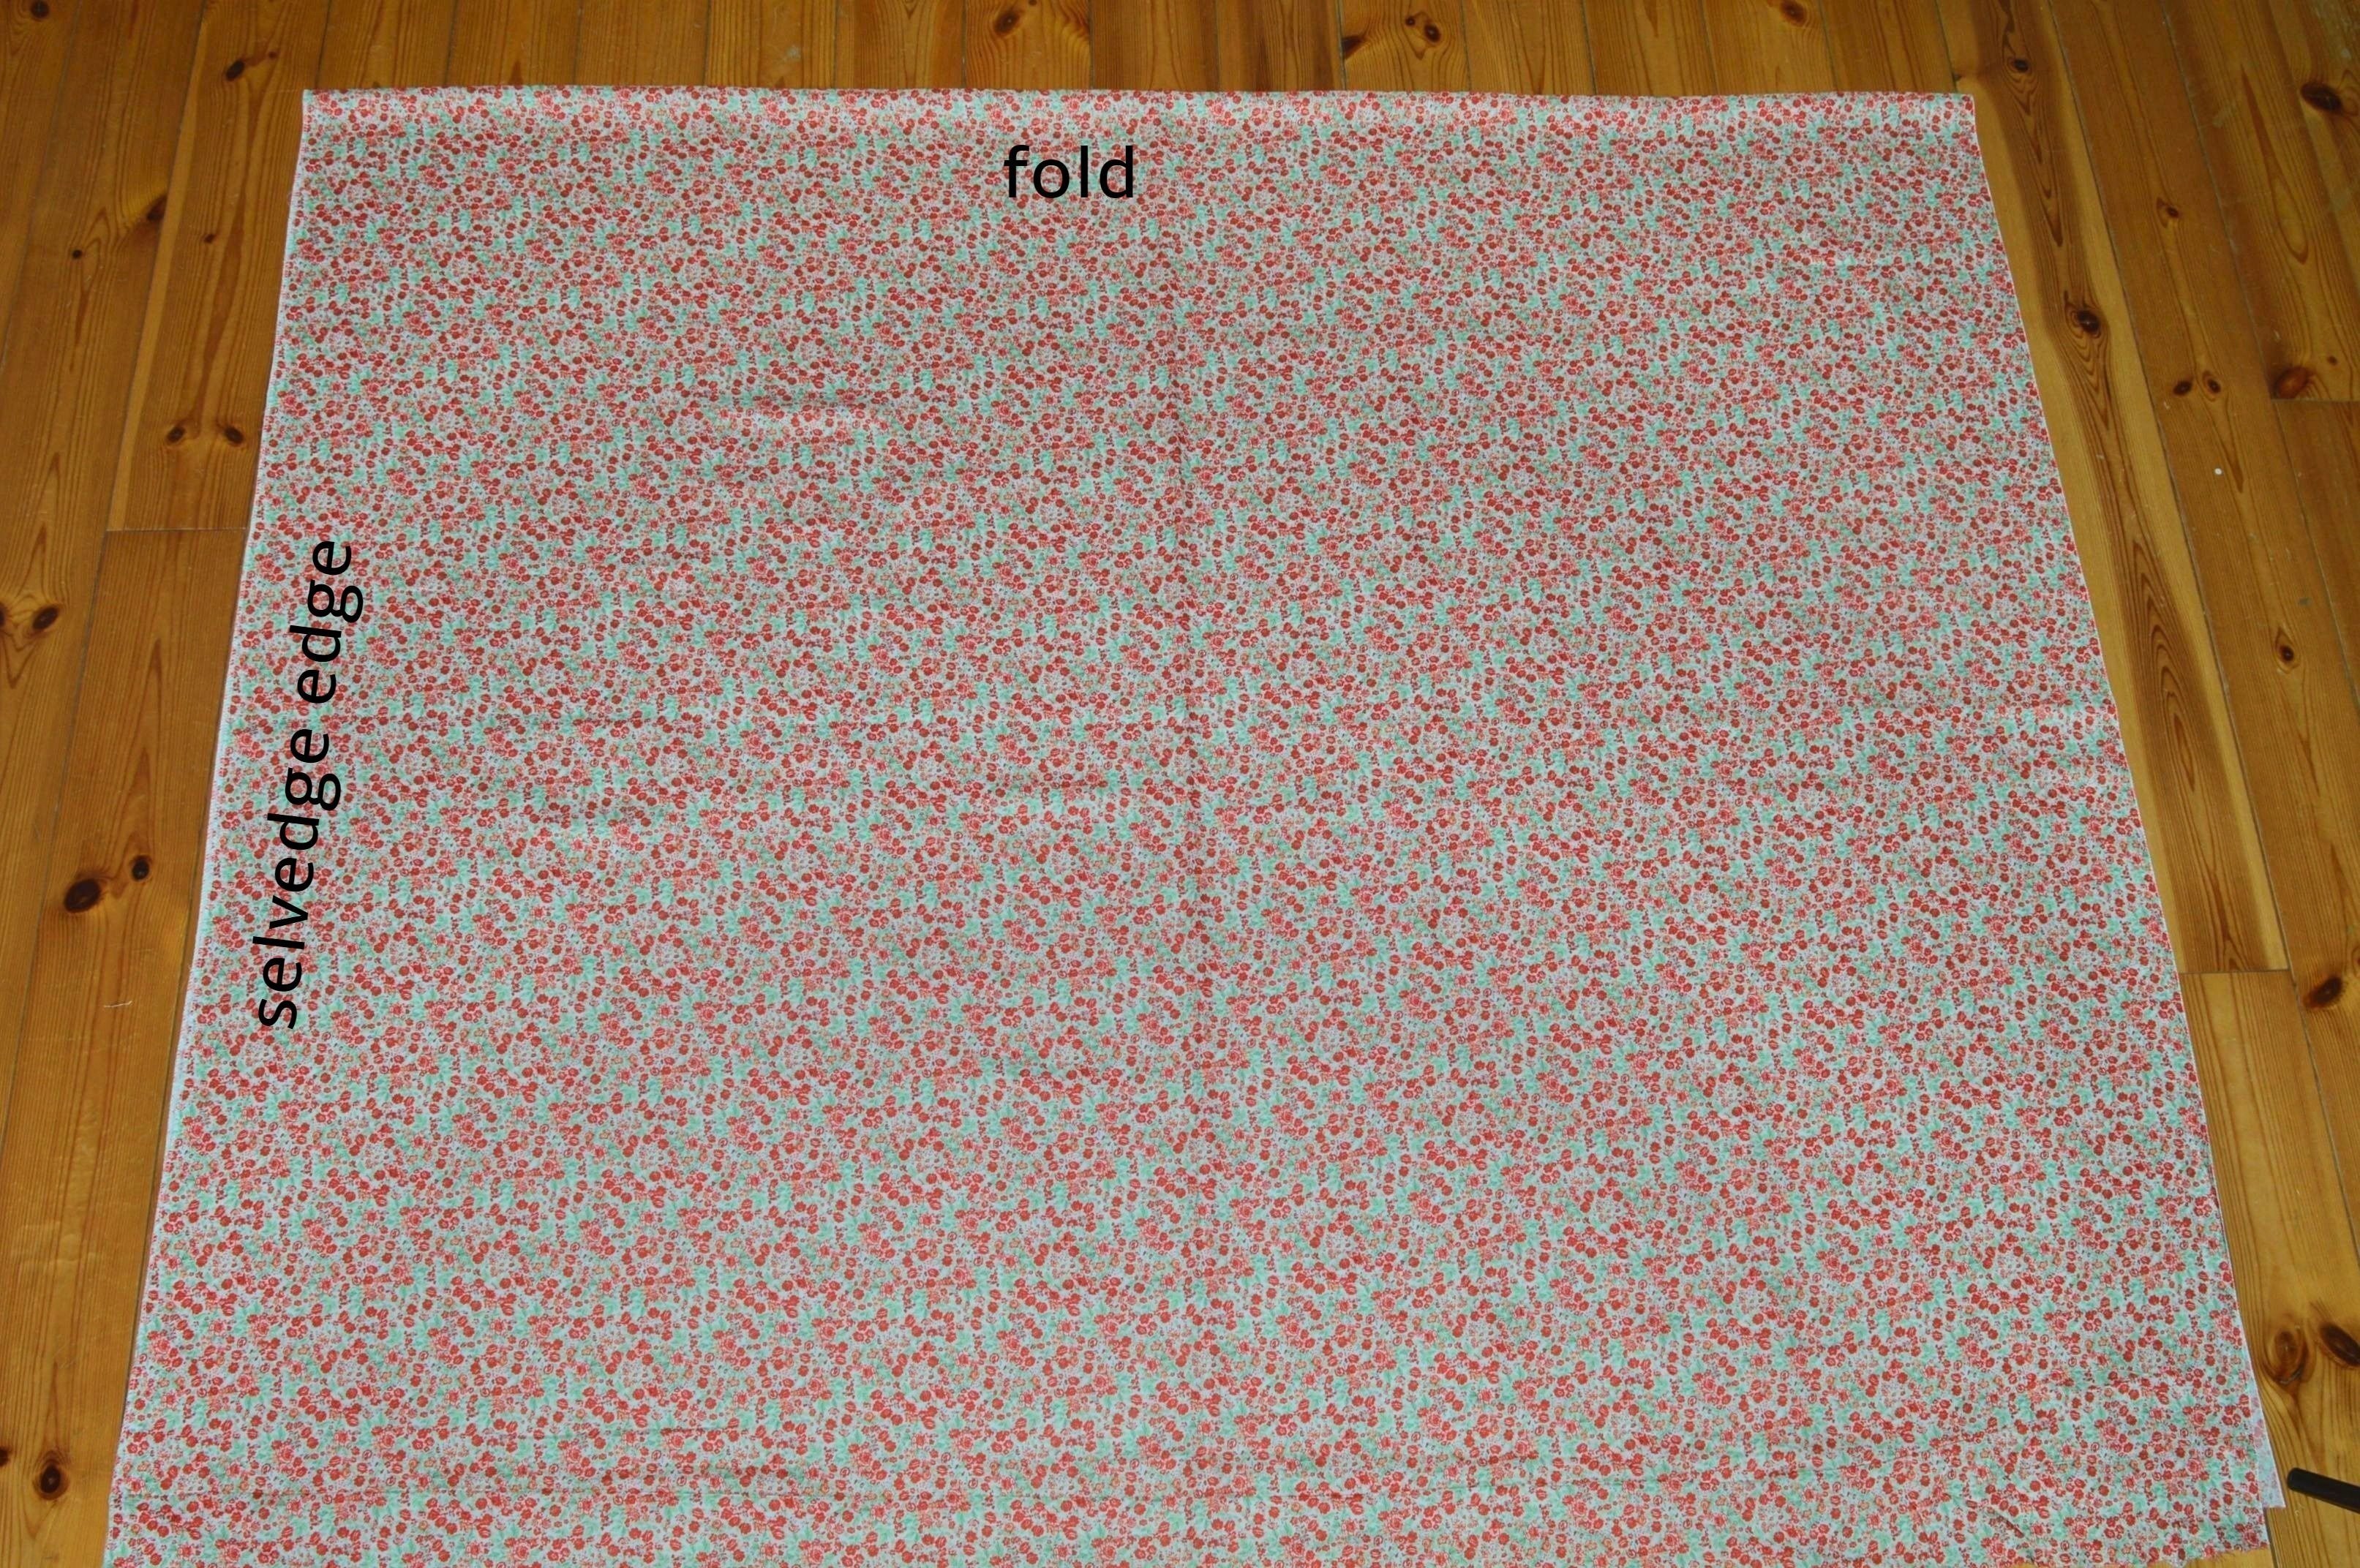
!!! for such a design, the table usually is not big enough so that cutting can be done on the floor or a similar surface.
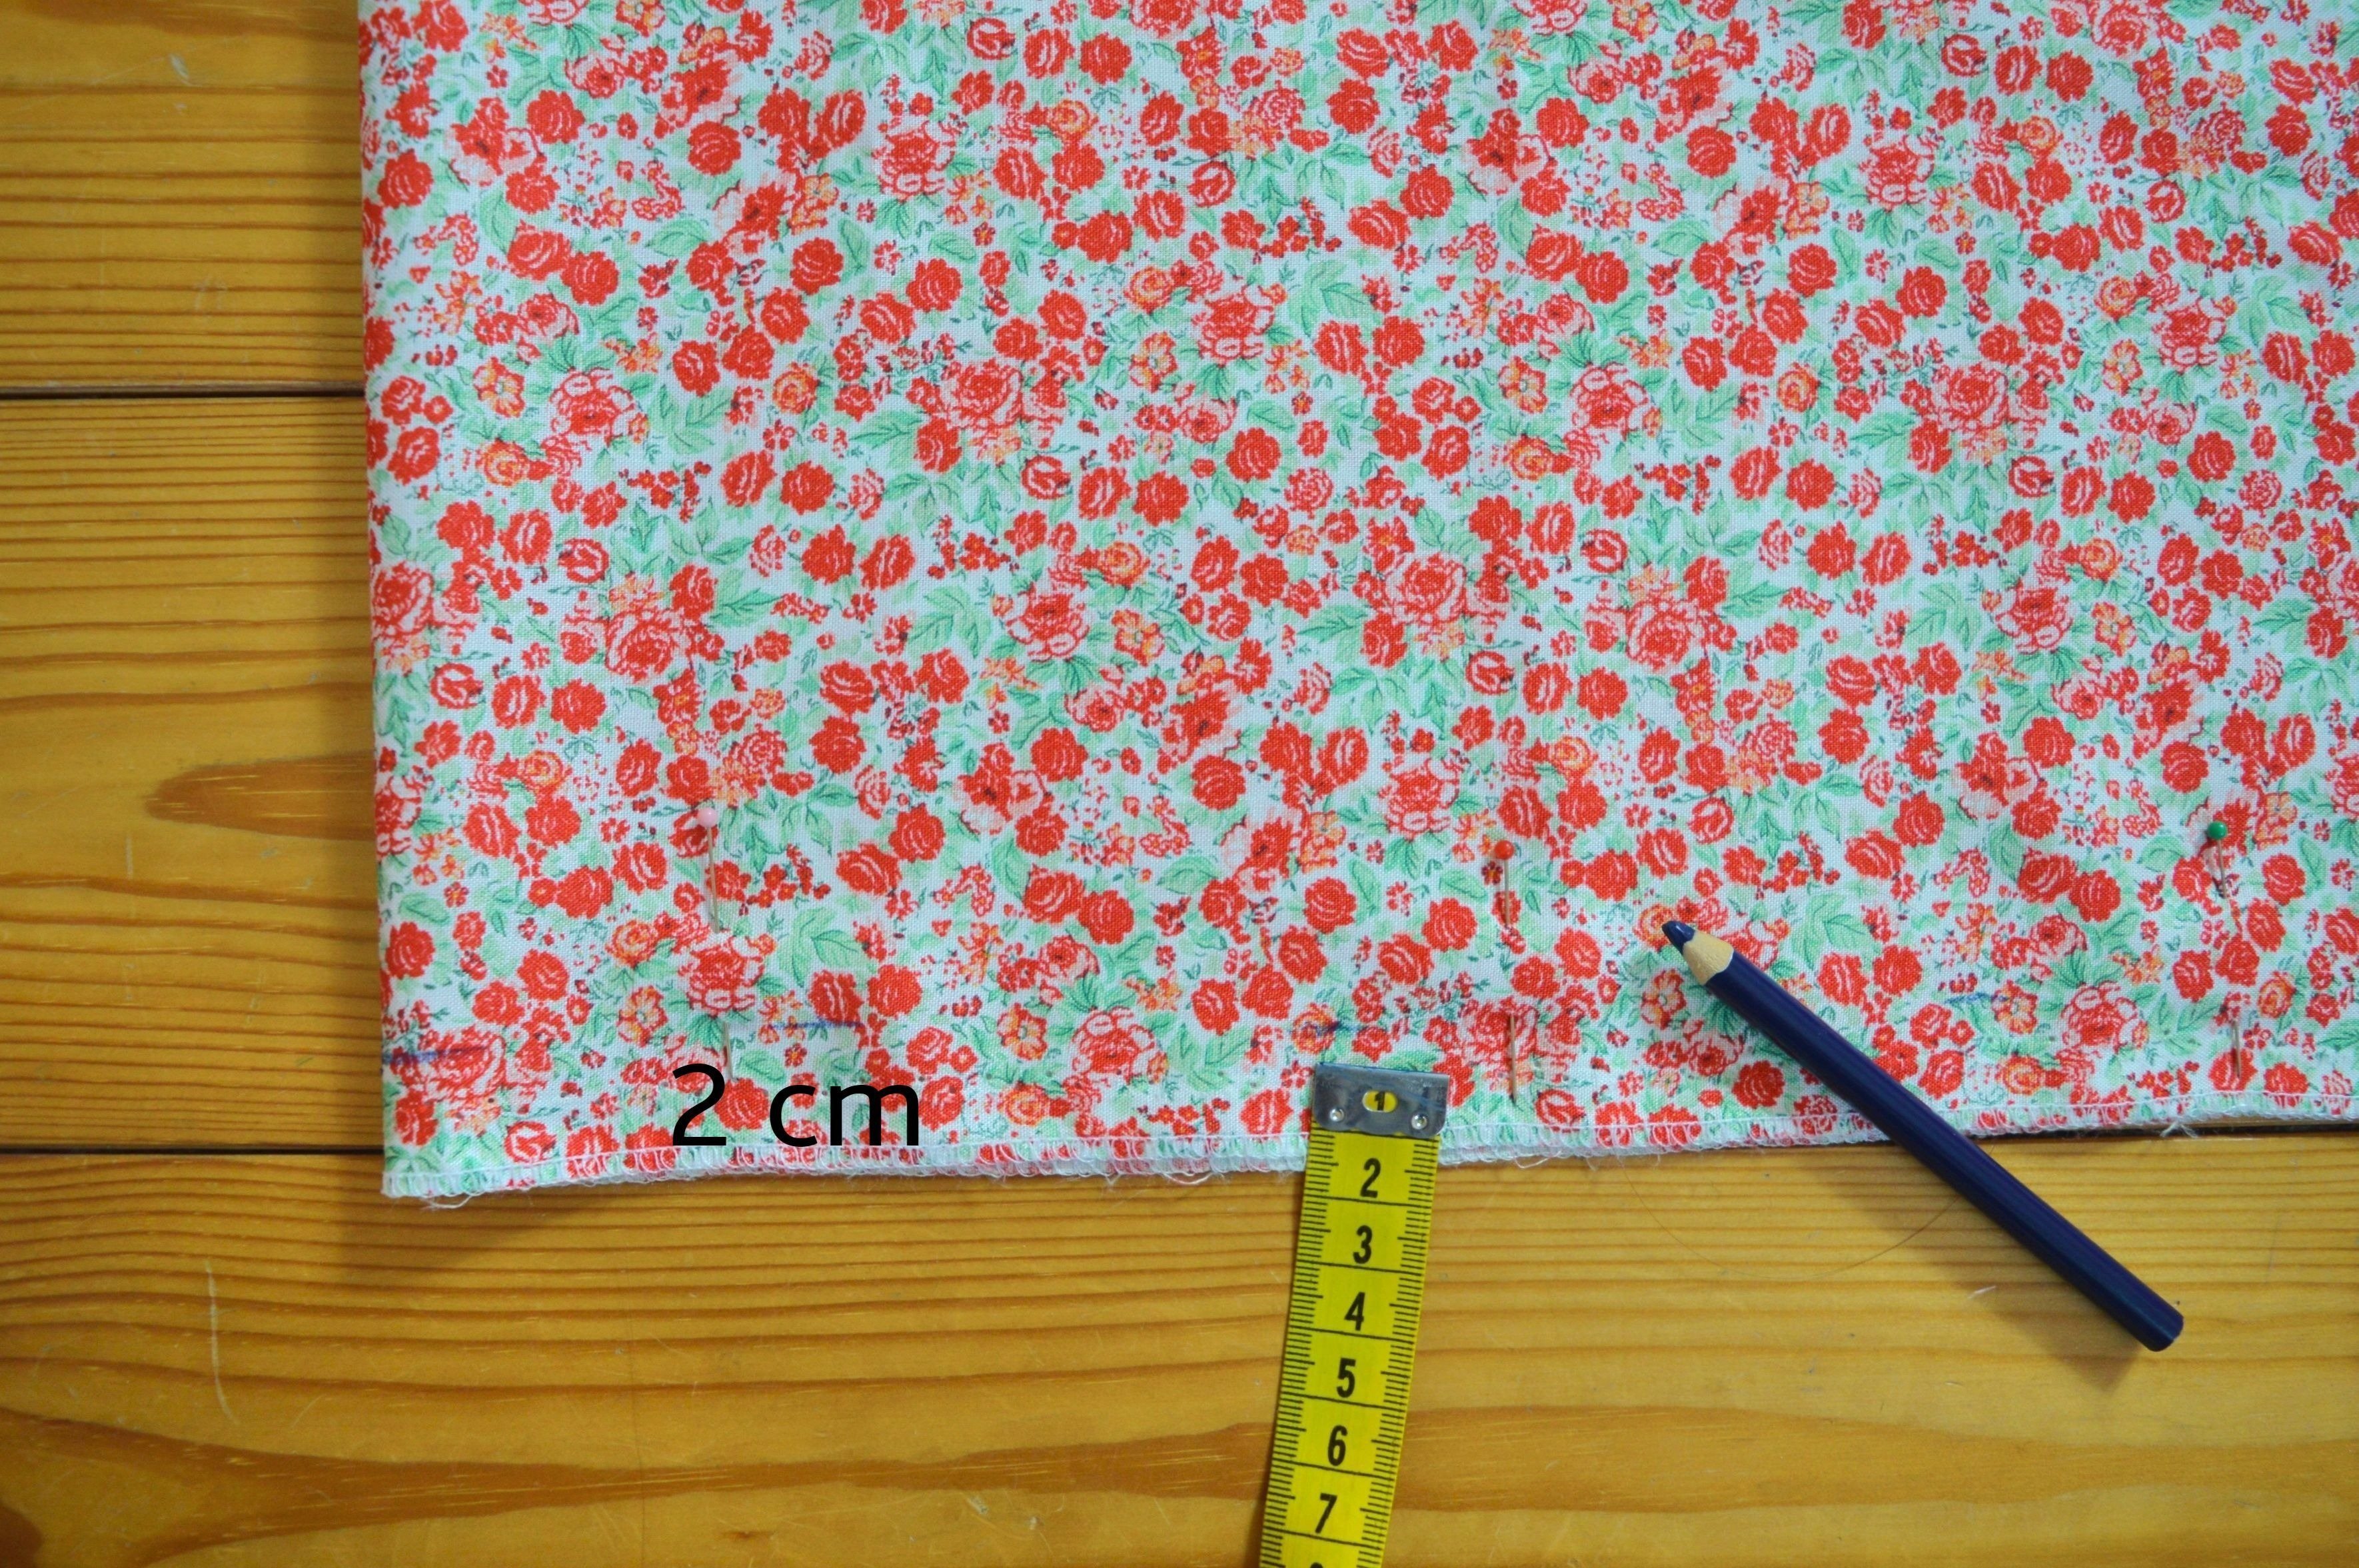
At the selvage edge, mark 2 cm from the edge that will represent the seam allowance.
The necessary measures are r1 and r2, i.e., radius half-circles representing the top and bottom line of the skirt, with the need to take 1cm for seam allowance from r1.
MY SKIRT r1 – 1 cm = 34 cm, r2 = 116 cm
They need to be as much as possible accurate marked on the fabric.
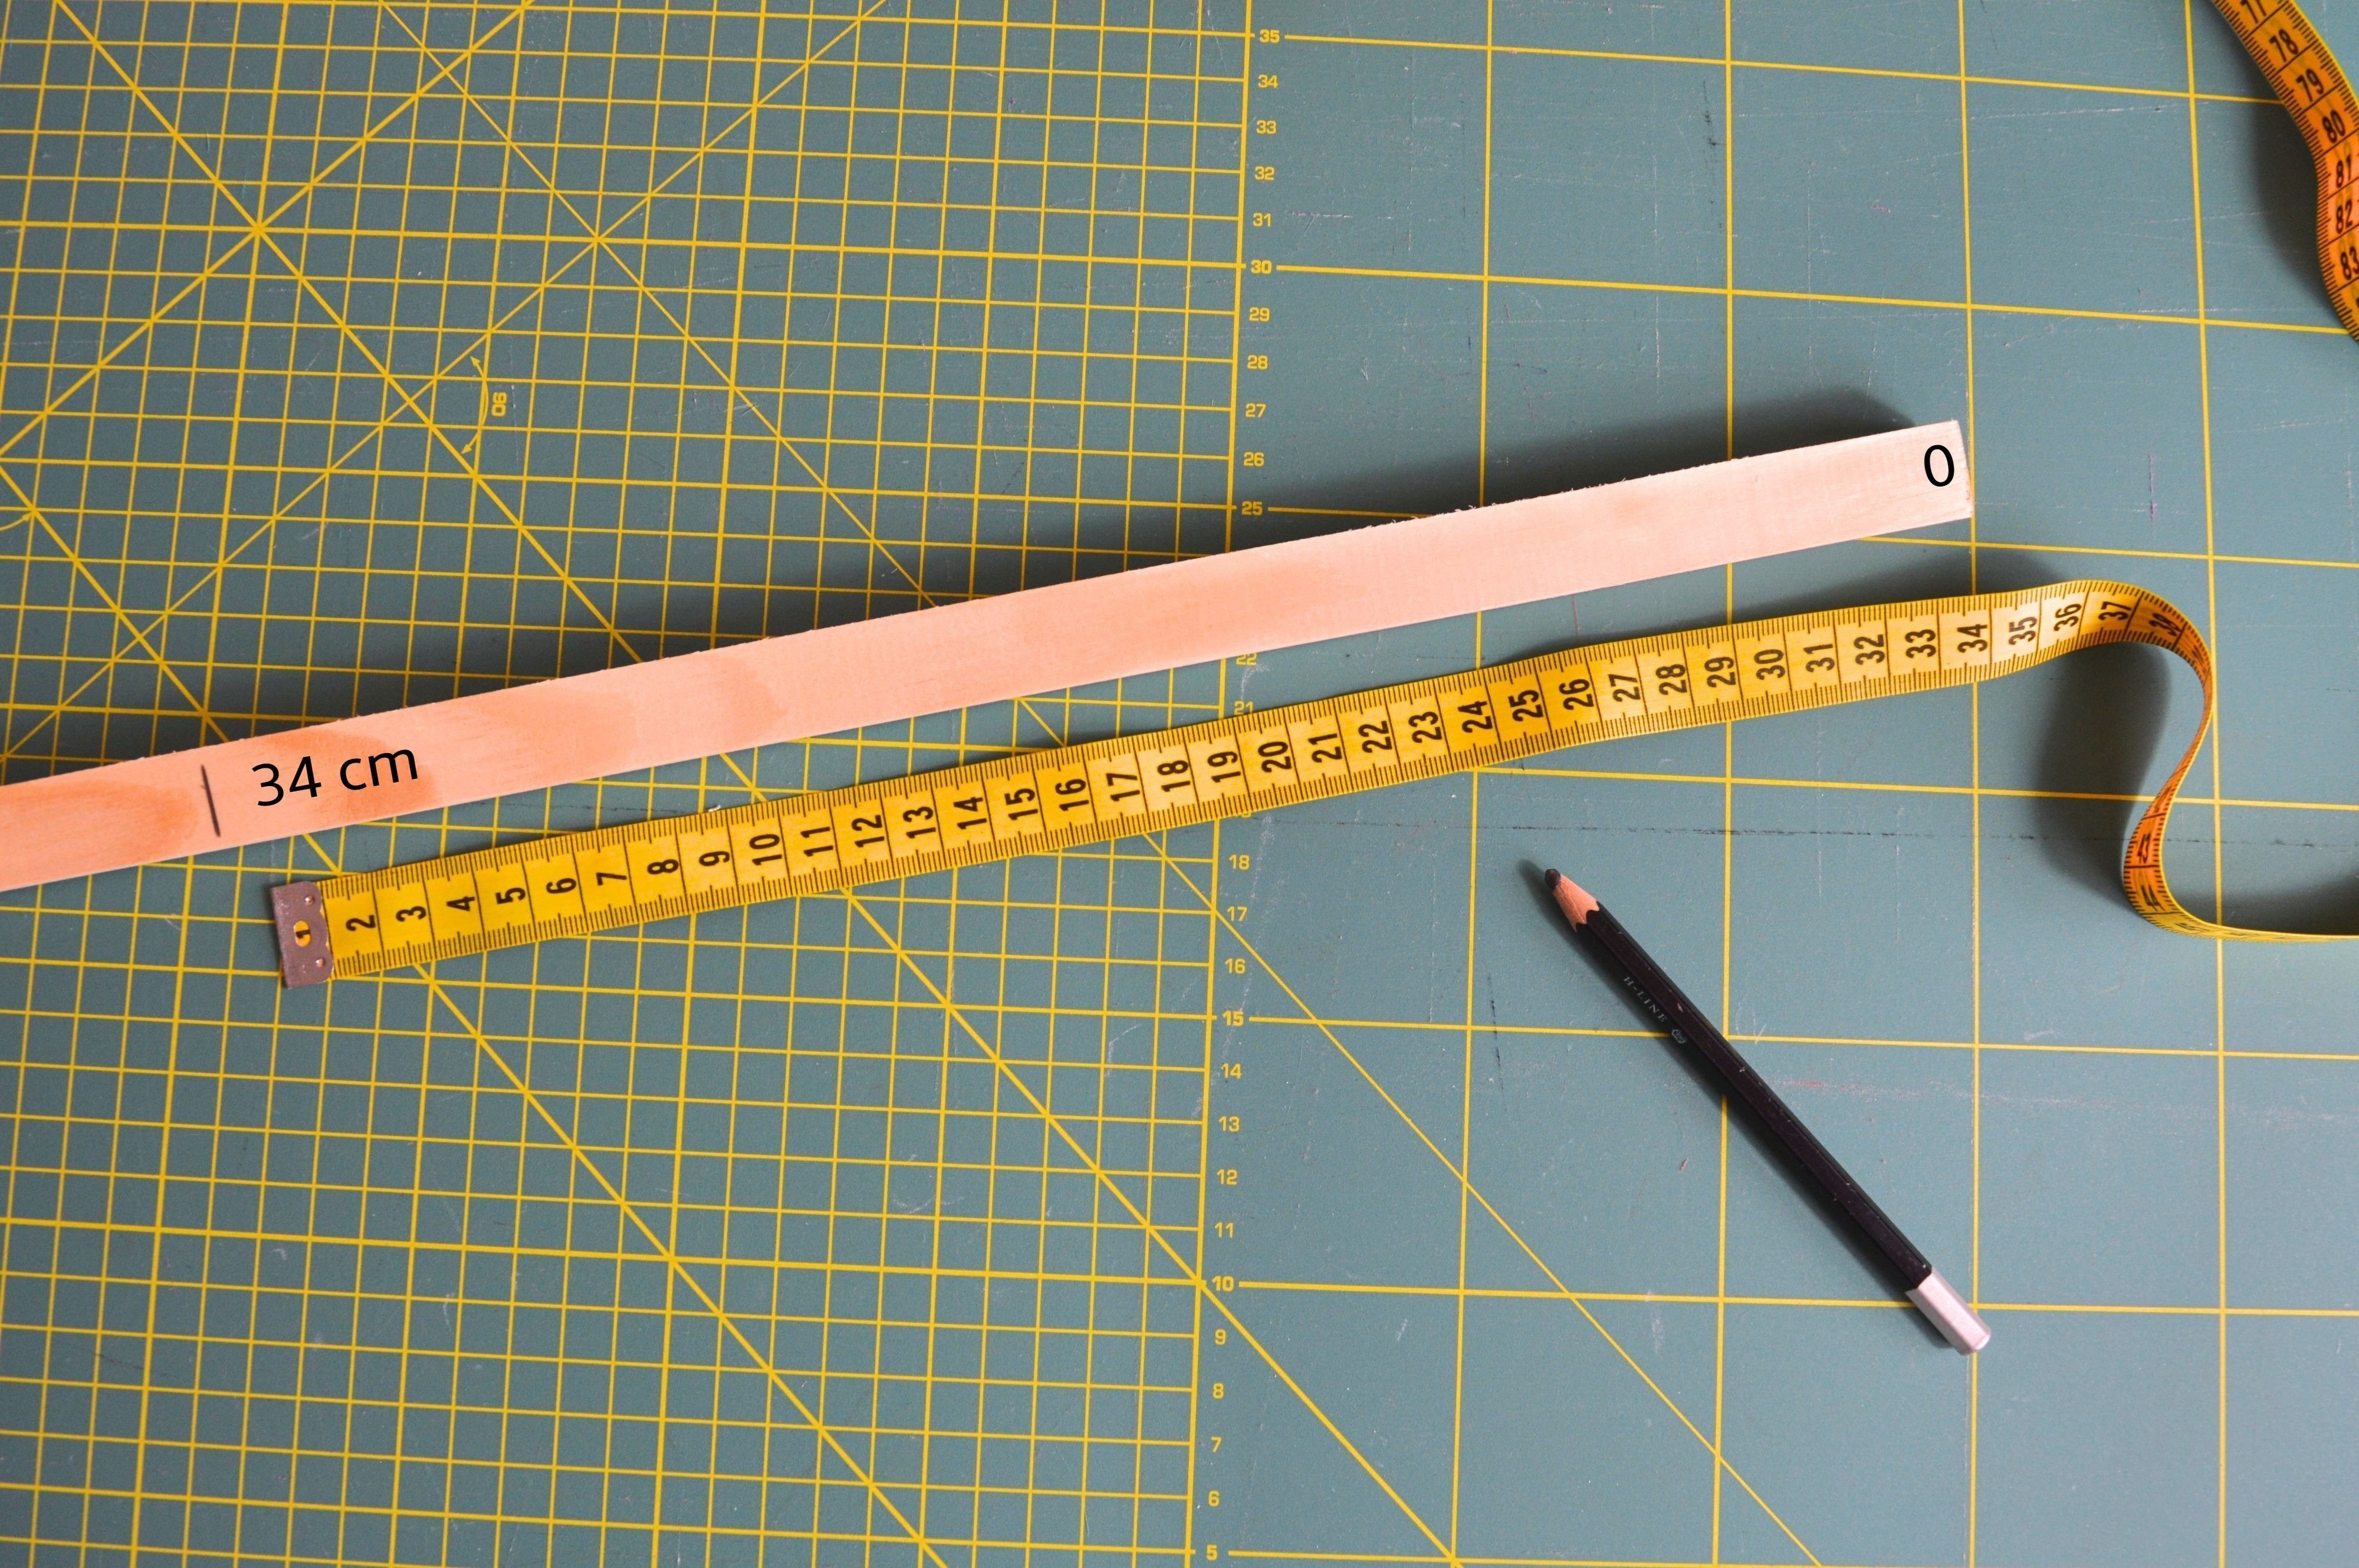
For that, I use a thin lath length of 1.5 cm. It is necessary to mark on it measurements we need, 0 point is the beginning, r1-1cm and r2 (radii for the top and bottom line).
MY SKIRT I have marked 34 cm and 116.
Start marking our measures on the fabric.
You can use the measuring tape or whatever you usually use to mark the measurements on the fabric; you don’t have to use a lath-like me.
The center of our semicircles is shown in the picture below.

Moving the lath, where the center and 0 points match each time, we mark both lengths with the chalk.


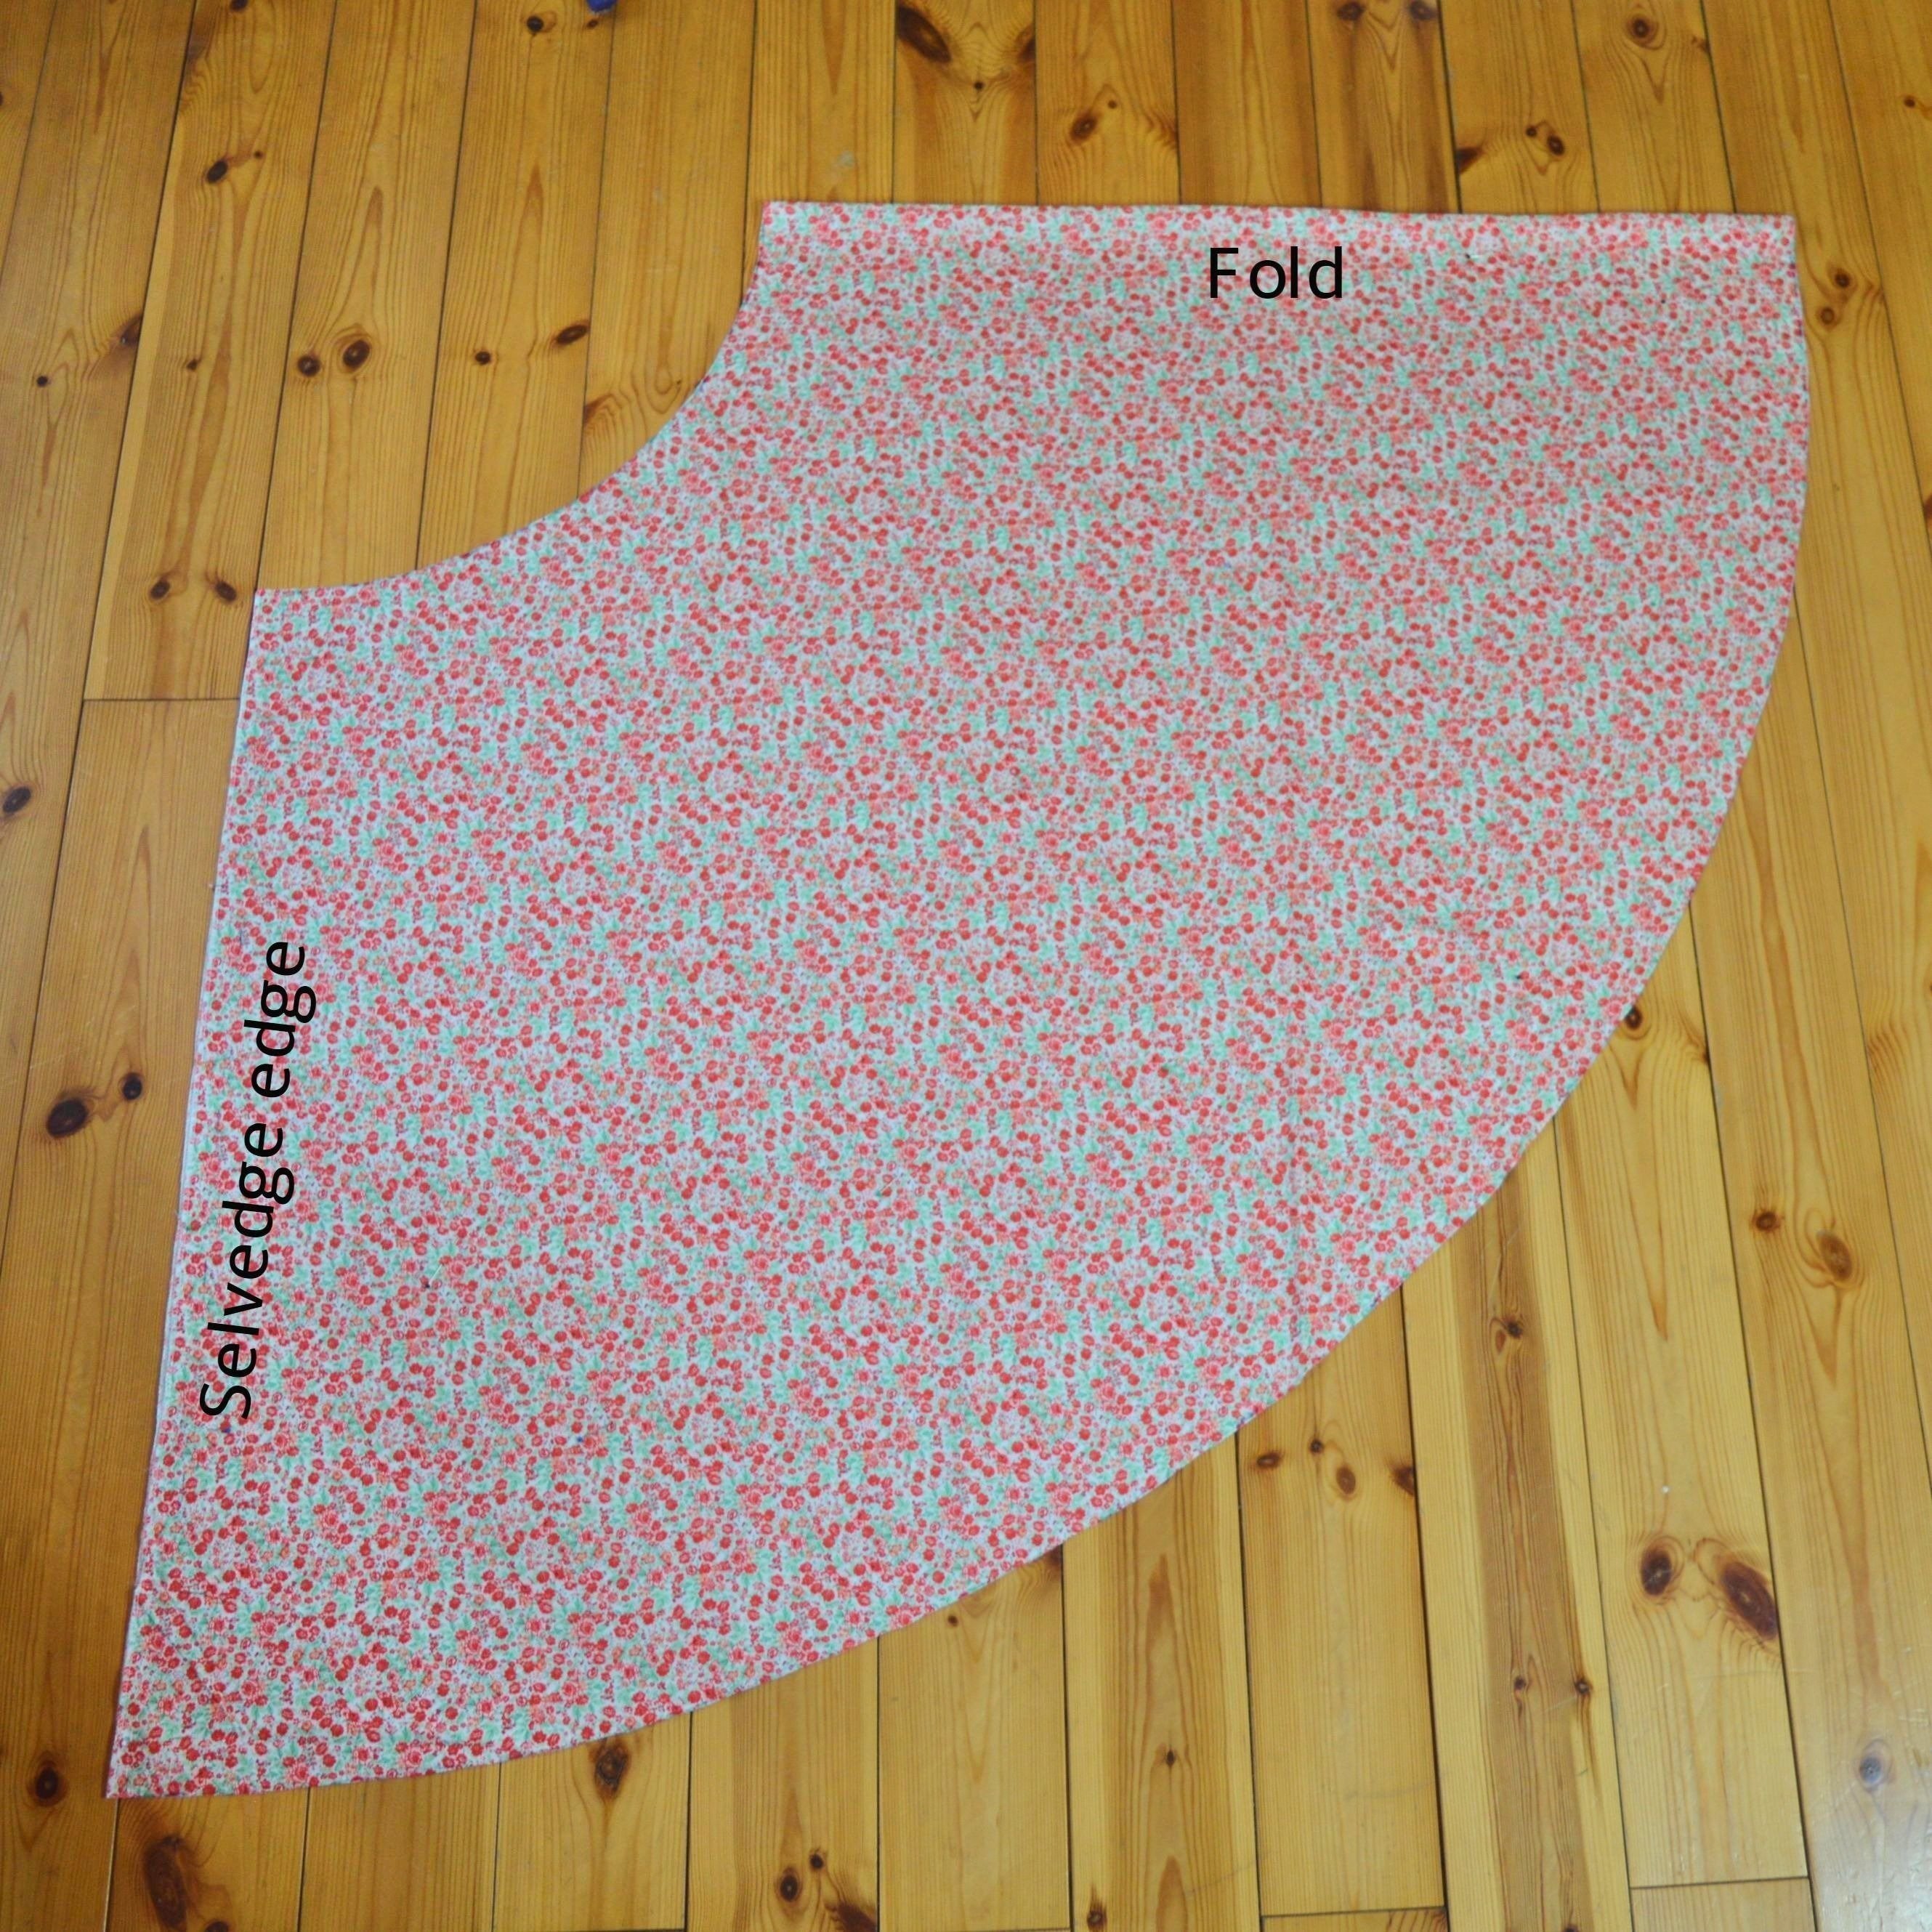
When marking is completed, we connect the marked points, so that they form a part of the circular line.


Cut out these two lines, and this is the base of the skirt.
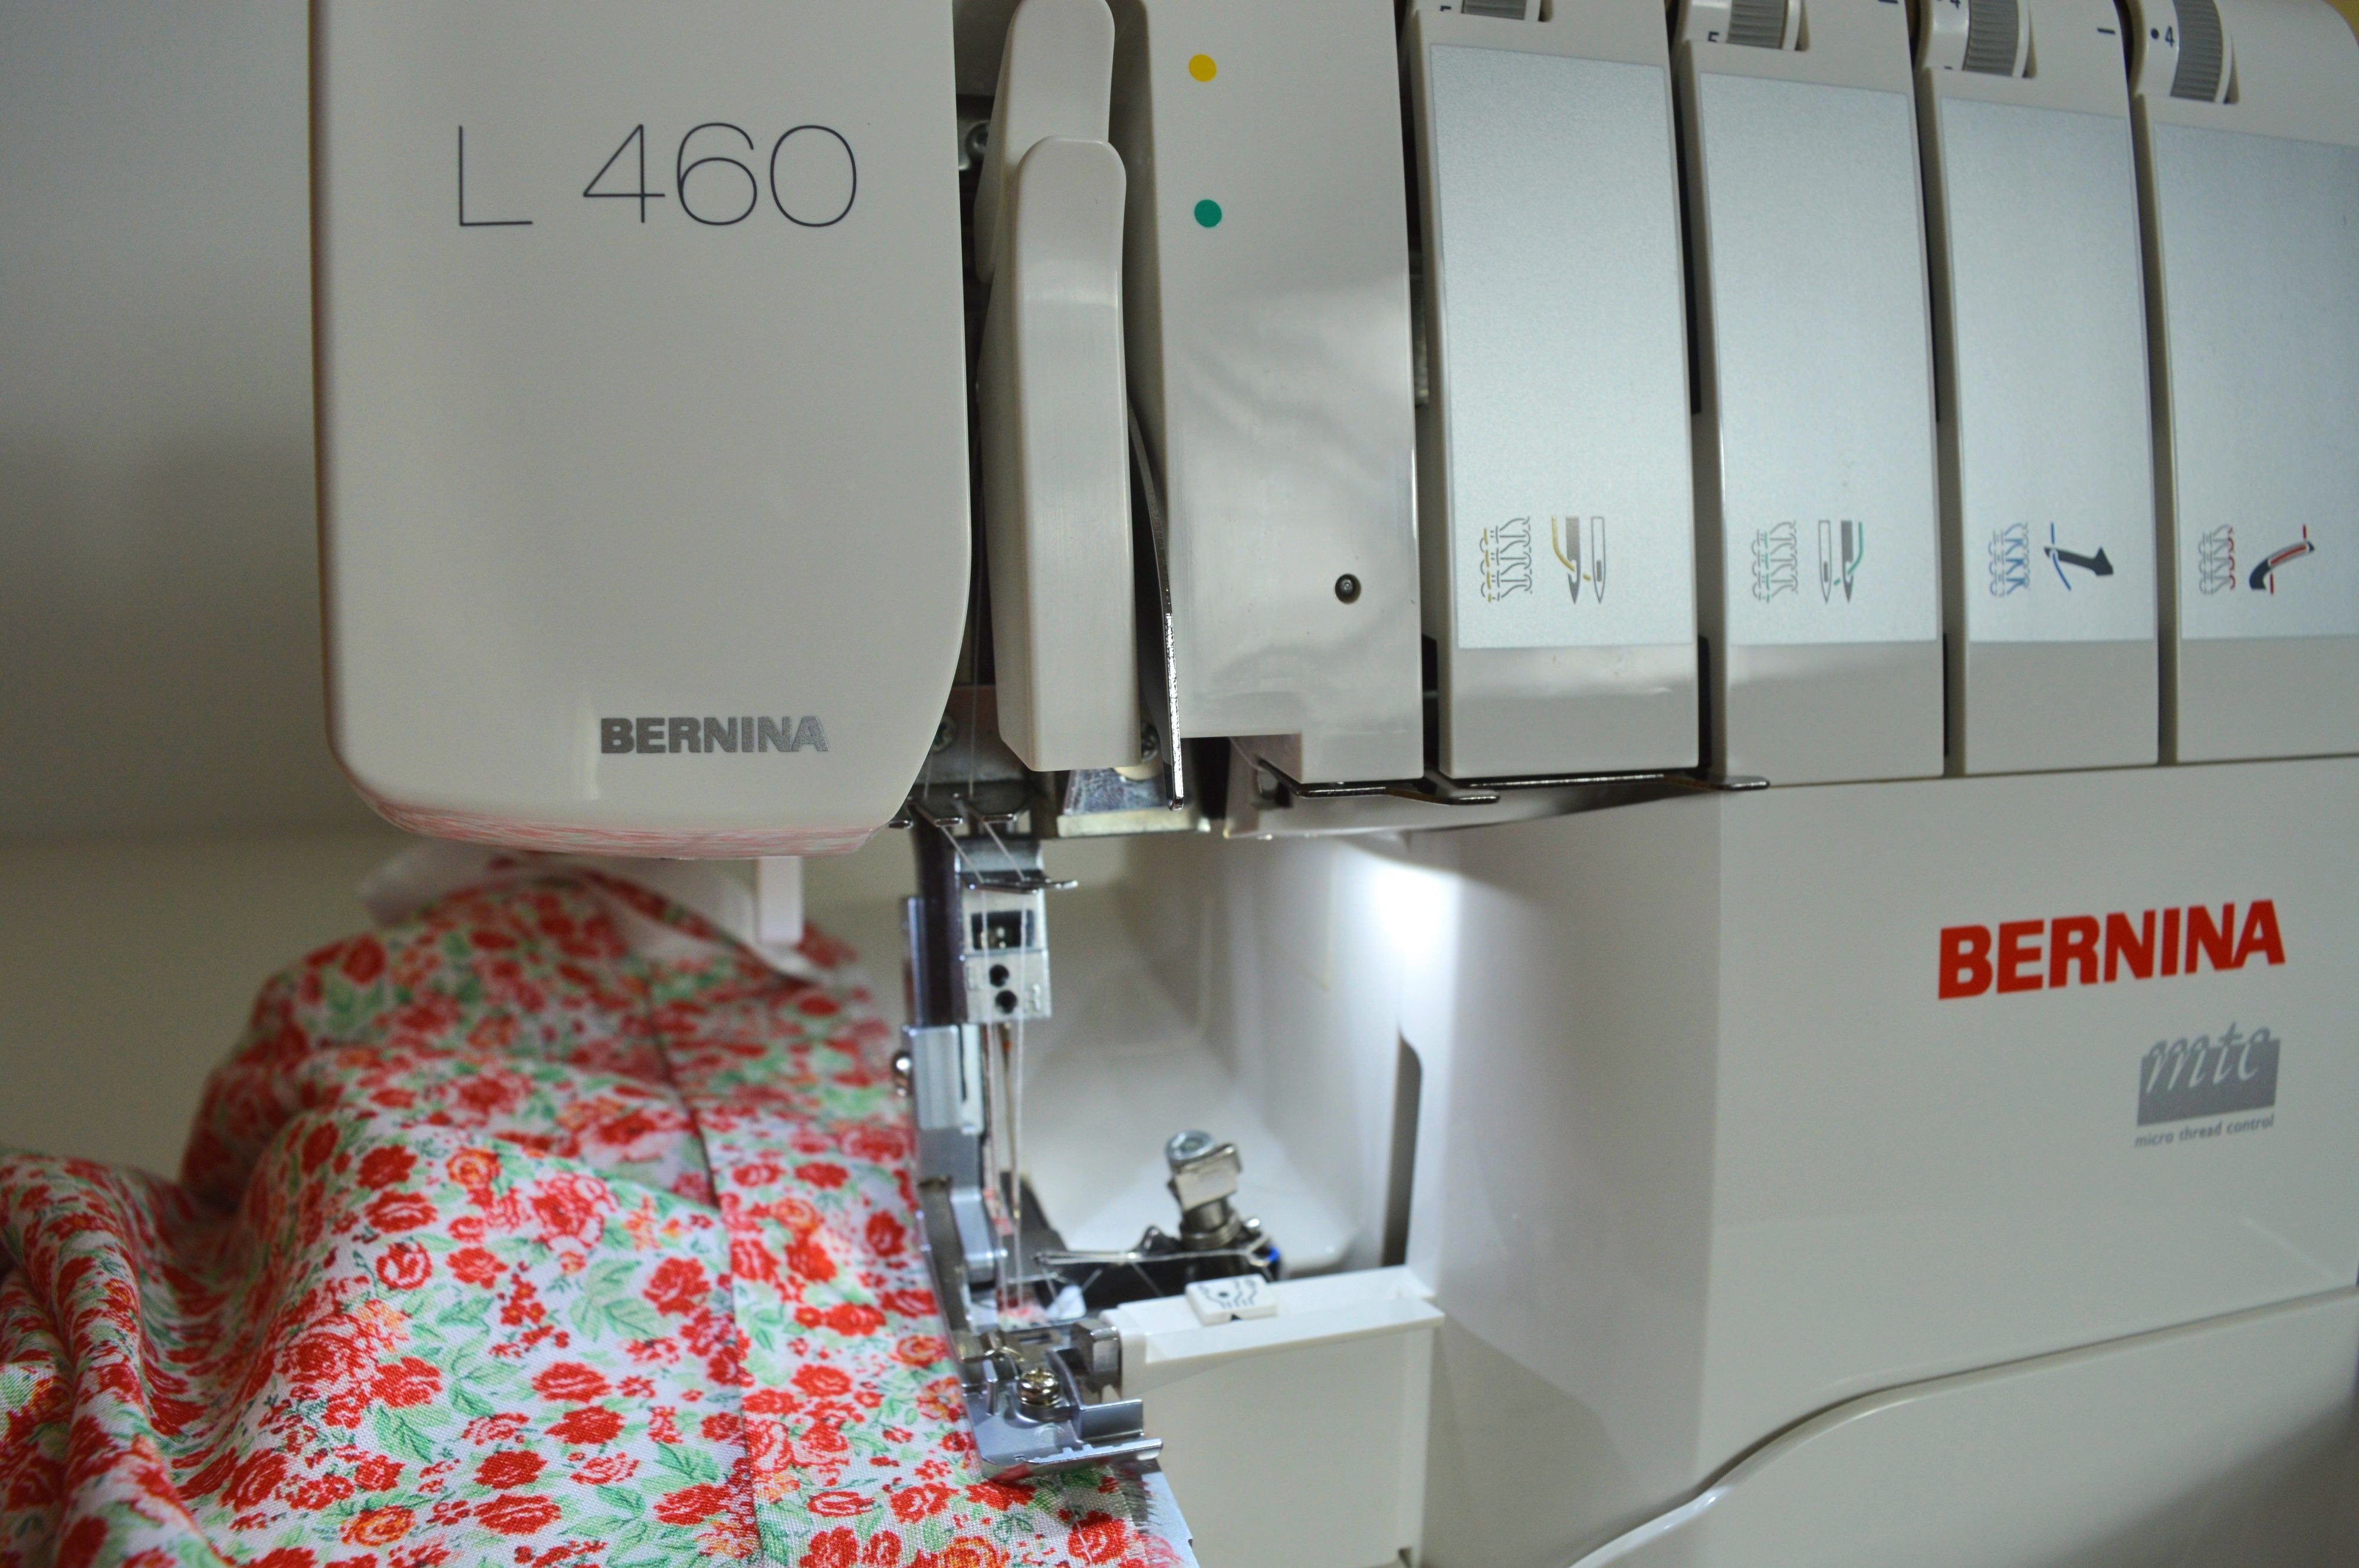
Start with the sewing, and that is the easiest part of this story.
First, sew down the side seam, by placing the fabric right side on the right side, pin it and stitch with the sewing machine.
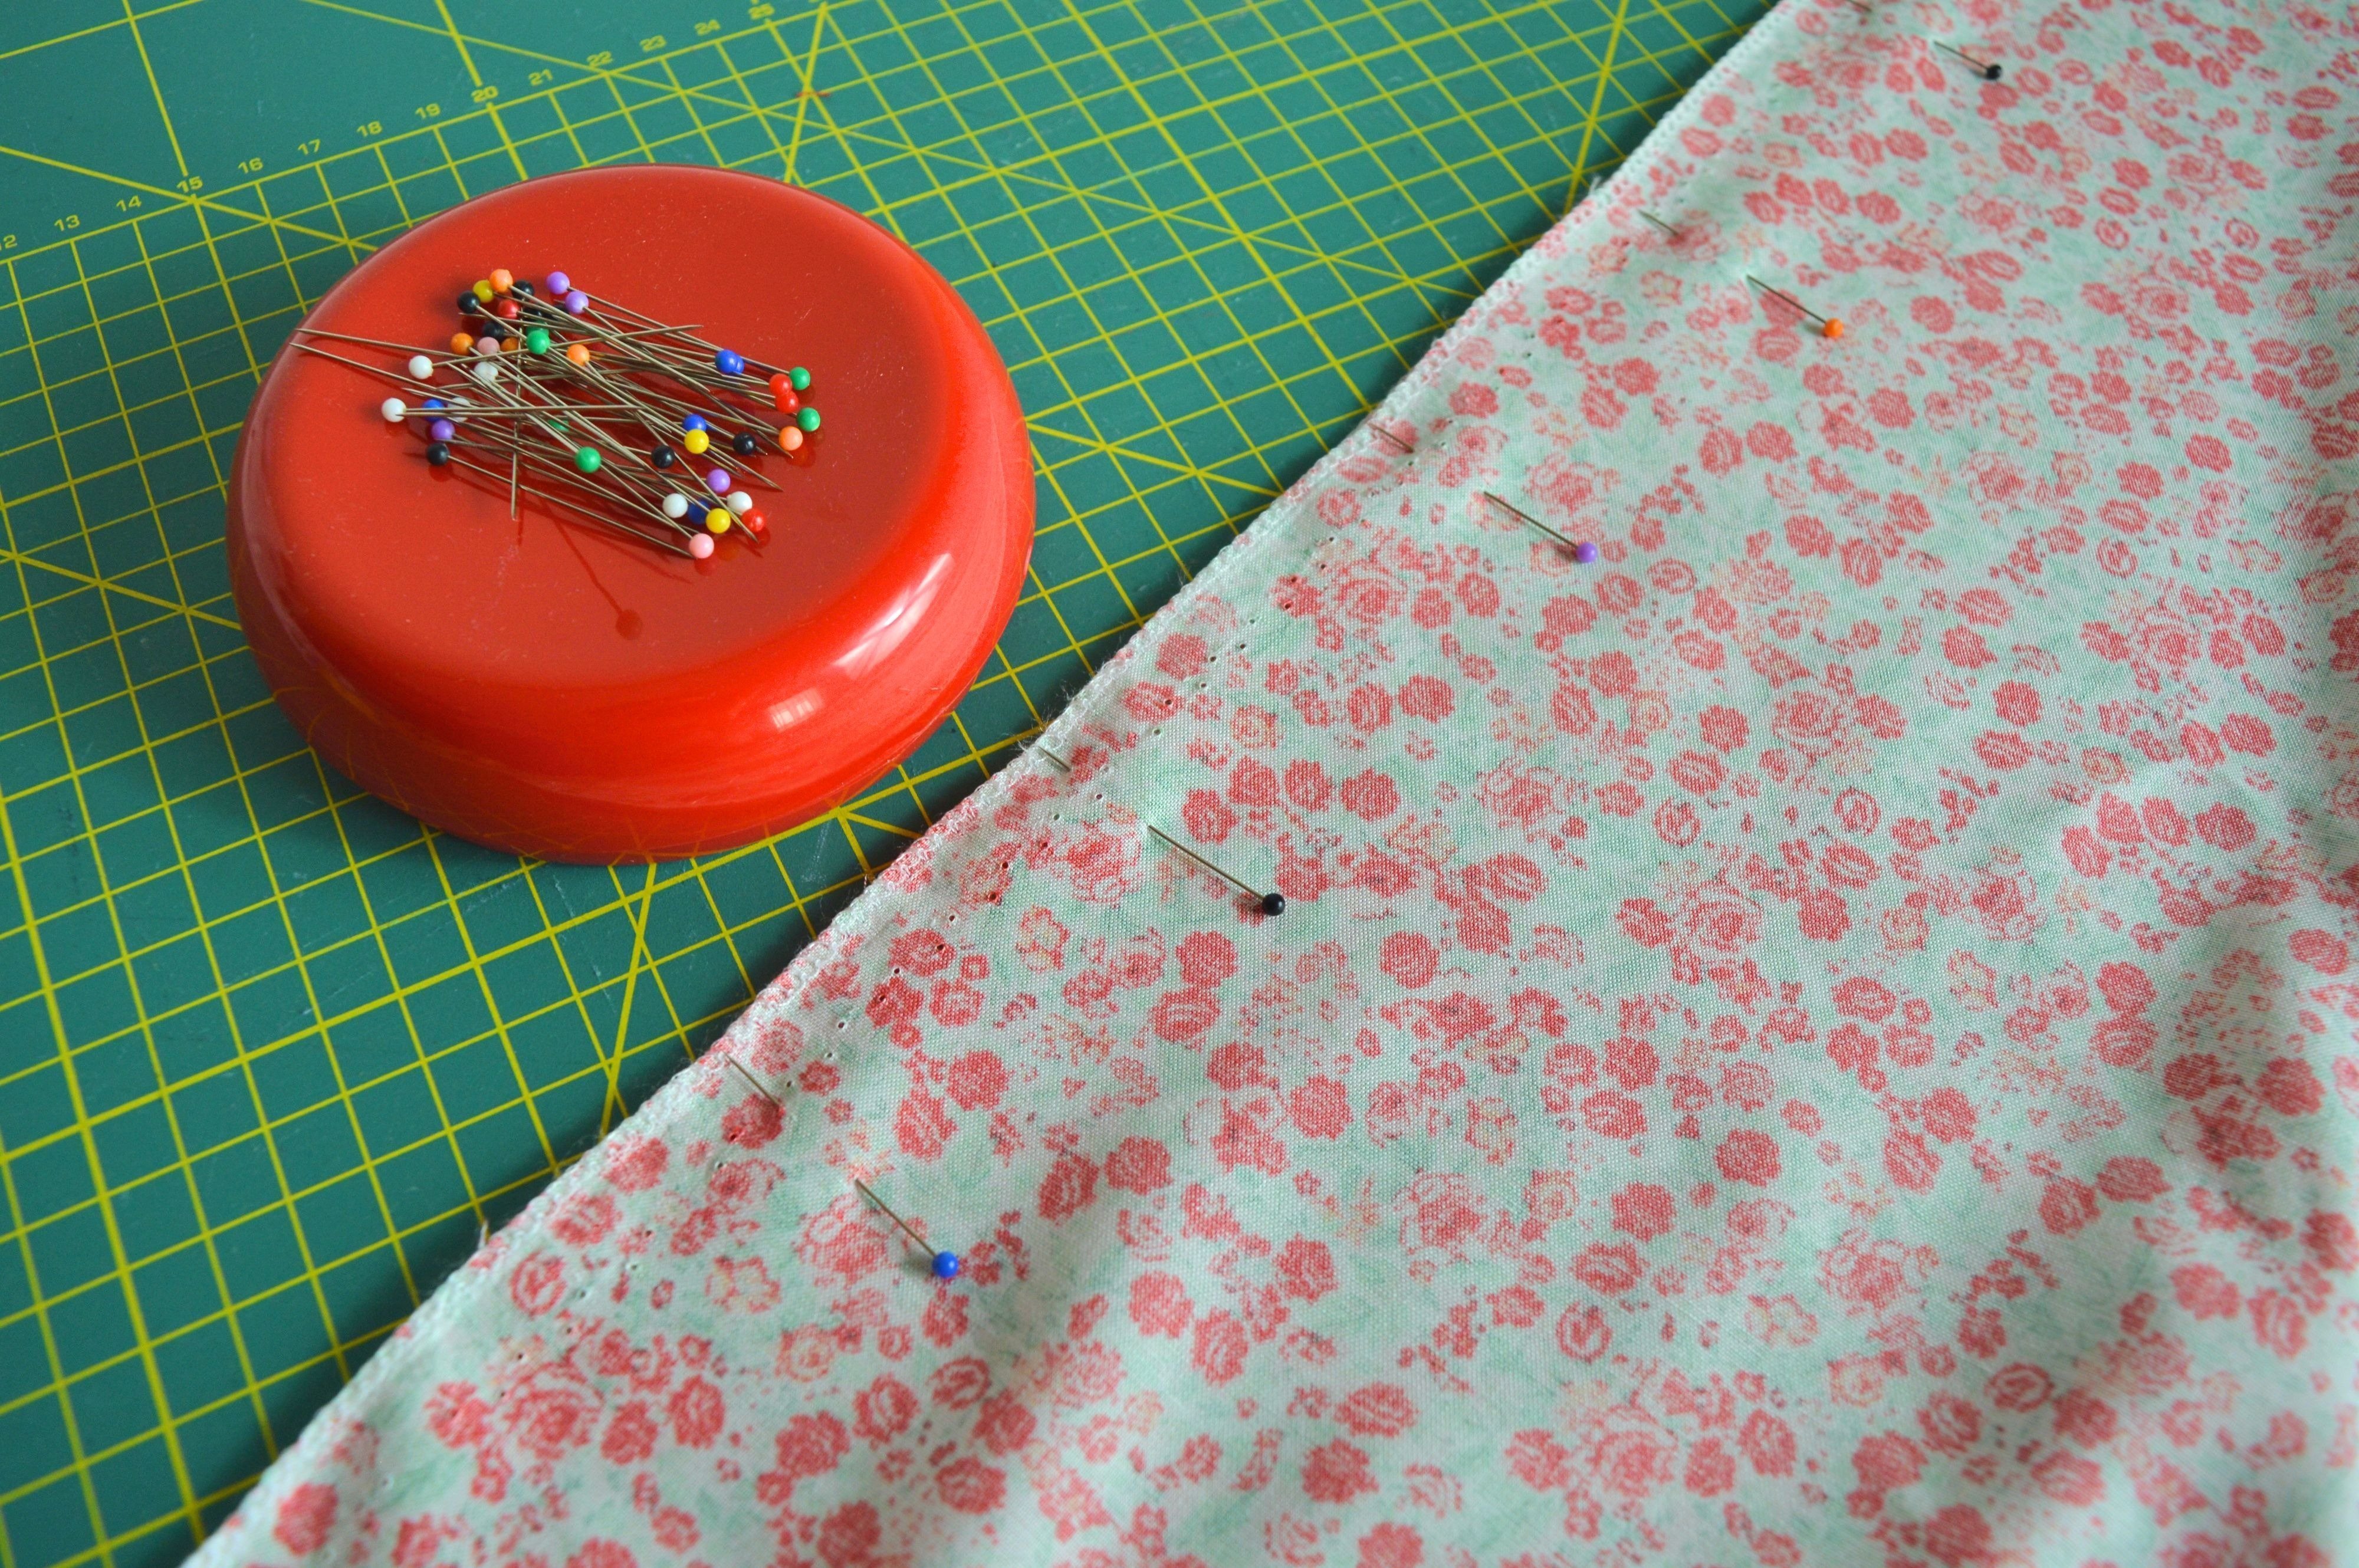
!!! Reverse-pattern foot #1, plain seam #1, the stitch length 3
!!! The stitch is sewn 2 cm from the edge.
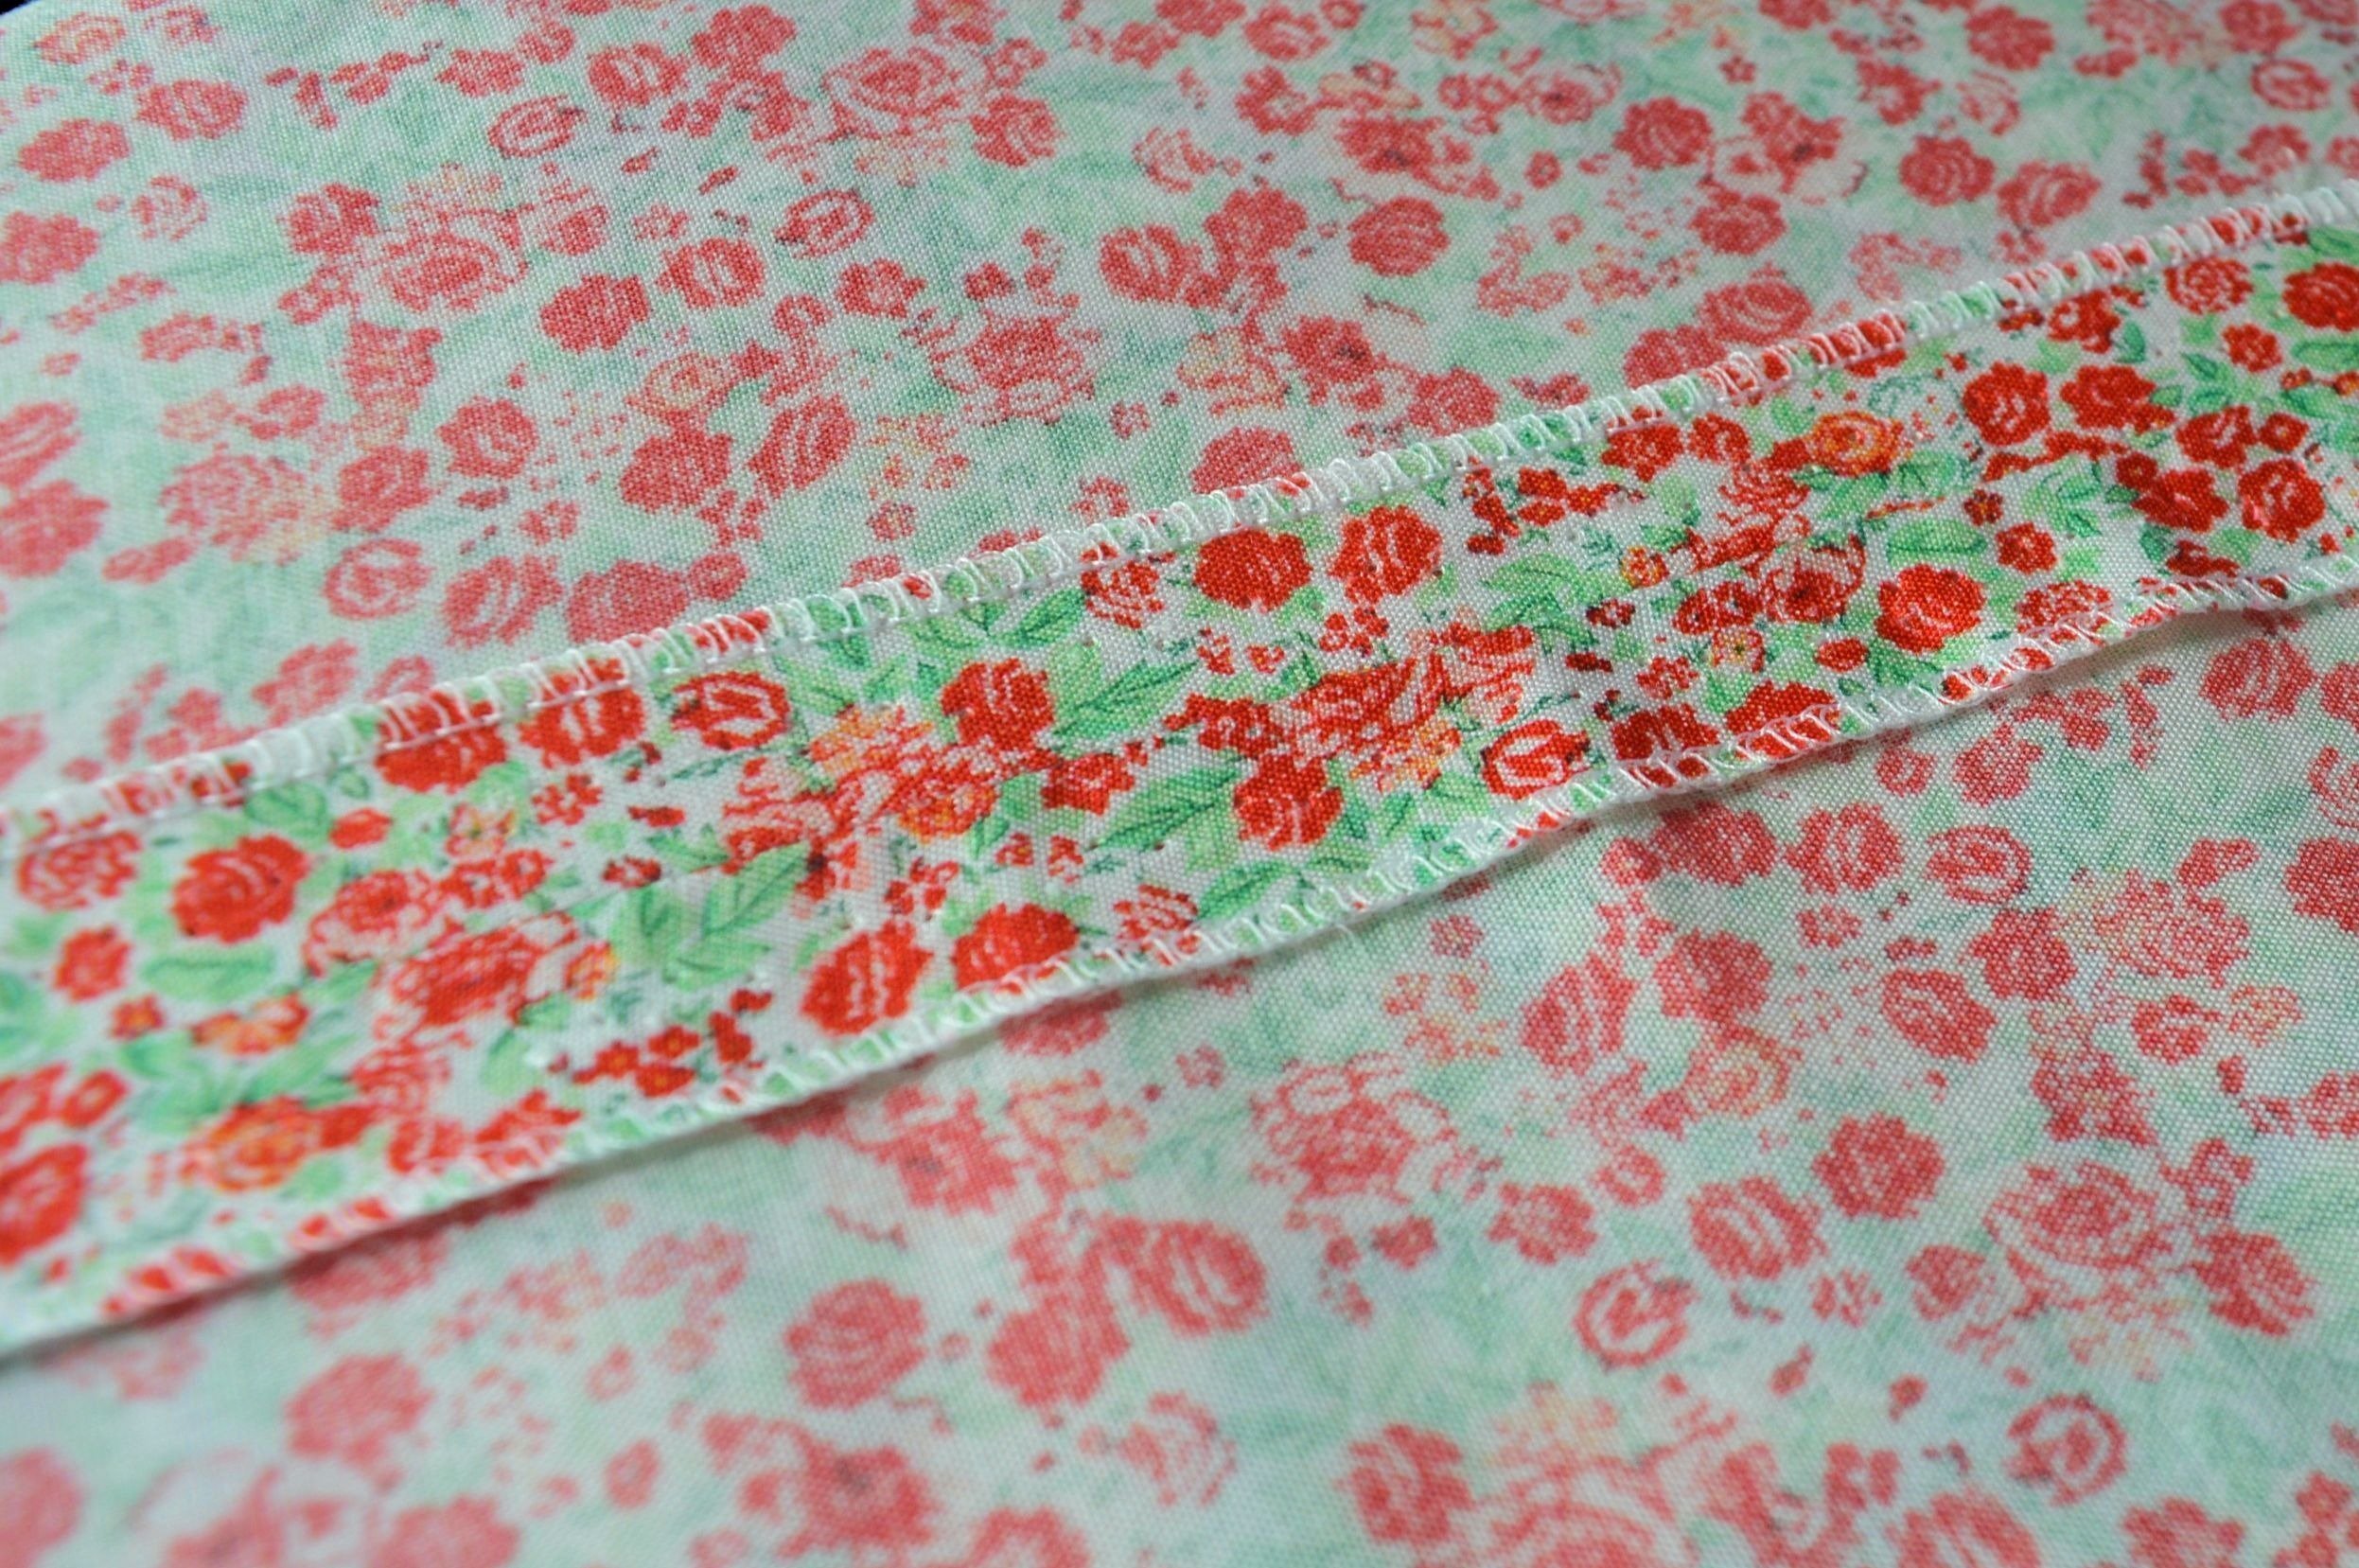
You can handle the edges with the overlocker, if you own one, if not, then you can always use the zigzag seam #2 on your Bernina sewing machine or to leave the edges as they are because they are the sides of the fabric that come already finished.
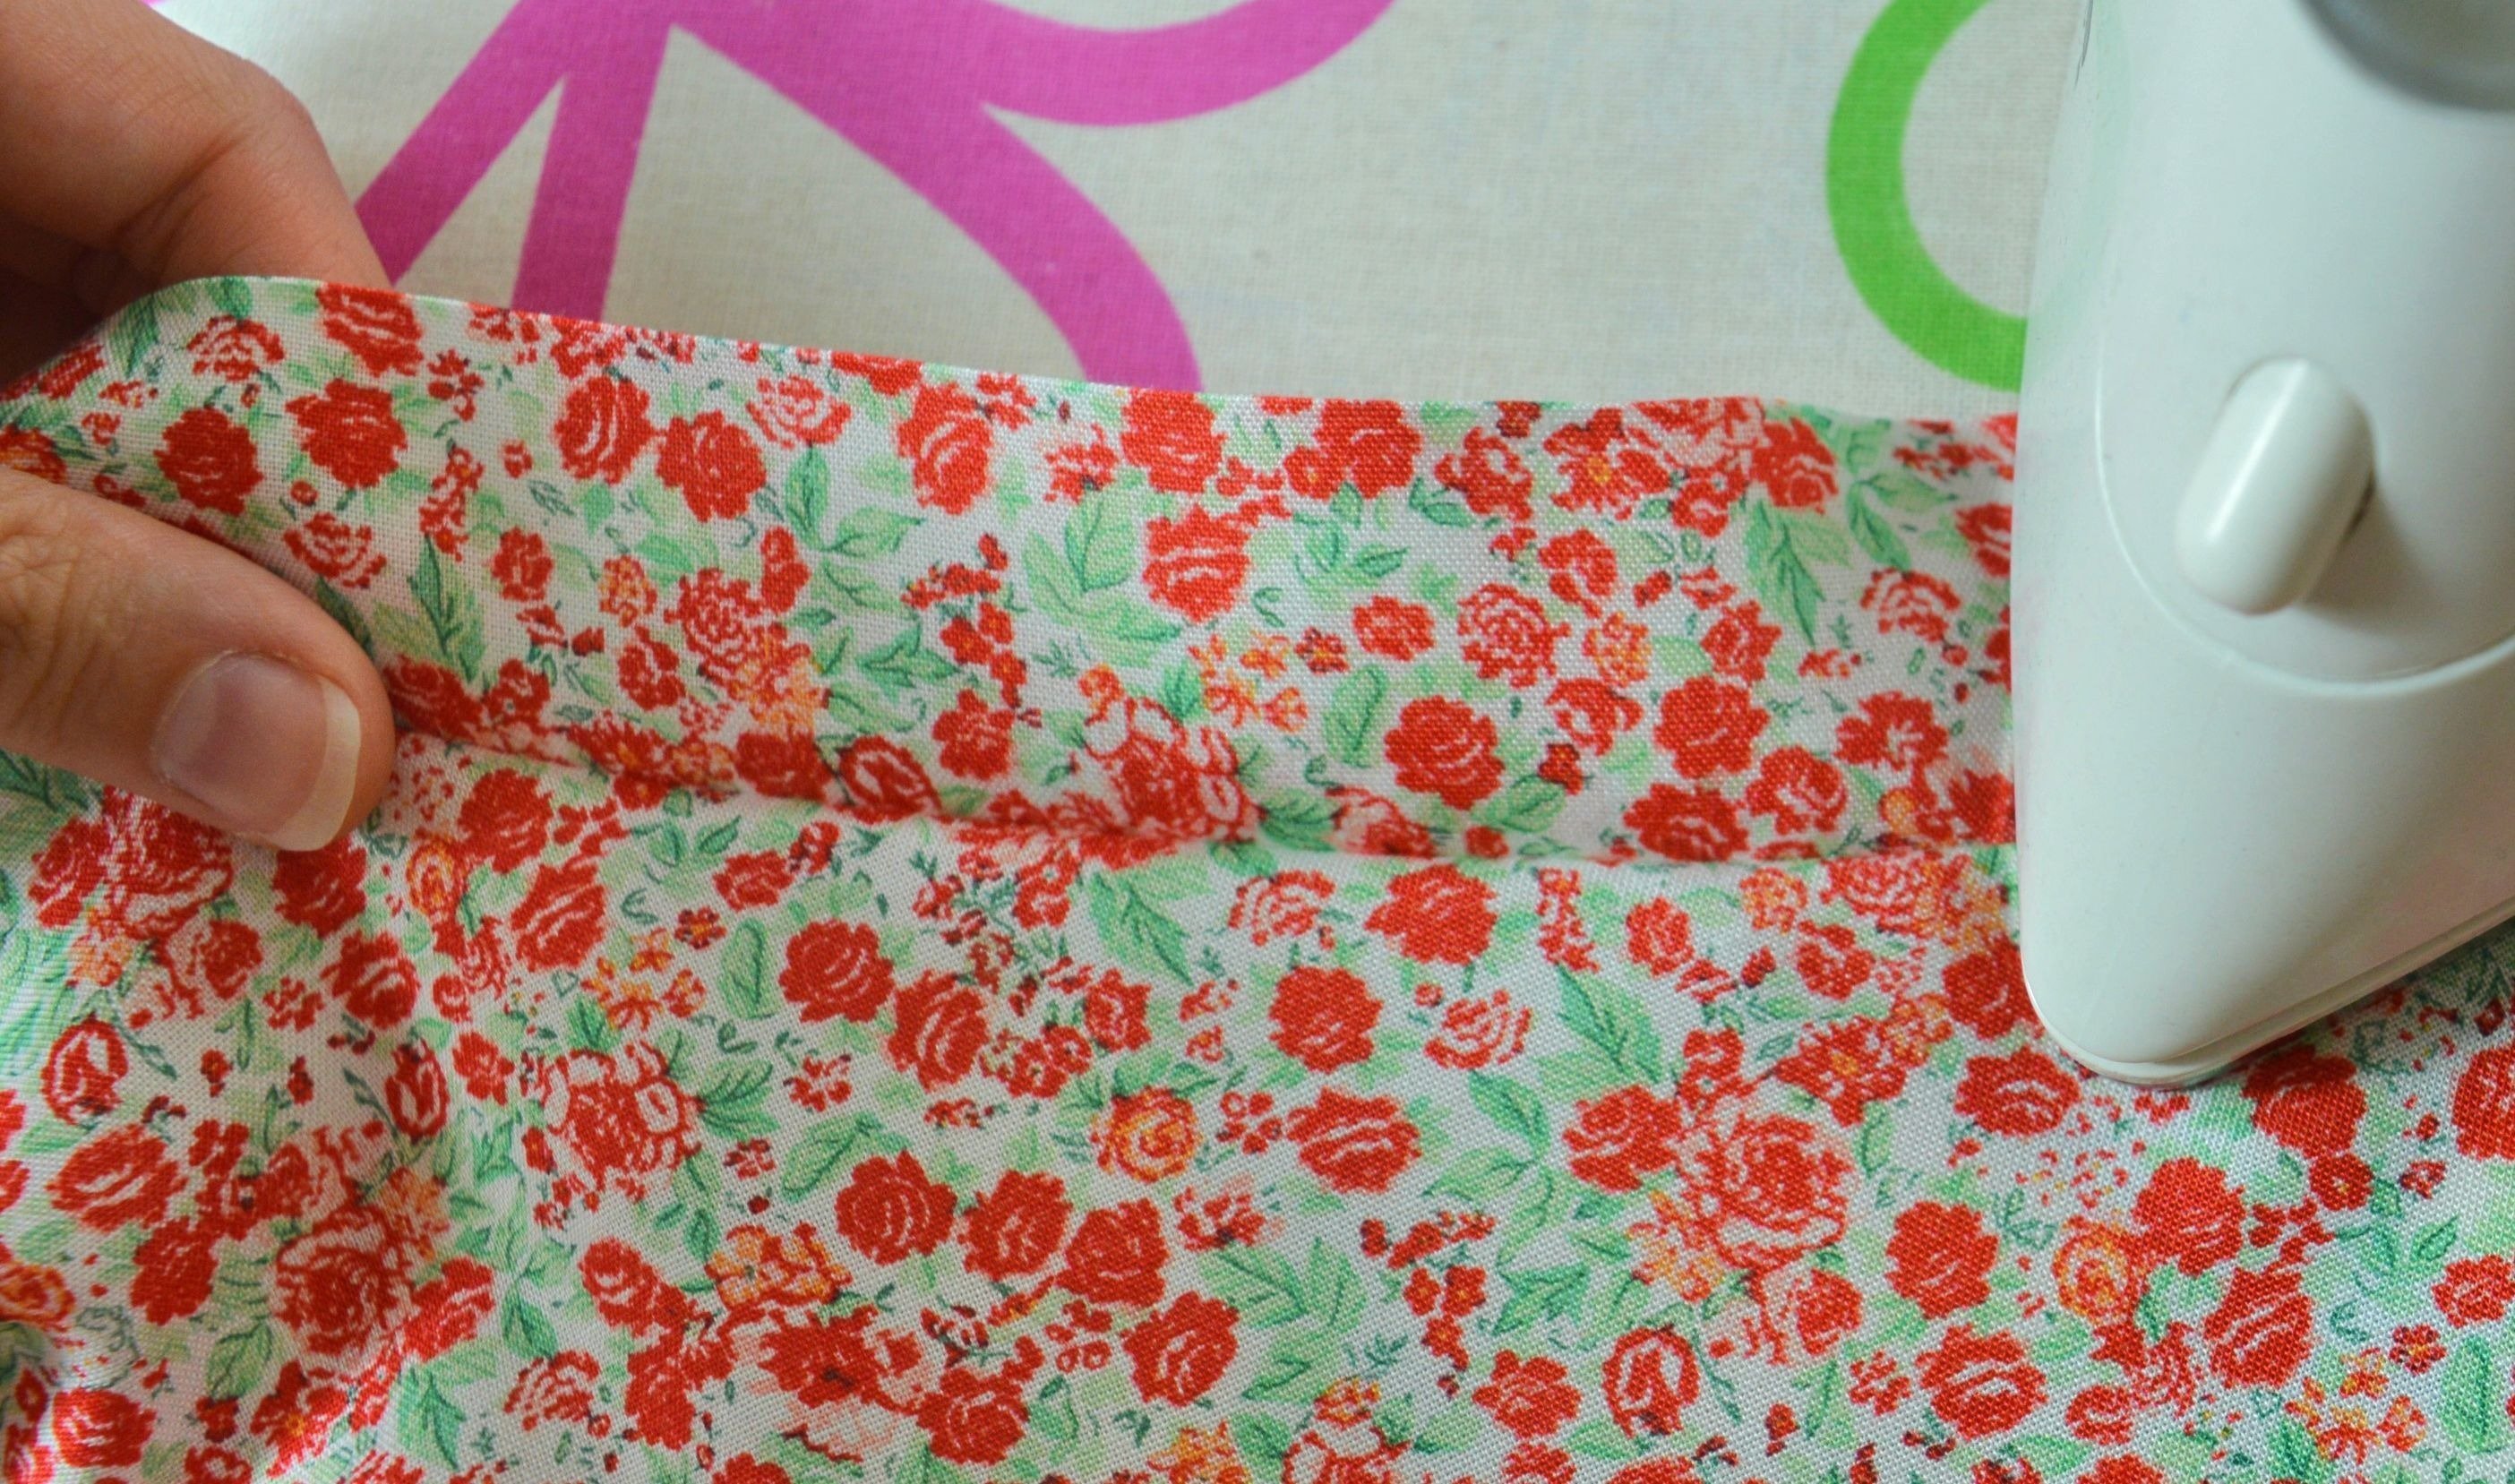
Press the seam with your iron.
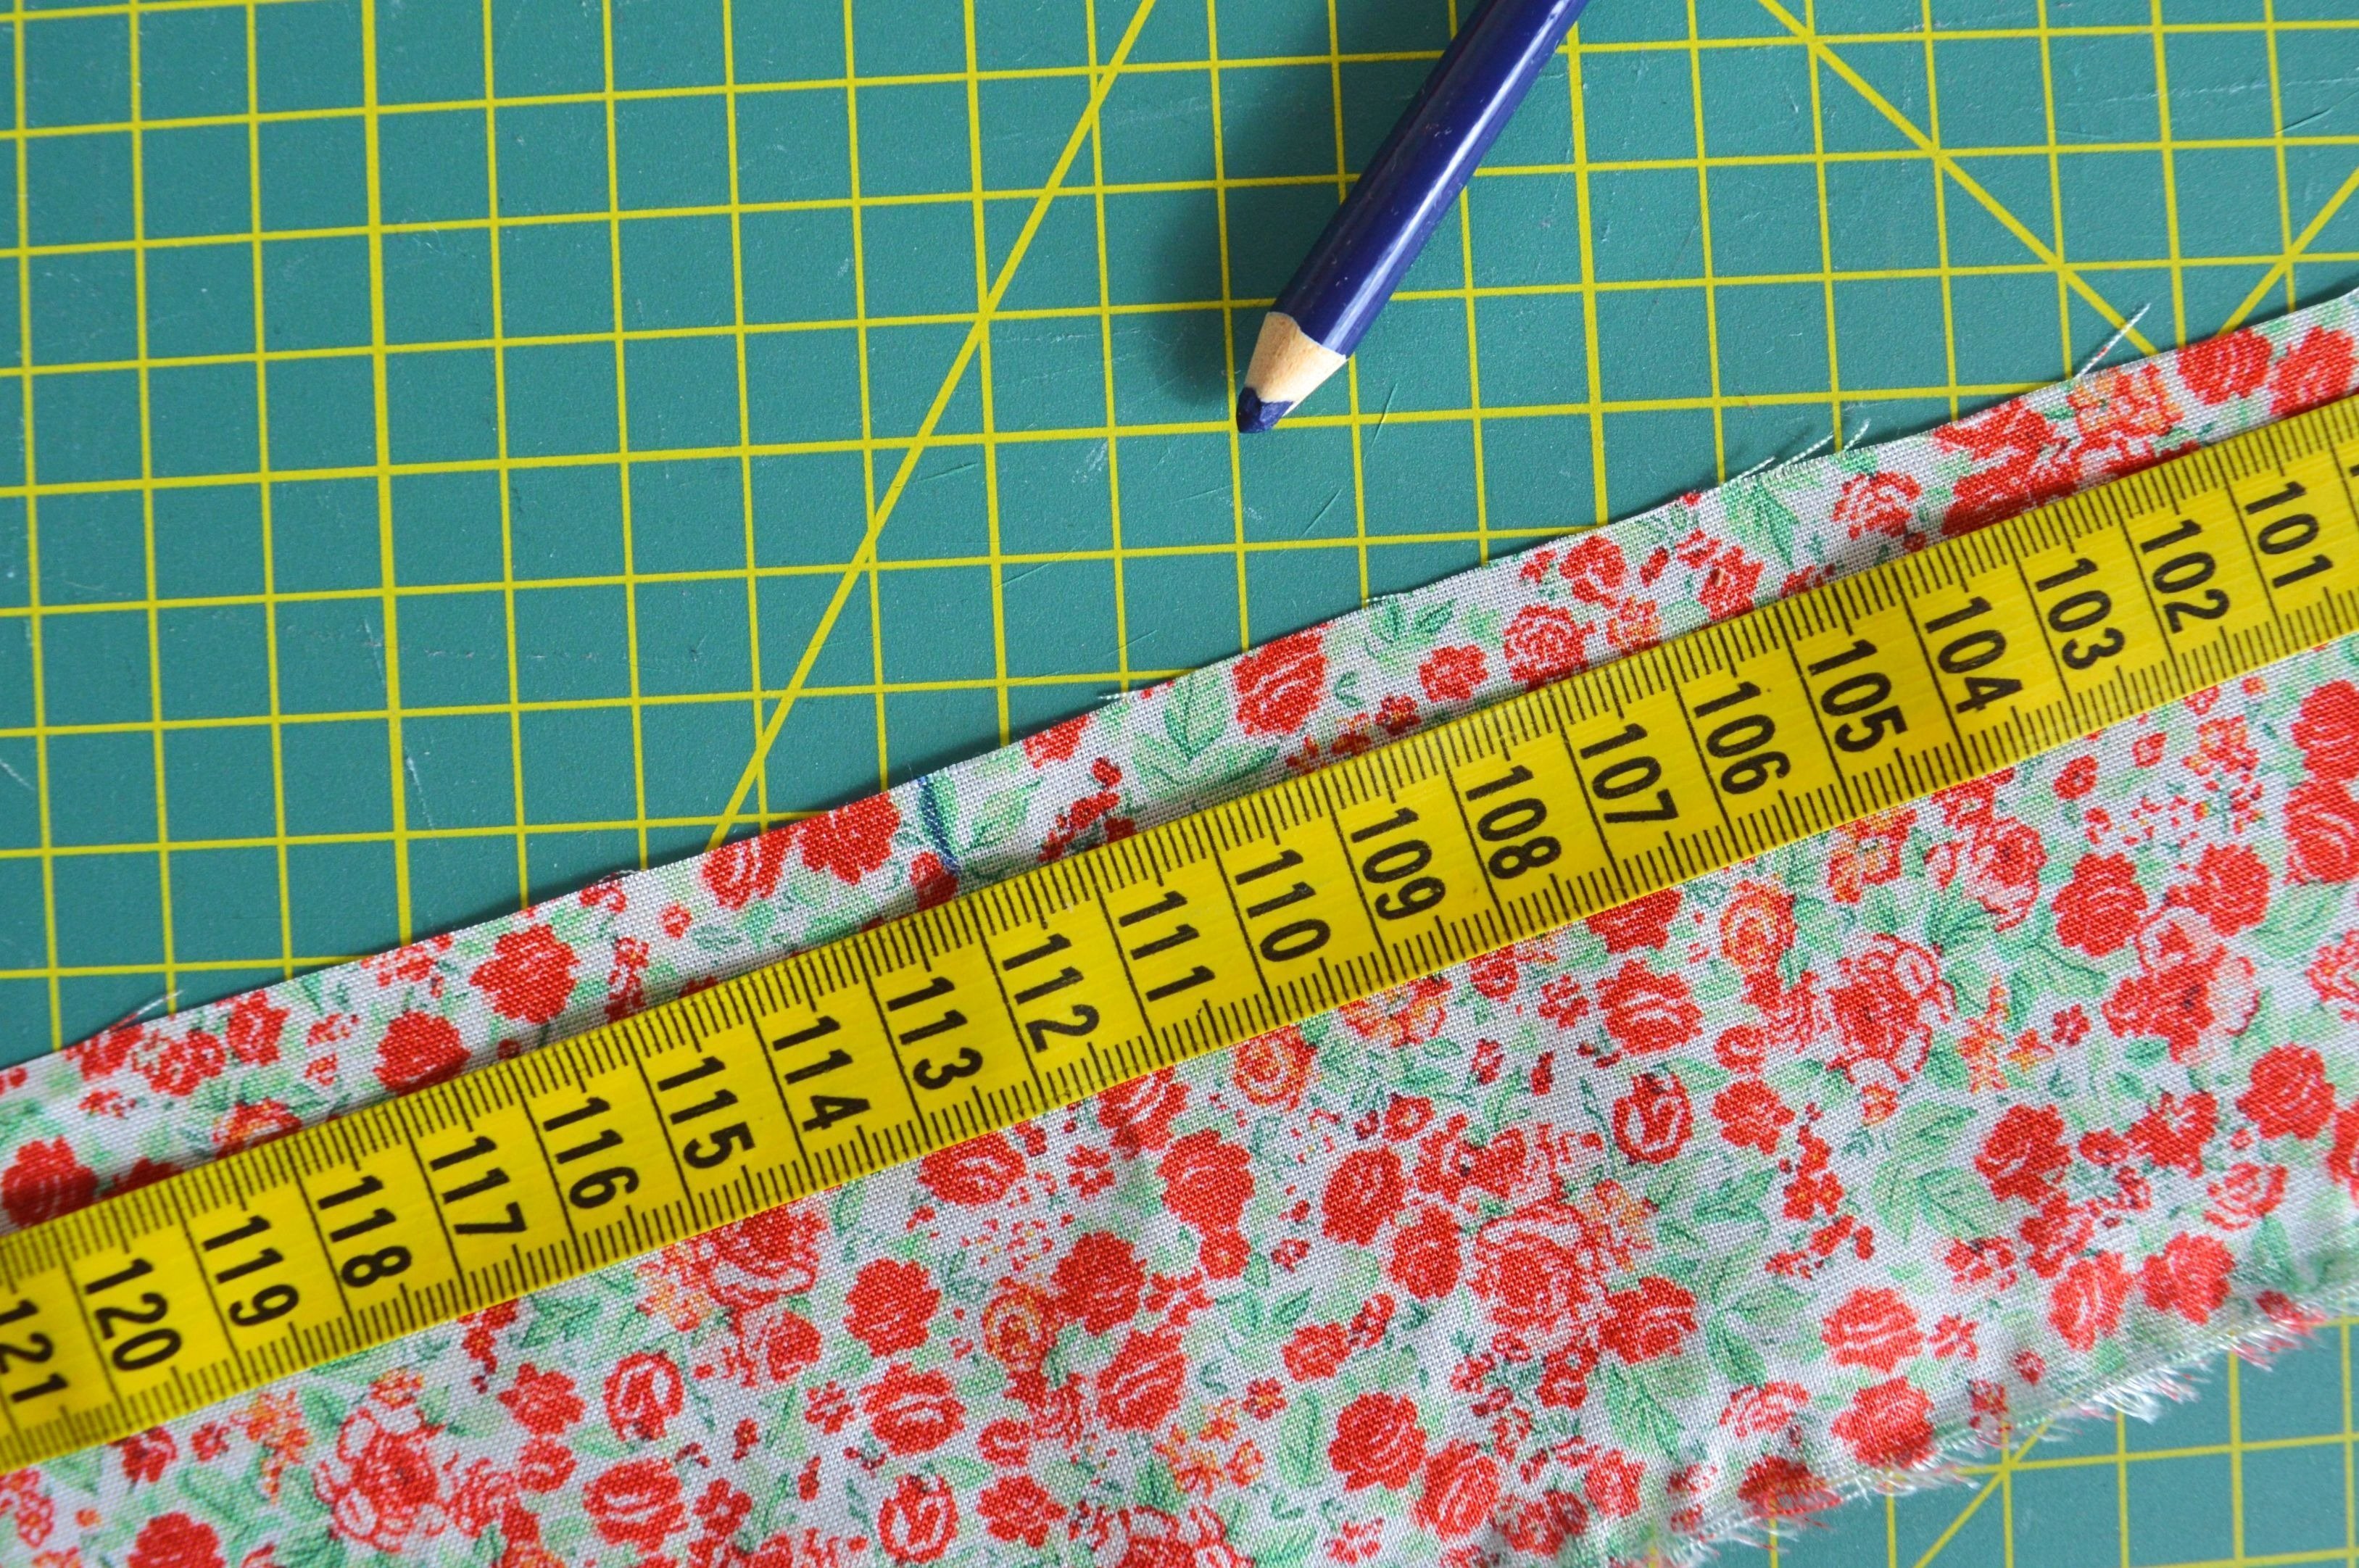
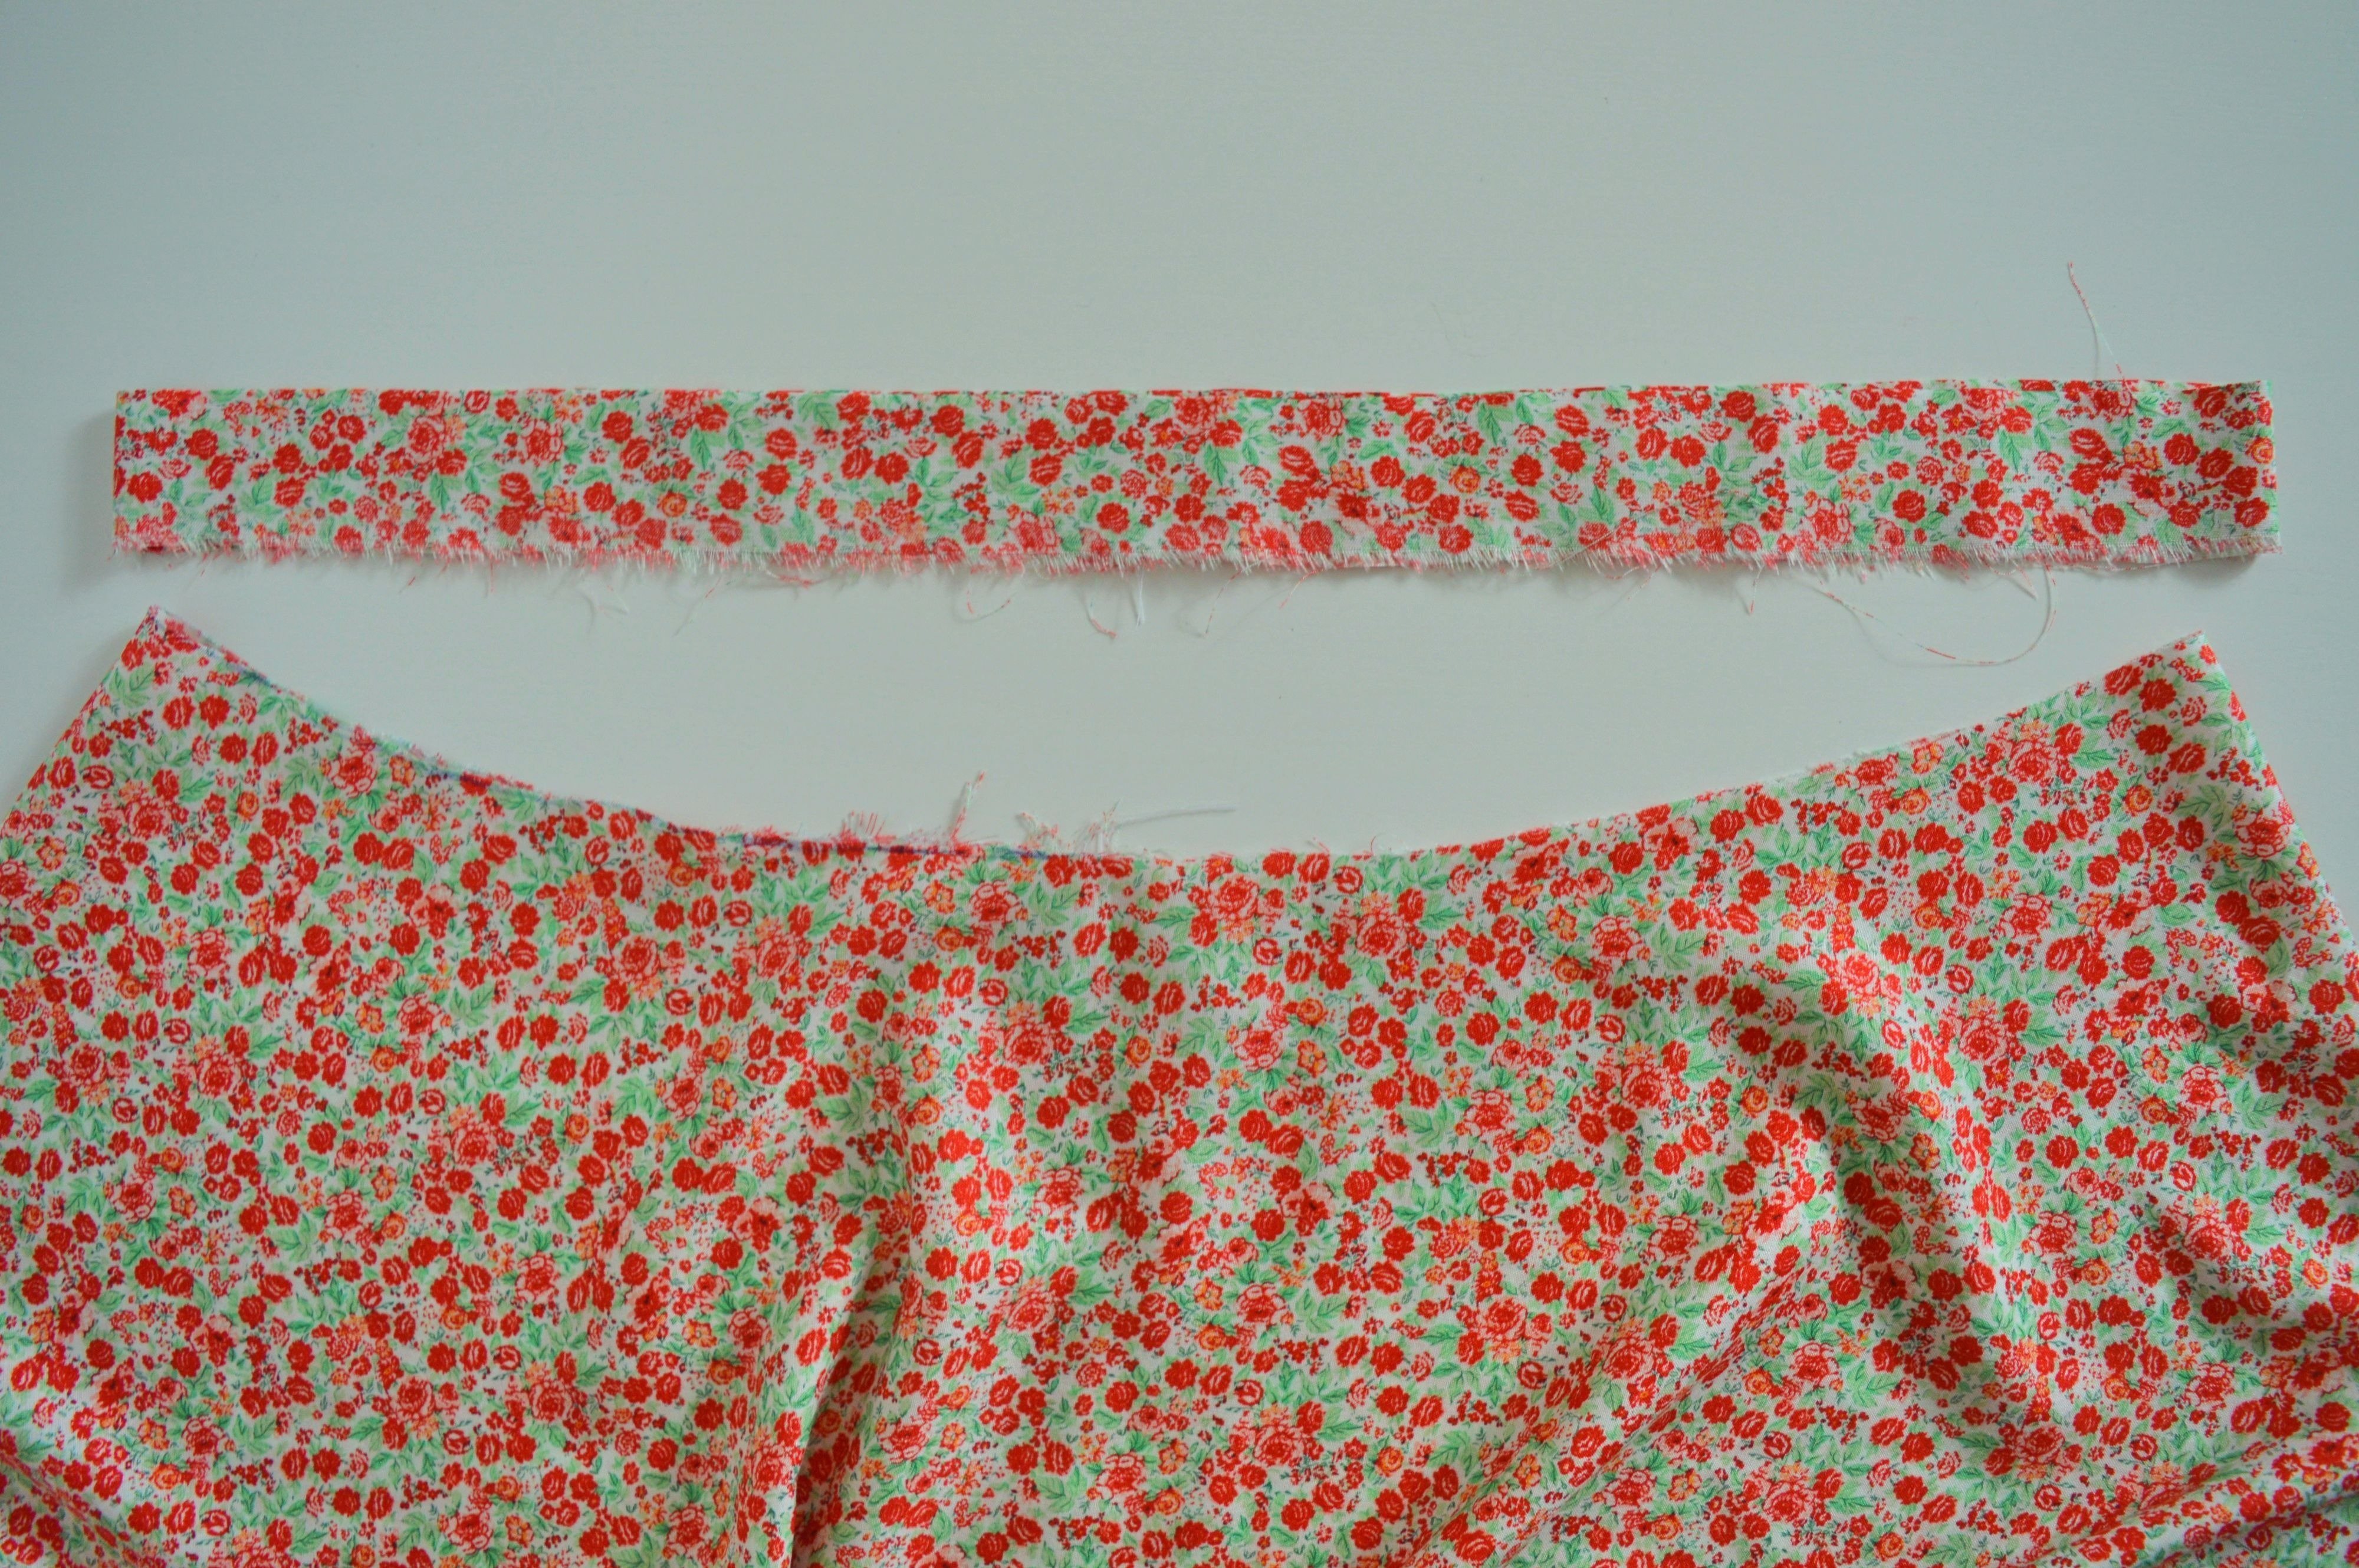
We’ve already cut off the fabric for waistband (band 8 cm width).
Its width is 8 cm (for elastic width of 3 cm), and now we cut the length = HIPS +10 cm + 2 cm seam allowance.
MY SKIRT The measurements for my waistband were 9 cm width (my elastic was 3,2 cm) and 112 cm long (including seam allowance).
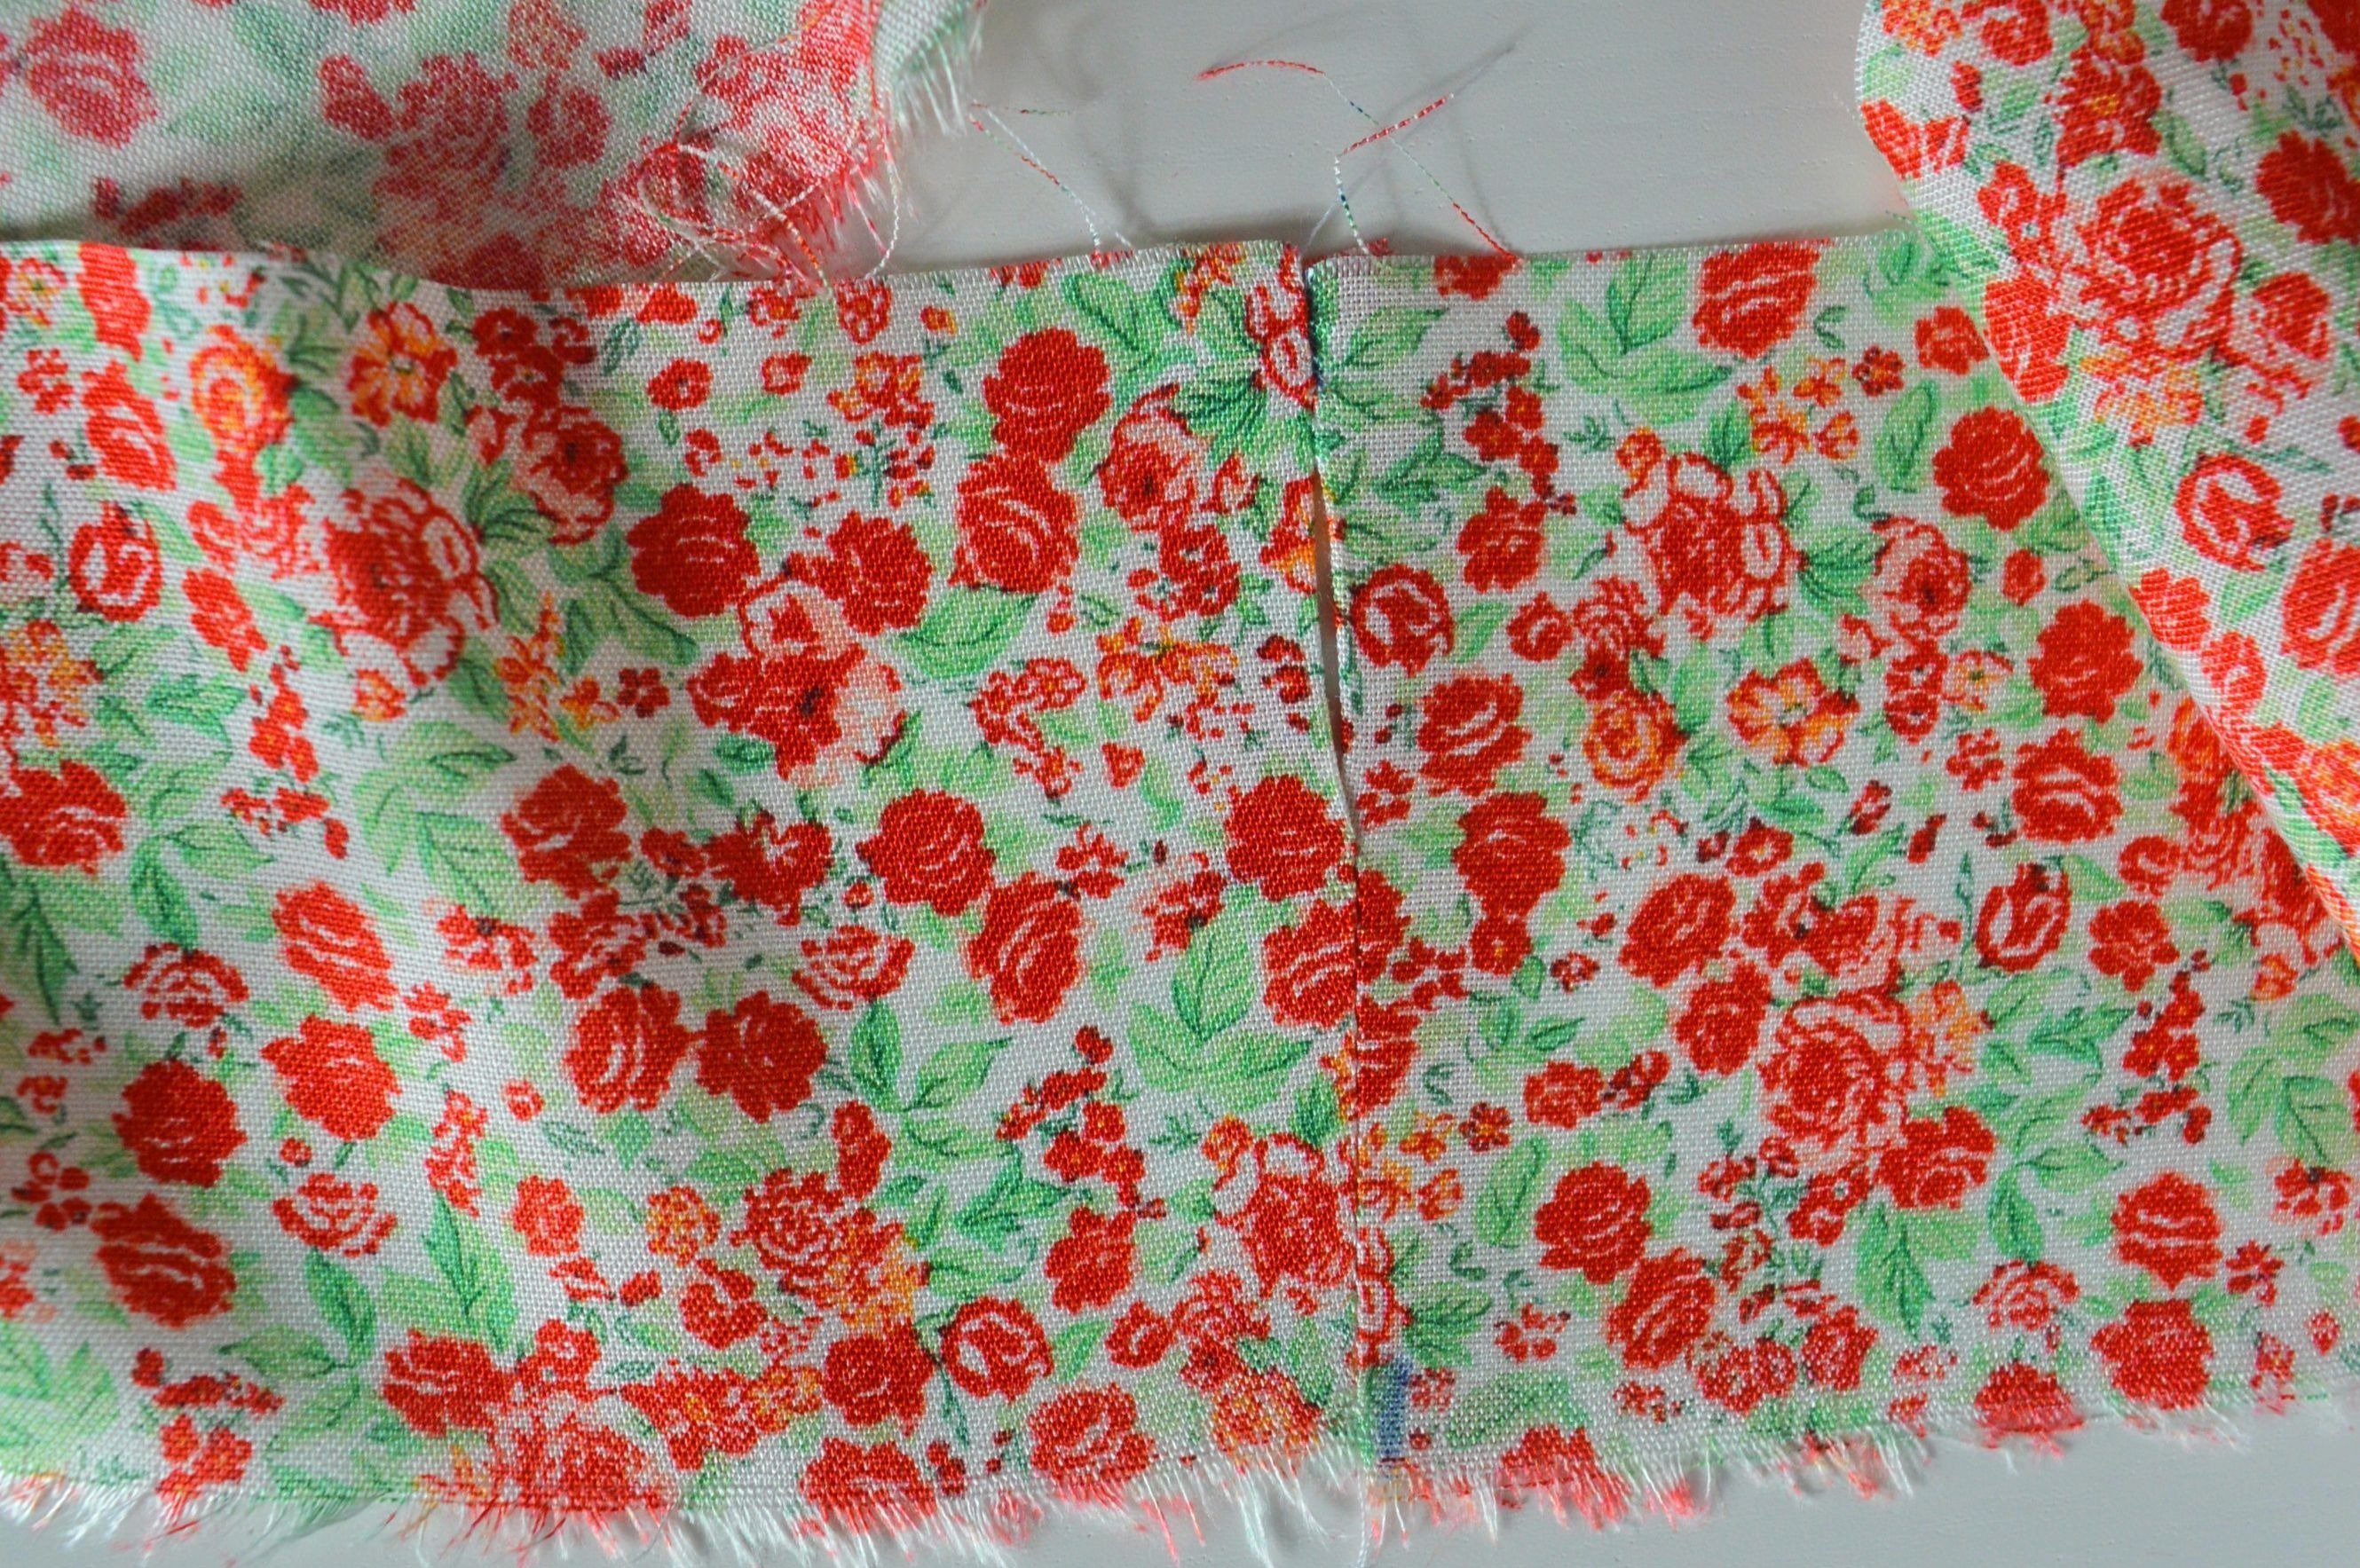
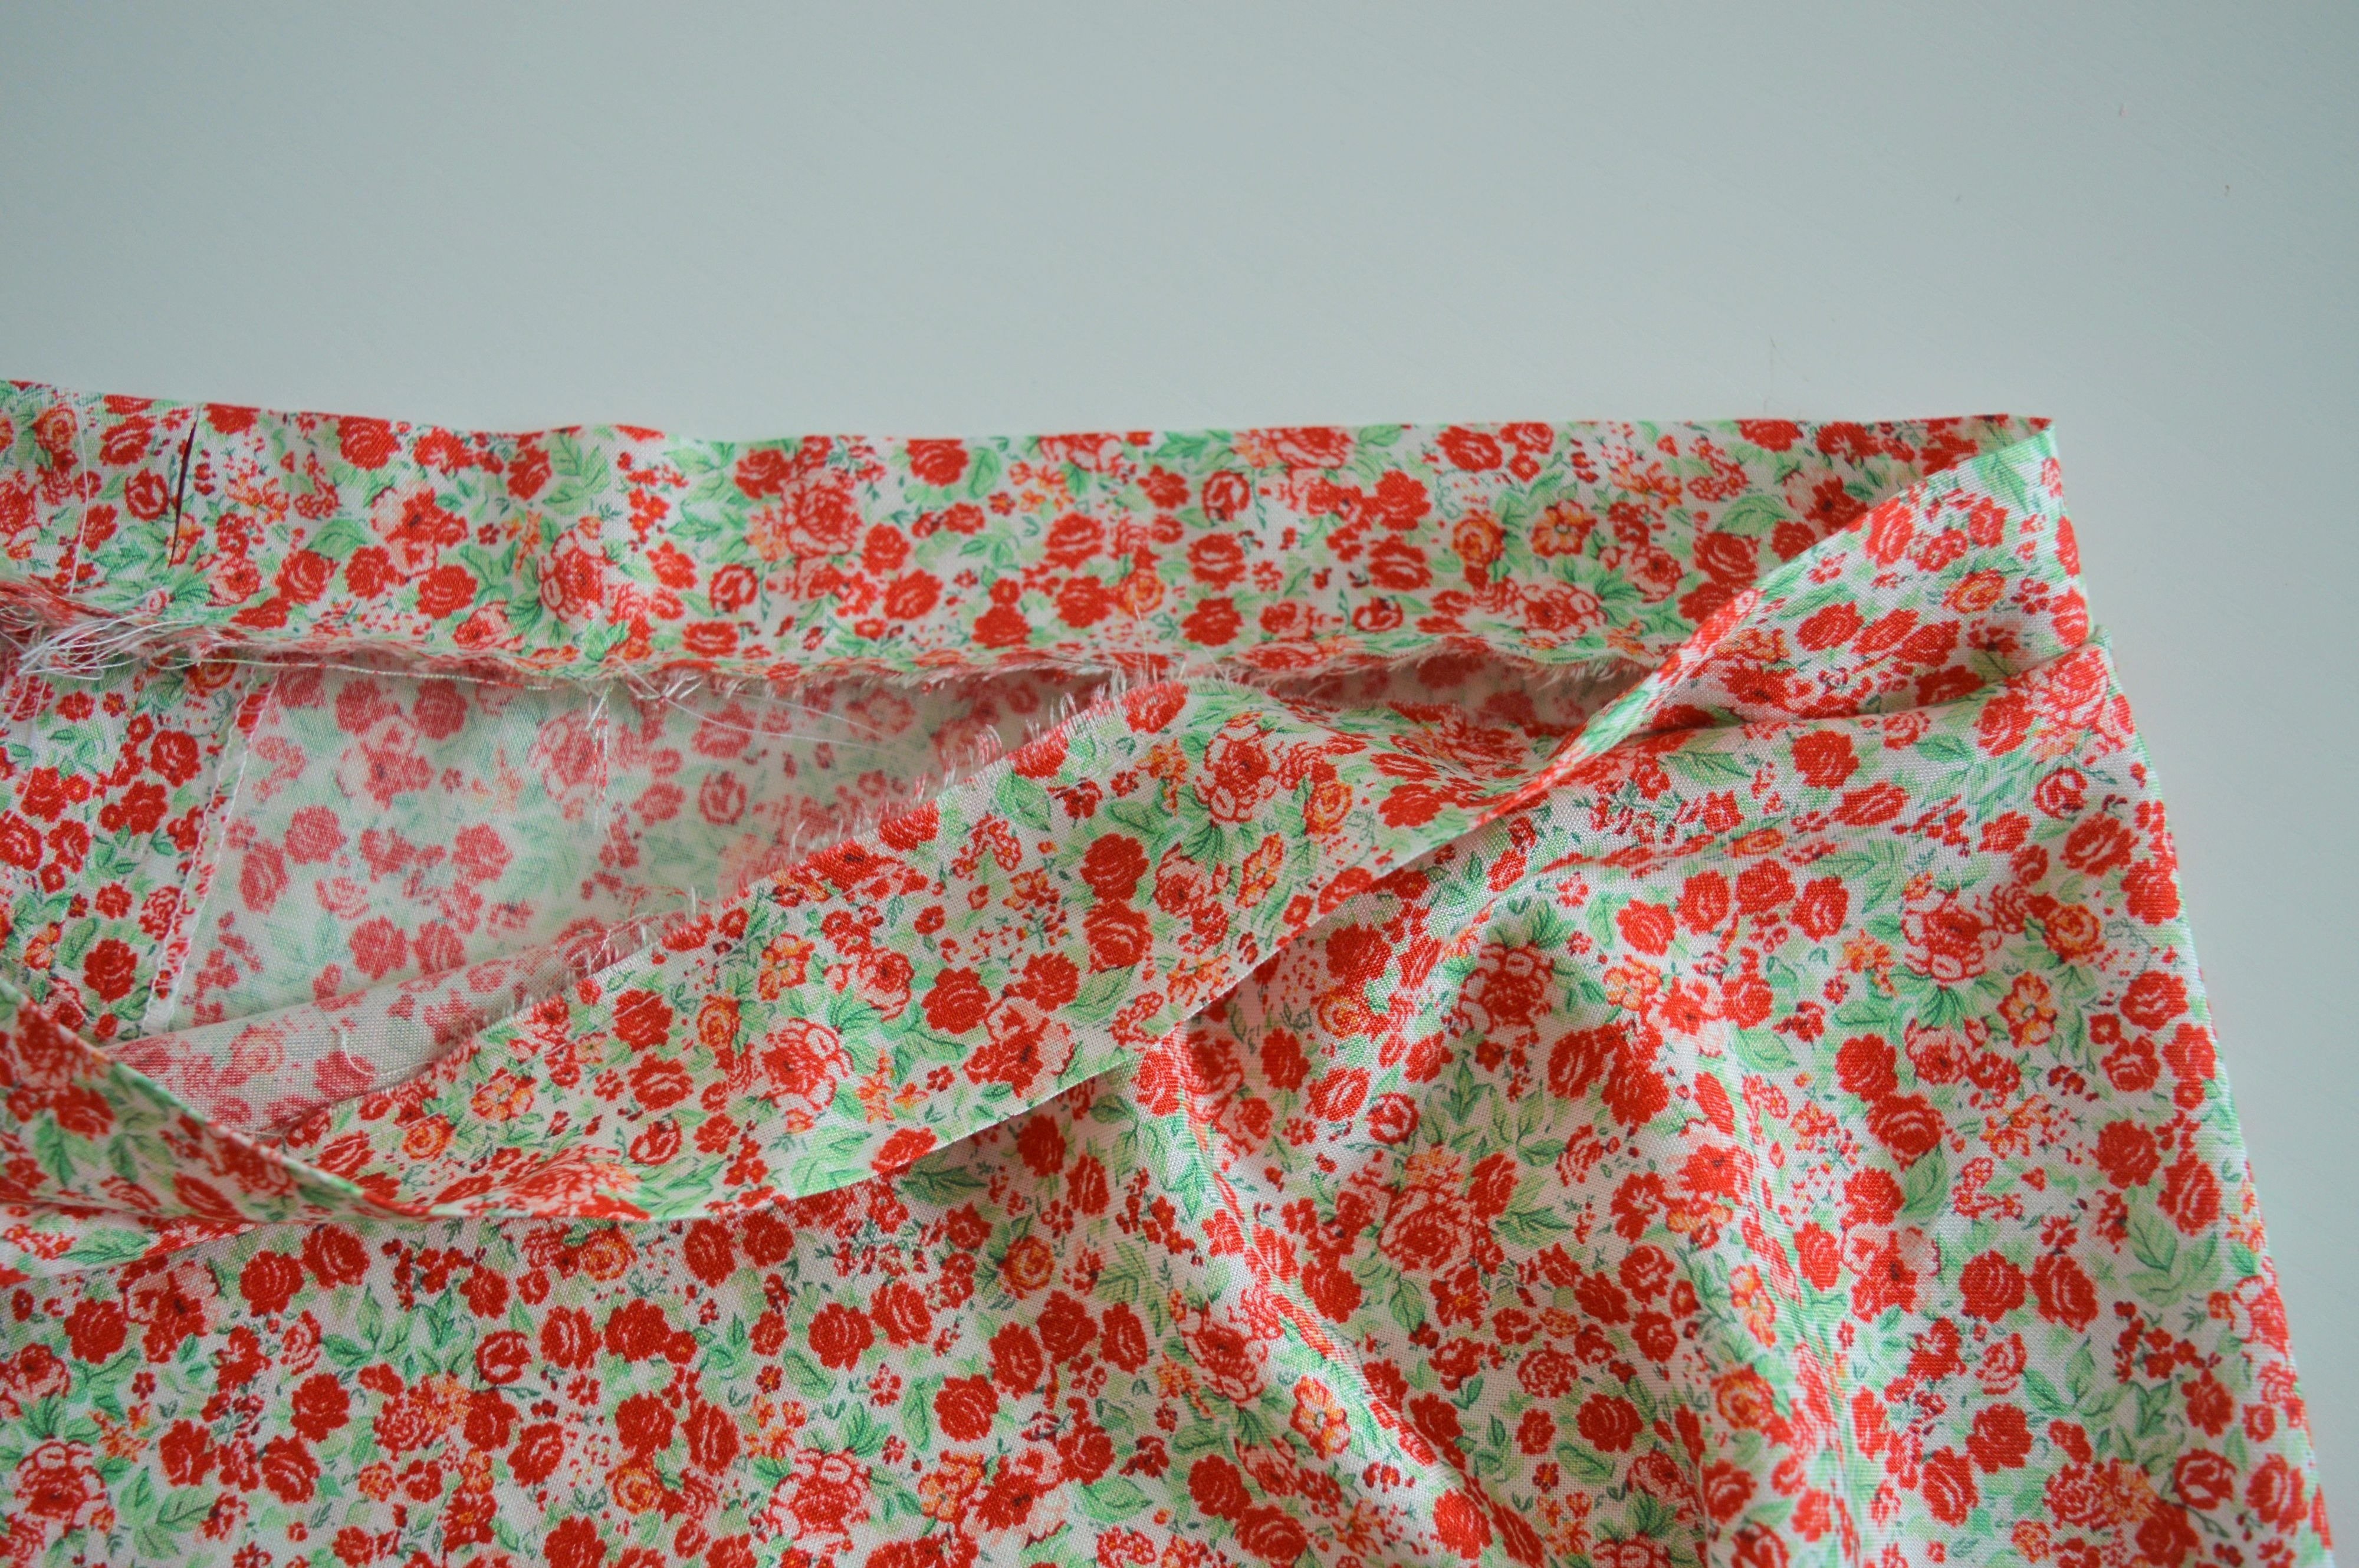
Connect the ends of the waistband to one another, so that the right side is on the right side, stitch it but you leave the hole for the elastic. We will do this so that we stitch 1.5 cm, leave 2 cm unstitched and then until the end stitch.
!!! The stitch is sewn 1 cm from the edge.

Press it with iron.
Fold the waistband to half and press it.

finished Waistband
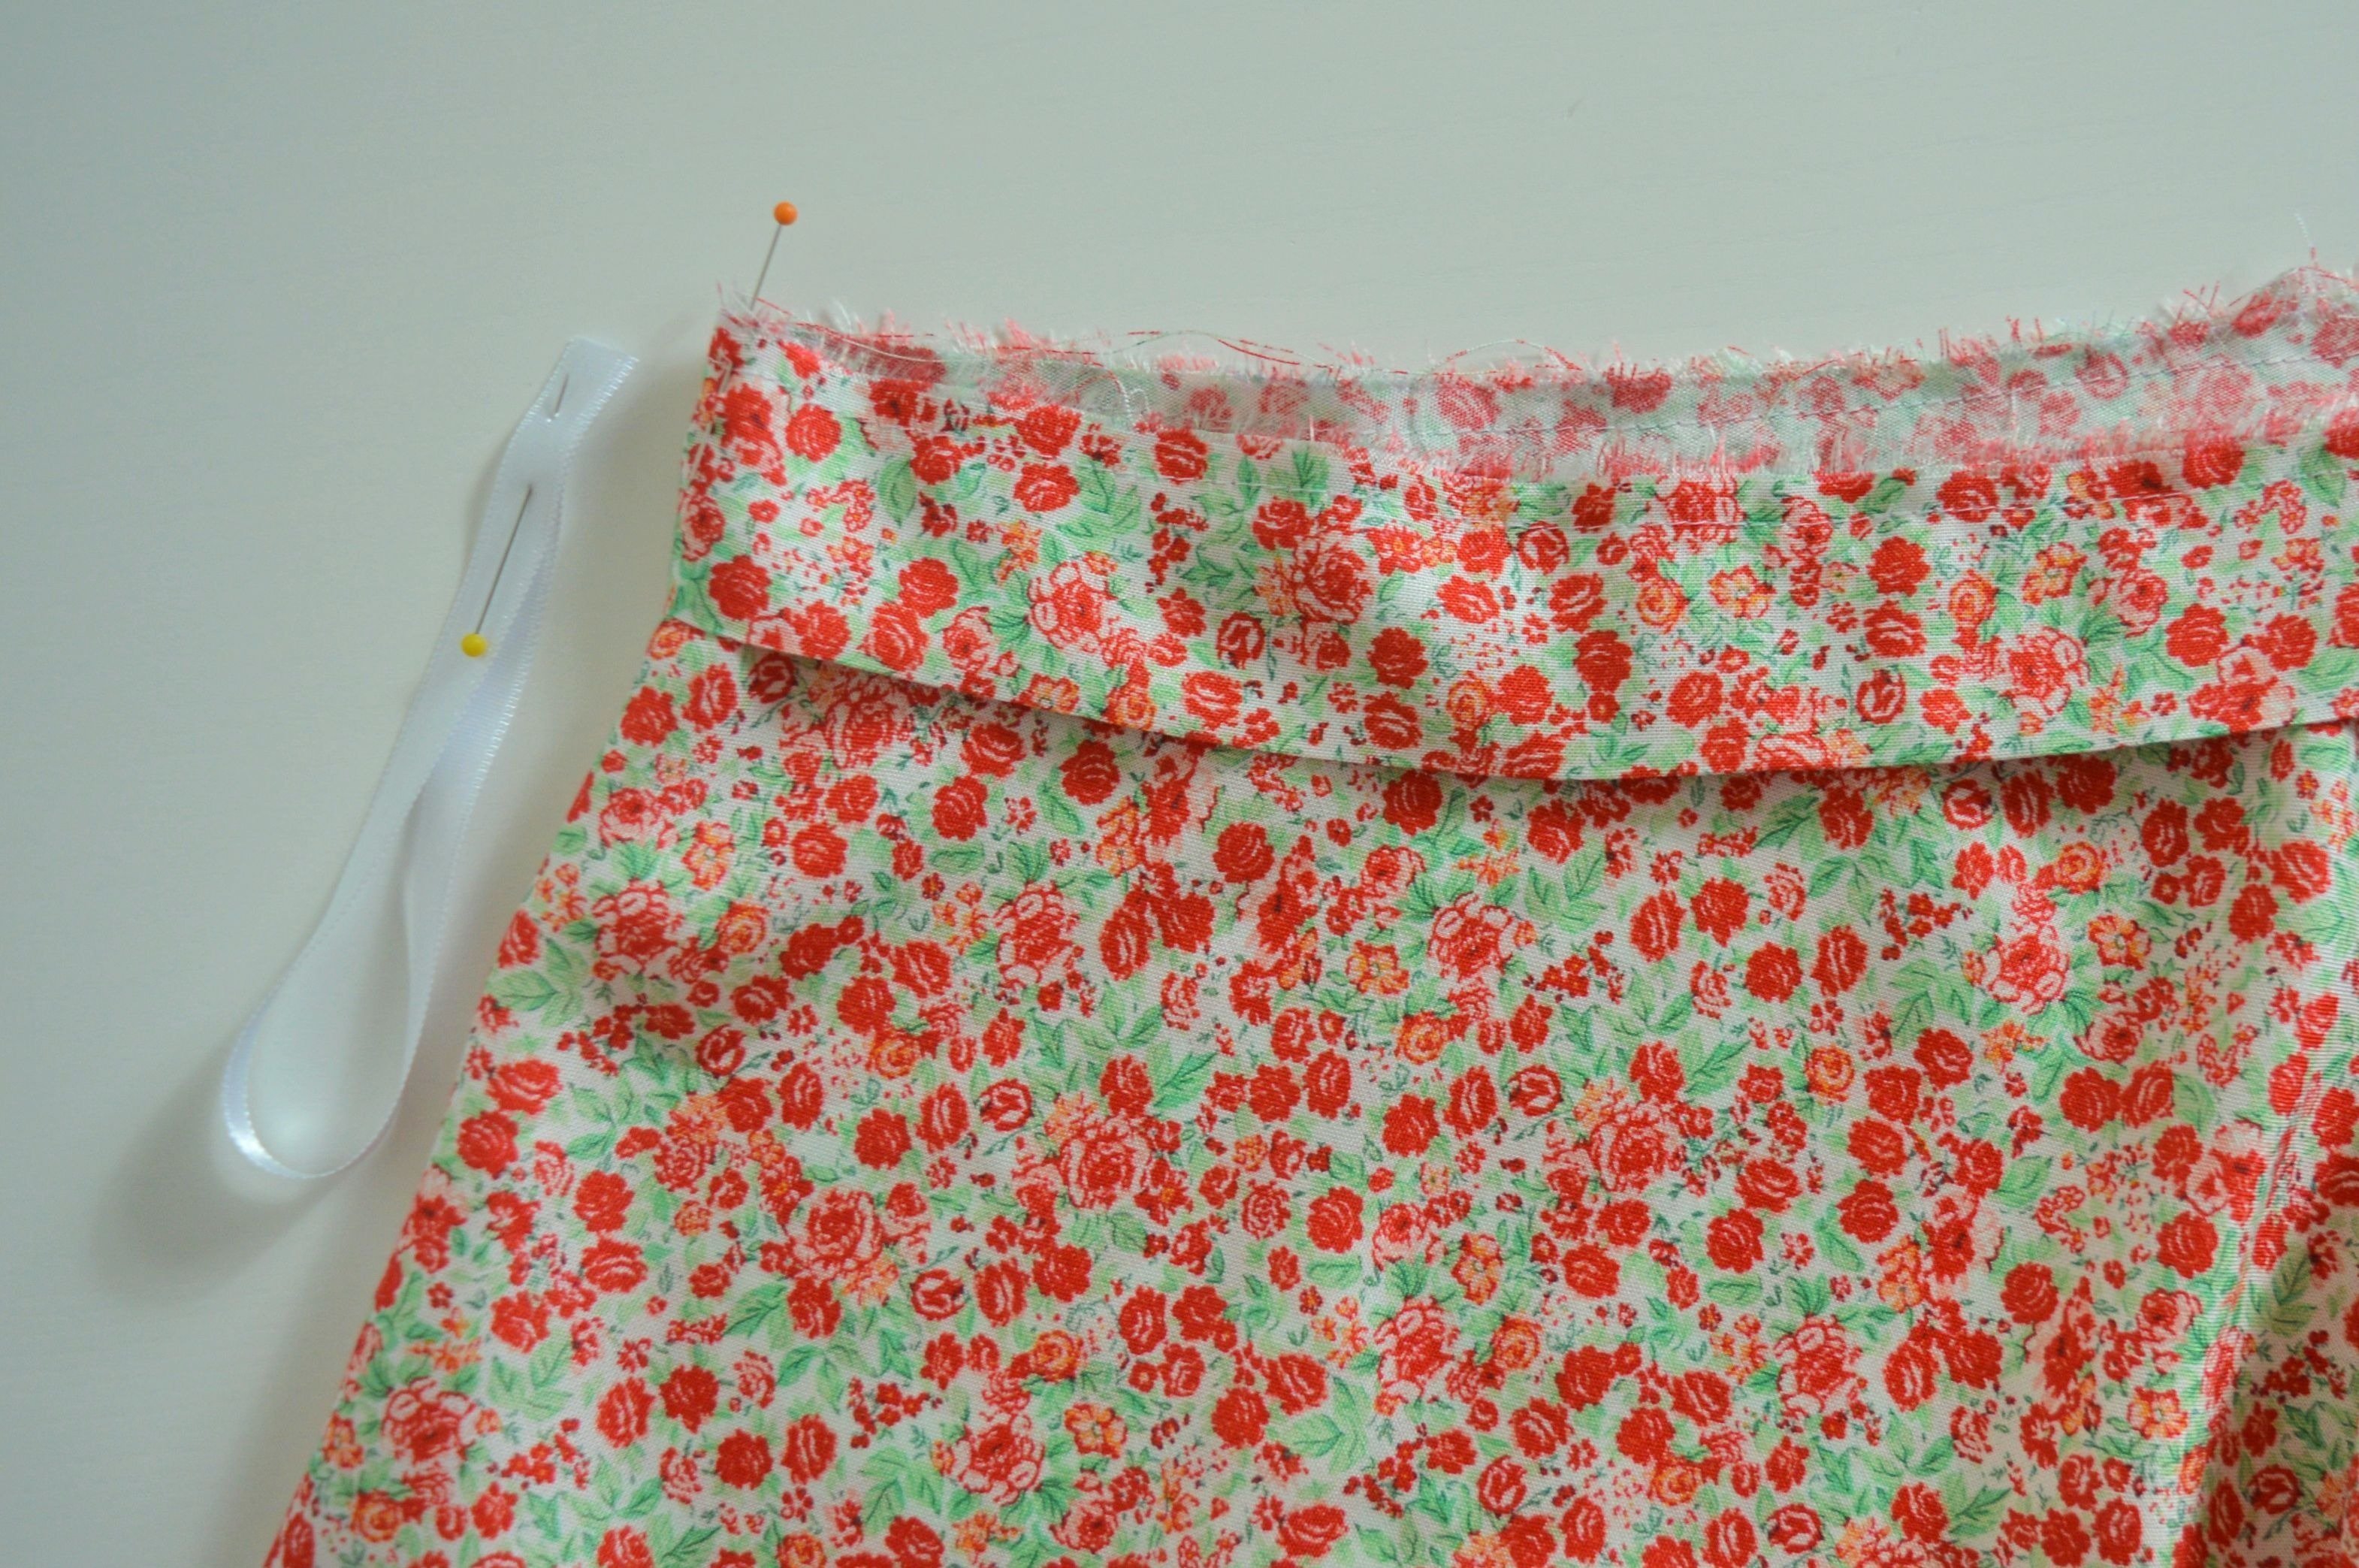
The waistband is completed, it remains to stitch it with the body skirt.
The right side of the waistband is the one on which it is not the opening and pin that with the right side of the skirt and stitch it.

!!! Reverse-pattern foot #1, plain seam #1, the stitch length 2,5
!!! The stitch is sewn 1 cm from the edge.
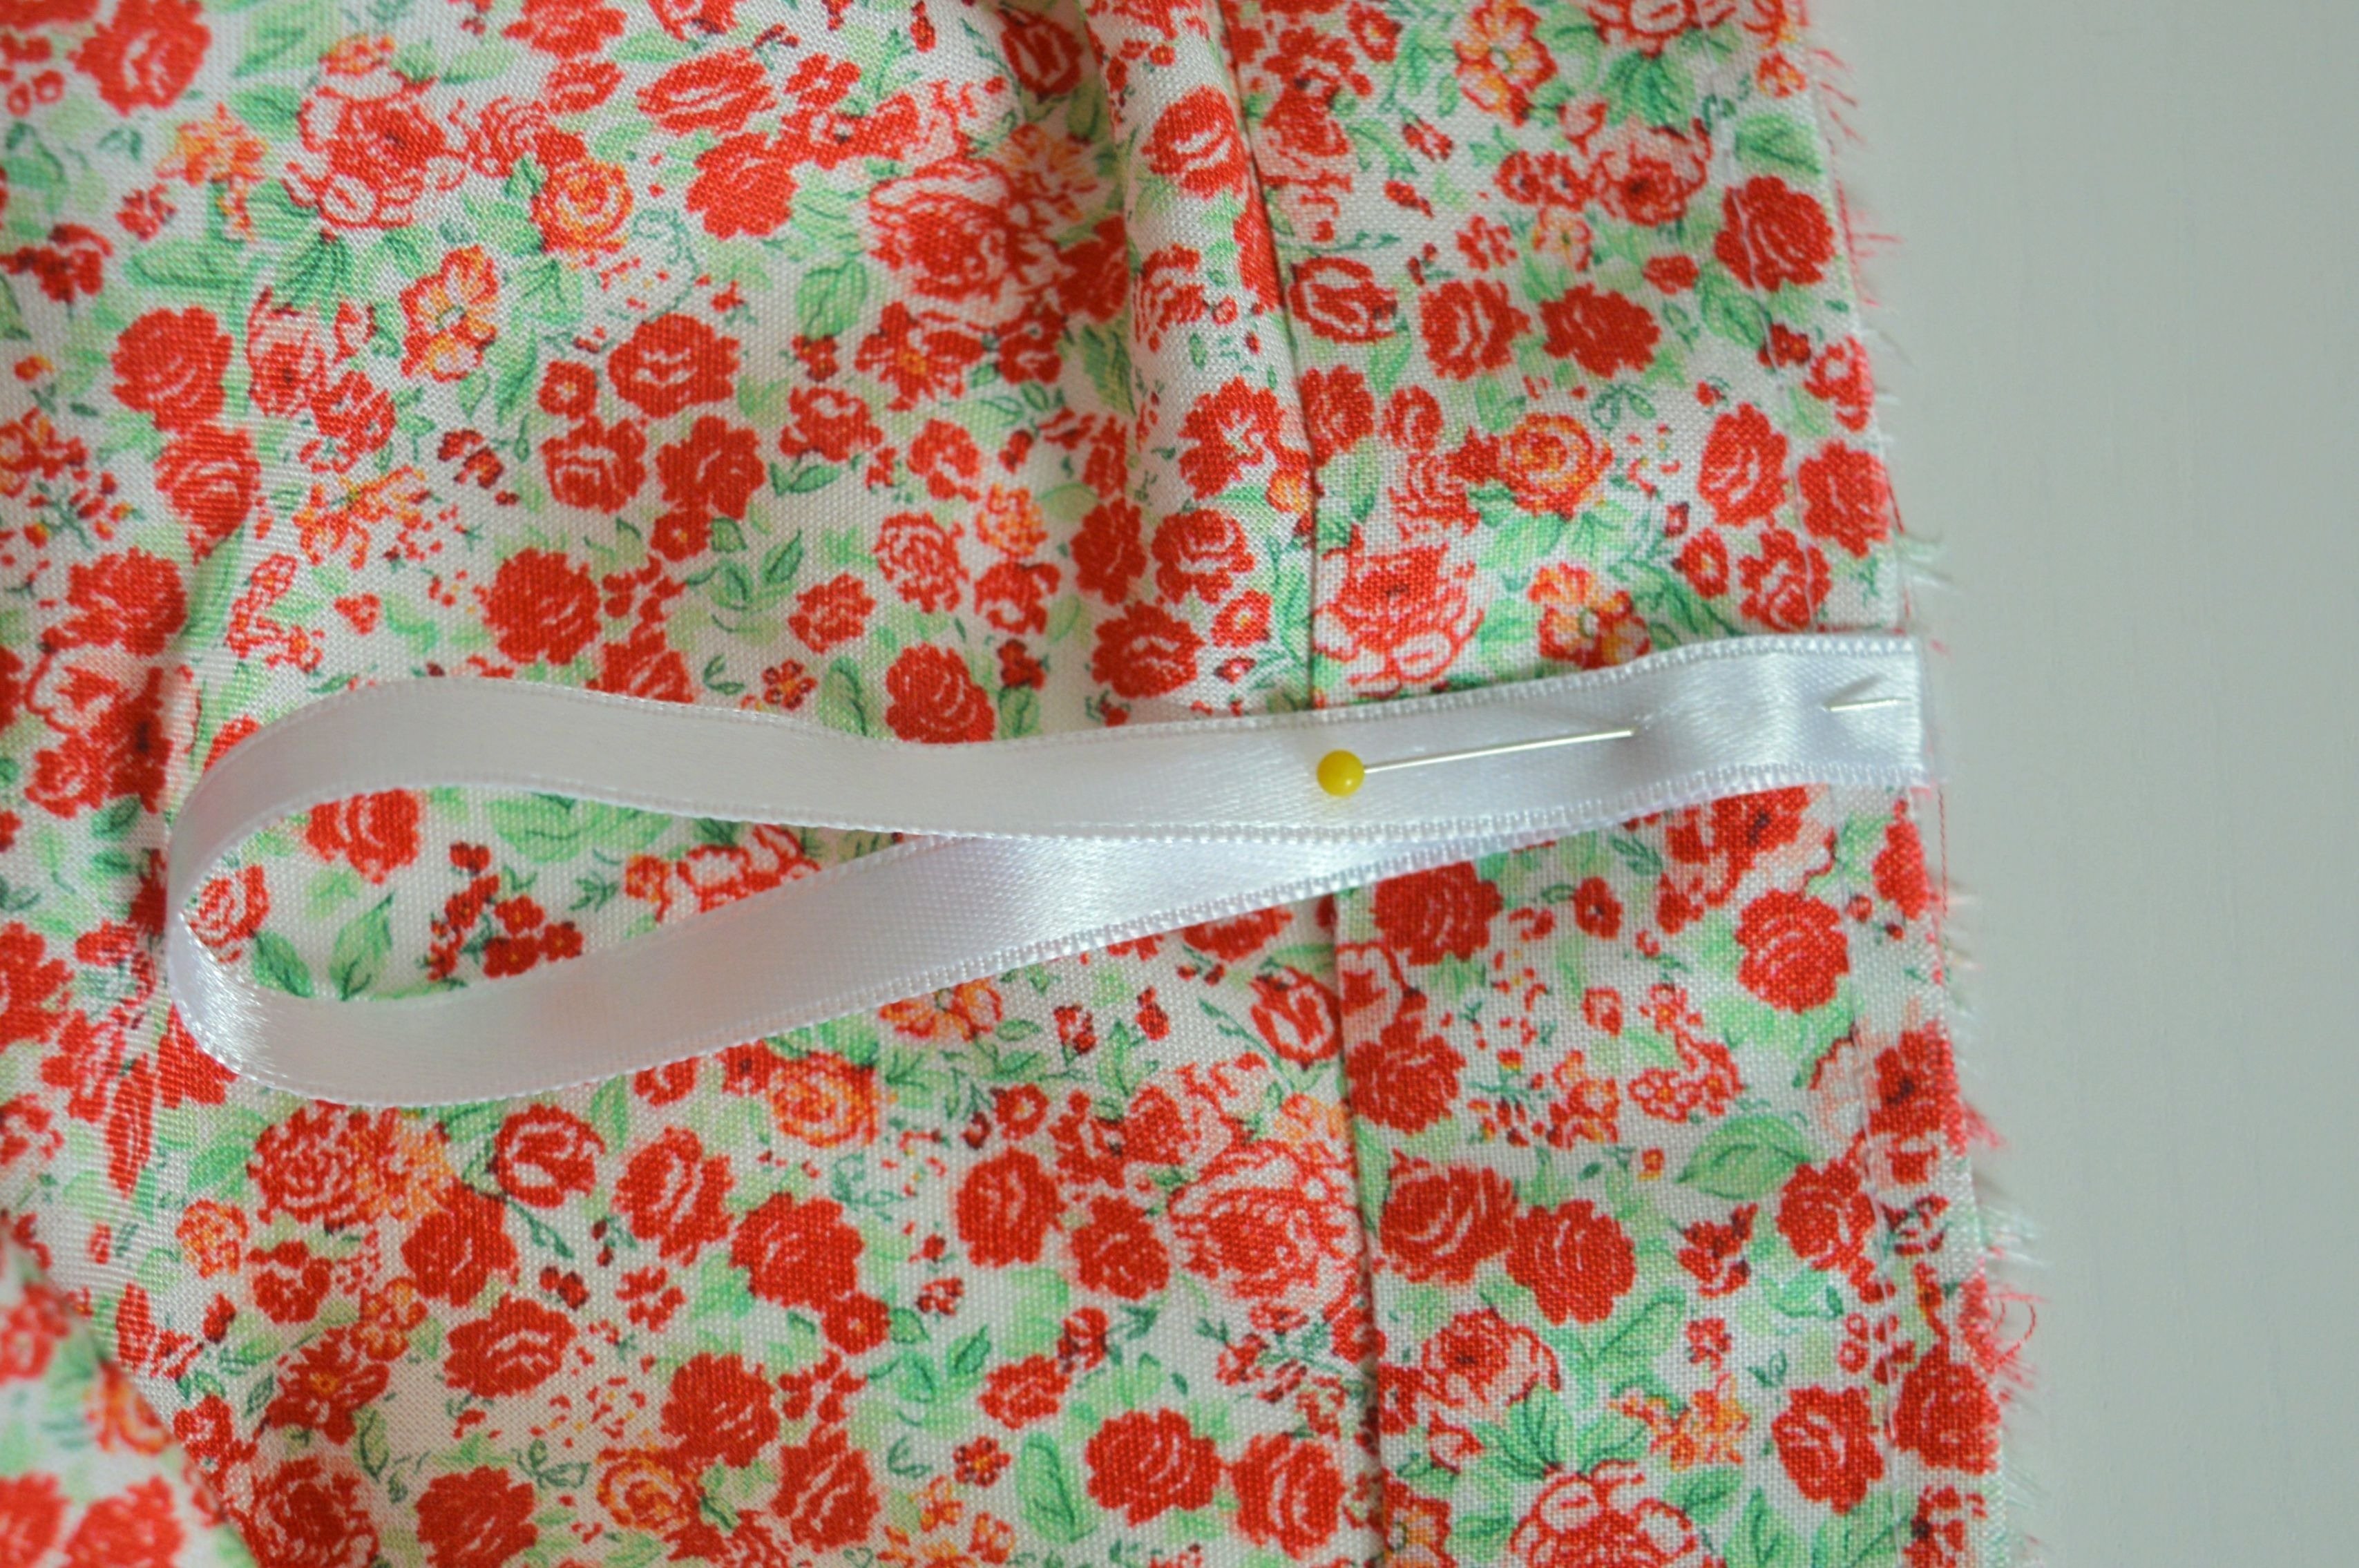
All my skirts are hanging on hangers, so I always put lanes of ribbon on the sides on the waistband and use for that double-sided satin ribbon width up to 1 cm. I cut out two times ribbon the length of 20 cm, fold and I sew them on the skirt.
Handle this seam rest with the overlocker or zigzag seam #2.
Flip the waistband up and press.
Now let’s do the bottom edge of the skirt.
Doing this hem in many ways is possible.
The first method is to fold the 0.5 cm in the bottom inward, then iron and again fold 0.5 cm, iron and sew it.
The second, it can be made with bias tape. From the remains of the fabric is possible to make bias tape (You can use a bias tape maker, to make that easier.).
The third method would be to use the overlock, i.e., rolled hem, the 2-thread stitch according to the instructions for sewing
The last, fourth, method would be to use some of the presser feet for narrow hems, which could be found in the rich offer of Bernina.
I decided to use straight-stitch hemmer, and there are two variants #62 and #64 depending on the width of the seam, 2 or 4 mm.
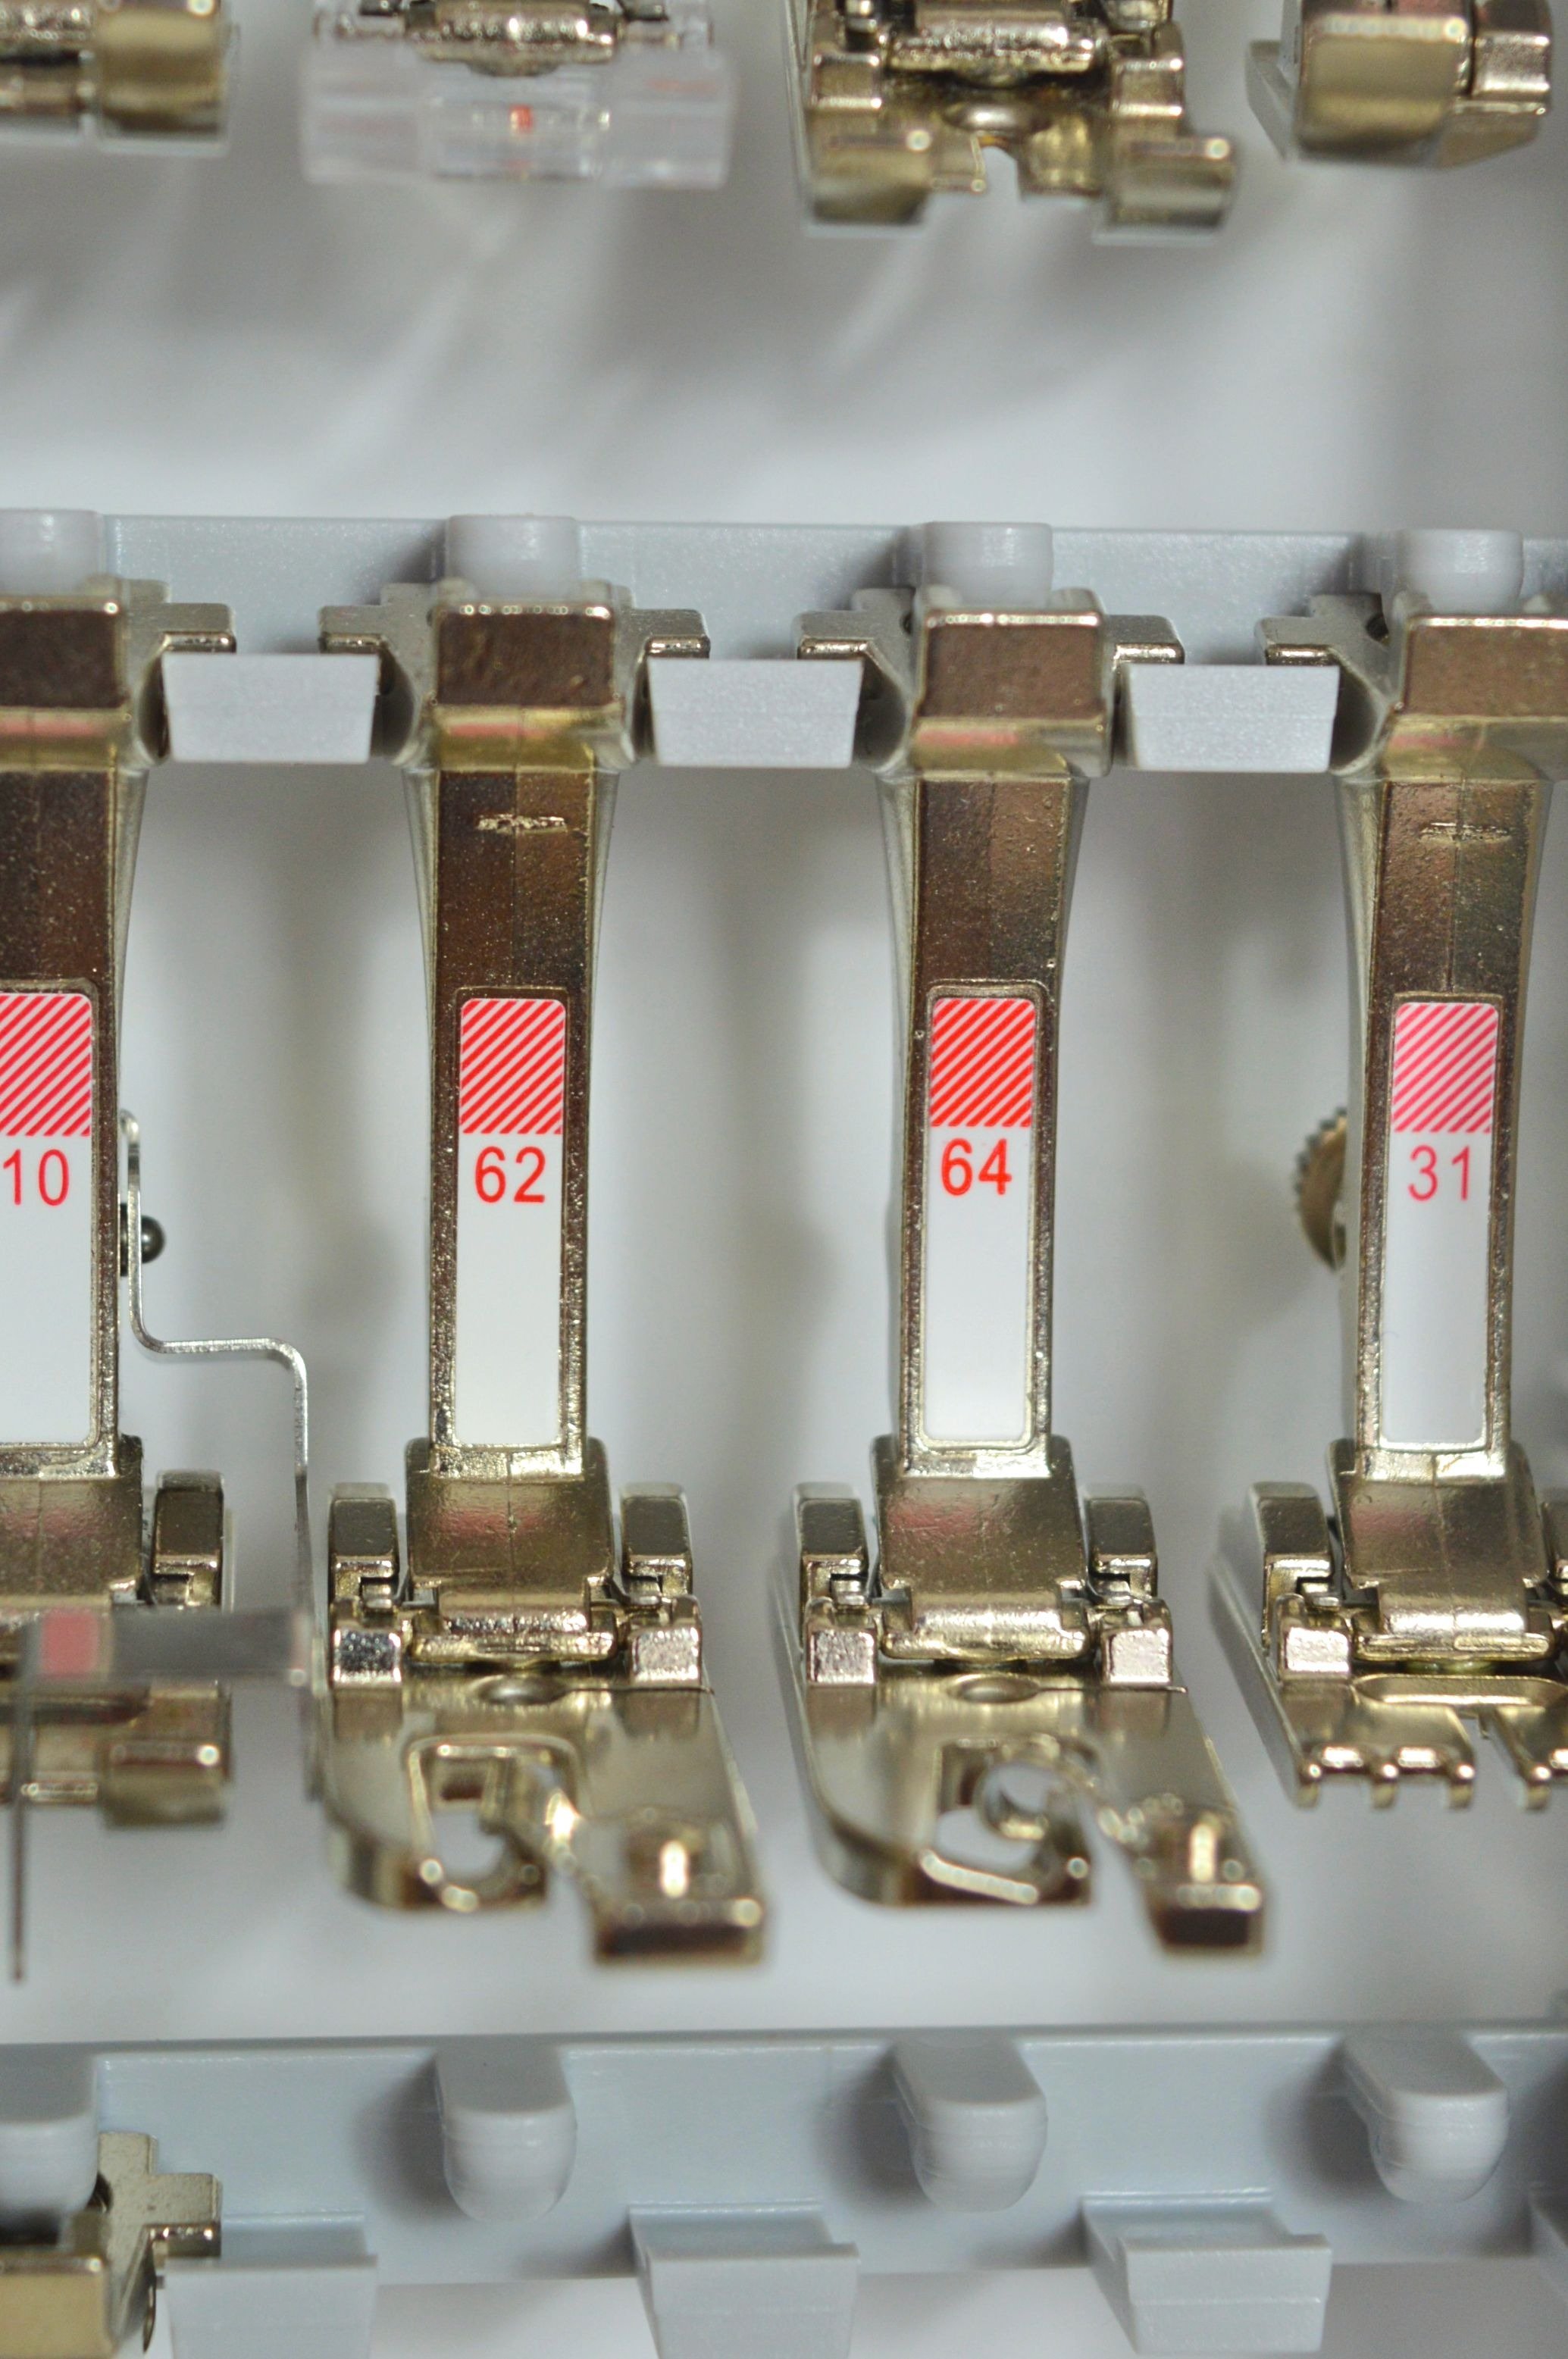
I hope you already have one of the mentioned feet for your sewing machine, I have both and although I was thinking to use #64, I used the #62 for this skirt.
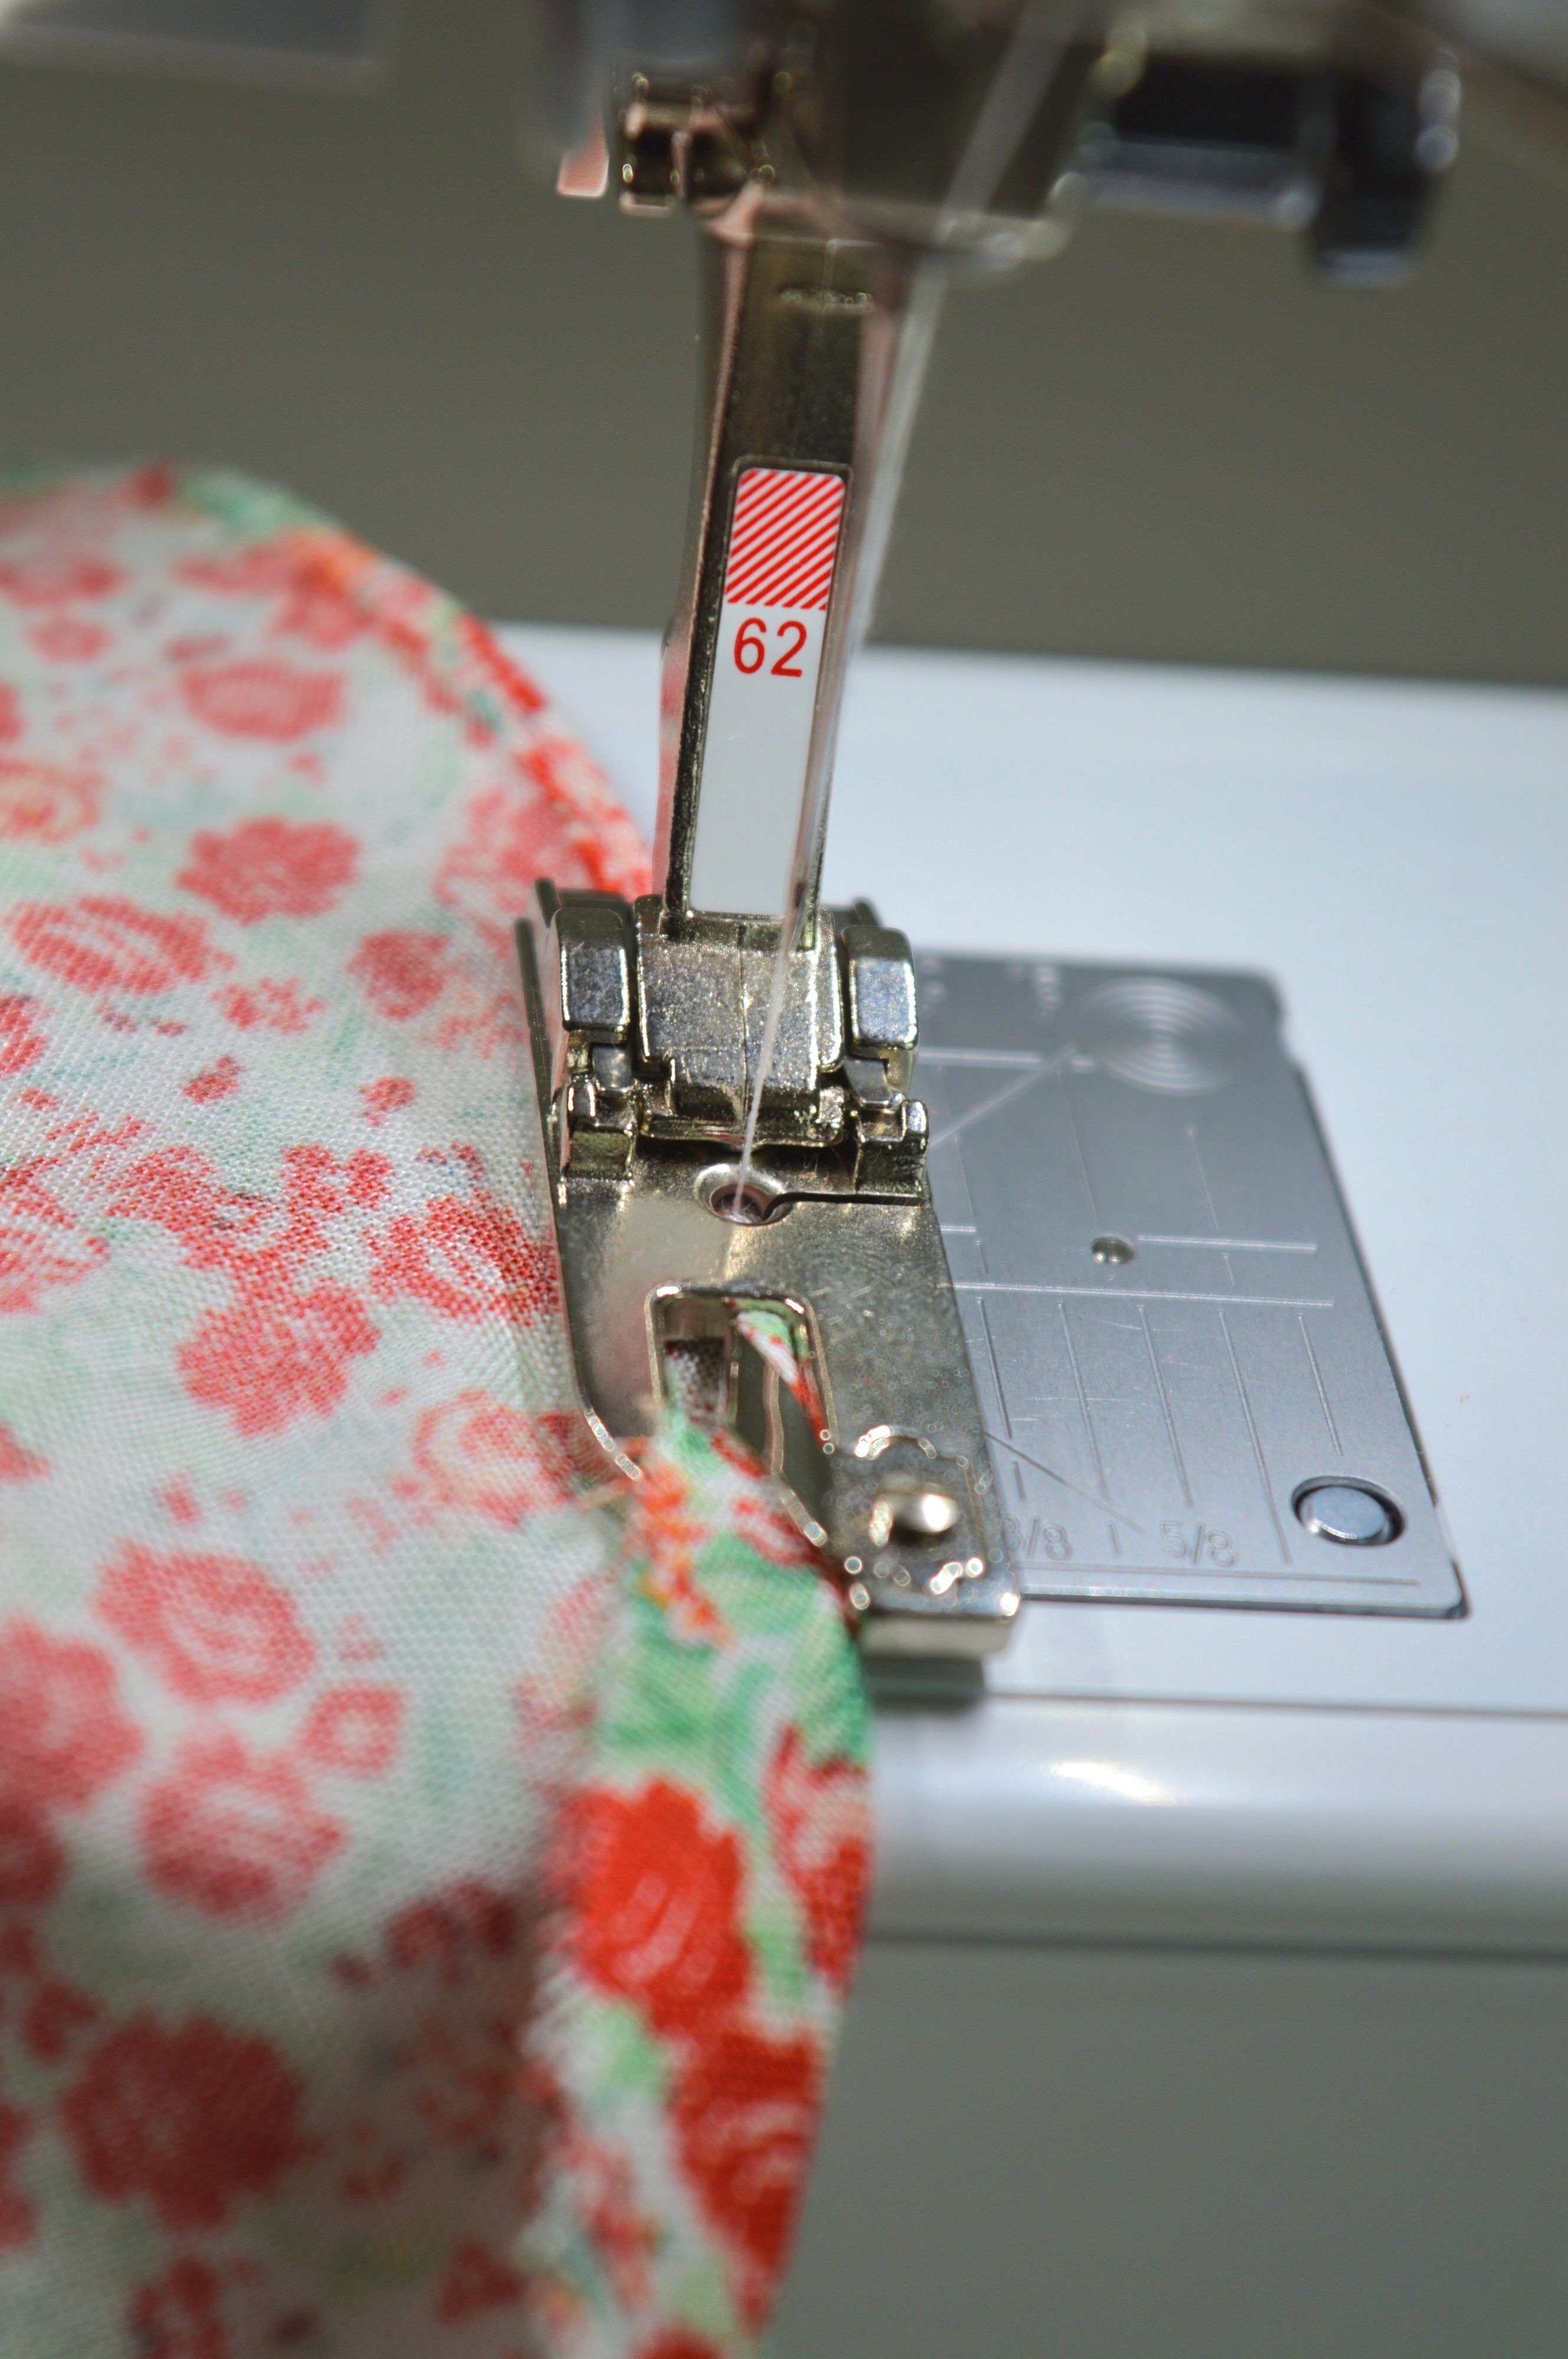
Use the parameters that are recommended in the instructions.
!!! Straight-stitch hemmer #62, plain seam #1, stitch length 2
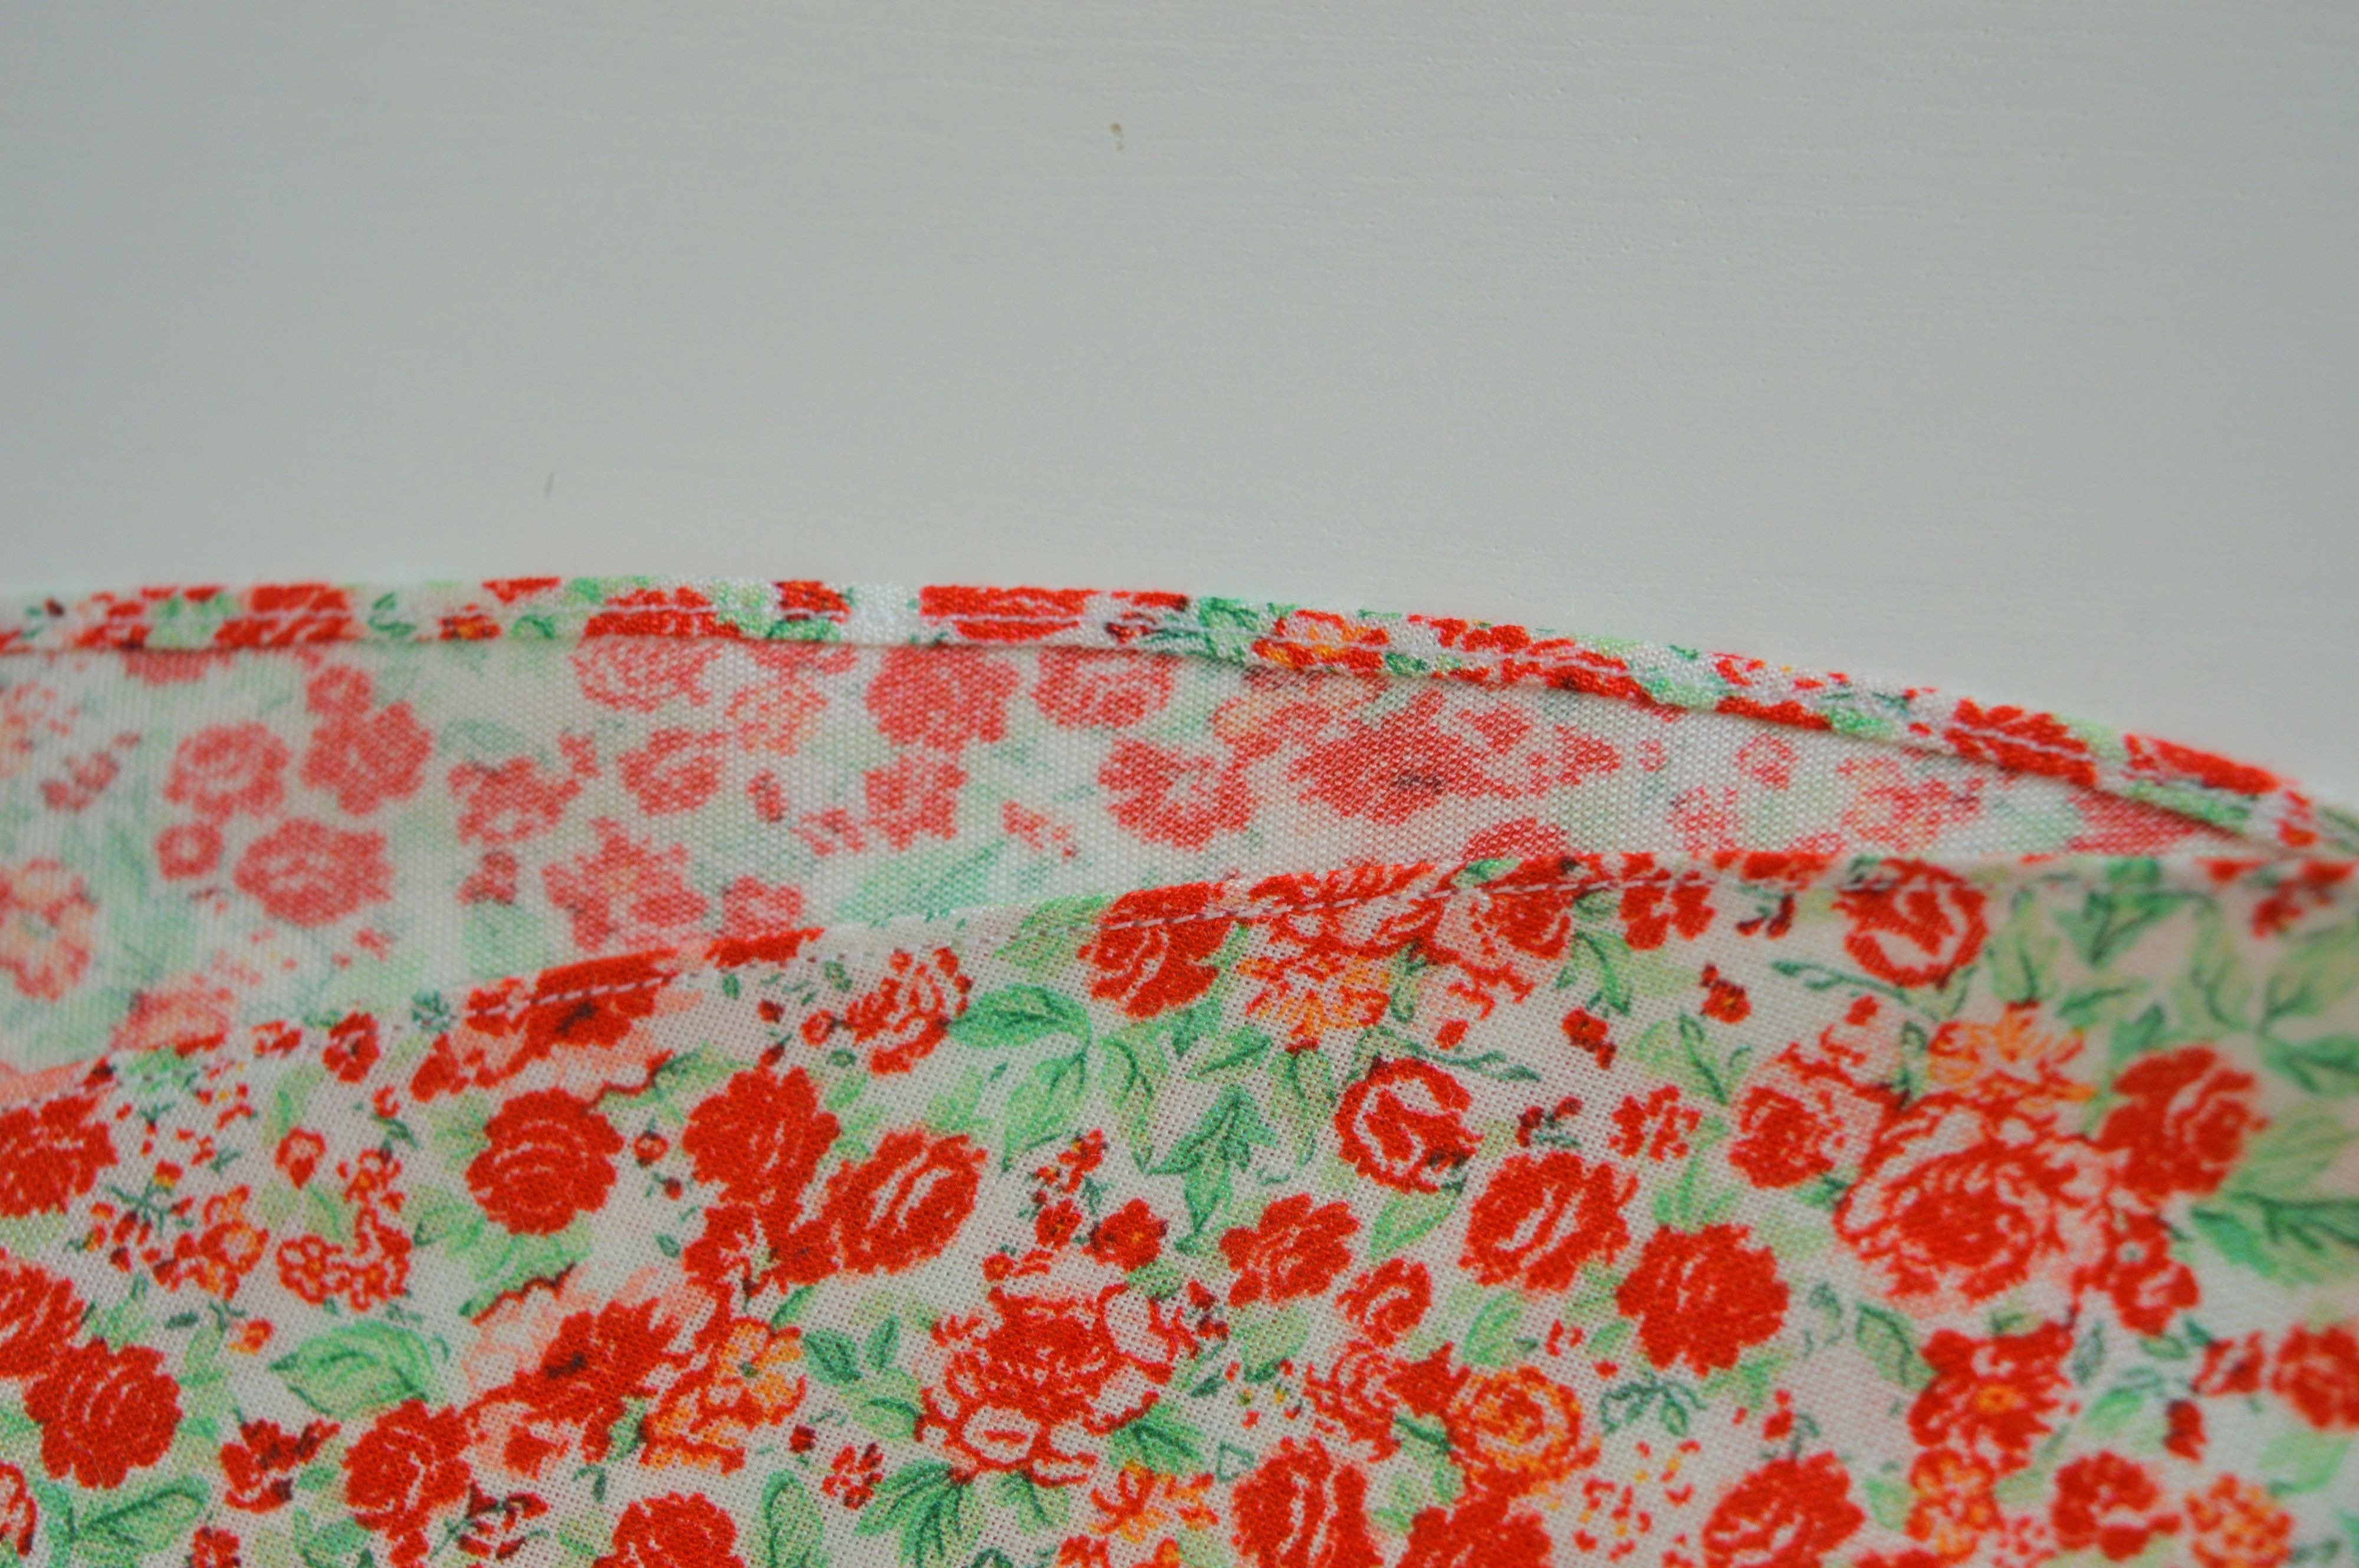
As seen in the picture, the hem is clear and fine.
At the end – elastic band.
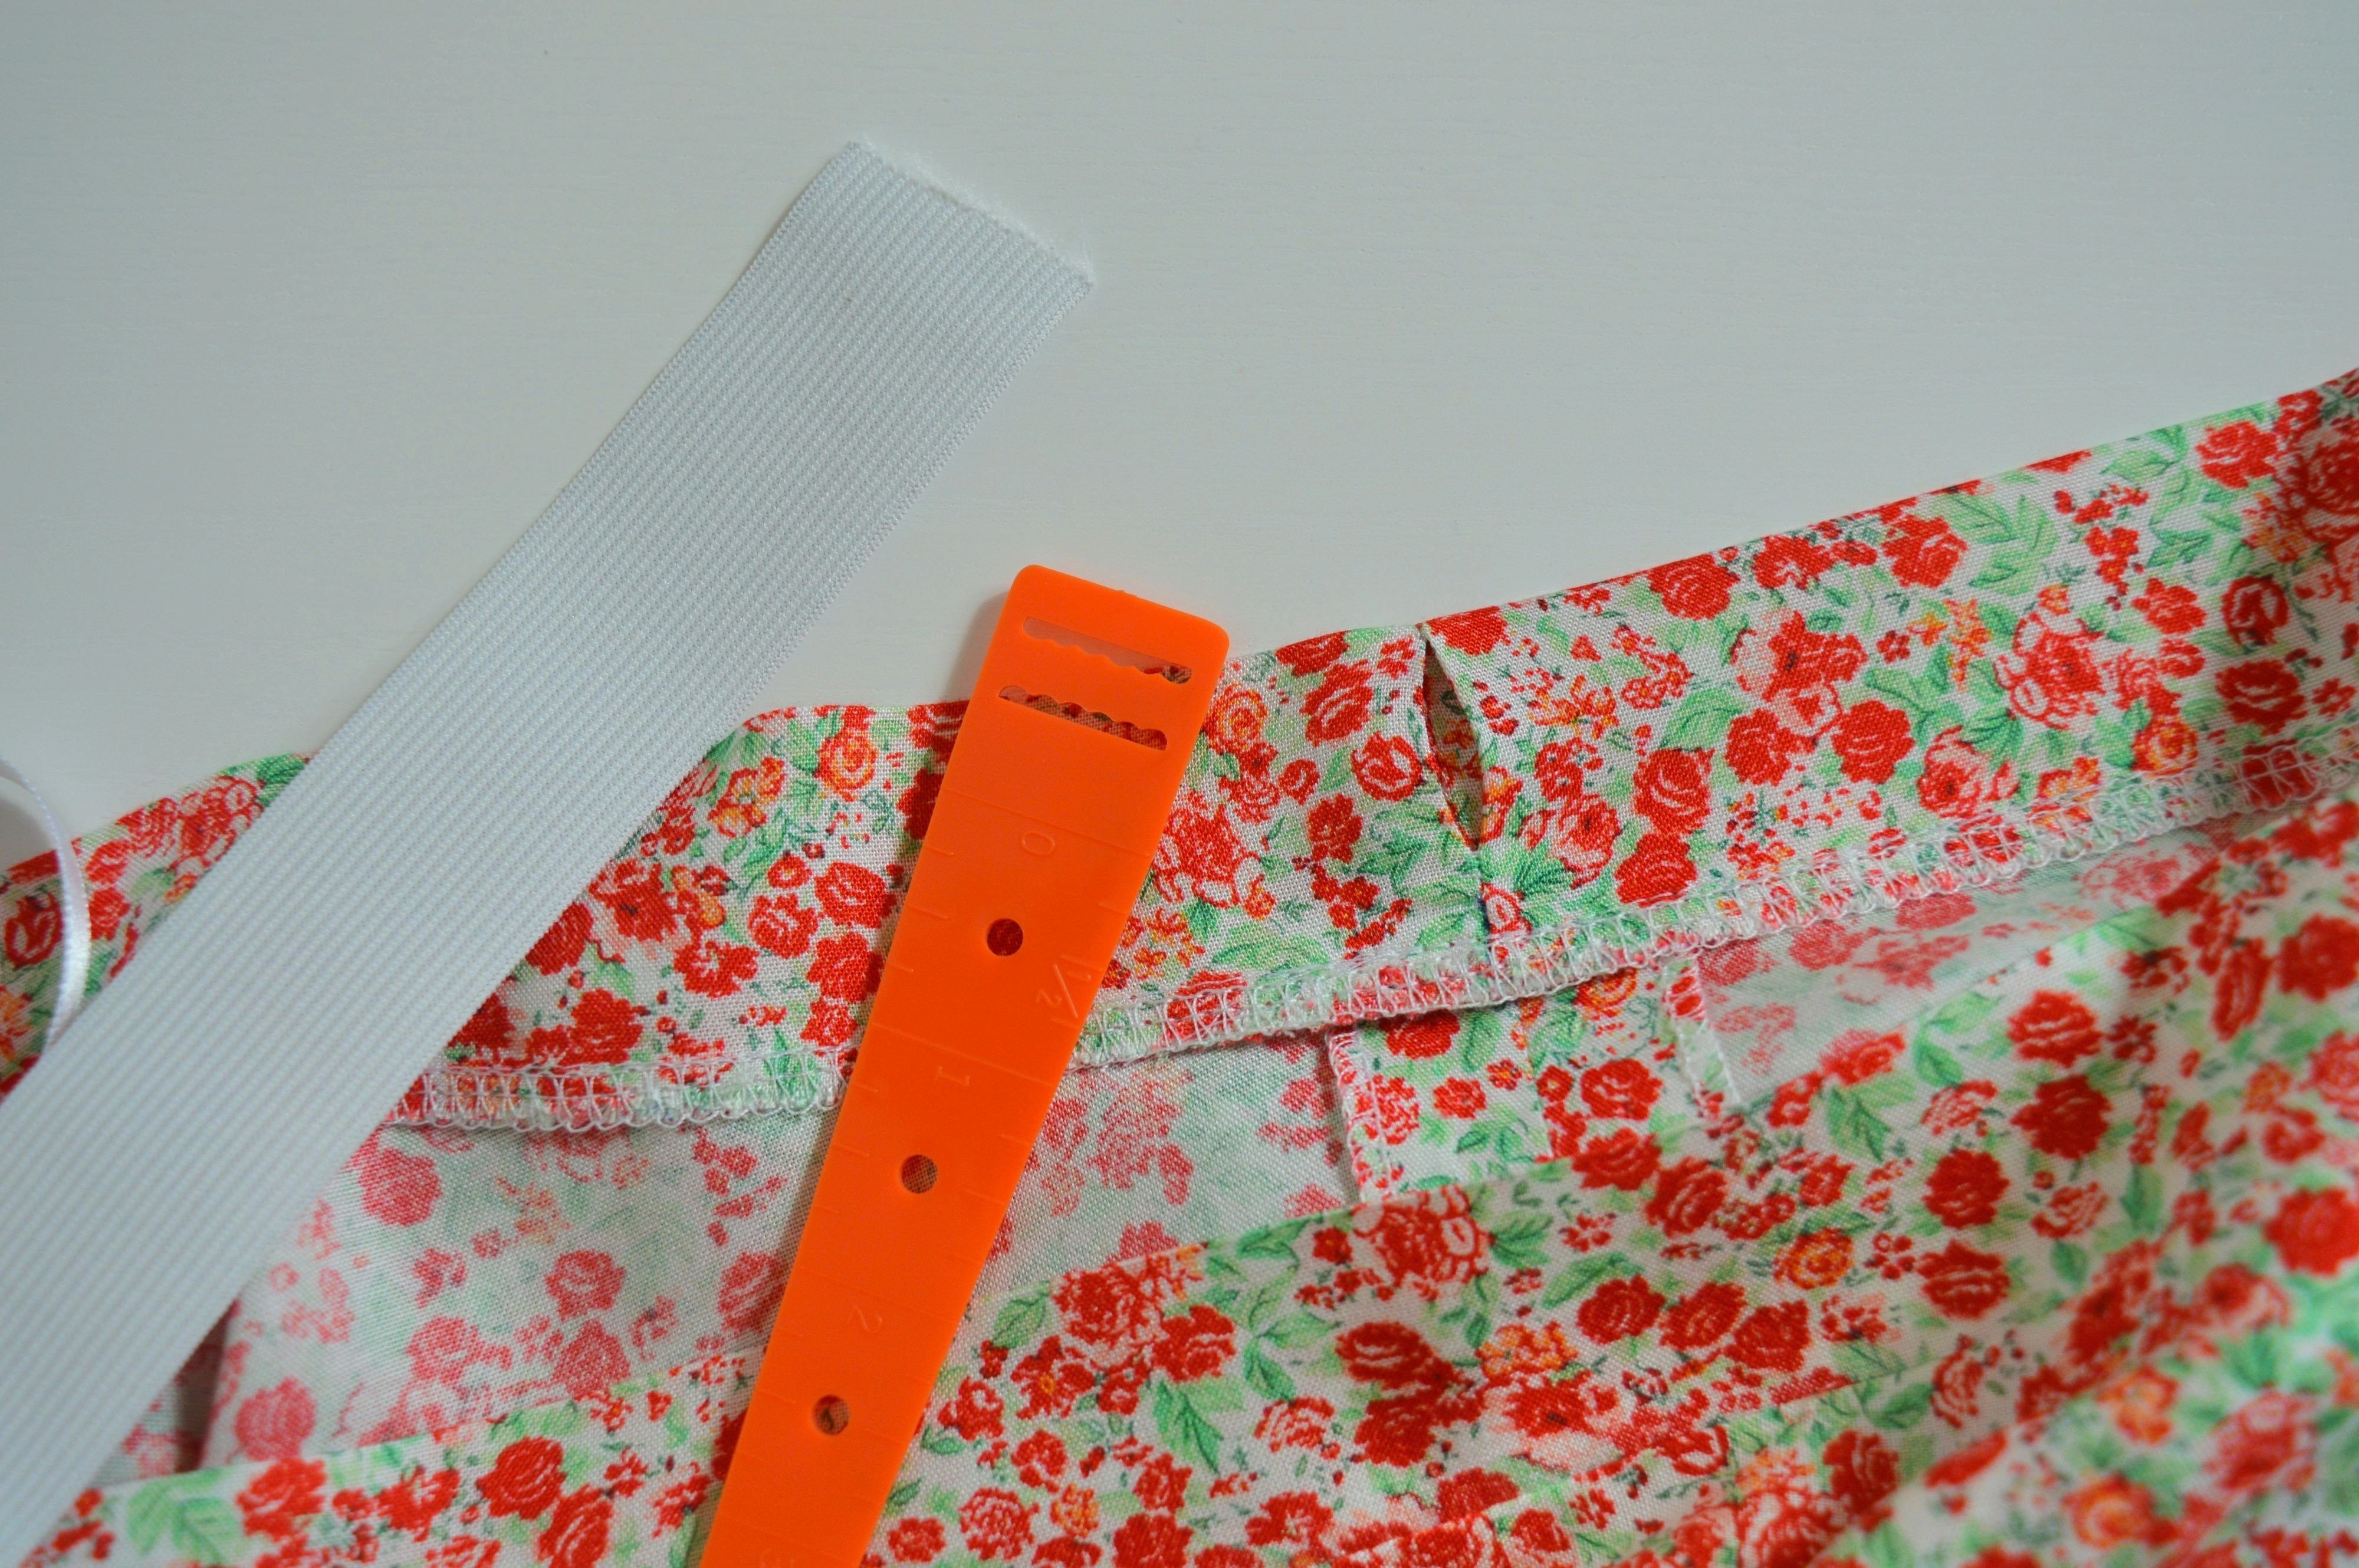
Measure your waist, and it is the length of elastic you need. Thread the elastic through the waistband and sew ends together.
Try on the skirt to see if elastic is enough tight and not too tight.
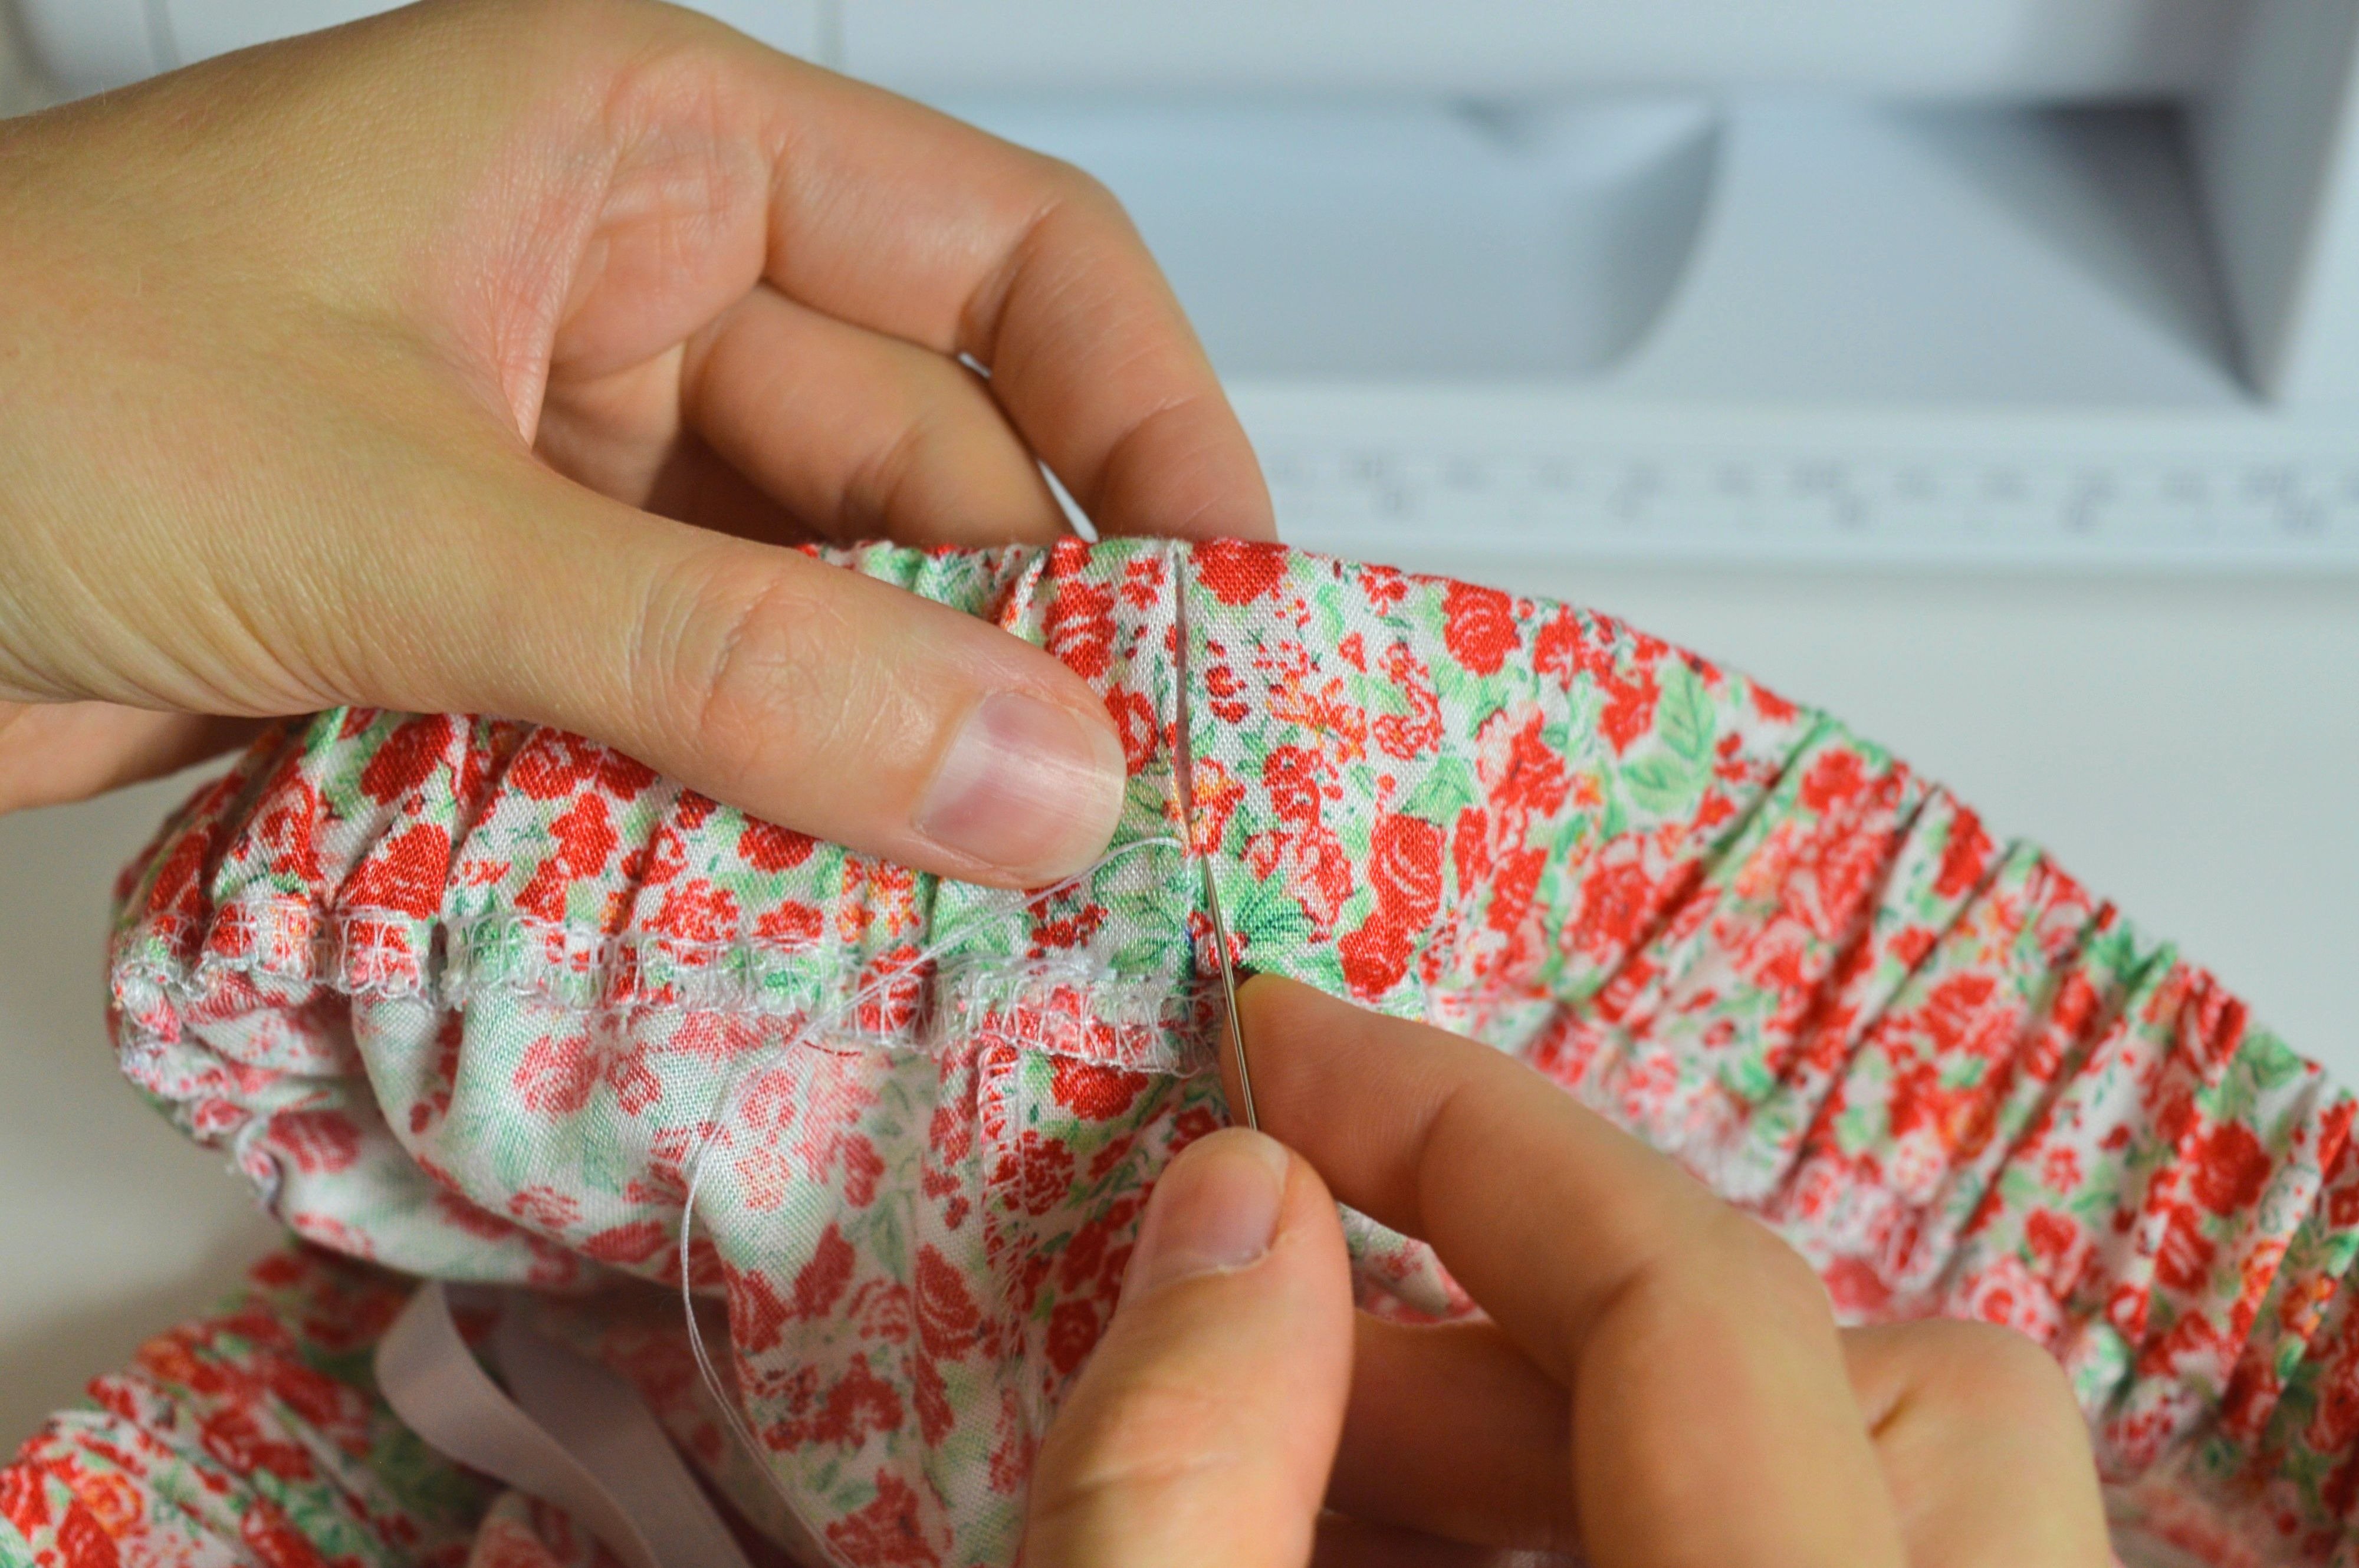
If it is alright, hand stitch the opening on the waistband.
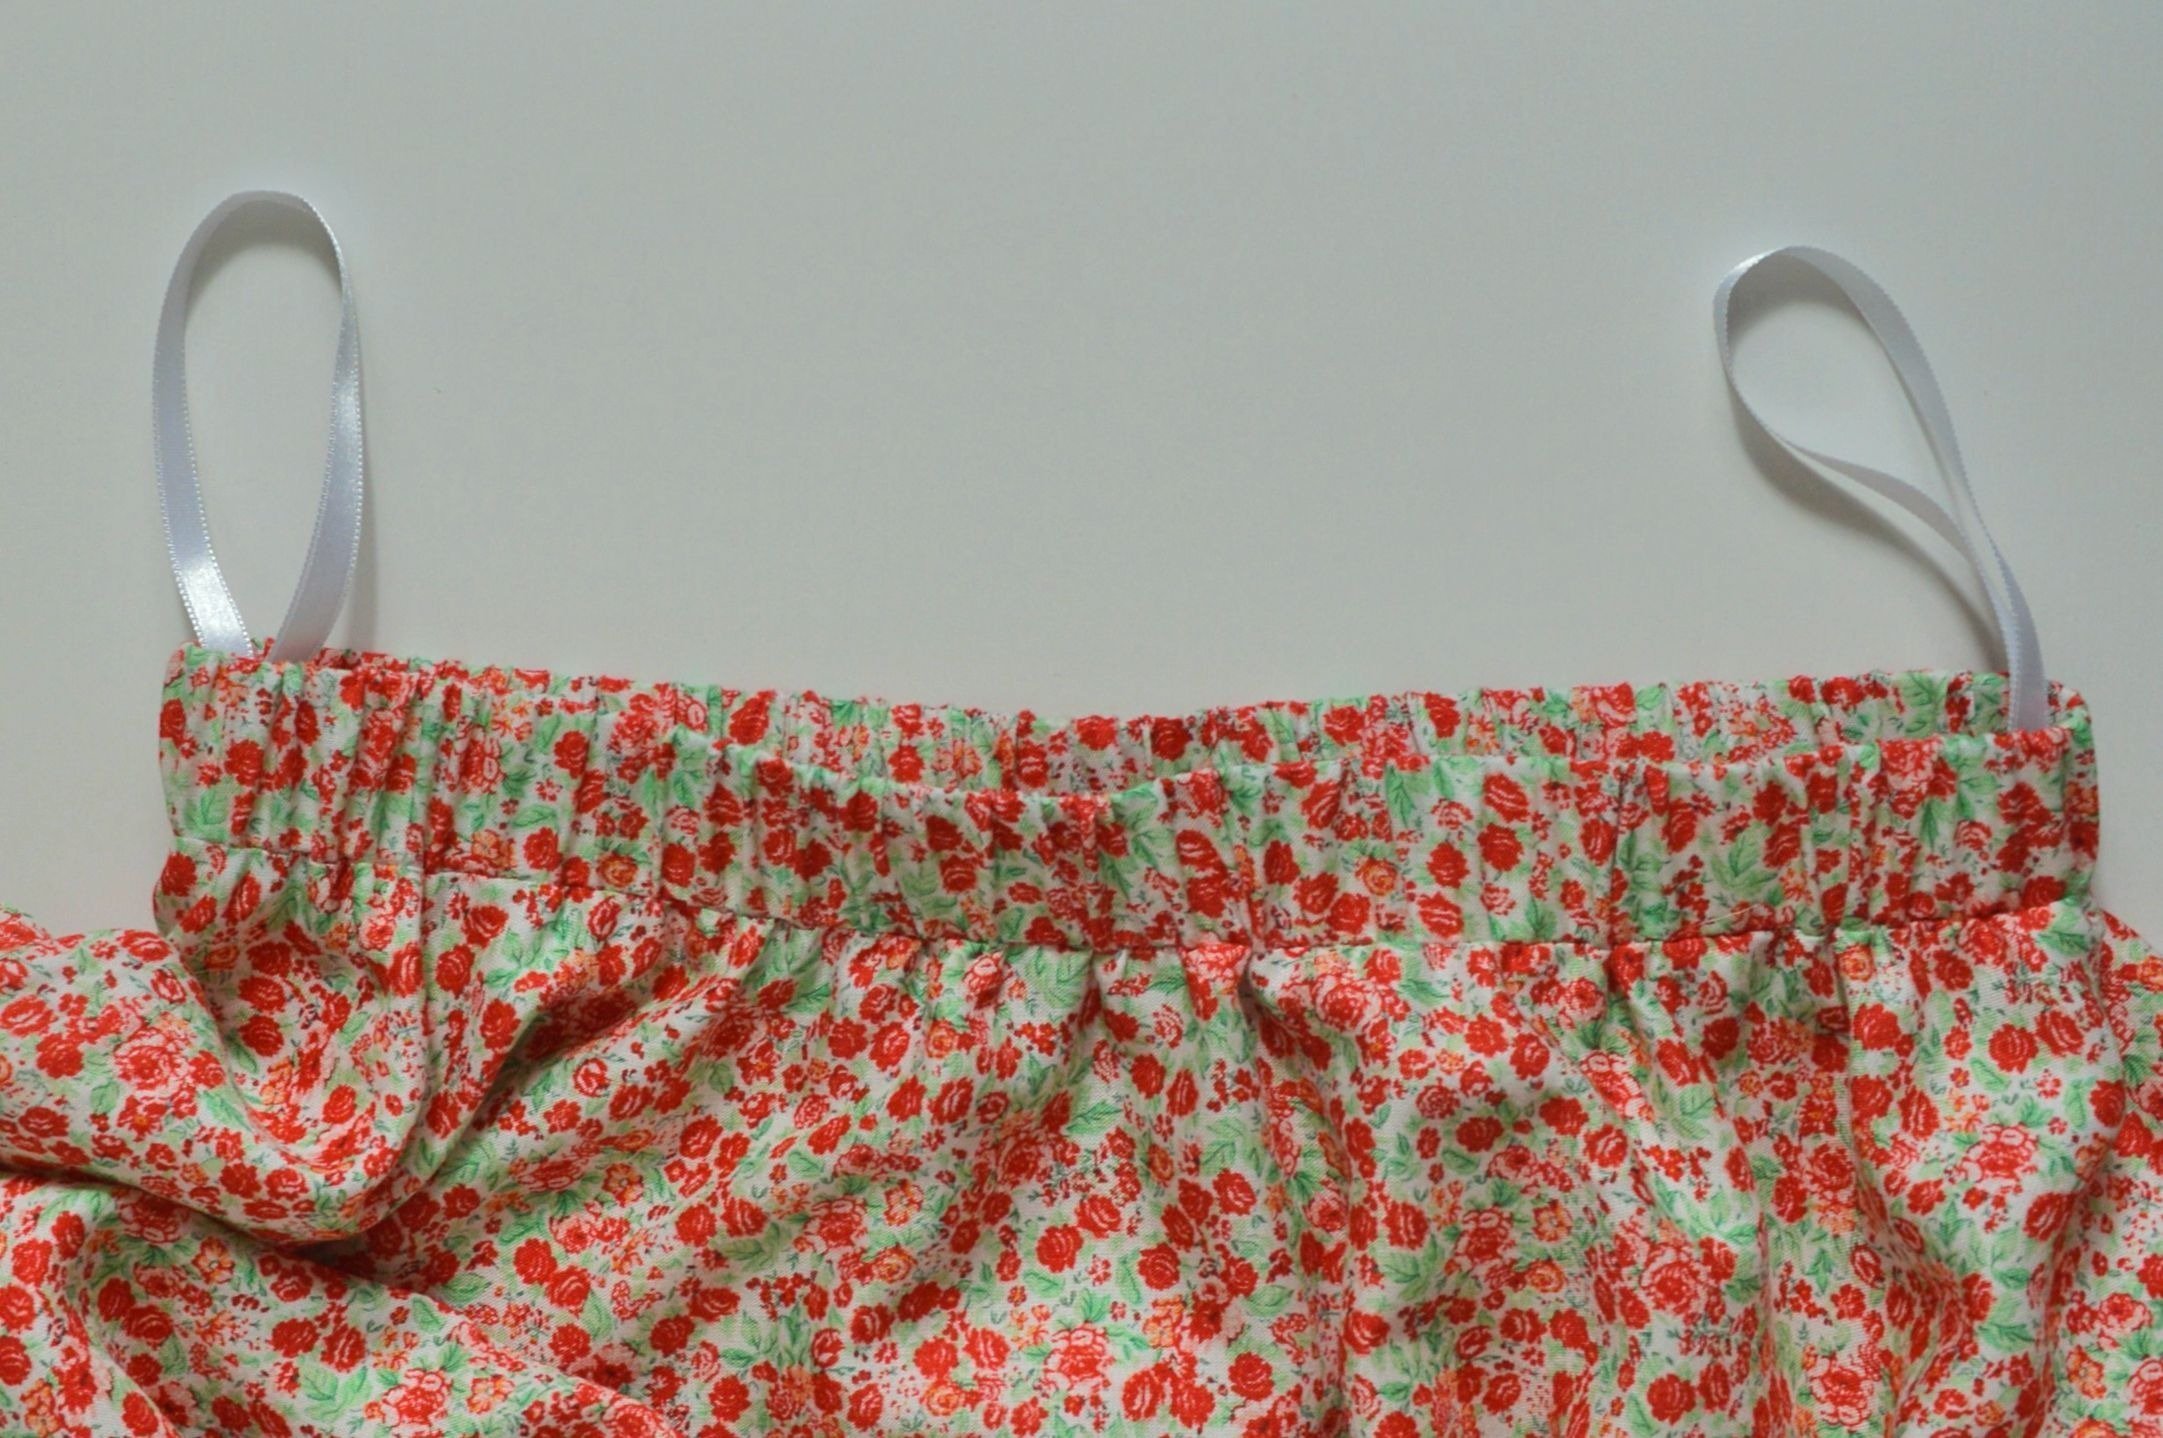
The skirt is finished !!!


Hello, I am looking forward to making this skirt (as I am a novice). Where does the figure 3.14 come from???Kind regards Kim
Dear Kim,
The 3.14 comes from π, which is a symbol used in math equations. The first three digits of the number π is 3.14
In order to calculate different parts of a circle, for example the radius for a circle skirt, π is needed. You can look in to the geometrical rules and math calculations of circles if you want to know more. Normaly, you would also divide the circumference by π and by /2 additionally to recieve the radius, but since this skirt has no no zipper and does need a bigger radius so it can be gathered, only (Hip+10 cm)/ 3.14 is enough.
Hope this helped!
Kind regards, Ramona
I have followed the instructions exactly. I now have a SILK skirt with a waist big enough for two people! Please correct the instructions before anyone else makes the same mistake. The hip radius needs to be (using the example given) hip = 1m+10cm =110cm. 110/3.14 = 35. Then this needs to be divided by 2 to give radius = 17.5.
Dear Helen,
You are correct, the measurements are a bit strange for a normal circle skirt. It would need to be devided by 2 to give the radius.
However, since this circle skirt gets gathered with an elastic, you do need extra fabric. I haven’t made the skirt myself, so I cannot say if double the waist gathers nicely or if that is way too much. But I do feel like the 10cm extra would be too less for the amount of gathering shown in her pictures. Have you gathered the skirt yet?
Kind regards, Ramona
Please help! I’m so lost on the waist band part. After you fold it in half and press, do you reopen it before sewing? Otherwise there is no opening to the skirt!
Dear Erin,
You dont have to reopen it, you can sew it on just as it is. Since the band and the skirt were made with the measurements of your hips, you can stretch the elastic and easily slip in or out without an opening or zipper. The hole in the skirt is wide enough for your hips to go through 🙂
So you see, no zipper is required, it really is an easy skirt to make!
Kind regards, Ramona from BERNINA International
I checked my measurements several times and my waistband is never large enough for the waist of the skirt. It seems like the waist of the skirt that is cut as a circle must be larger than using the same measurement but cutting it for a straight piece for the waistband. Help!
Dear Michelle,
The measurements are:
– Waist of the skirt: hips + 10cm
– Waistband: hips + 10cm + 2cm (sewing allowance 1cm on both sides)
Maybe you forgott to add the sewing allowance?
Kind regards, Ramona from BERNINA International
Love the Pattern but I don’t do cm. Do you have it in inches? I have a brain injury and I have problems figuring it outThank You
Dear Deanna,
A cm to inch converter might help! Just enter one of the two measurements, and it will tell you the measurement in the other. Click here: https://www.inches-to-cm.com/cm-to-inches.php
Best Regards, Ramona
This looks like a very interesting site, I have always been very fond of Bernina info, I have had my Bernina sewing machine for years ( 1230 )still going strong, with my Bernette 334DS both used every week. By joining this site has given me inspiration into getting back into making my clothes.I most get back into making my own clothes again after seeing the prices on the high street
Hello Irene and welcome to the BERNINA Blog!
I am happy to hear your machines are still going strong and I am sure you will find a lot of inspiration on this blog. Happy sewing!
Best regards, Ramona
Good morning I never sewing in my life . Lockdown gave me the opportunity to start teaching my self to touch the machine. My dream now is to start making the. pillowcases can you please help me you first time pattern
Good Morning and welcome to the world of sewing! How wonderful that you are trying something new during the Lockdown!
If you are looking for a pattern of a pillow case, there are a lot of blog posts which you can find via search: Pillow case search
I found this pillow case blog post without a zipper, which I think is a good starting project. If you dont have an embroidery machine, you could use one of your decorativ stitches or maybe you have a machine at home which you can program to write! Or you leave out the personalisation entirely. It also explains you how you can draw the pattern according to your pillow size.
Hope this helps and let me know if you need any more help.
Best Regards, Ramona from BERNINA International
Circumference divided by 3.14 gives the diameter of the smaller circle, not the radius (which would be diameter/2)? Sorry if I am missing something, but the instructions are confusing me!
Hi,
I was confused as well when I read it the first time. Notice, we need the waist measurement to be 1/2 the circumference of the circle since it is half circle skirt. Just to clarify, 2×3.14xRadius = circumference of a circle. We only need half of it so
Waist measurement = circumference/2 = 3.14 x radius.
How I didn’t confuse people even more.
Will the extra 10 cm for the waist measurement ensure that the waist of the skirt will fit over my hips when trying it on? My waist is 33″ and my hips are 39 in. I tried this but could not get the skirt over my hips. I think maybe I didn’t add enough to the waist circumference.
plrase advise.
thank you
G
It says measure your hips, not waist. The extra 10 cm is seam allowance and ease.”
Measure your hips
MY SKIRT My hips = 100 cm
Add to hips 10 cm
HIPS +10 cm
You use your waist measurement for the elastic.
Thank you for these instructions. They were very clear and easy to follow.
Thanks for the step by step. So easy to follow. Can I have a pdf of this pattern please?
Hi Juliet,
a pdf for this pattern does not exist.
All the things I make and present here are designed so that everyone can make a pattern with the help of paper and pencil based on the instructions given here.
Best regards,
Jelena