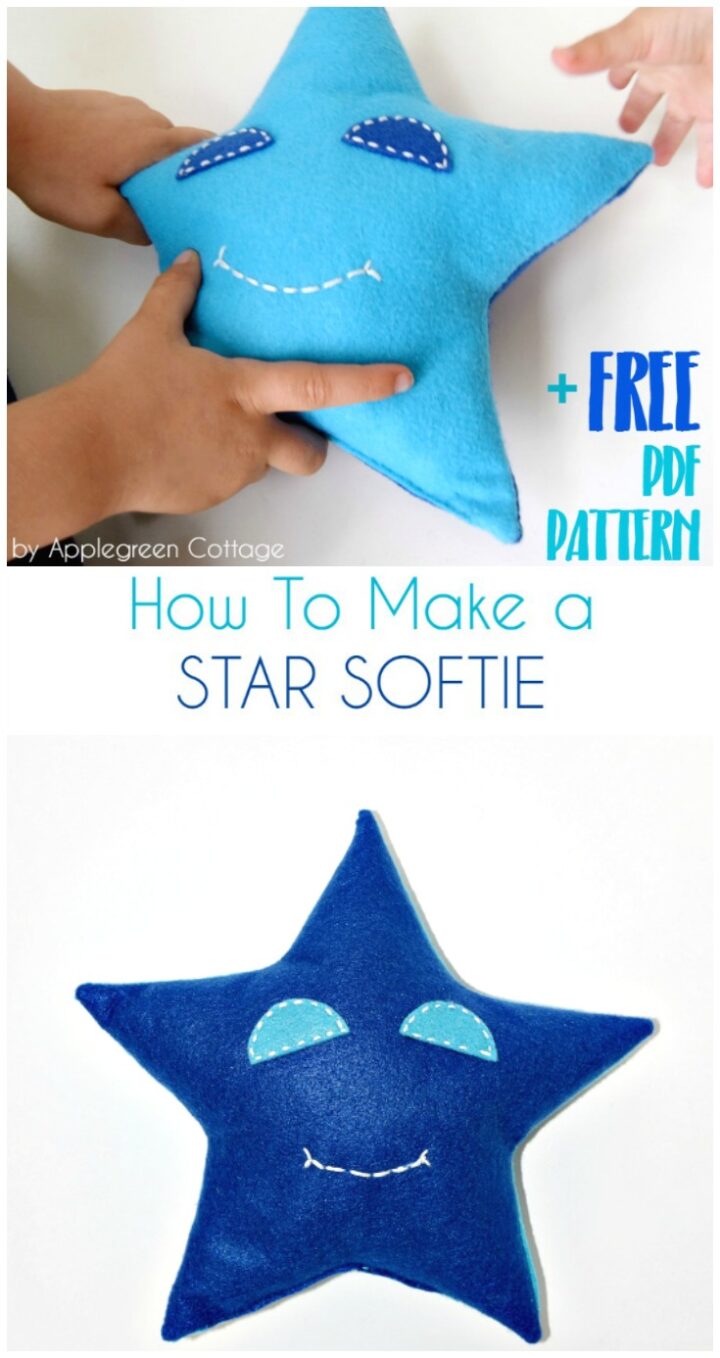
See how to make a star plushie toy or star pillow using this free star printable pattern. This star sewing pattern comes in 4 sizes and you can use it on a lot of projects - scroll down to see more!

This post contains affiliate links. Thanks for your support. If you like this star pillow, check out more free and fun tutorials:
- this soft toy for babies is popular!
- Free baby hat pattern – NEW 3 SIZES!
- How To Make Felt Flower Decorations
- Free Pattern - Fabric SailBoat Toy
Free Star Printable Pattern
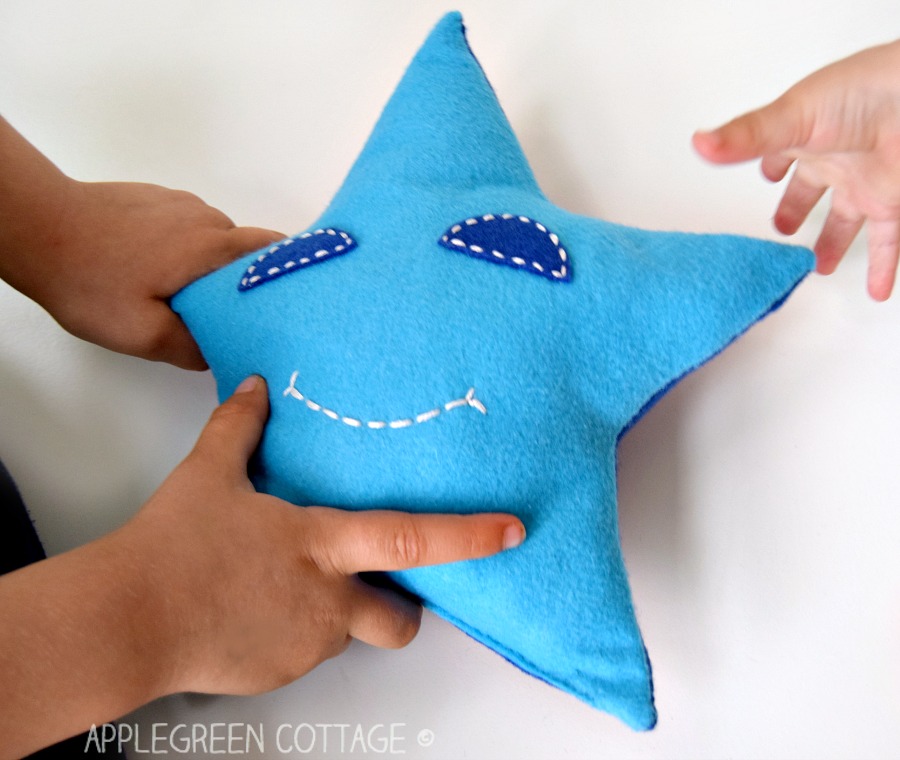
It's an easy beginner sewing project for everybody, even if you have never sewn before, and a great toy to sew together with kids. This diy felt star plushie makes an ideal sewing project for children because it's easy, quick and colorful.
So if you have a grandchild or know a kid who'd like to sew, give it a try! Sew this simple soft star toy together and have tons of fun 🙂
Supplies to Sew the Printable Star pattern:
You'll need:
- 2 sheets of felt (each 11" by 11" square, that is 28x28cm), option: use cotton instead.
- some soft toy stuffing material
- coordinating sewing thread
- contrasting embroidery thread
- sewing machine AND needle
- scissors
- pins
- your FREE star printable pattern (at the end of this tutorial)
This printable star pattern is a basic free template for everybody, it will make your project easier and quicker. I suggest you print the star template on cardboard so you'll have the forms handy for any additional sewing projects.
The star sewing pattern comes in 4 sizes, but it's easy to enlarge or shrink, too. The smallest of the 4 sizes is meant as a pocket version of the star stuffie, suitable as a travel toy.
However, you're not limited by the template. Make the star larger and it transforms into a cozy star pillow. And if you make it even smaller than the template, you get a tiny DIY keyholder. Or make a few and thread them into a small diy star garland. Tons of uses for this cute little DIY!
Star Sewing Tutorial
Step 1 - Cut the star Printable pattern pieces
Print out the star sewing pattern template.

Use the printable star template to cut the basic star form out of each of the two felt sheets:

2) You get these two pieces.
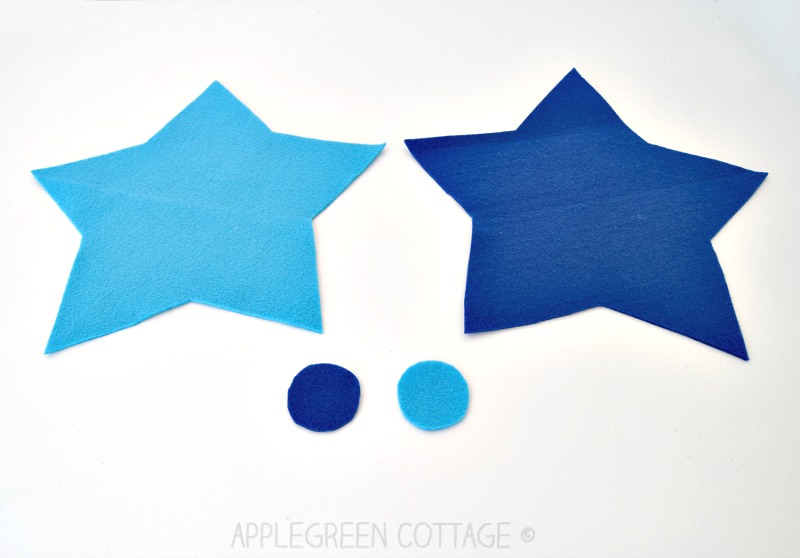
Step 2 - Cut the Eye Pieces
Out of the remaining pieces of felt, cut out two circles. Your choice of size, mine were approximately 1 ¼ inches in circumference (3 cm).
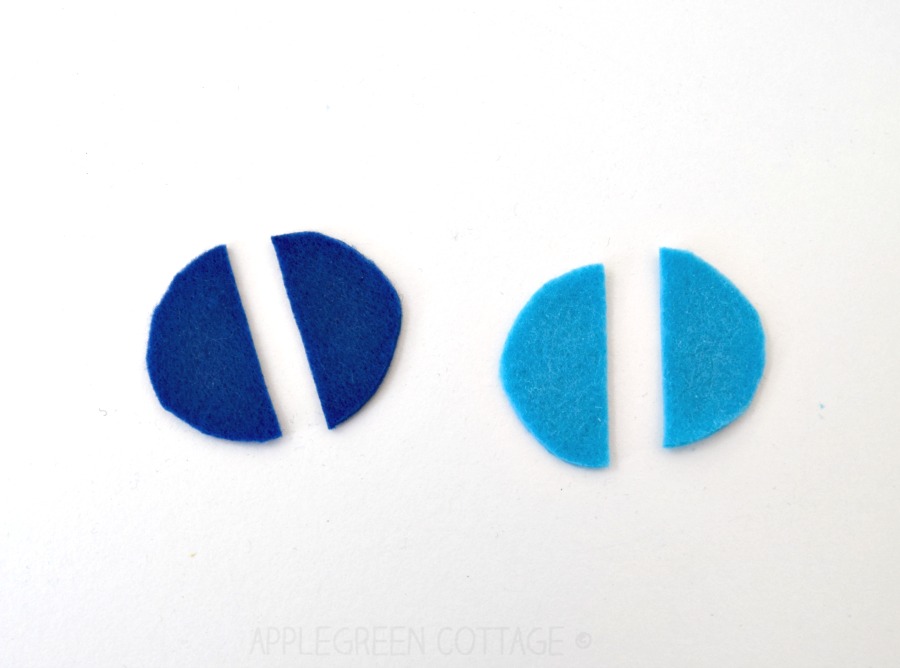
Cut each circle in half. These will become the eyes of the star.
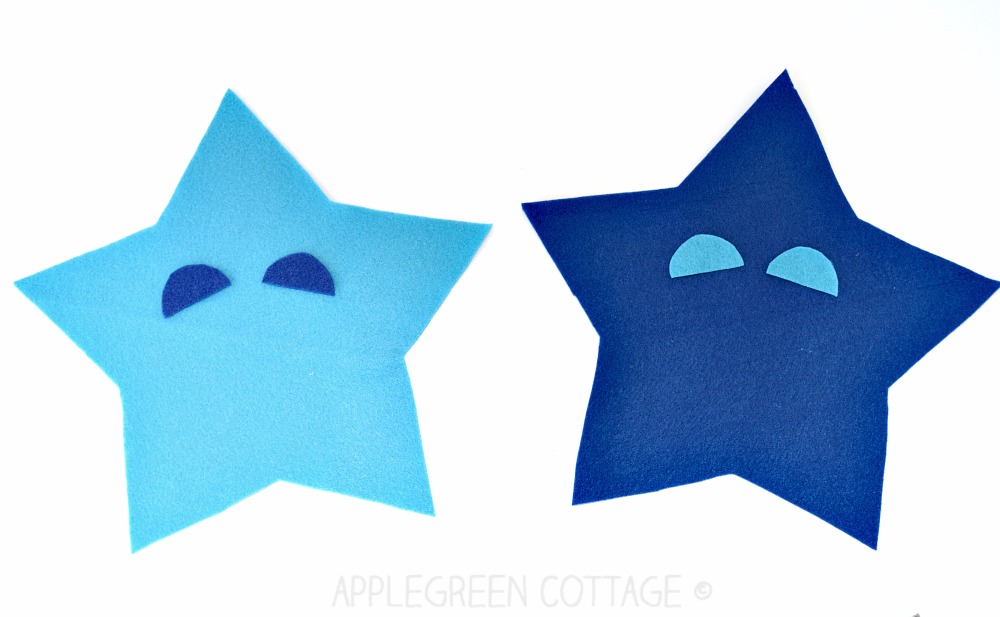
Step 3 Attach The Eye Pieces
Place them on the star template, so the colors are in contrast. (Here: light blue eyes on the dark blue surface, and vice versa)
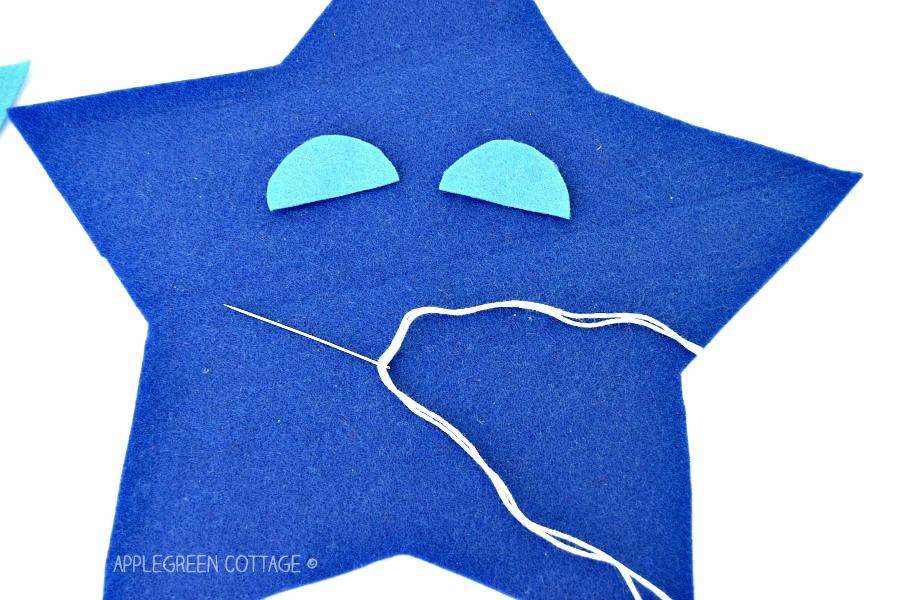
Use your embroidery thread and attach the eyes onto the star template. It's not necesarry, but this is a great opportunity to learn how to start stitching without even making a knot! (I love this little hand-sewing trick!)
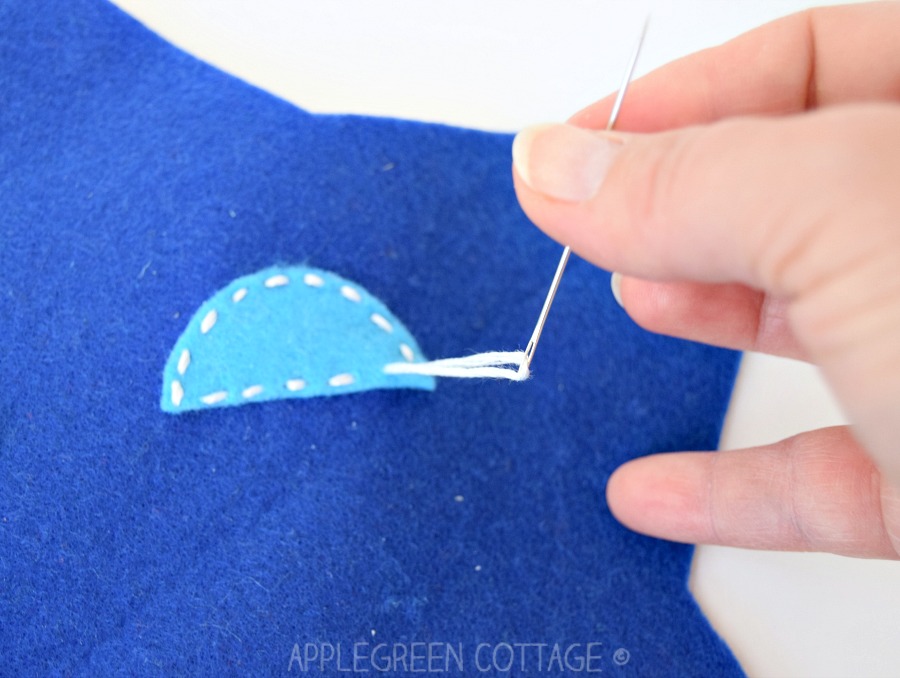
When you're finished sewing, secure the stitch on the backside.
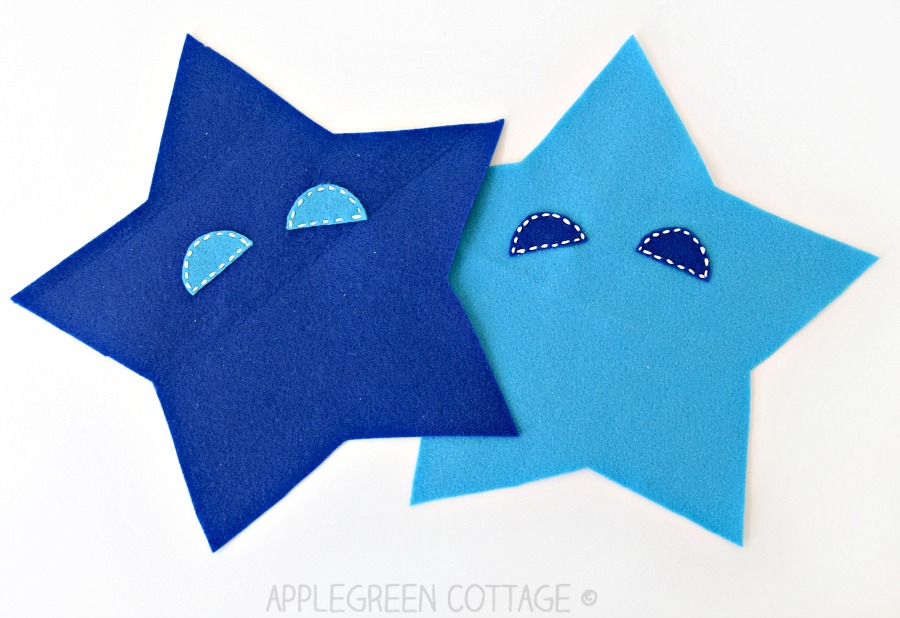
This is how the template looks with the eyes stitched on. Other details (like mouth etc) will be done later.
Step 4 - Join the two Star Plushie Pieces
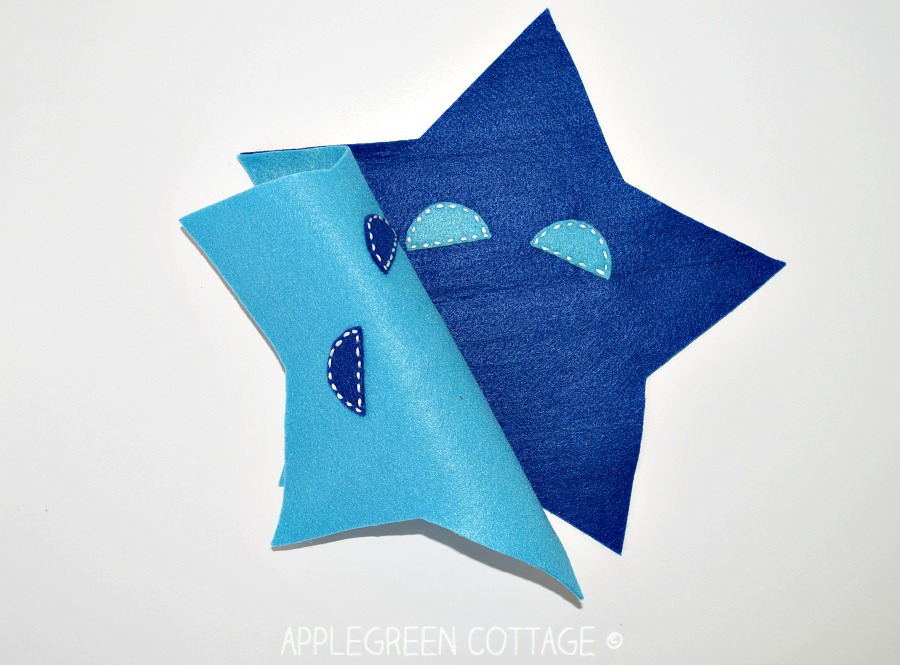
To machine-stitch the plushie, place the two pieces right-side-together like in the photo above.
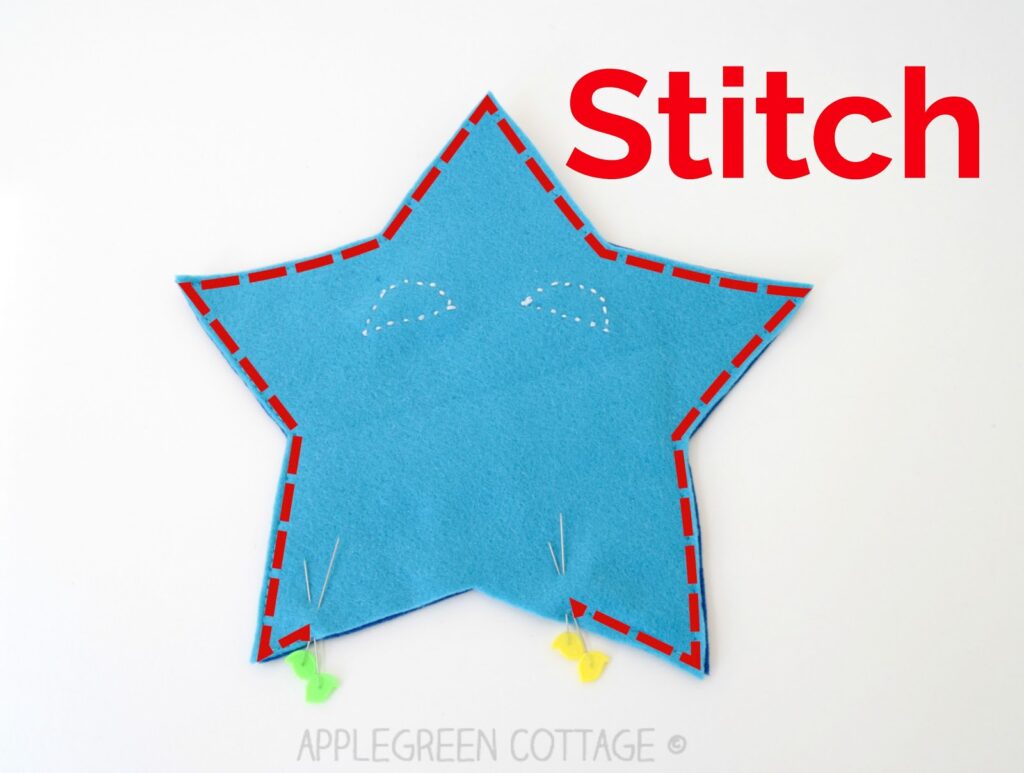
Stitch around, leaving a gap for turning and stuffing the plushie. See the space between the two sets of pins? I always mark like this, so I don't forget to leave the gap.
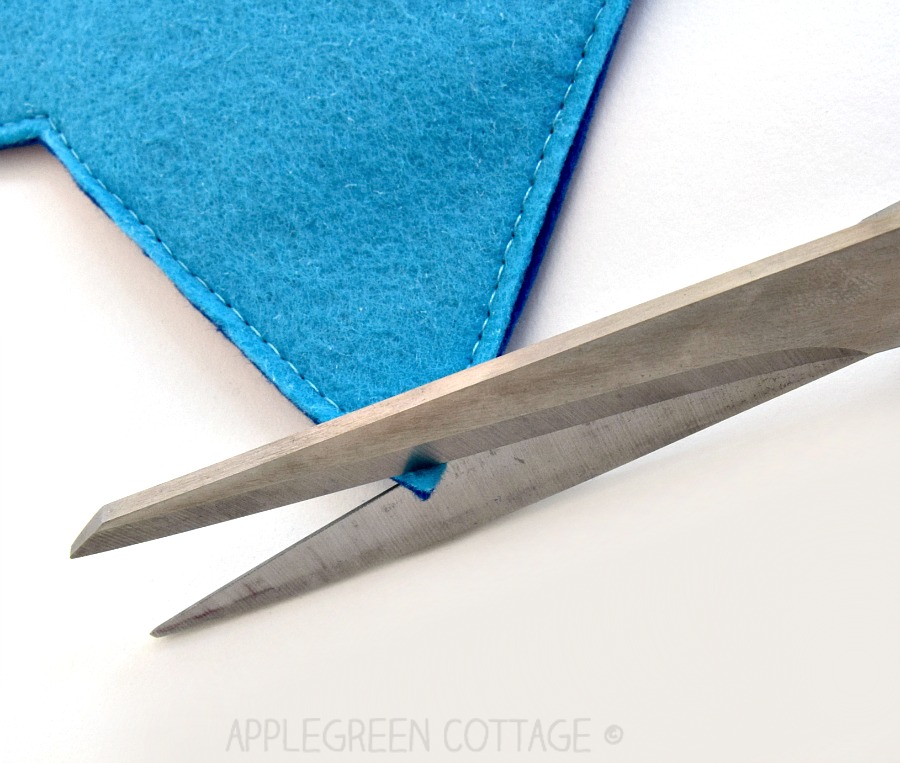
Clip the corners to reduce bulk, taking care not to snip into any stitches. An optional, though useful step.
More on corner clipping here. You'll never go back to the simple diagonal corner-cutting once you see this:

Now, back to our diy star plushie:
Step 5 - Turn And Add Stuffing

Turn right side out. To push out the corners, use a point turning tool or something similar, like a chopstick, a knitting needle, or simply a pencil. Don't use anything sharp since it could make holes in your felt.
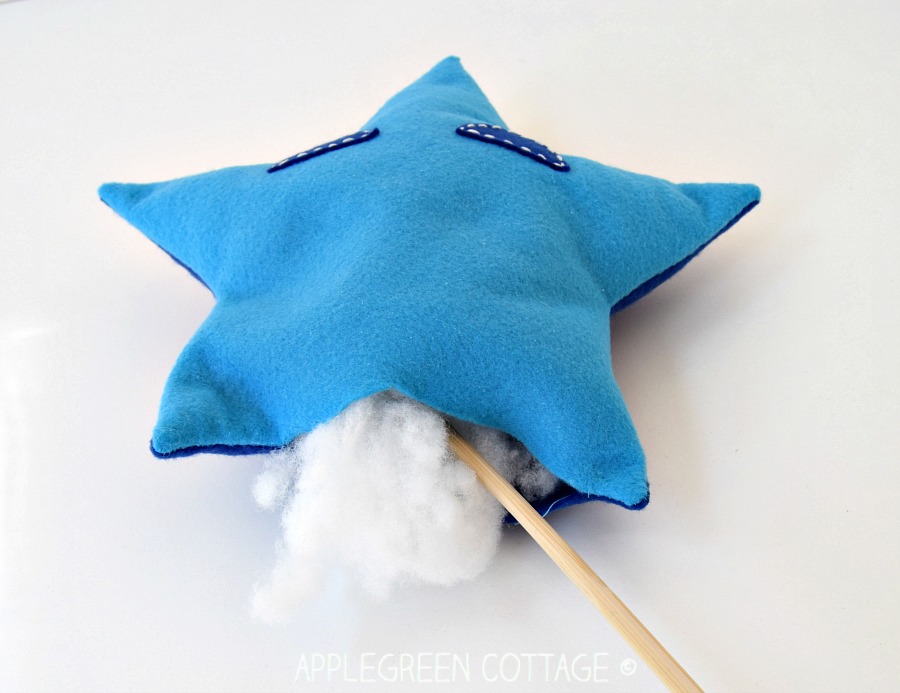
Stuff it using soft toy stuffing material. As an alternative, you can also use fabric and fleece scraps from your other projects. A great recycling idea!
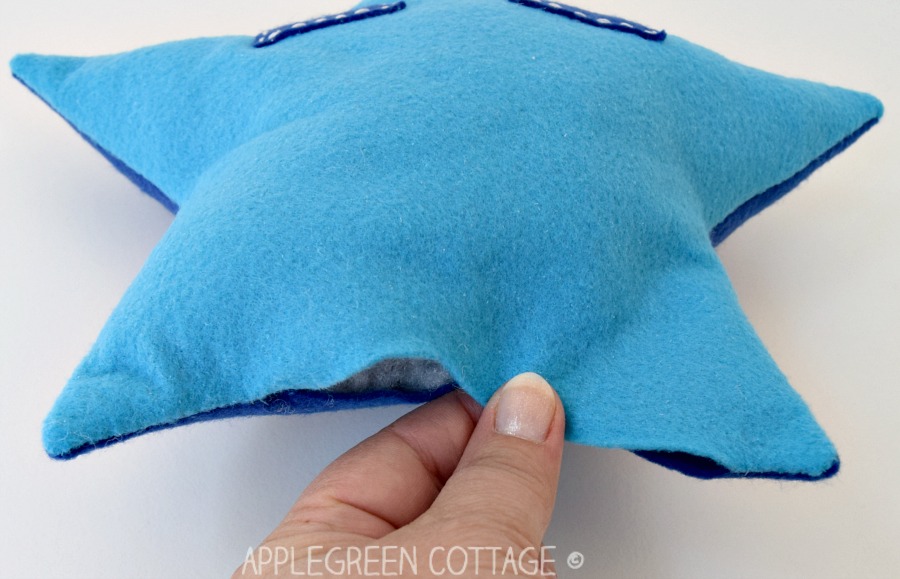
Either machine-stitch or hand-stitch the opening on your diy star plushie closed.

Squeeze and rearrange the stuffing a bit to spread it evenly.
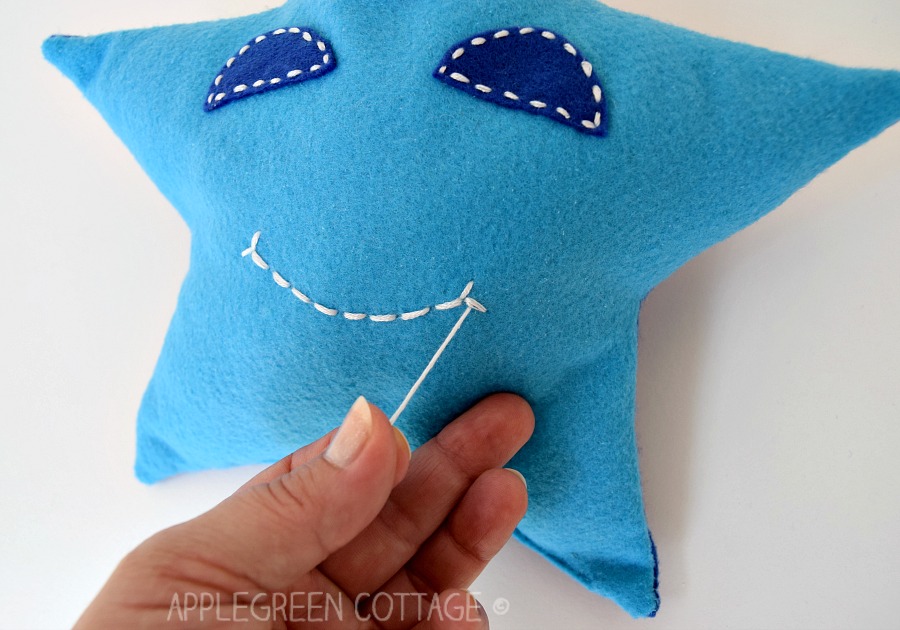
Step 6 - Add Optional Details
Now's the time to add any other details you wish. I opted for adding a mouth. The simple running stitch will give your star plushie toy great unique details. No need to make it perfect!
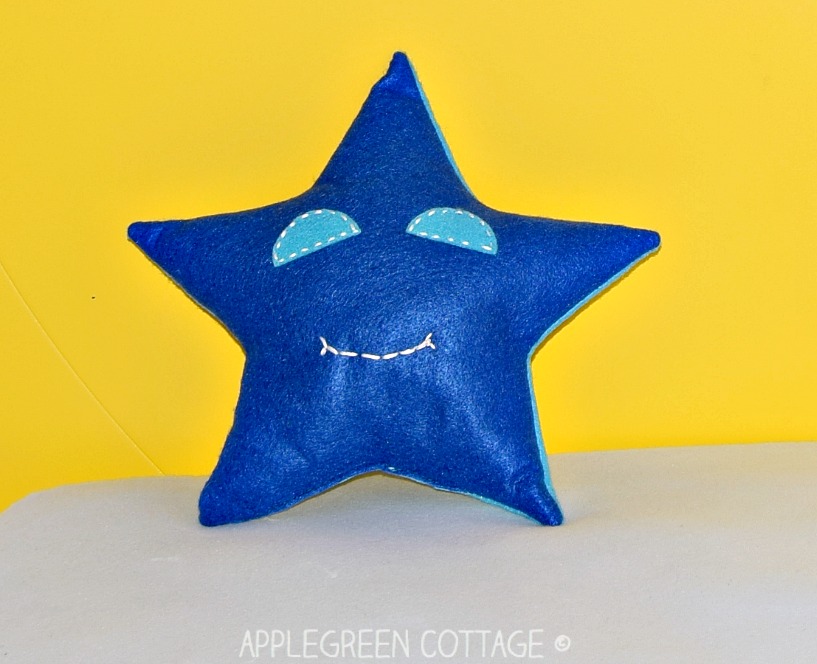
Your cute little star plushie is made, congratulations!
You can flip it, and here it is, in another color:
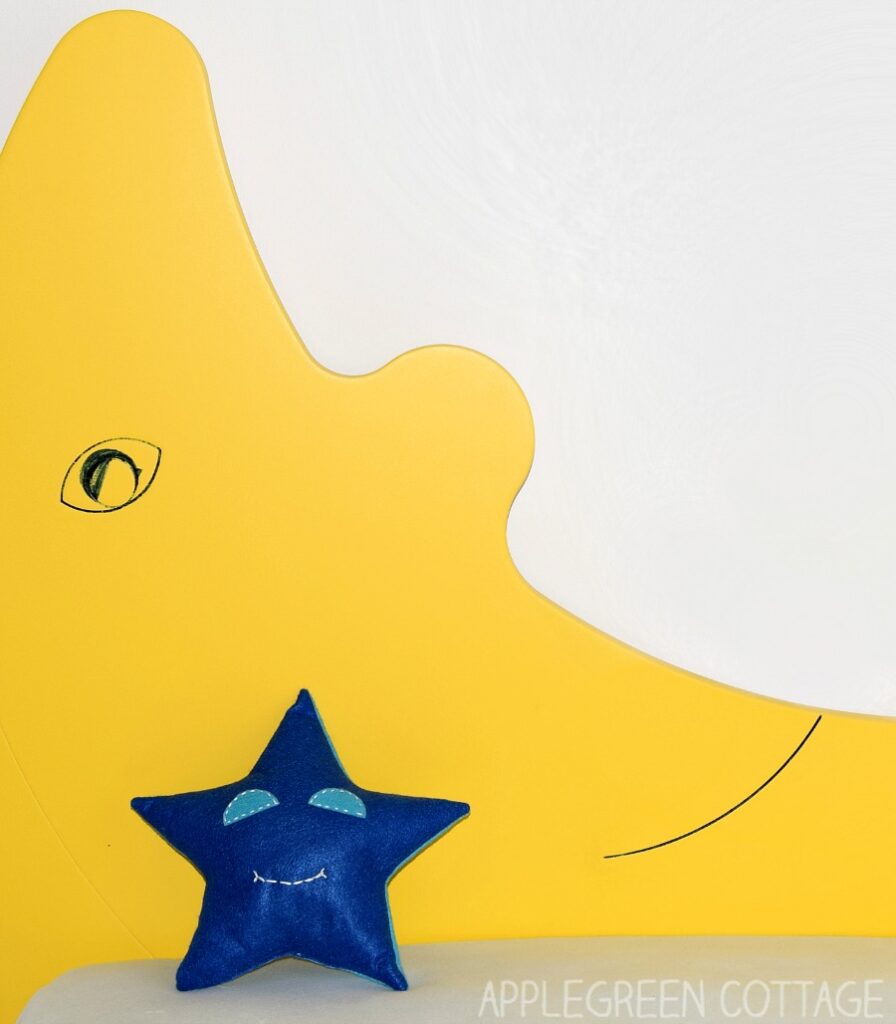
This star sewing project is just perfect for this moon-and-stars headboard in our kids' room. Sleep tight and sound, my baby.
Can't wait to see your star plushies!
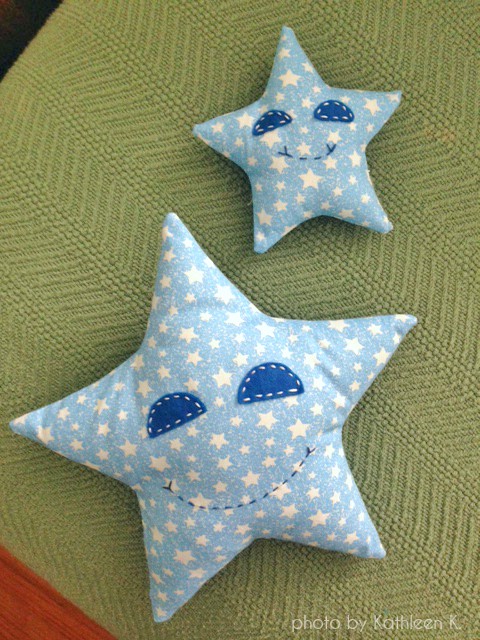
I have just been sent an image from Kathleen who's made these adorable stars as gifts for her grandbabies. She made them from quilting cotton and was kind enough to allow the image to be posted here. Thank you, Kathleen K.!
If you enjoyed this tutorial, share it, like it or tell your friends about it. Or save it for later, so you’ve got it ready whenever you want to make a lovely star soft toy – or ten!
Free Star Printable Pattern
I’ve created a star template in several sizes that you can use. To open the FREE star printable TEMPLATE, simply click the button below:
Save the project for later:

Damjana
Want MORE FREE TUTORIALS And Patterns?
Get email updates and never miss out on new patterns, printables, and tutorials:
Or …check out this popular PDF pattern – the Kalina Mini Wallet in our shop. So practical!
Pam @Threading My Way
The perfect size for little hands, Damjana. I've showcased your super cute star softies today.
Char Raymond
It would be cute to put a bell inside for a baby toy.