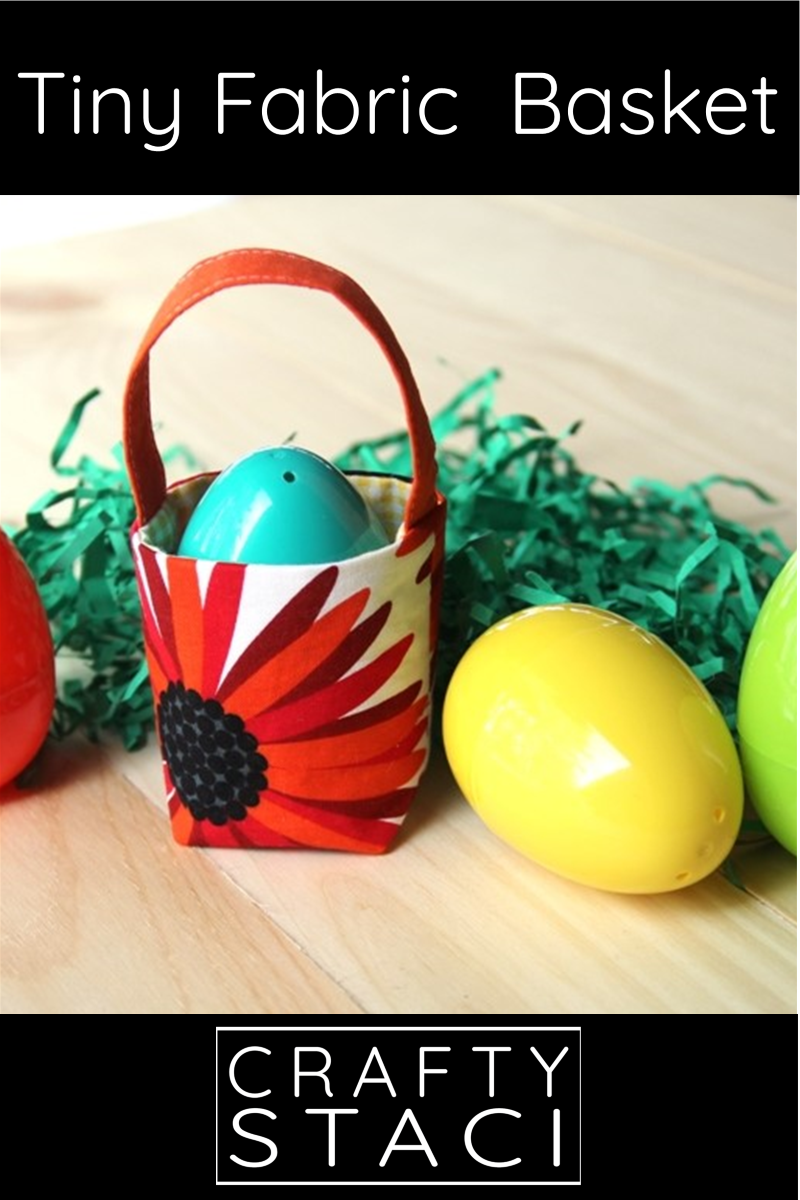
It’s the first day of spring! Hooray! After the crazy winter, which is still going strong in some parts of the country, I think we could all use a few daffodils, bunnies, and a tiny fabric basket, right?
There are three adorable lambs that just appeared in the field across from my house, and watching this little black one bound around without a care in the world is exactly what I need every day.

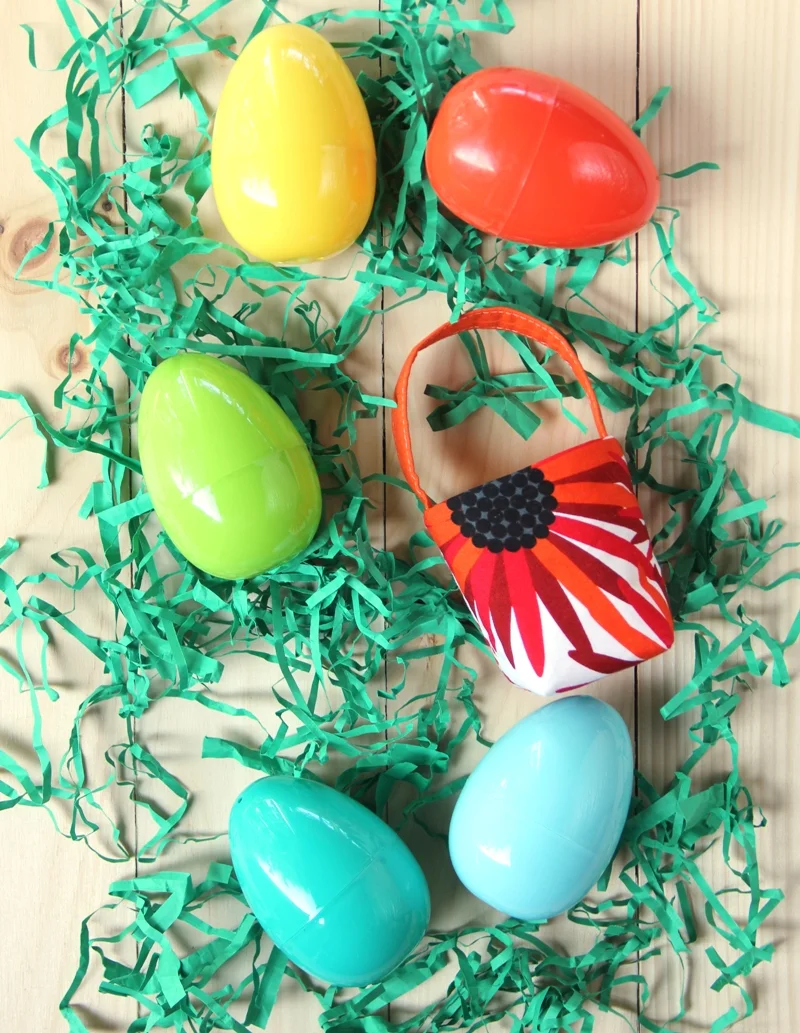
There was no doubt in my mind today’s project needed to be springy. What’s says spring louder than an Easter basket? Maybe it’s because the lambs are mini, but I also felt like it needed to be a tiny version.
Let’s make this! You’ll need:
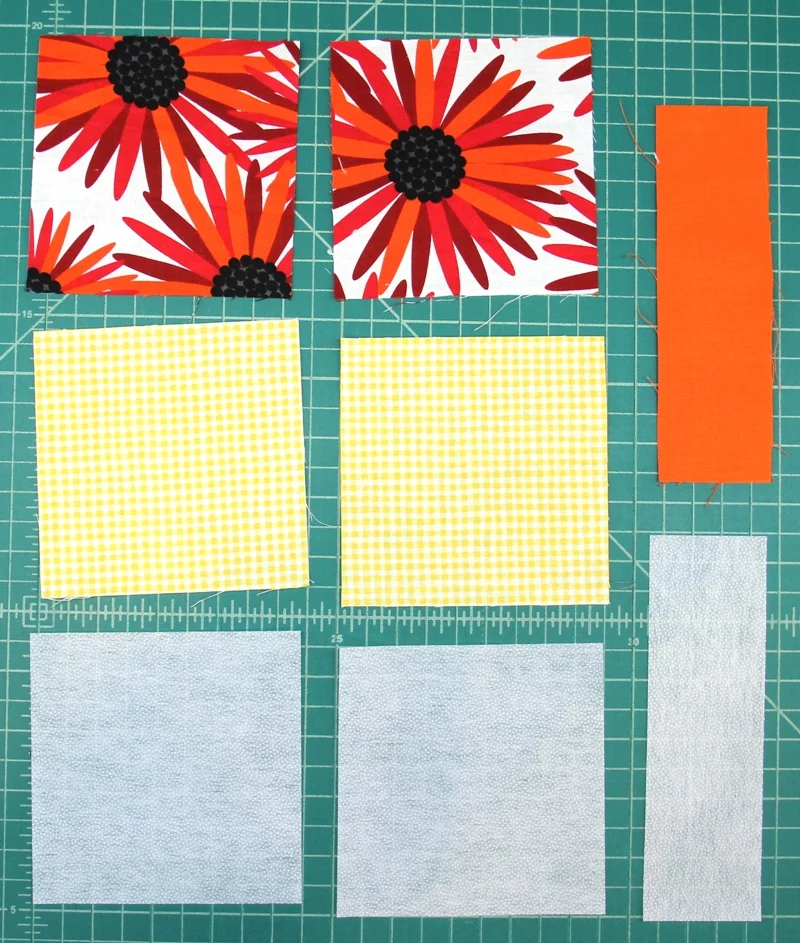
two 4 1/2” squares cotton fabric for the outside
two 4 1/2” squares cotton fabric for the lining
one 2 x 6 1/2” cotton fabric for the handle
two 4 1/2” squares medium weight fusible interfacing
one 2 x 6 1/2” medium weight fusible interfacing
This post contains affiliate links. For my full disclosure policy click here.
Fuse the interfacing to the wrong side of the outside pieces and the handle.
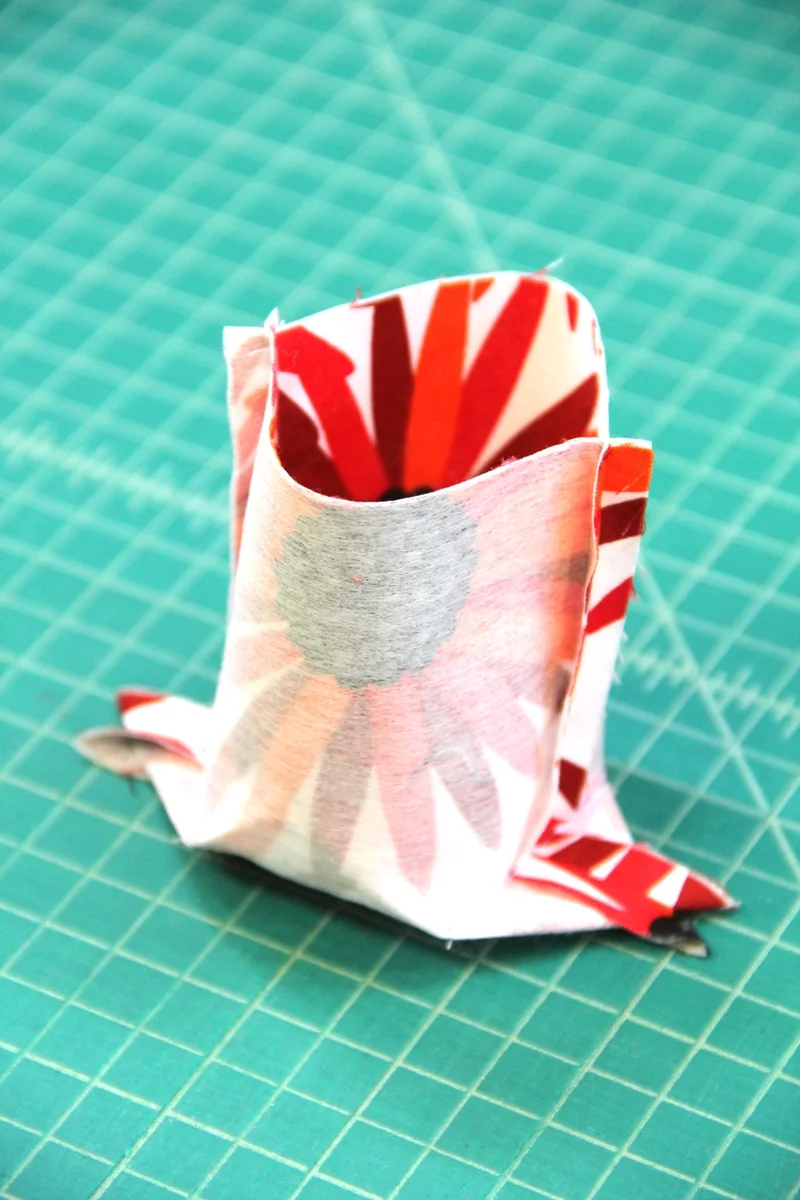
Pin the two outside pieces with right sides together. Stitch down both sides and across the bottom with a 1/4” seam (used throughout this project).
Press the seams open as best you can. I rolled up a washcloth and stuffed it inside to press mine.
Flatten one corner so that the bottom seam and side seam are touching. Peek inside to make sure the seams line up.
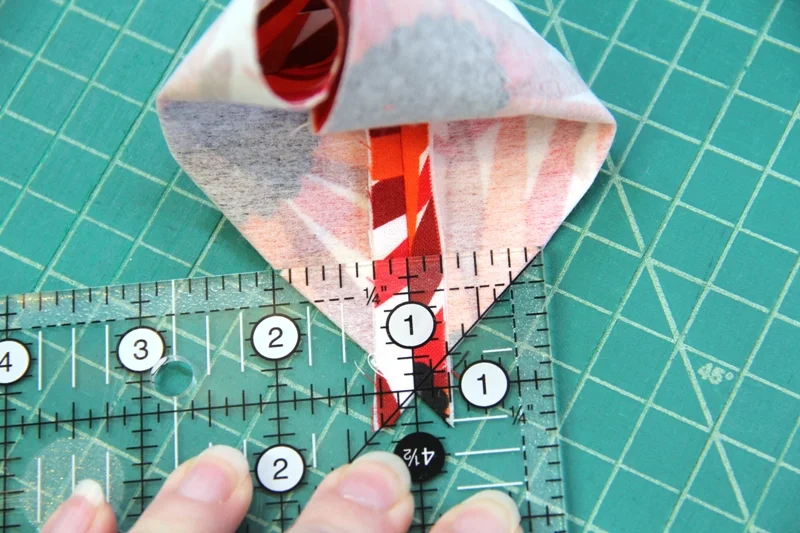
Draw a line across as shown below, at the point it measures 2” across. It should be about 1” up from the corner. Pin. Stitch along the line.
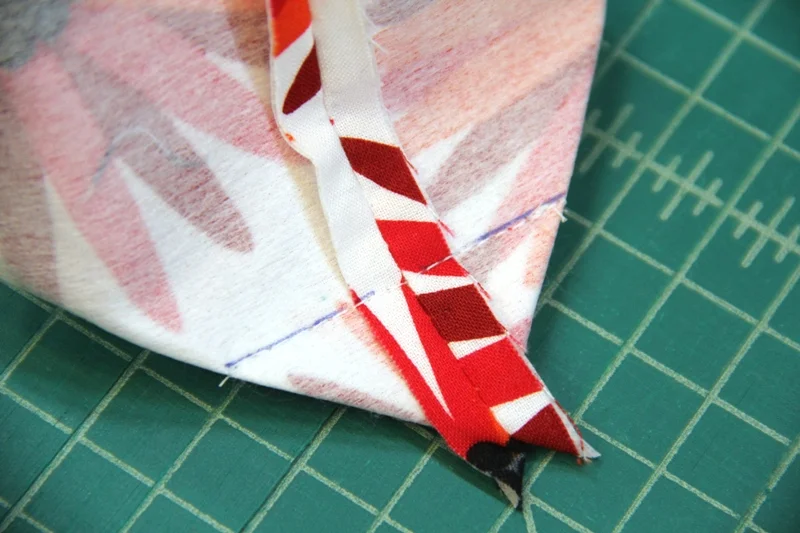
Repeat on the opposite corner. It should end up looking like this. Don’t clip off those corners.
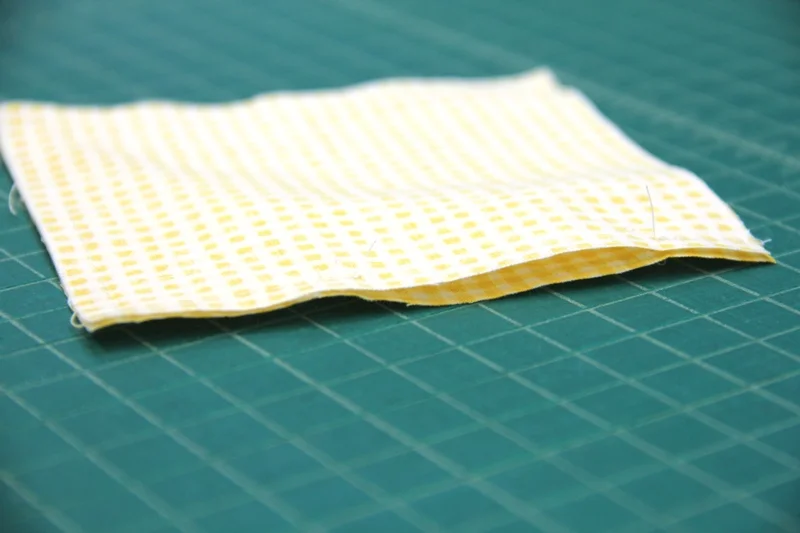
Pin the two lining pieces with right sides together. Stitch down both sides and across the bottom, but leave 2” open on one side, 3/4” from the top edge.
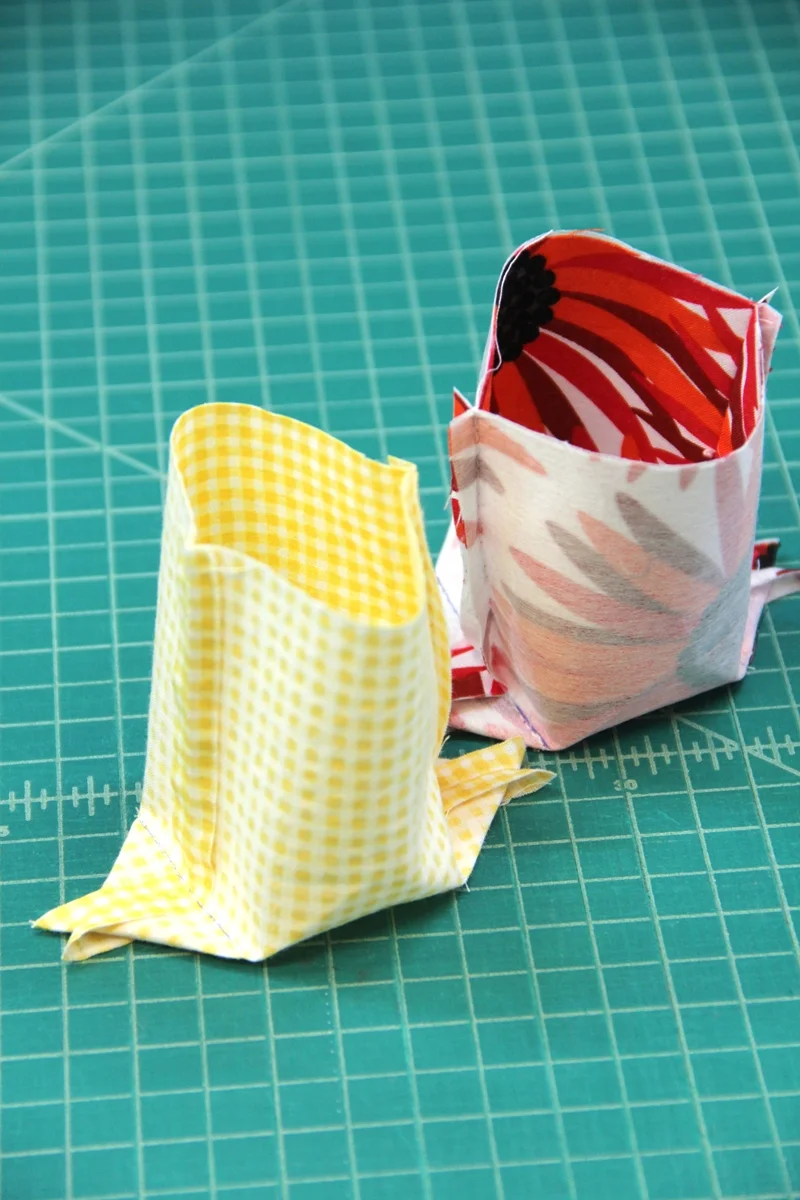
Stitch the corners on the lining as you did on the outside. Don’t cut those ears off either. We’re going to use those to stabilize the bottom.
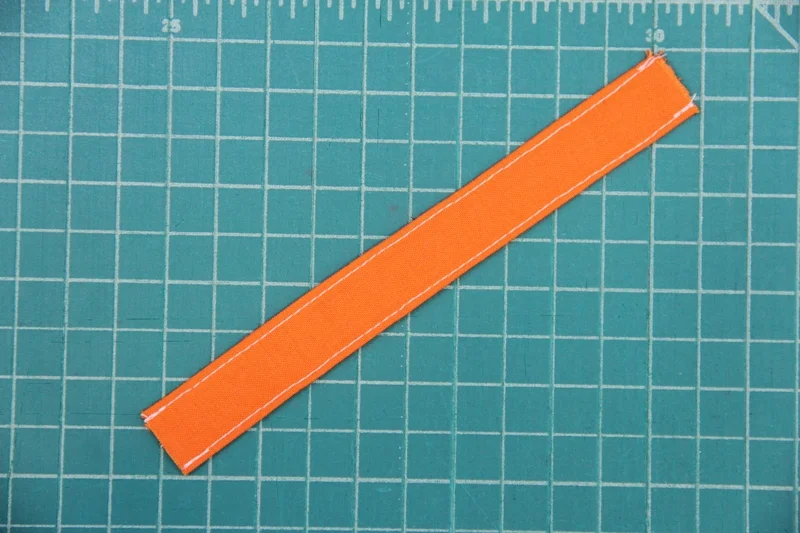
Fold the handle lengthwise with right sides together. Stitch 1/4” from the long edge. Turn right side out. Press flat with the seam centered on one side.
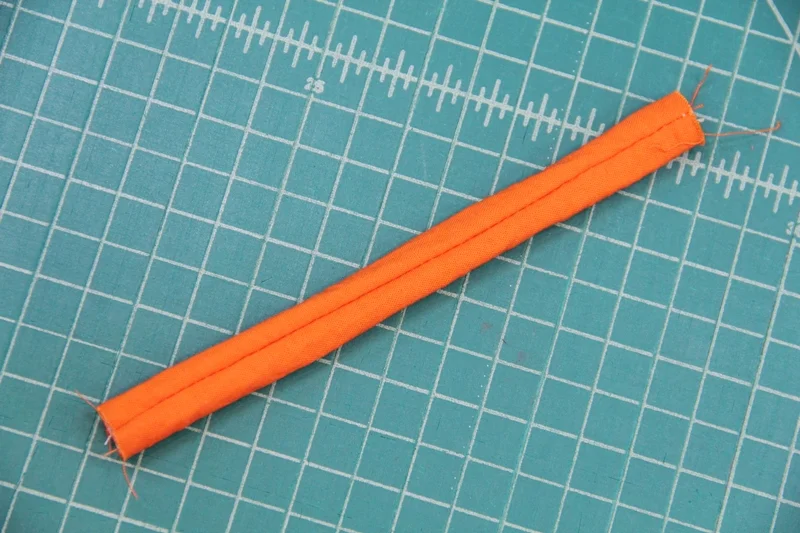
Topstitch close to both long edges.
Slide the handle inside the lining. Match up the handle ends to the lining upper edge at the seams. The handle seam should face the lining. Baste or pin in place.
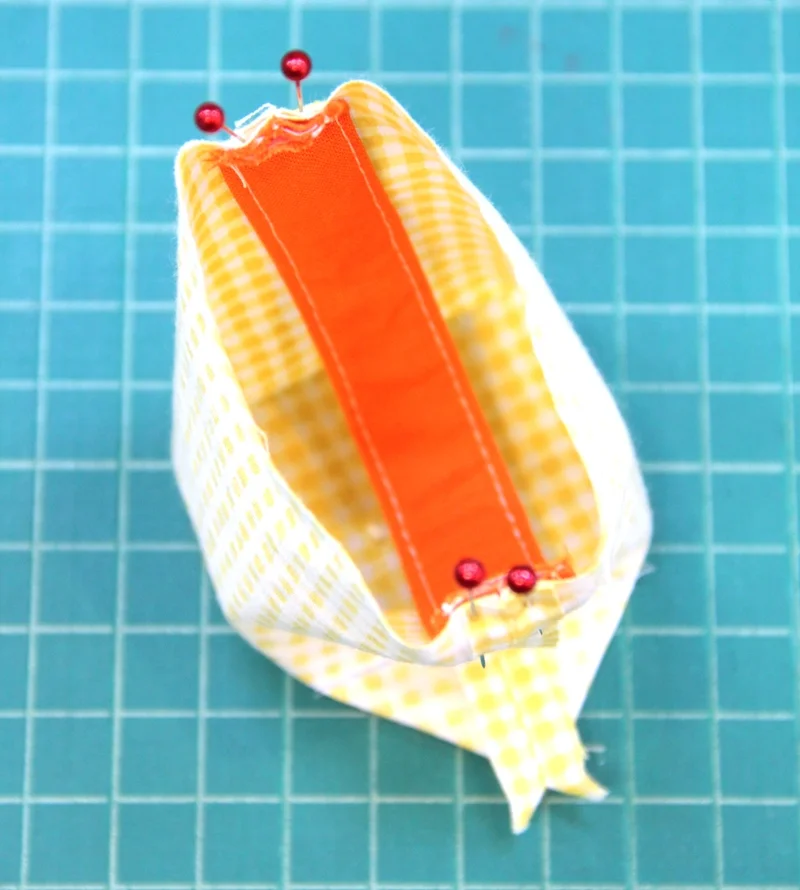
Turn the outside right side out. Stuff it into the lining, on top of the handle. It’s going to bunch up because the handle prevents it from going to the bottom.
Match up the seams and upper edges. Pin well.

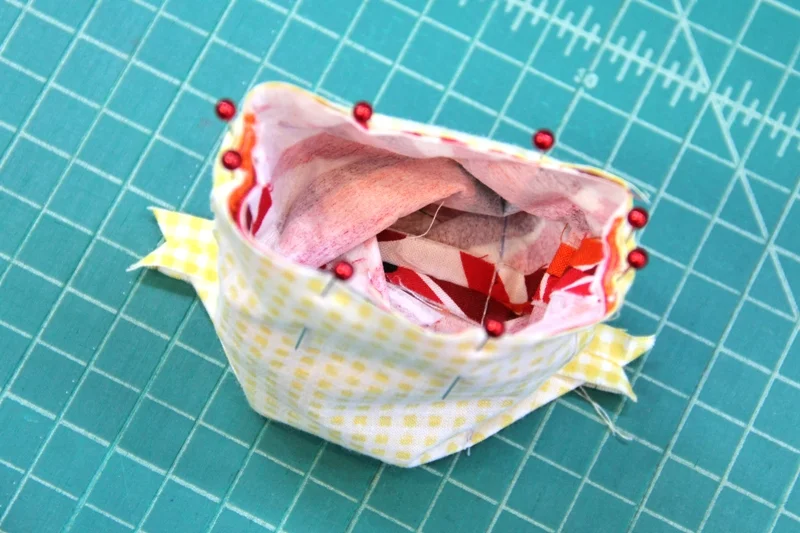
Stitch 1/4” from the edge. Because the opening is so small, I found it easiest to stitch it on the inside.
Pull everything through the opening in the lining to turn right side out. Stitch the opening closed by hand or machine.
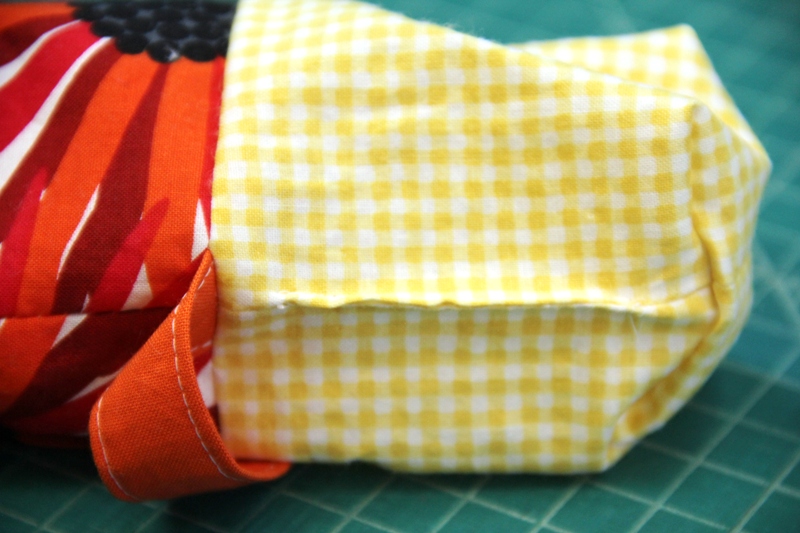
Push the lining inside, making sure to wiggle those corner ears to the bottom. Press the seam between the outside and lining.
I made this to fit plastic eggs that are a bit larger than real eggs. This is how it looks with one of those inside by itself. The bucket part (without the handle) is about 3” tall.
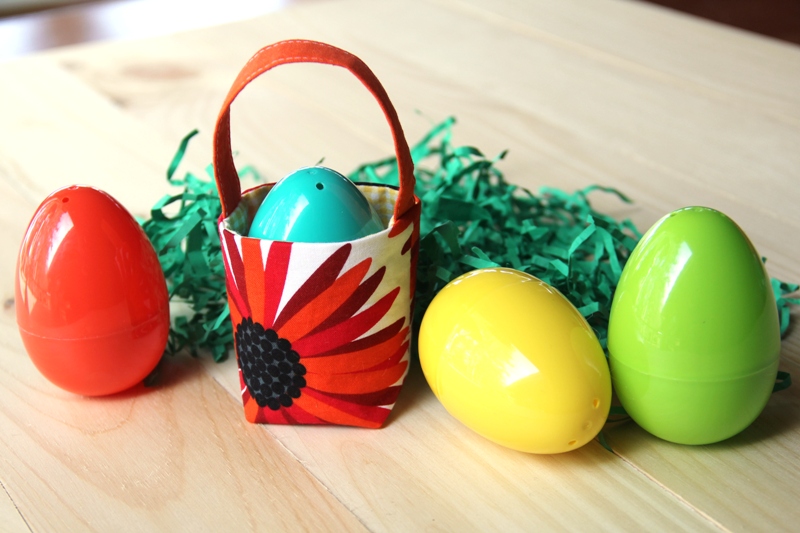
With a little Easter grass to boost it up, this will also hold a real egg well.

My vote would be to fill it with truffle balls. I don’t know how many of those it would hold, but you wouldn’t have to worry about it for long!