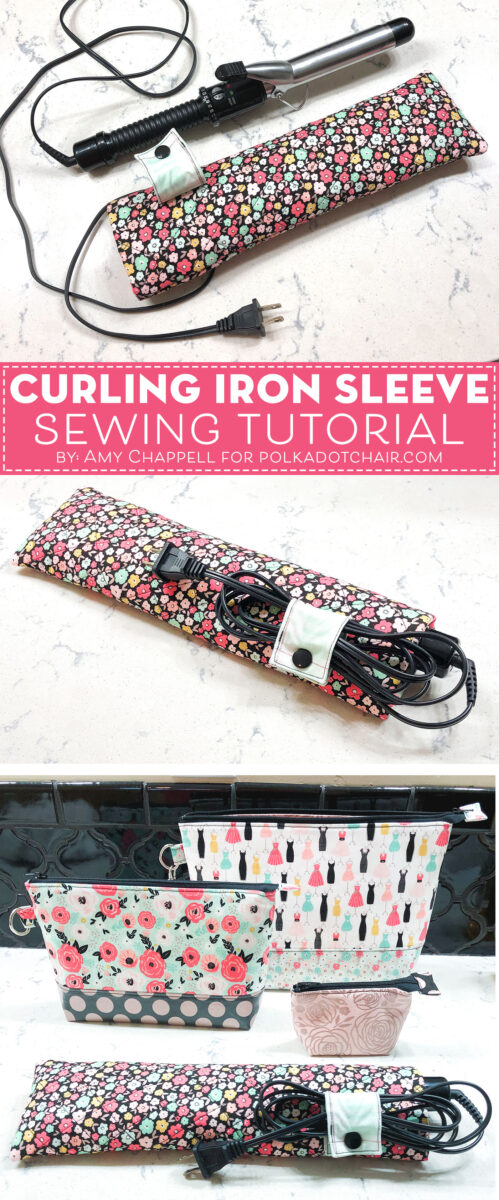
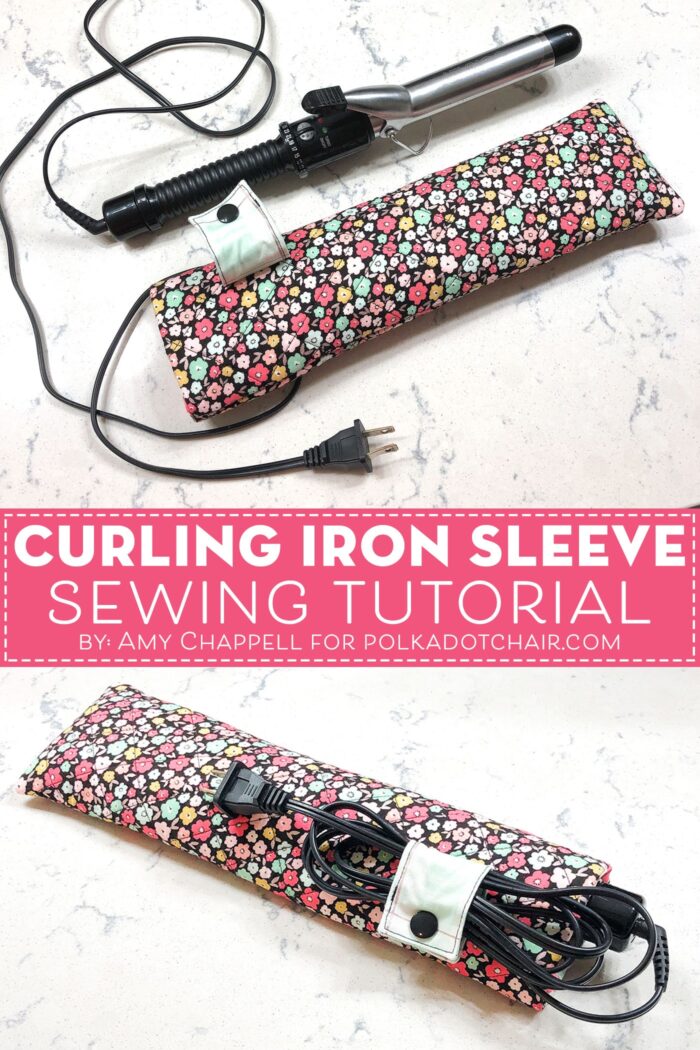
Travel Curling Iron Sleeve Sewing Pattern
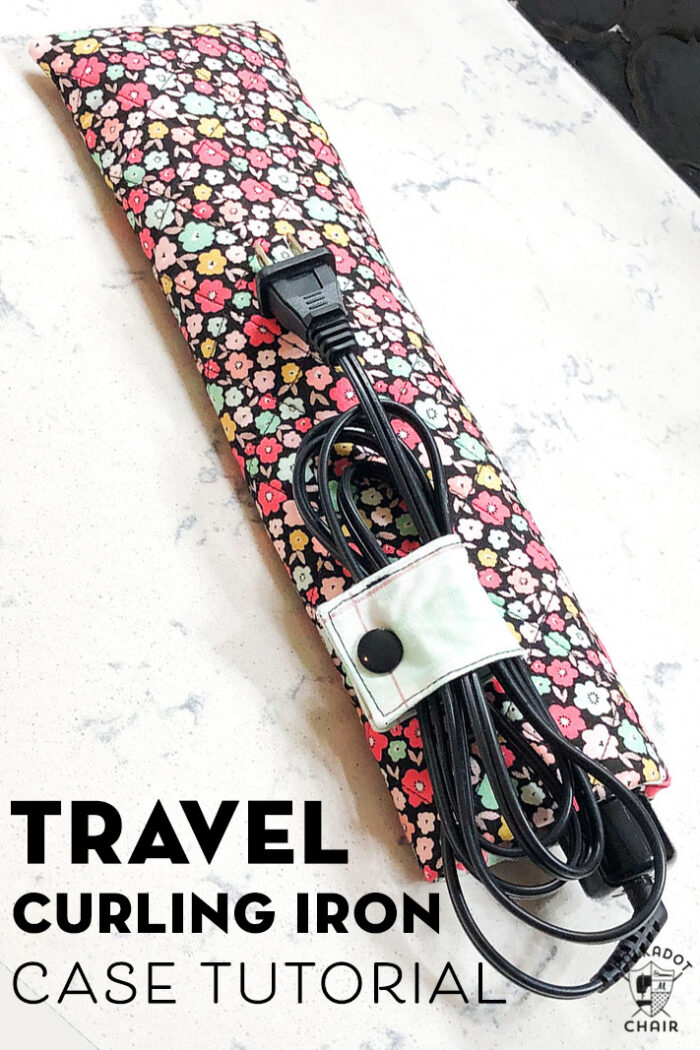
This Travel Curling Iron Sleeve would make a great gift for a loved one! It’s simple to make and oh so useful! Learn how to make one with this free sewing pattern.
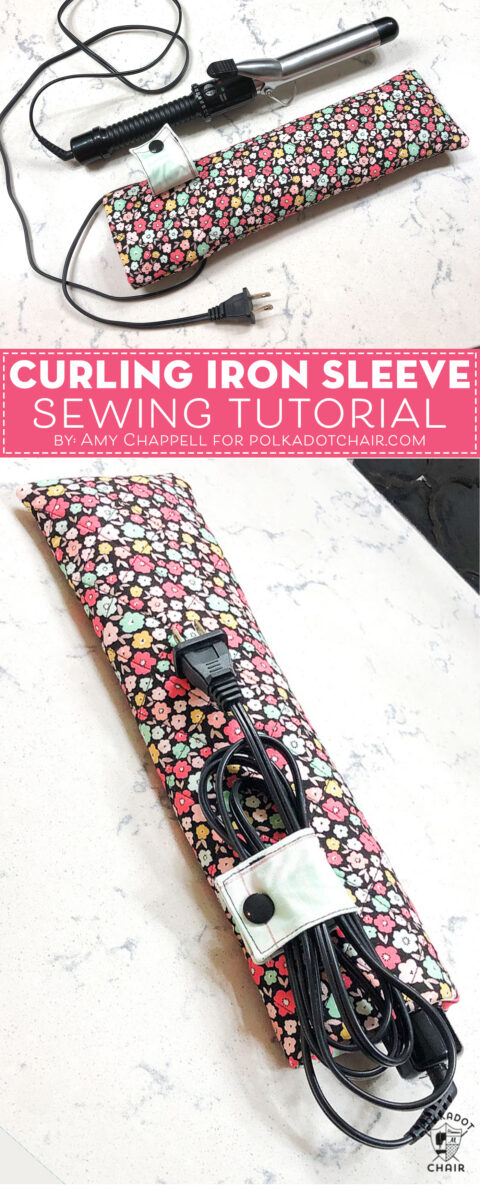
Do you ever wake up on your last day of travel and debate whether or not you want to do your hair because you have to pack up your curling iron and you don’t want it to be hot? Well, I have a solution for you!
This curling iron travel sleeve is lined with cotton batting AND InsulBright to keep the heat left on your curling iron from melting anything you are packing. Note: It’s meant for a curling iron that has cooled down, not a very HOT curling iron.
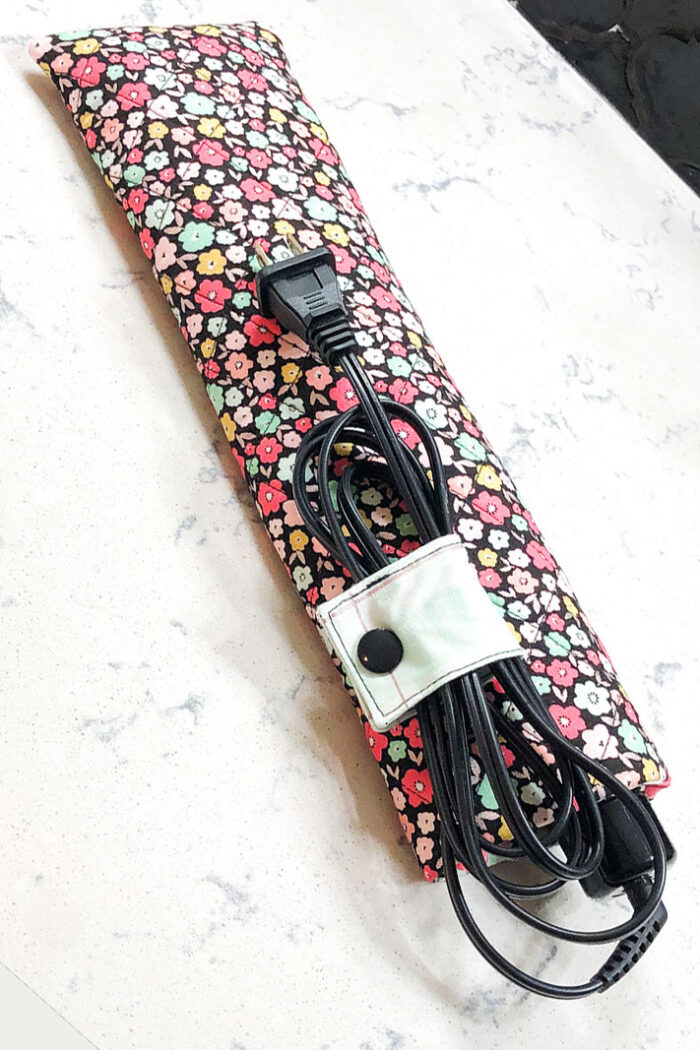
Created in much the same way as a hot pad/ pot holder this simple sleeve lets you use your curling iron and then pack it away when you are done. Plus, the strap keeps the cord in place, making your packing neat and tidy!
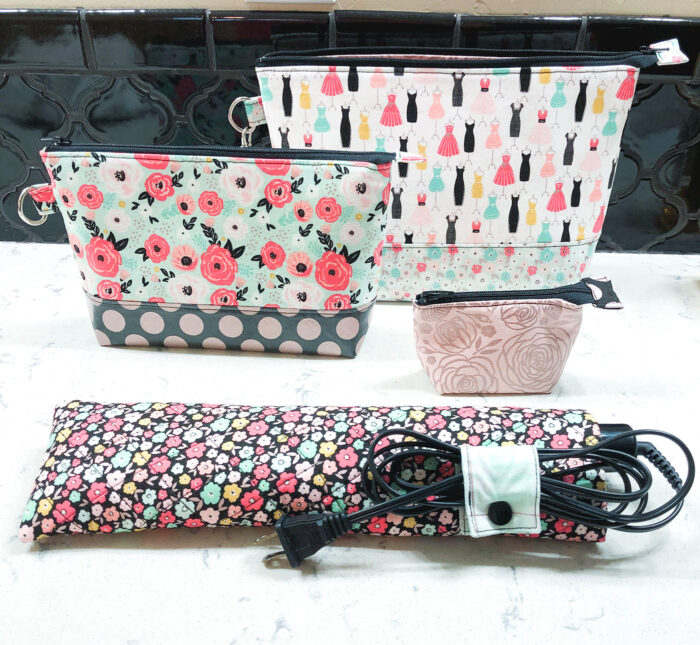
Add it to your set of nesting travel pouches and you are all ready to travel in style! Tutorial for the pouches can be found HERE.
How to Sew a Travel Curling Iron Sleeve:
[printfriendly]
Travel Curling Iron Sleeve Supplies:
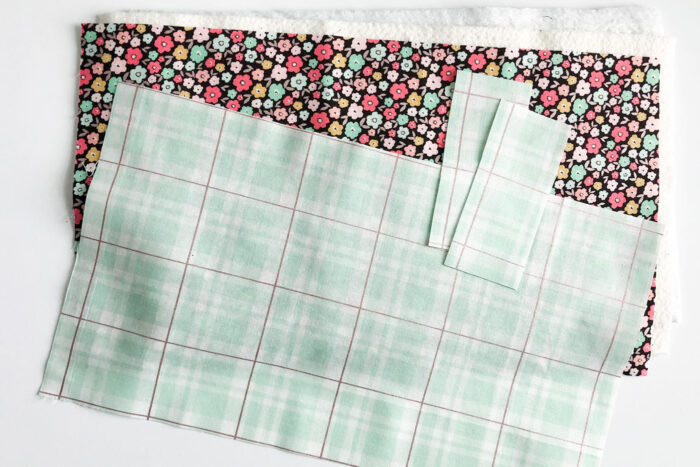
- Fabric- one fat quarter will give you enough fabric, but you may want to use 2-3 prints for added interest.
- 1/2 Yard Cotton batting (or one piece at least 10″ x 14″): Do not use polyester, we want the heat buffering properties of cotton.
- InsulBright Piece at least 9″ x 14″
- Snap set or hook and loop tape for cord strap
Cutting Directions:
Cut from Fabric:
- 1- 8” X 13” piece (for lining)
- 1- 8 ½” X 13 ½” piece (for exterior)
- 2- 2” X 4 ½” pieces (for cord strap)
Cut From Cotton Batting: 8 ½” X 13 ½”
Cut From InsulBright: 8 ½” X 13 ½”
Travel Curling Iron Sleeve Construction Steps:
Time needed: 2 hours
Curling Iron Travel Sleeve Sewing Instructions
- Prepare Exterior Piece
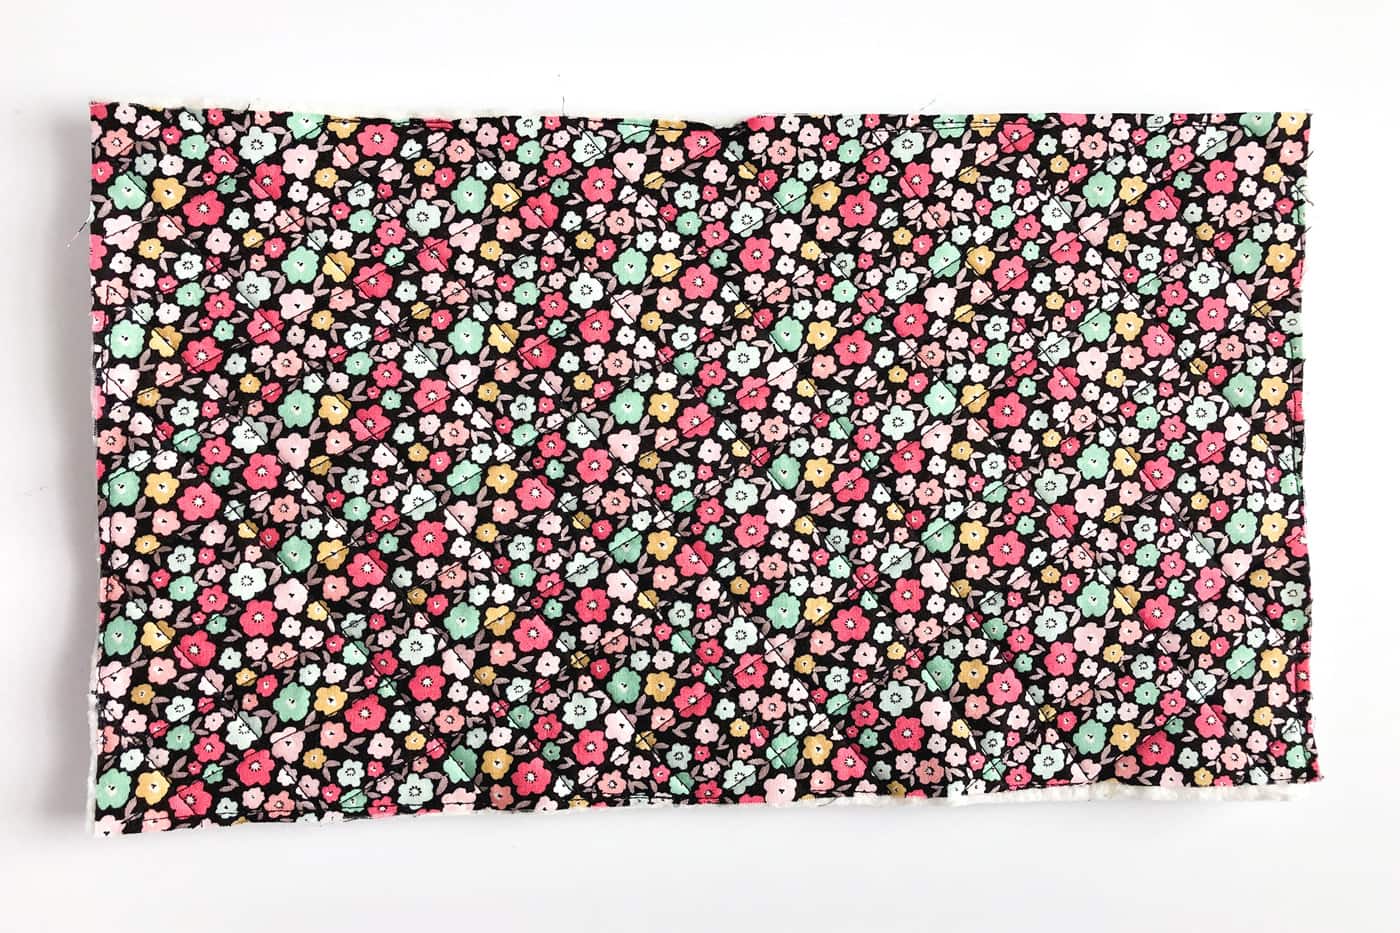
Layer your Insulbright, cotton batting and exterior fabric (right side up) in that order. Use basting spray or pins to keep in place.
Quilt all three layers together.
Trim down the quilted exterior piece to 8”X 13”
- Prepare Cord Strap:
Place your two 2” X 4 ½” strips of fabric right sides together.
Sew around all 4 sides, leaving an opening of 1-2” on one long side to allow for turning.
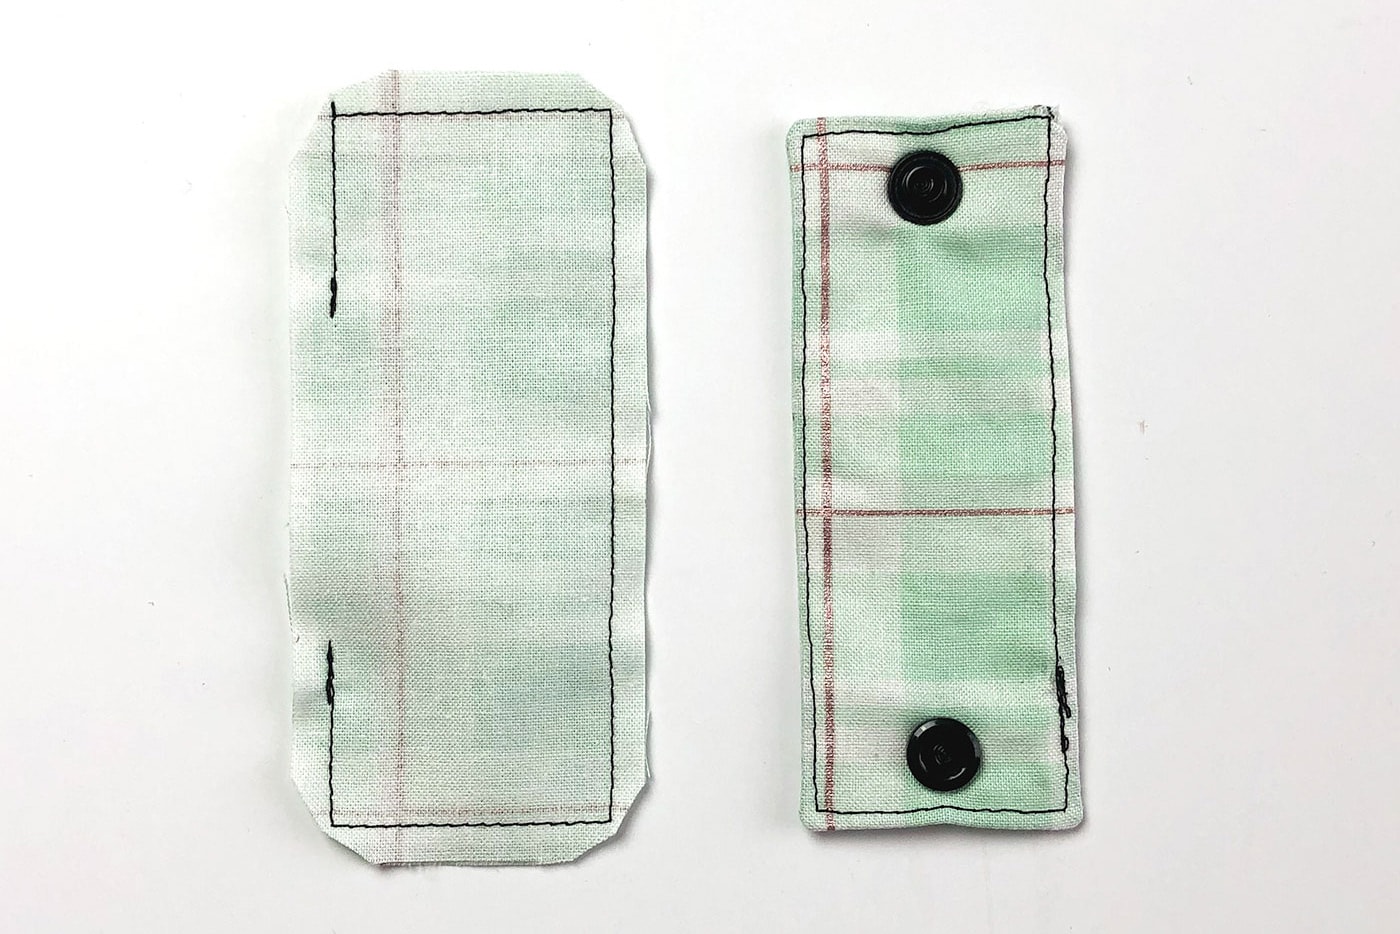
Next, clip the corners and turn right side out. Press well, turning under the seam allowance of the opening.
To finish, topstitch around the cord strap.
If you are using snaps: measure in ¼” from each short side and mark the center. Place your snaps at each mark, with the male and female ends up on the same side of the strap.
If you are using hook and loop tape, cut a piece 1 ¼” long of both hook and loop pieces. Position one piece along one short side of the strap, sew around all 4 sides. Put the other piece of tape on the opposite end and side of the strap (hook will be on one side of one end, the loop piece will be on the other side of the other end) and sew around all 4 sides
- Sew Strap to Exterior:
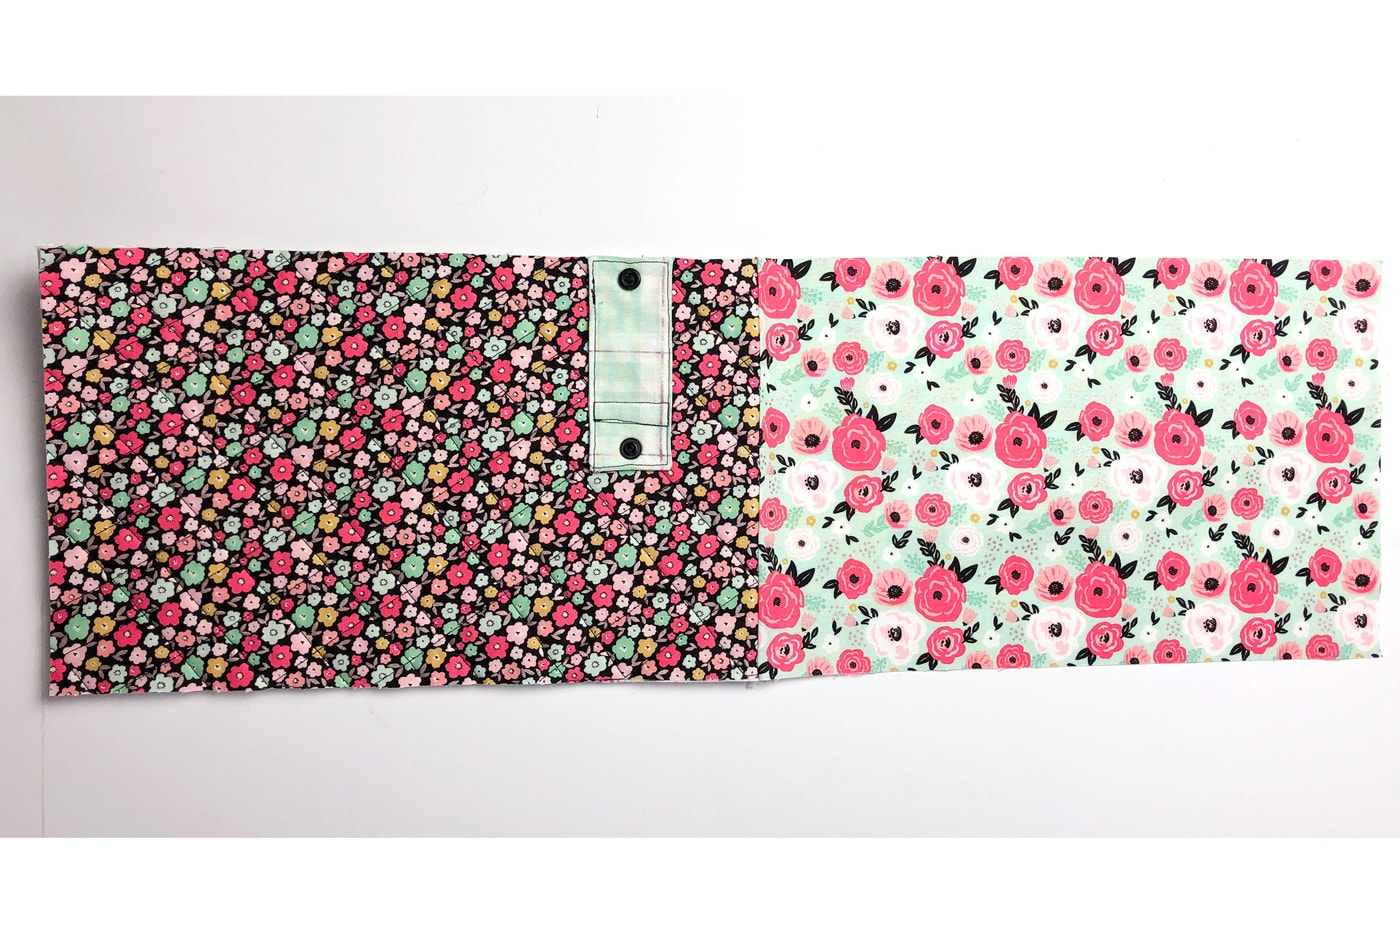
Place the strap 2” down from the top of the exterior piece. It should be perpendicular to the long edge of the exterior piece.
Mark the center of the strap and sew a ½” wide rectangle starting at the center mark and going toward the outside edge of the exterior. (the picture shows the stitching a little further over, but I like the look of centering the stitches better.) - Finish Travel Curling Iron Sleeve:
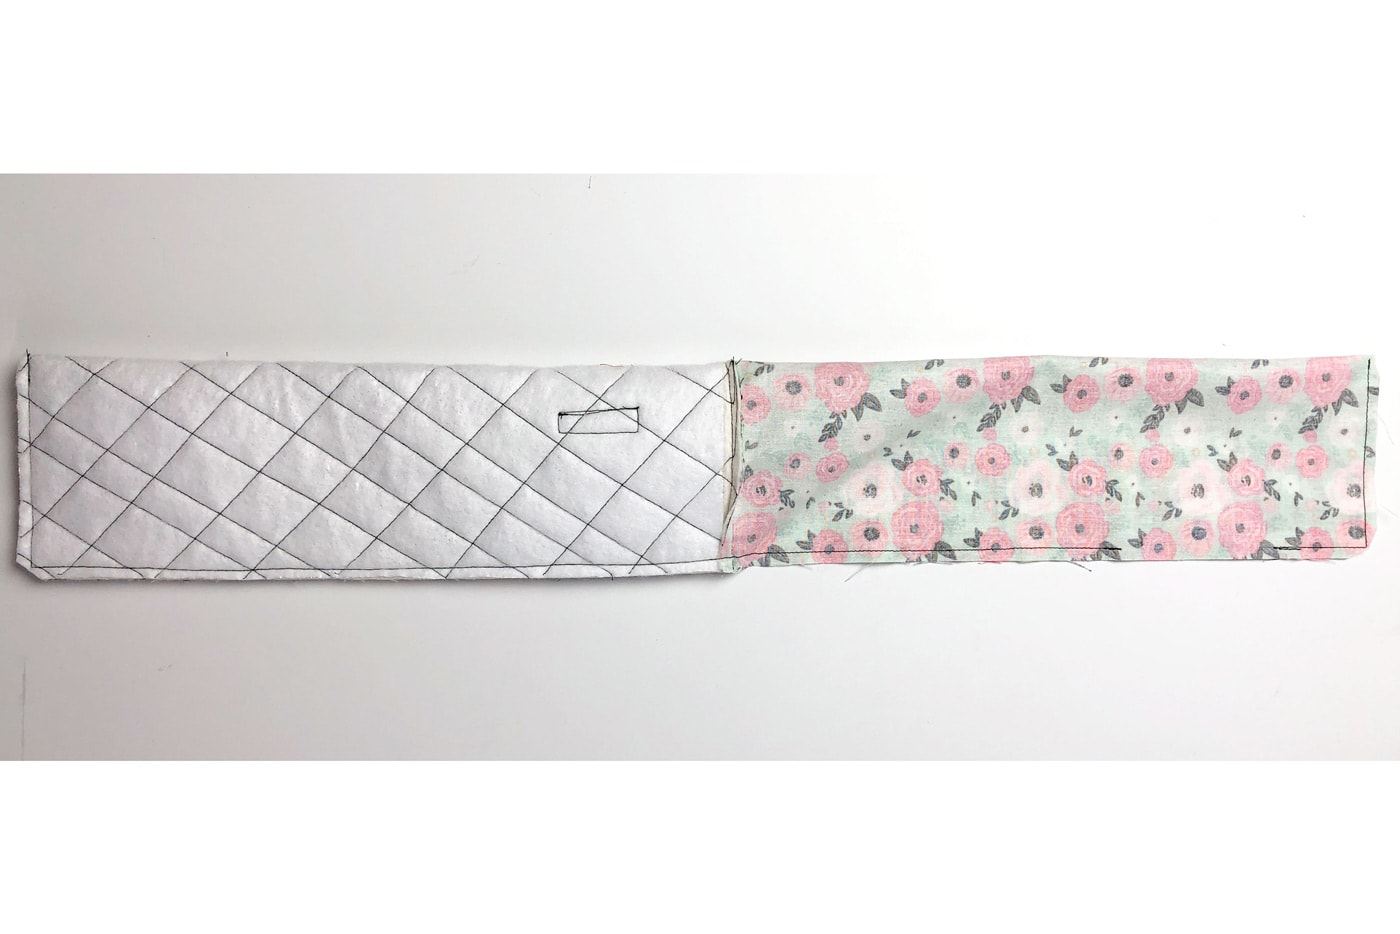
Place the lining right side down on the exterior of the sleeve.
Sew along the top seam using a ¼” seam allowance. Press the seam allowance toward the exterior.
Fold the sleeve in half along the length. Snap or secure the cord strap closed to keep it out of the seam allowance as we sew around the sleeve.
Sew around the three raw edges, leave an opening in the lining for turning. Again, use a ¼” seam allowance.
Clip corners and turn the whole sleeve right side out. Press out all seams and turn under the seam allowance of the opening.
Sew the opening in the lining closed.
Push the lining inside the sleeve. I find it helpful to use a long blunt tool, like a dowel, to push the lining all the way into the bottom of the exterior of the sleeve.
Press your sleeve well and you are done!
If you have more InsulBright to sew with you might love this Hot Pad and Trivet set
And this Crossbody tote would be a fun addition to your travel accessories!
About the Maker:

Hi! My name is Amy Chappell, and I blog over at Ameroonie Designs. I currently live in Wyoming with my husband and six kids. I love being a mom but needed an outlet that would give me something to do that stayed done. Enter sewing and creating. I love the satisfaction of taking fabric and ideas and making something new. I also love that blogging has given me a way to meet new people and find a community of amazing people who love fabric and sewing as much as I do.
xoxo,
Amy
Ameroonie Designs
www.amerooniedesigns.com
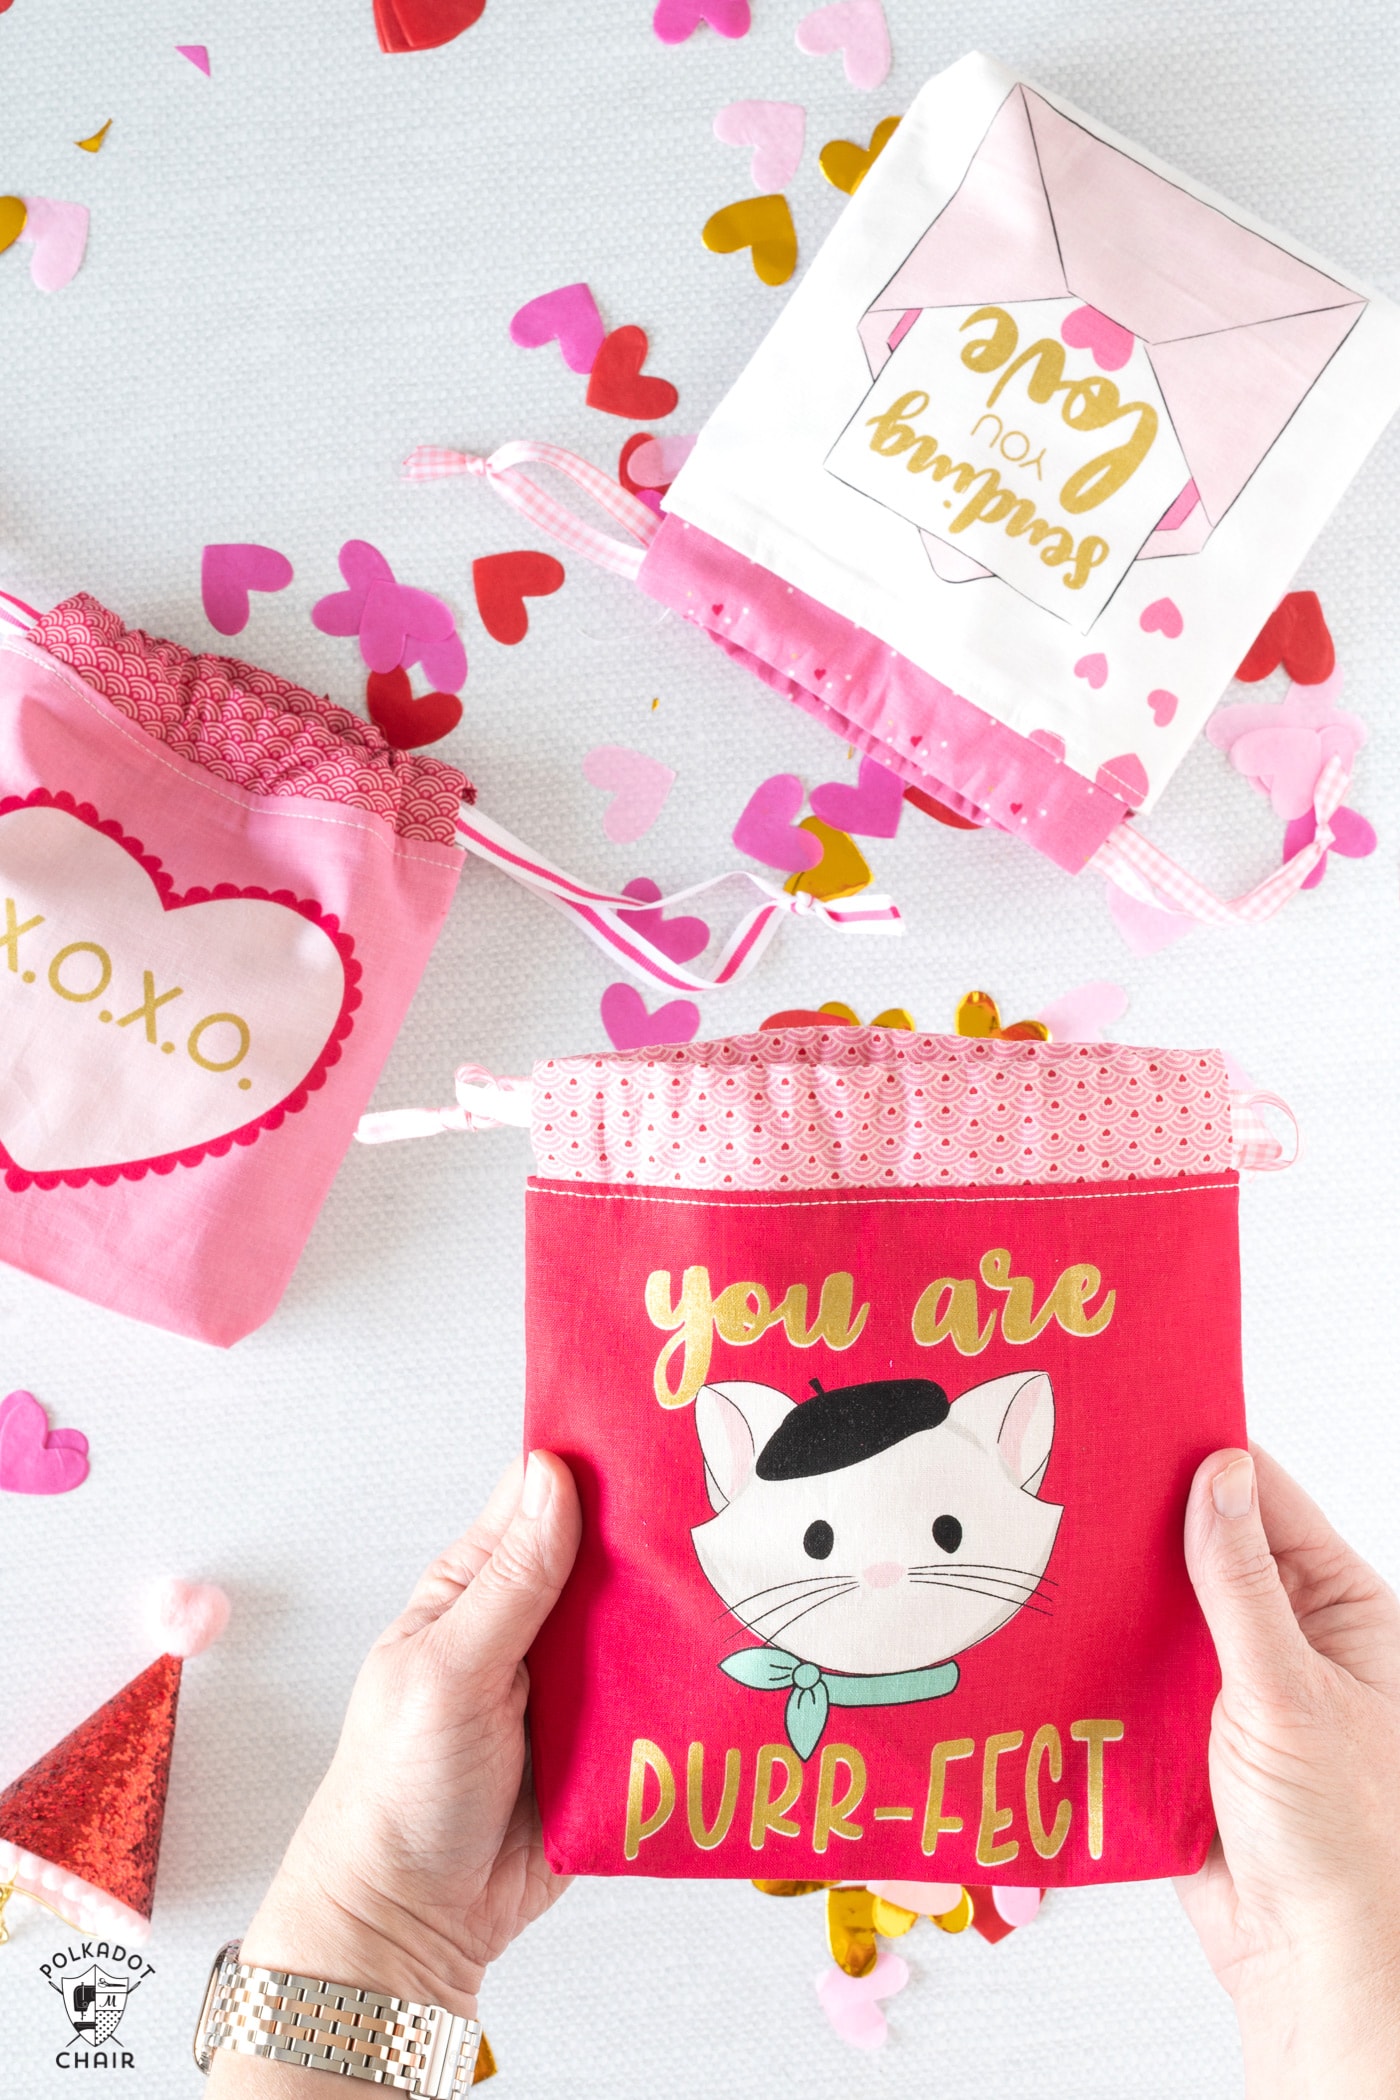
These “Girly” Small Sewing Projects Also Make Great Gifts!
Flat Bottom Zipper Pouch Sewing Tutorial
Chapstick Laynard Sewing Tutorial